
A beginners guide to Kombucha–homemade version
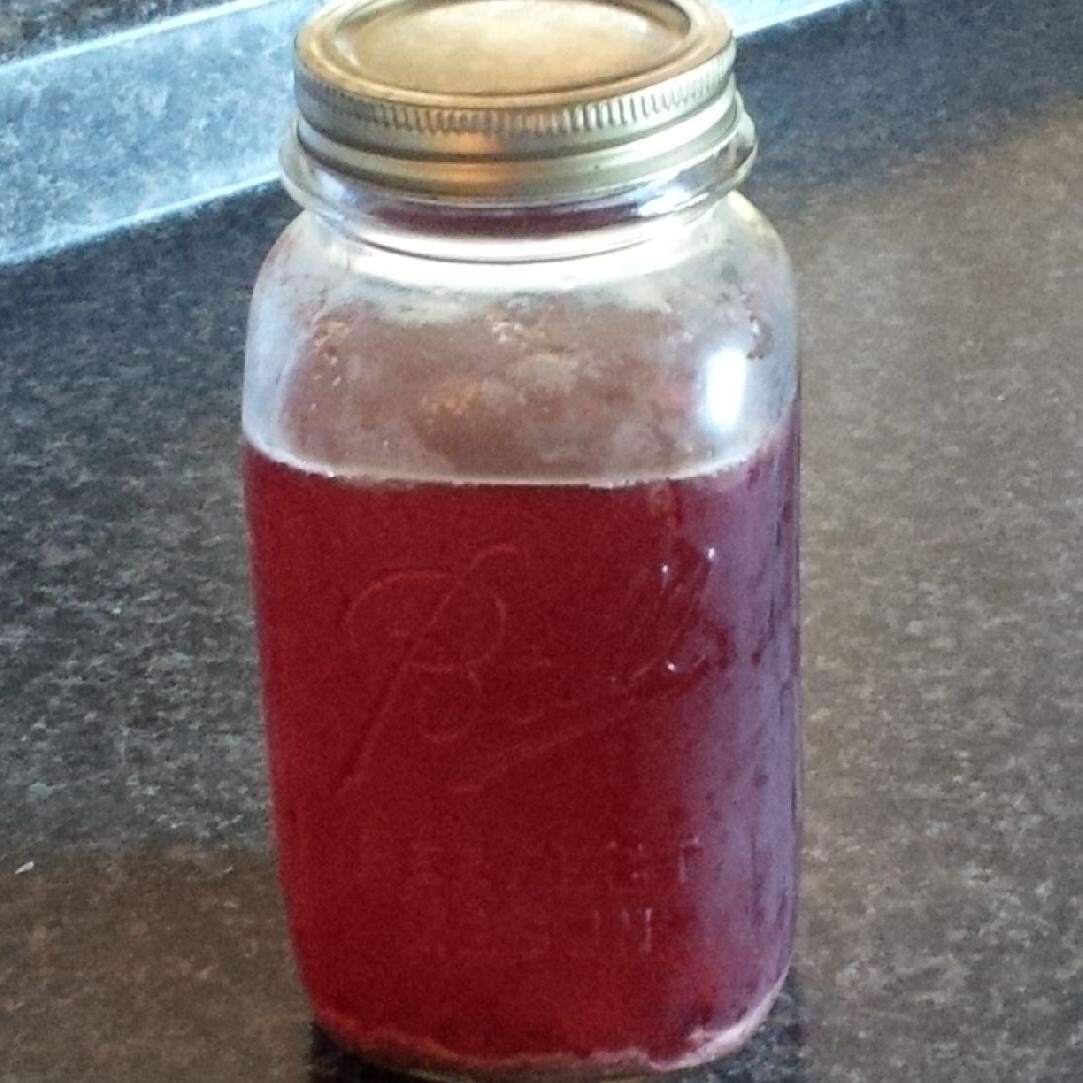
Here is my first jar of homemade Kombucha
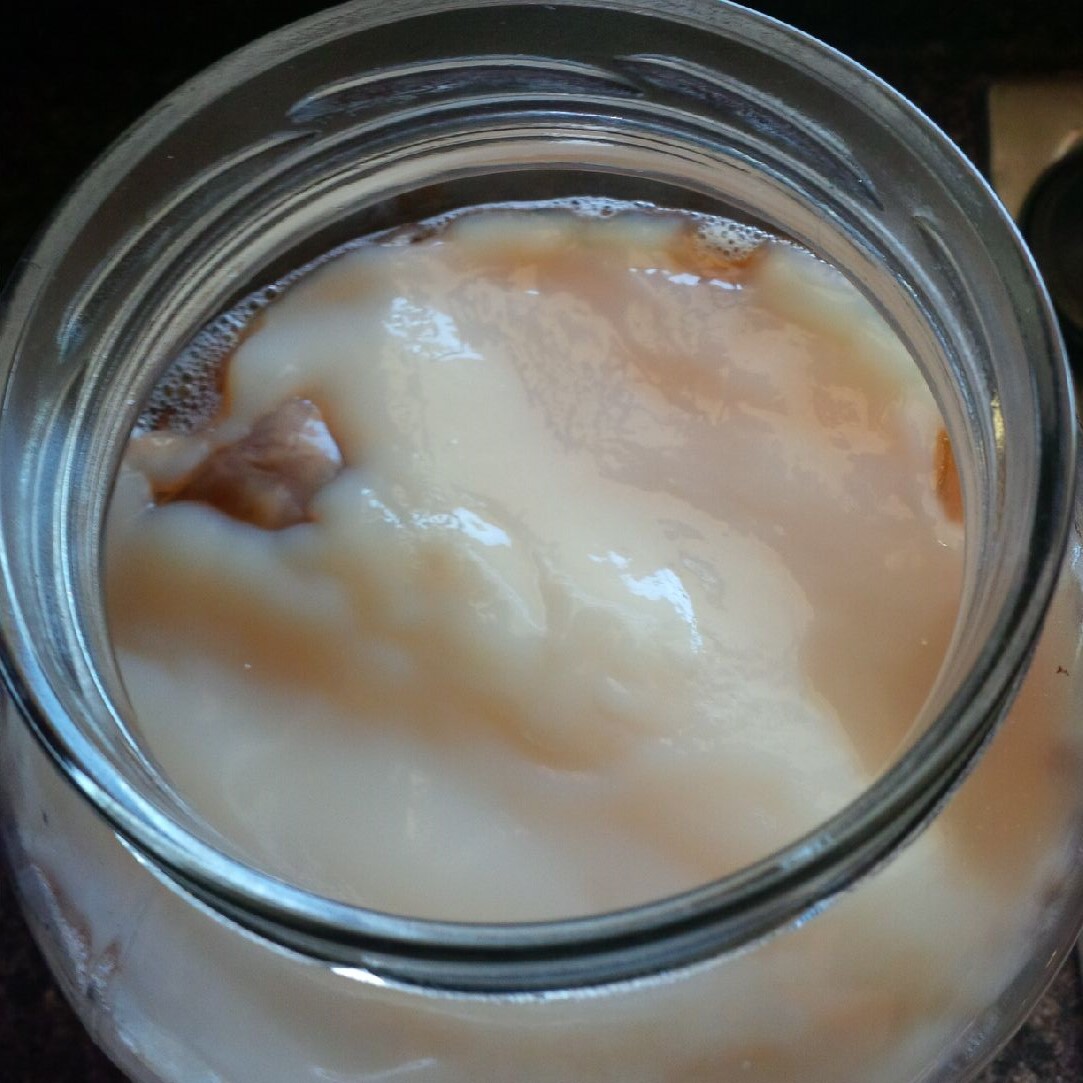
Here is my first SCOBY

Just looking at this picture probably makes you squirm!!!
What is a SCOBY you might ask? SCOBY is an acronym for Symbiotic Colony of Bacteria and Yeast and it makes a good drink. It is the beginning of my new path to drinking kombucha.
I have been reading about the health benefits of kombucha as of lately and have found that it is antimicrobial and full of antioxidants. The drink if you can believe it, is ALIVE and the LIVE bacteria is what is beneficial. Here are some of the top healing properties of kombucha:
- it is probiotic
- it increases your metabolism
- it alkalizes the blood
- detoxifies the liver
- high in antioxidants which is good for cancer prevention
- alleviates constipation
- boosts energy
- rebuilds connective tissue–therefore helps with arthritis and rheumatism
- reduces blood pressure
- relieves headaches and migranes
- reduces kidney stones
- helps clear up yeast infections
- aids healthy cell regeneration
- provides the gut with healthy bacteria
Sounds good, but what exactly is this kombucha drink??
It is a fermented tea that has value as a medicinal drink and a refreshing effervescent one. Wikipedia states that it originated in China or Russia. Some believe it has been around for centuries with medicinal uses in Russia, China, and Germany.
The tea is typically made with black tea, sugar, and a SCOBY. The SCOBY is the culture that makes the tea ferment and give it it’s good bacteria. It ferments anywhere from 1-3 weeks depending upon your taste.
Here is how we made it:
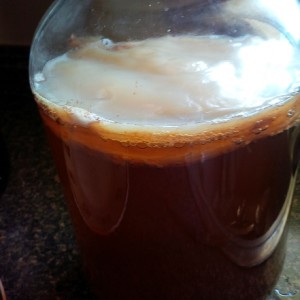
I had a friend give me my first jar and it looked like this. Strange, I know I let it sit for 2 weeks and then began my new process.
Before you begin, make sure ALL your equipment is clean. You don’t have to be freaky sterilize clean, but wash all your items with very HOT water to ensure cleanliness.
In a gallon glass jar, don’t use plastic or stainless steel, brew hot water, 6-tea bags–use black tea, think Lipton, and 1 1/2 cups sugar. For my first batch, I did 4 tea bags and 1 cup sugar. I am currently trying out different tea/sugar amounts to see what we like best.
I used raw sugar in mine, white sugar is fine as well. The SCOBY feeds off of the sugar in the tea, so don’t use any other “sweetener.” You have to let that completely cool off to room temperature. If you are in a hurry, you can make half a jar and then let it sit and add cool water to bring it to room temperature faster.
Then strain out the tea bags.
Next, you are going to prepare your SCOBY.
Make sure that your hands are clean and the area that you will be placing your SCOBY on is clean. Take out your SCOBY from the tea. You will notice it has almost a mushroom like top. You are going to pull apart the top one from the bottom one. The top one is called the Mother and the bottom is the baby.
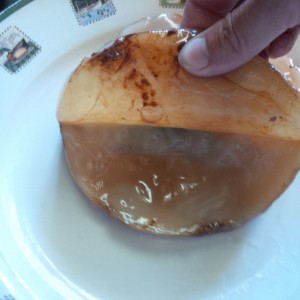
Look your mother over, make sure there is no visible signs of mold growing on it. It is okay to have a hole in it, but no mold. If it does show signs of mold, throw the mother away and use the child. You will see brown stringy stuff, that is okay it is bacteria at work.
Just throw the baby away?? I know , seems like such a waste. But you really have no need to keep it, if you continuously brew your tea, your SCOBY will keep producing a baby with each new batch. When I had my first batch, I used my mother and baby in separate jars to start two new batches of tea. This will allow me more in my rotation. Because I have really grown fond of this drink.
If you don’t like throwing it away, I searched the internet for different uses for the babies. Here are some uses I have found that different sources recommended:
- feed it to your chickens
- dry it and use it as a chew toy for dogs
- use it in recipes that call for “squid” it has the same texture
- use it as a “living” bandaid–it pulls the toxins to the surface of the skin
- use it in compost
- make a SCOBY hotel in a jar and store multiple ones in the refrigerator to give away later
- give it away to a friend to begin a new batch
Okay, if none of those sound appealing, just throw it in the trash. You really will get a new one in about a week or so.
Now you are going to take that mother and place it in your jar of tea and sugar. What if the SCOBY doesn’t stay afloat at the top? That is okay. Depending upon humidity and uncontrollable factors it can turn on its side or even float to the bottom.
 From your already brewed batch, scoop out 1 cup of “starter” for your next batch.
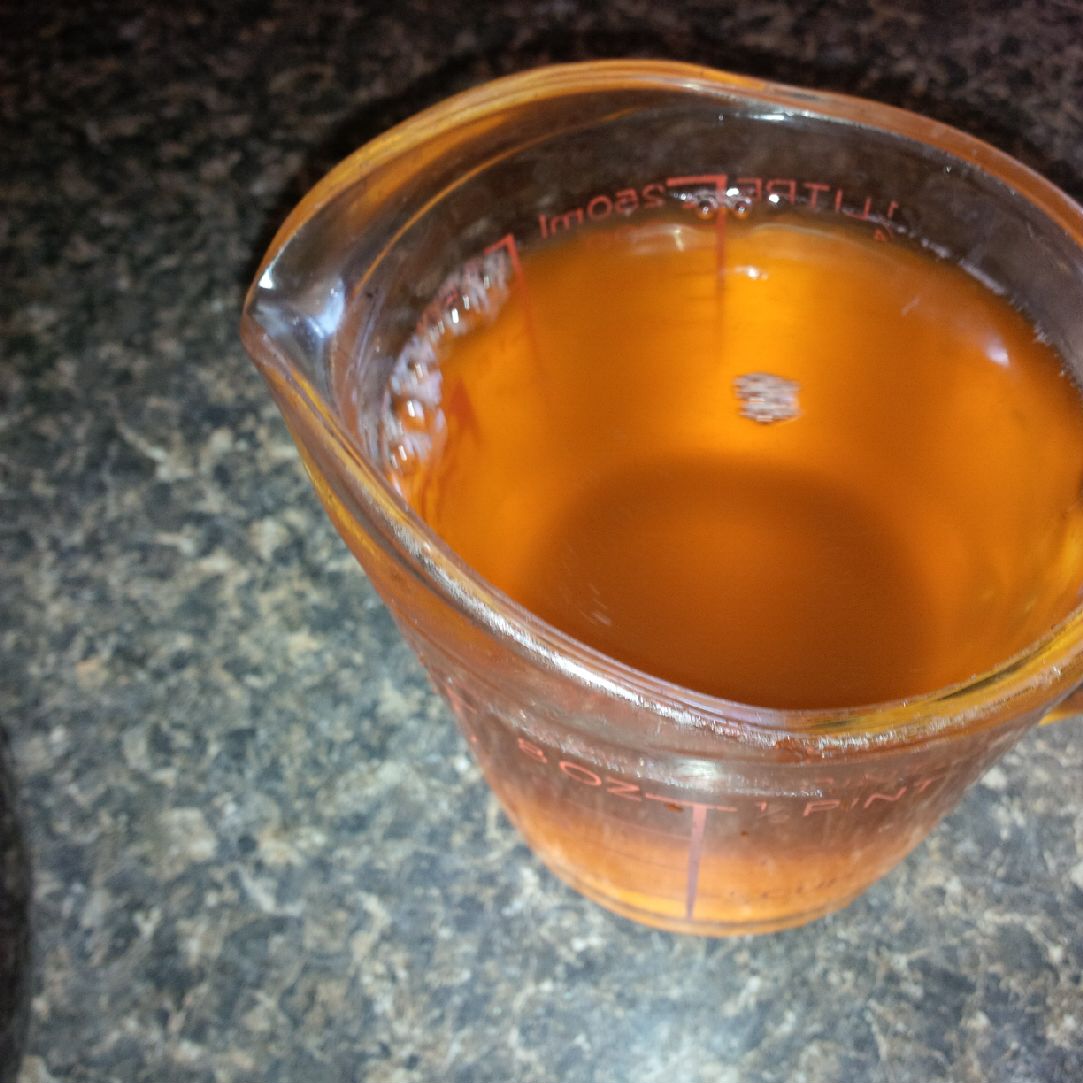
Just pour it into the new jar and then you are done. You are going to need to cover the top of your jar with something that breathes. You can use a paper towel, coffee filter, or tea towel. Use a rubber band to hold it into place.
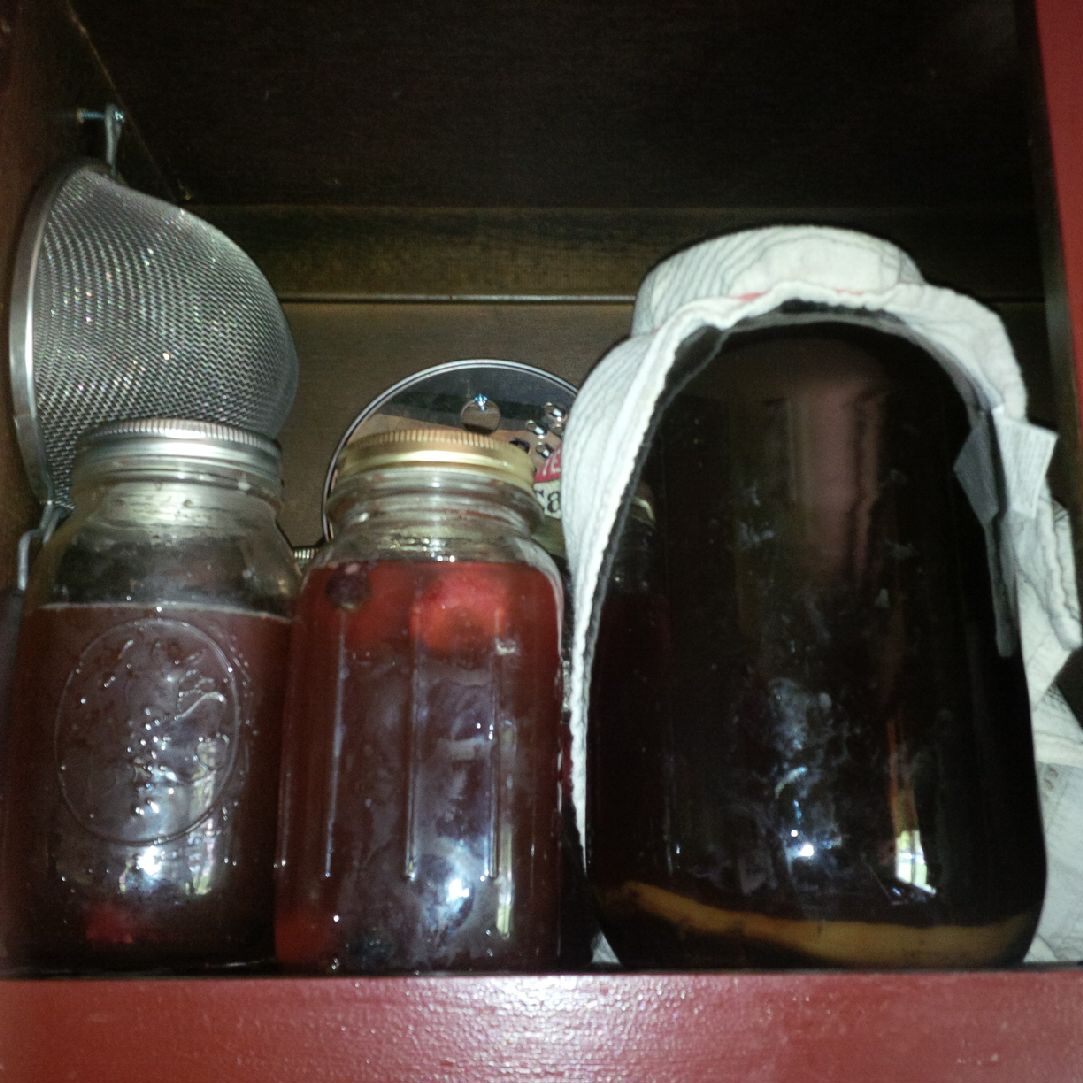
Place it in a dark place. I store mine in a cupboard and then you let it sit. Anywhere from 1 week to 3 weeks. My first batch I did 2 weeks, this next batch I did 10 days and I am going to try a week. You can test your batch by tasting it to see where you like it. I really enjoy the 10 days one currently.
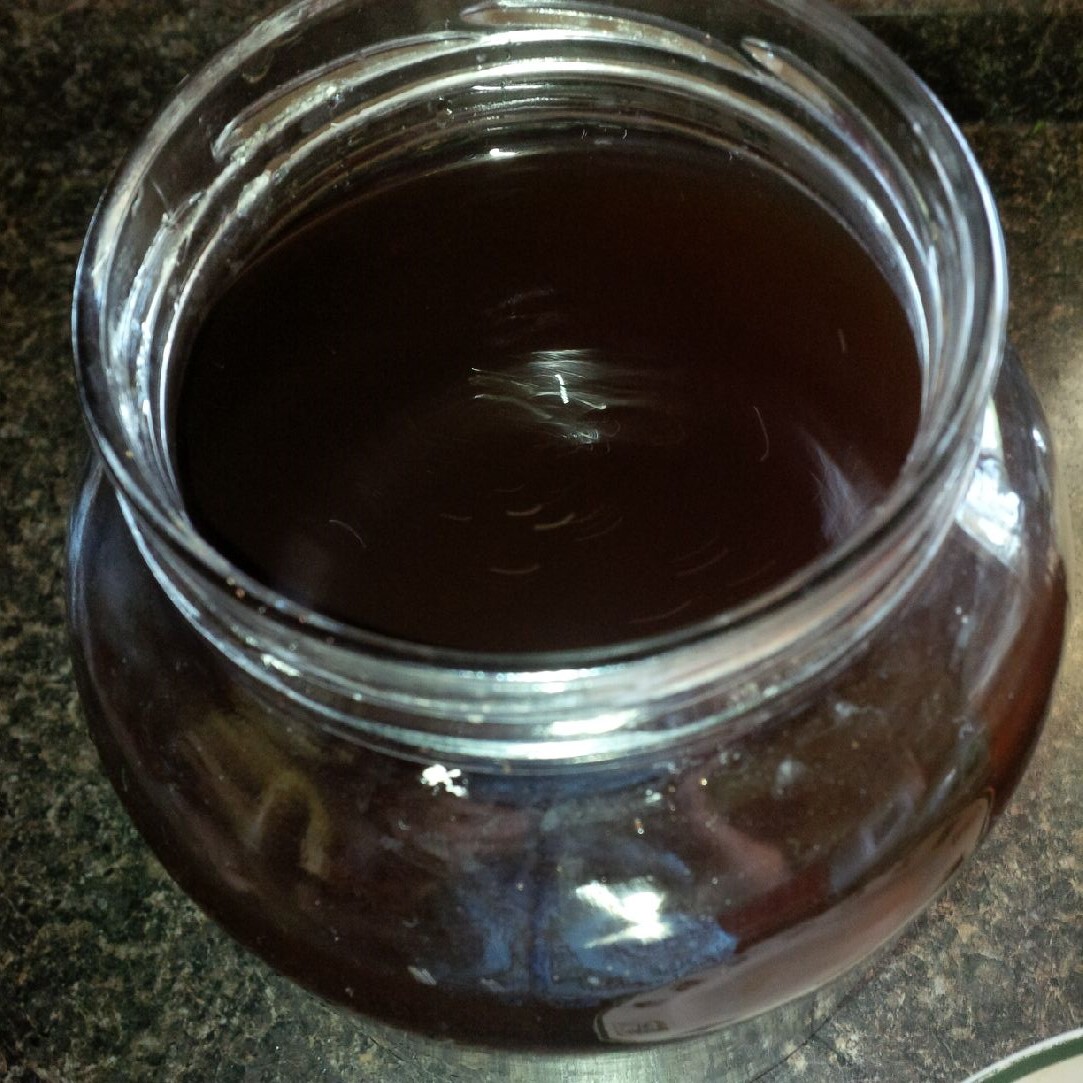
**If you notice in the photo my SCOBY sank to the bottom of my jar. It eventually floated on it’s side and then a baby grew over the top of the jar. It doesn’t matter how it floats. It can still do the same work no matter what the position.
The first time you do this, you will think it tastes bad. Like a vinegary–tart flavor. You get used to it, I promise. Stick a straw carefully under the mother SCOBY. Put your finger over top of the straw to suction up the liquid and then take it out. Give it a taste and see if it to your satisfaction. If you think it tastes bad, just let it go for 2 weeks and then next time you make tea, test it. By that time, you will probably be used to the flavor.
Now, you can either screw on a lid to your kombucha and be finished with it, or you can flavor it. I recommend flavoring it.
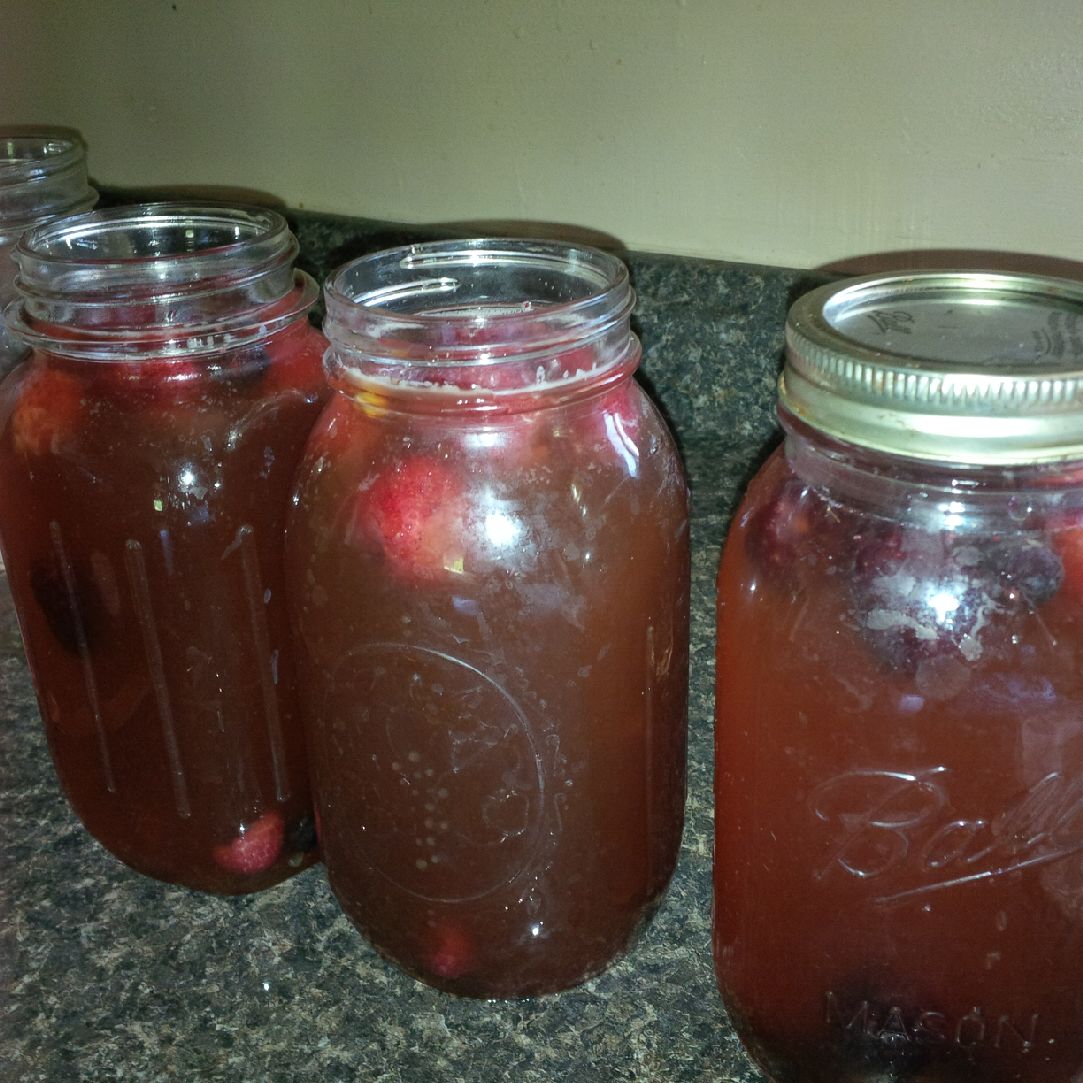
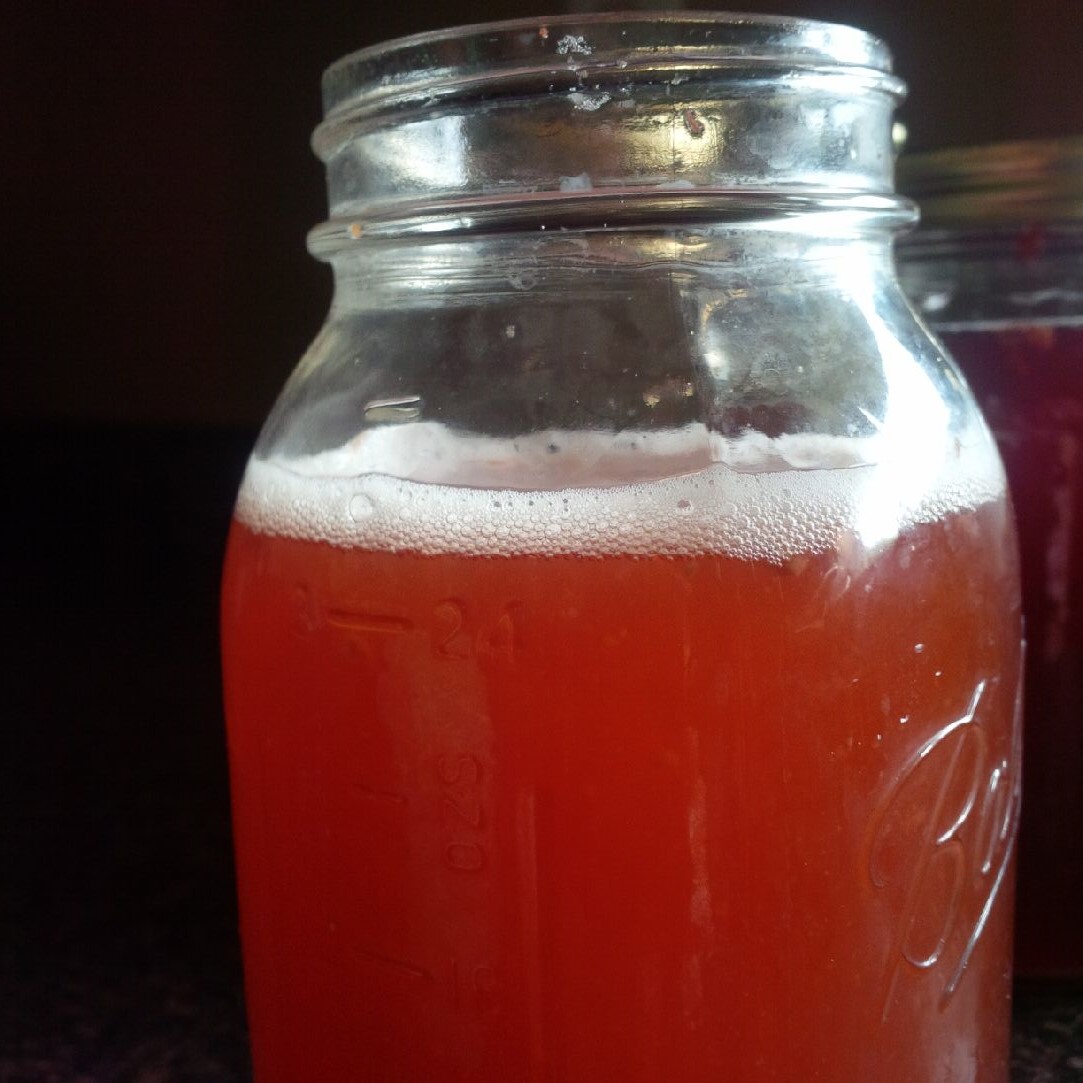
I pour mine into quart jars from the big gallon for ease of drinking. I then add a few frozen berries to my mixture. I have read about all different flavors. I have only tried mixed frozen berries and enjoy it. My friend, Danielle says they enjoy cinnamon sticks in theirs. I also add about 1 tablespoon of honey to help sweeten it.

This is going to be your 2nd fermentation process. Screw on your lids and place the jars back in your cabinet.
A 2nd fermentation is essential. Let it set for 2-3 days. The longer you let it continue to ferment, the more acidic and less sweet the taste. If it is in an airtight container, the live yeast and bacteria in the kombucha will continue to gobble up the tea and sugar that remains from the first fermentation. The fresh sugar from the fruit is then turned into carbon dioxide which makes the kombucha bubbly.
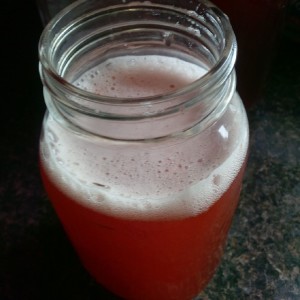
I have read about people not getting their kombucha right the first time and I understand, mine didn’t turn out “perfect” the first time either. When using the baby to do your tea, it doesn’t work as strong, it takes a batch or two to get it up to “strength.” My first fruit fermentation left it sort of bubbly–more like a wine. But my second one, as seen in the photos made it very bubbly, more like fizzy champagne.
Please note, I do not drink alcohol, but did before I was saved. It is just a way to compare it.
After your 3 days, unscrew your lids and scoop out your fruit. Throw it out to the chickens or compost pile. Then screw back on your lids and put in the refrigerator.
That is it. I know, it sounds confusing, I was on the phone texting my friend every step of the way when I was making my first batch. Now I realize it is very easy.

Here is a recap of what we just did in simple english:
- Brew gallon jar of hot water, 6 tea bags, and 1 1/2 cups sugar
- Let that sit until room temperature, scoop out tea bags.
- Add your mother SCOBY to the jar.
- Cover with cloth and rubber band.
- Let sit for 10 days in a dark cupboard.
- Take out the SCOBY and pour into quart jars.
- Add a handful of berries to each jar.
- Screw on lids and sit for 3 days to get bubbly.
- Unscrew and scoop out fruit. Put lids back on and refrigerate.
- Drink and enjoy!!!
How much should you drink?
I have read that smaller amounts in the beginning are best. Especially if your diet is Westernized. It will move through your digestive tract quickly. I started out drinking about 1 cup a day. Had no problems, but my diet is fairly whole- food like. I now drink about 2 cups per day. I enjoy a glass every evening before I goto bed.
I have always struggled with snacking at night time, especially while working on my blog. I started slowly sipping a glass and it has taken away my edge to want to snack. It is very tasty and something I recommend drinking.
One more important thing when brewing kombucha……
Okay, what is this contraption?? Since starting to make my own kombucha, because of the ferementation process, my kitchen has been prone to attract fruit flies!!!
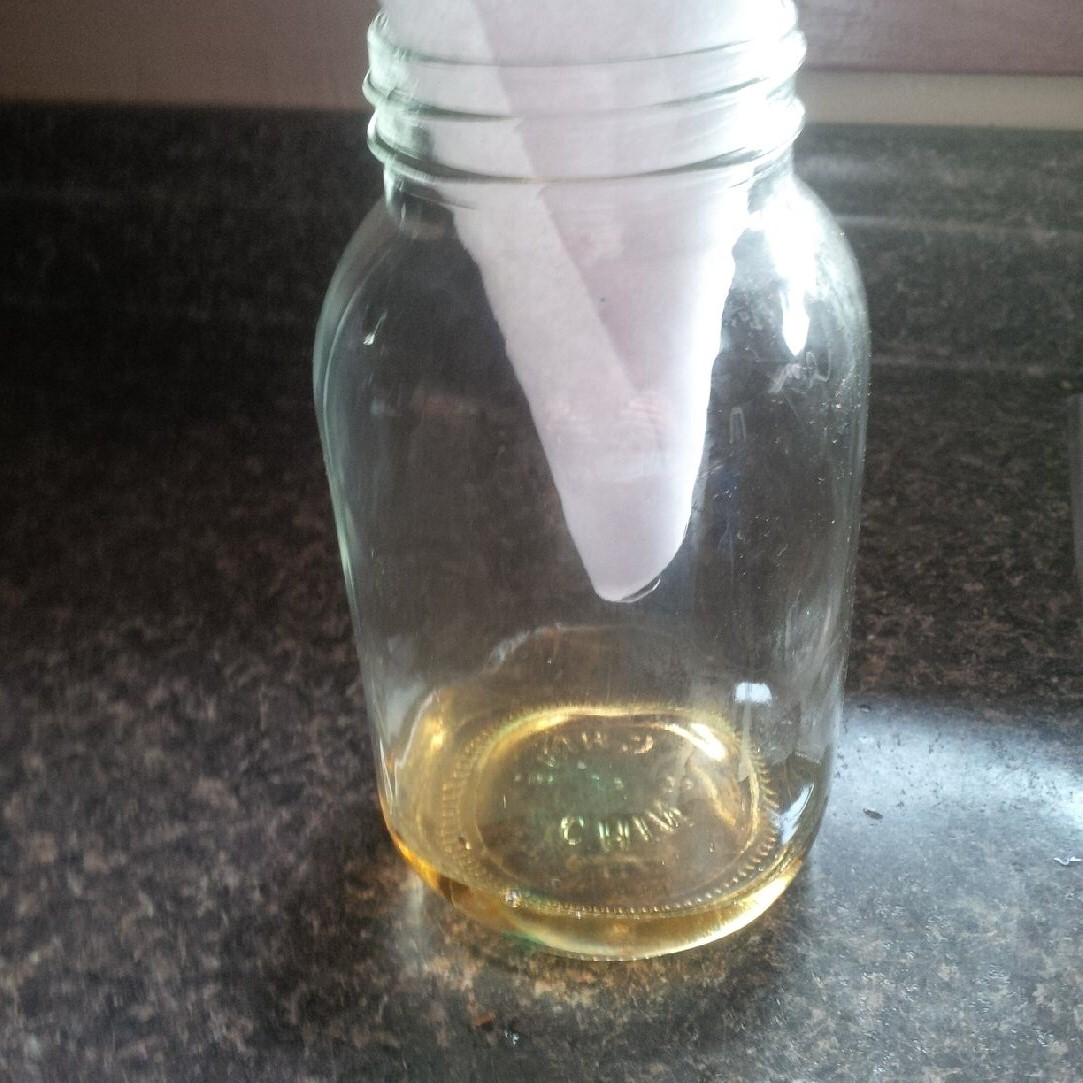
Gross, how do you get rid of them? I made my own fruit fly trap.
Place a small amount of apple cider vinegar and squirt of dish soap in the bottom of a glass jar. Twist a piece of paper to make a cone and set it in the jar. The flies will be able to find their way down but won’t be able to fly back out. I only had to do this for a few days and then it has gotten rid of the fly problem.
I am excited to try new flavors and different combinations of teas. That will have to be a future post. For now, I enjoy my berry flavored fizzy drink.

