Tag Archives: kitchen

Pistachio cake in roaster oven

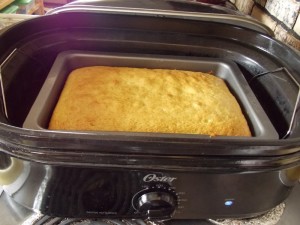
DSCN0966Have you ever needed to bake something and you went and turned on your oven only to find that it would not work?  Not a good thing, this happened to me recently and I didn’t want to waste the cake mix I had mixed up.  I knew I had a roaster oven but had never baked in it before, so I thought I would give it a try.  Do you know it worked exactly like an oven would?

After looking up the manual online, I realized that they even recommend baking baked goods inside of it.  What a great thing to know especially with the summer being so hot and not wanting to heat up the house.  Give it a try sometime.  Or remember that you can use it, if your oven ever fails.

This is a great tasting cake that we love to make up.  Keep it stored in the refrigerator and it will stay moist for a long time.

Place the following in your mixer bowl

  • 1 pkg white cake mix
  • 3 eggs
  • 1 pkg instant pistachio pudding
  • 1 c  oil
  • 1 c ginger ale

DSCN0950

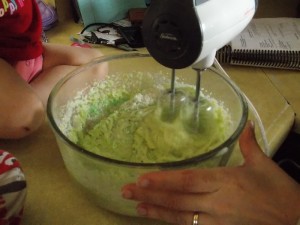
Mix on low 1 min. Then beat med- high for 2 min.

DSCN0951


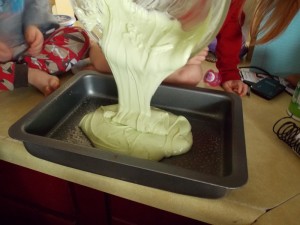
Pour into a greased 9×13 pan.

DSCN0954


If you have a “regular oven” you can bake it at 350 for 30 minutes.  But we are going to use the roaster oven.

DSCN0957

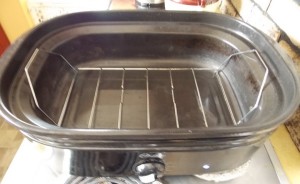
I would keep the rack inside of it, so that your pan isn’t sitting directly on the roaster oven.  Let the heat circulate a little.

DSCN0960


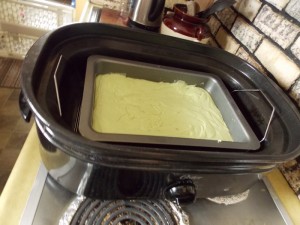
Place the cake pan inside the roaster and place the lid on it.  Be careful not to lift the lid except when near the time it should be done, otherwise all your heat is lost quickly and it will affect your baking items.

DSCN0962

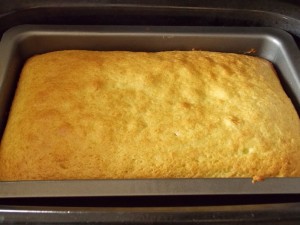
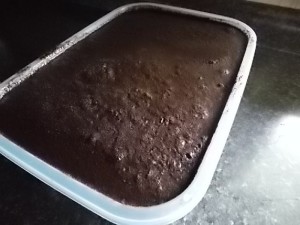
After the 30 minutes it looks like this.

DSCN0963

After it has cooled completely mix up the following:

  • 2 pkg instant pistachio pudding mix
  • 2 c milk
  • 1- 8 oz cool whip

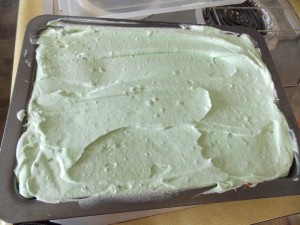
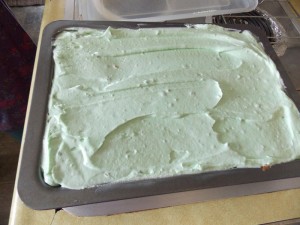
Beat on medium until well mixed.  Spread on cake. Refrigerate until set.


DSCN0965


Iced coffee drink similar to Starbucks frappuccinos

DSCN1899
I love coffee. I love buying the Starbucks coffee drinks in the stores, but they get costly.  My husband is so wonderful to bless me with a “real” Starbucks Frappuccino almost every weekend.  But  being a frugal girl who likes to make her own things, I figured there had to be a way to make this coffee drink.  There is.

After many recipes, tried and true, nothing comes close to the taste that this makes.  I love it and will choose this homemade drink over a real Starbucks store Frappuccino anyday.

Try it, definitely worth your time to make it, I promise tastes just like the jar Frapps.

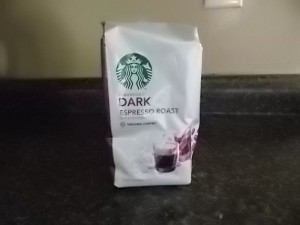
First choose your choice of coffee.  Since I wanted mine to taste like Starbucks that is the coffee brand I chose.  You choose your favorite.  I like the Espresso roast, as I drink these for an extra kick of energy half way through my day.

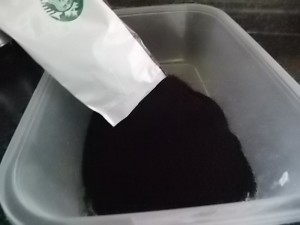
DSCN1569 Pour the coffee grounds into a large plastic container.  My container size is 6 quarts.

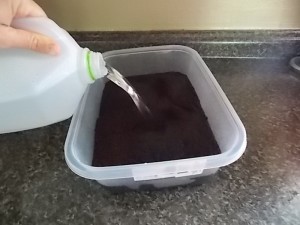
DSCN1570 Then fill your container with about 1 1/2 gallons of water.
DSCN1575

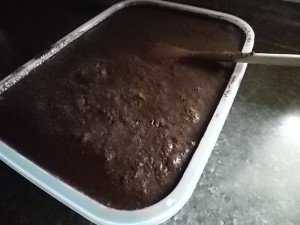
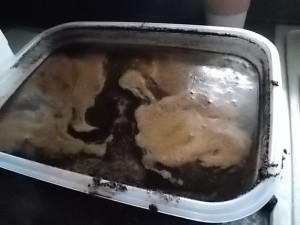
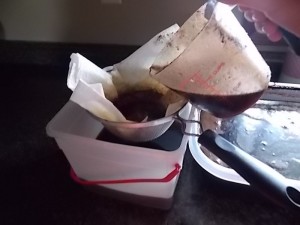
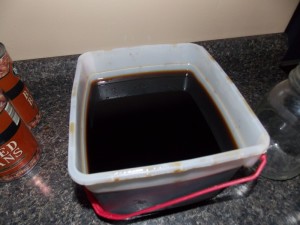
Carefully stir the mixture so that your coffee grounds get covered.DSCN1580 Nice and muddy lookingDSCN1581 Cover your container and let it sit for about 10 hours or overnightDSCN1582 This is what you will have after that time…..the same muddy looking messDSCN1583Now we need to strain out the coffee grounds from the liquid. Line a smalll mesh sieve with paper towels.  Pour the liquid through the sieve straining out the grounds.
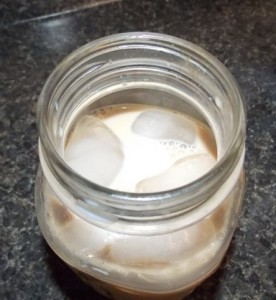
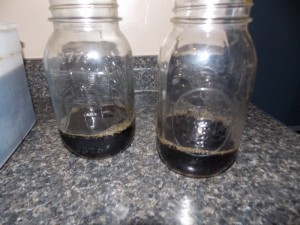
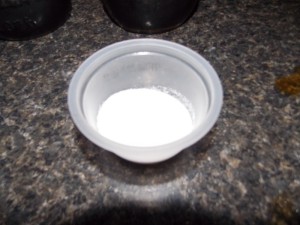
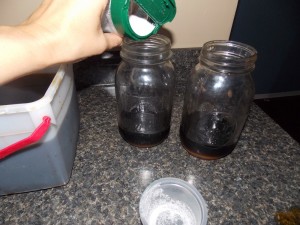
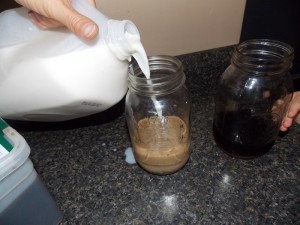
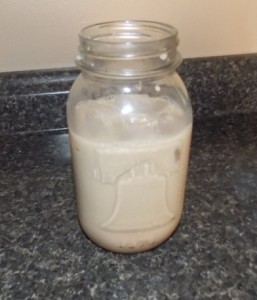
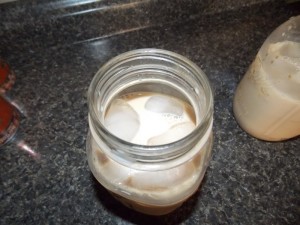
DSCN1585After you are all done straining out the grounds, you are left with your coffee base.  I keep this in my refrigerator and it lasts me about a month until I need to make some more.DSCN1884 Time to make a nice size glass for me and hubby.  Fill your jars or cups with about this much coffee base.DSCN1885 Then you add sugar.  Yes I know it is bad for you.  We use the raw sugar for everything else in our home, but it does not dissolve in cold coffee, thus the need for granulated sugarDSCN1886 For the size jar I make I add at least 6-8 Tablespoons of sugar, sounds like a lot, go check how much sugar is in a jar of this stuff.  If you do not add enough sugar, the taste is ruined, don’t jip yourself go for it and then scale back later on.DSCN1889 Add some milk, I use the fat free version, you can use whatever you have.  You need to add about 3 times the amount of milk as coffee base.DSCN1890 Add some ice cubes and give it a good stir.

DSCN1898

 Yum delicious!  DSCN1899


Homemade bread sticks — cinnamon and garlic parmesan


 DSCN0422

These bread sticks are super easy to make and are so delicious!


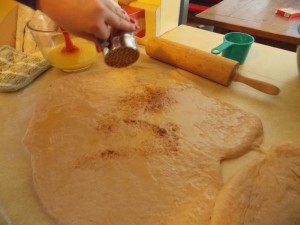
Take a  portion of your bread dough

DSCN0379


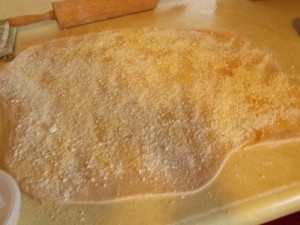
Roll out ,wipe melted butter on , and sprinkle cinnamon and raw sugar on top.
DSCN0415

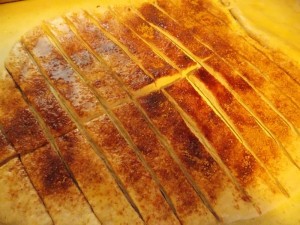
Cut into bread stick shapes.


DSCN0417

Place on pans

DSCN0418

Bake 400 for 15 minutes.

Stir together powdered sugar and little bit of water and drizzle over top of warm cinnamon sticks.

DSCN0422

Place in covered container, between sheets of wax paper.

DSCN0424


You can also do garlic parmesan ones.

DSCN0421

Take a portion of your bread dough
DSCN0379
Roll out your bread dough and spread melted butter on.  Sprinkle with  Parmesan cheese and granulated garlic

 DSCN0420
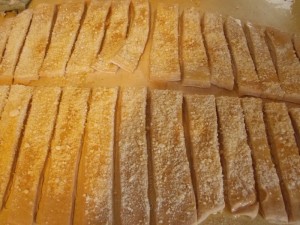
Cut into bread sticks and place on pans
DSCN0421

Bake 400 for 15-20 minutes

Place in covered container.

Great with ranch dip.


Easiest and most versatile whole wheat bread dough recipe

We make this recipe as its easy and versatile.  We can make loaves of bread, rolls, pizza dough, or bread sticks from this recipe.  I don’t have a heavy duty mixer or bread machine, so this has been the easiest recipe I’ve ever made for minimal amount of work.

  • 3 c hot water
  • 6 T oil
  • 2 T honey
  • 1 1/2 T yeast
  • 8 c white whole wheat flour
  • 2 1/4 t  salt


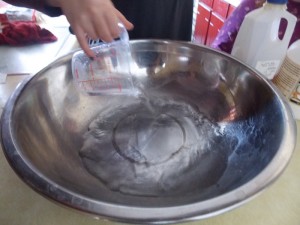
First use hot tap water and pour into your bowl.  The water should be pretty hot, not scalding as it will kill your yeast but enough so that it activates it.
DSCN0285


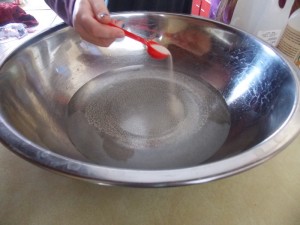
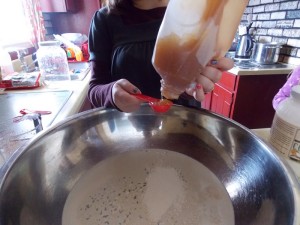
Sprinkle the yeast over the water

DSCN0288


Add the honey to your yeast and water

DSCN0292


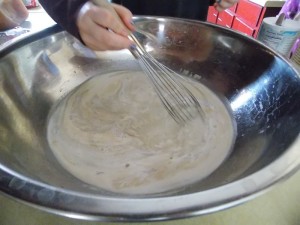
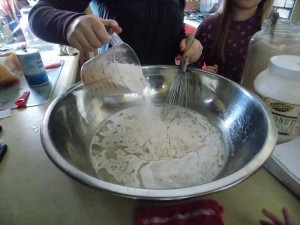
Whisk it to combine the ingredients

DSCN0295


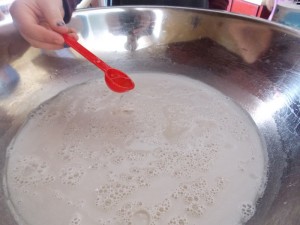
Let sit for about 5 minutes until bubbly


Add your oil, we use coconut oil–have to melt it then add, but you can use canola oil as well

DSCN0298


Next add your salt

DSCN0300

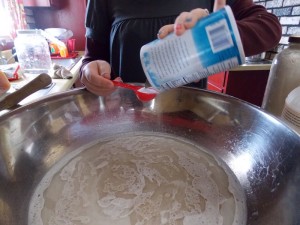
Then add your flour, not all at once or you will have a mess


DSCN0304


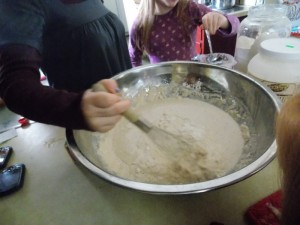
Just add a cup at a time, you can either whisk by hand


DSCN0307


and continue to keep whisking until your whisker gets clogged

DSCN0310


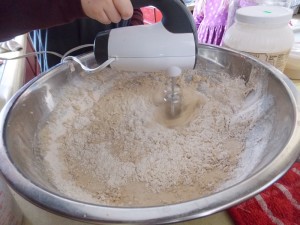
or you can use a hand mixer and do a cup at a time until your beaters get clogged.  Beat for at least 3 minutes.  The longer you beat, the better the elasticity of your dough.
DSCN0314


Either way it will all turn out the same in the end.  At the point where you have to start doing it by hand,  I like to knead it directly in the bowl, to avoid making a mess on my counter tops.  Knead for about 2-3 minutes.  Don’t know how to knead bread dough?  Check this out.

010

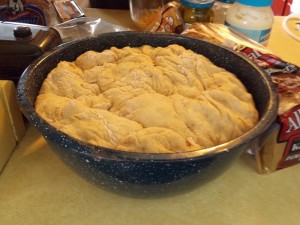
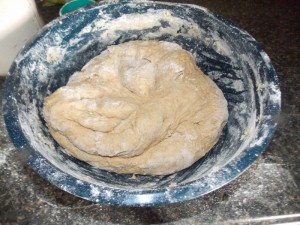
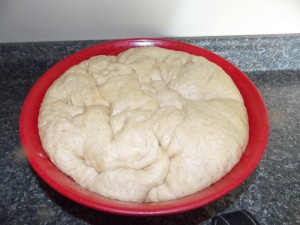
Then grease another bowl and put your dough into it, turning once and let sit till double in size.  You can keep punching it down until you are ready to make something out of it.

013


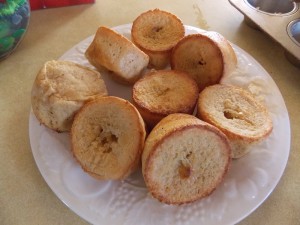
Form it into pizza dough, bread, rolls, calzones, or bread sticks.  Very easy and versatile.

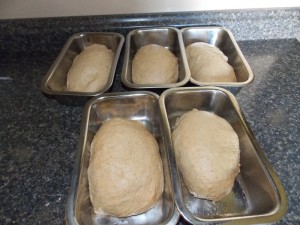
Here is a picture tutorial to teach you how to form a loaf of bread.


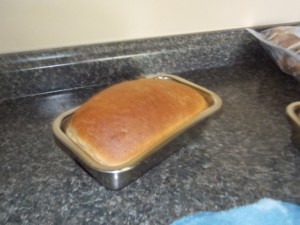
014 Bake 350 for 30 min.
019


Popover recipe a blast from the past


DSCN0561

Little Women has to be one of my all time favorite classic books. Besides the fact that I was named after two of the characters Amy and Jo, the nostalgia of the movie is something I seek after. I love seeing all the girls crowded around their Marmee, enjoying her telling them a story and seeing women dressed in the feminine ways that God intended for us. Its a time period that has been somehow lost in our society.

Little_Women_1949_Japanese_Poster

One of my favorite scenes in the movie is where the girls come running down the stairs to a kitchen for their Christmas breakfast. The smells are tantalizing and the girls are longing after all the wonderful foods that they have gone so long without due to the war.

Amy speaks up and says “Oh Marmee, popovers, they are simply divine!”  After that my children and I decided to look up popovers and how to make them. We have tried various recipes over the years and tweaked them a bit and have come up with the following easy recipe, which we love.

DSCN0558

These taste amazing plain, with butter, or a dab of homemade strawberry jam. We don’t have an official popover pan but just use our muffin tins and they turn out fine every time. Make sure to grease your pans thoroughly so that it does not stick.

  • 2 eggs, room temperature
  • 2/3 cup of milk
  • 2 T butter melted
  • 2/3 cup flour
  • 1/8 teaspoon of salt

This recipe makes 6 popovers, we usually quadruple this for 24 popovers.

Preheat oven 425 degrees


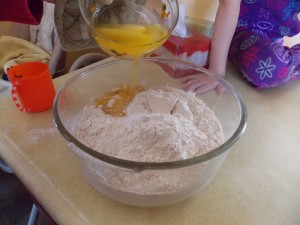
crack your room temperature eggs into a bowl
DSCN0545

add your milk

DSCN0546

then your flour–we use white whole wheat flour

DSCN0547

and your salt

DSCN0548

we don’t own a microwave–another post on that later, so our butter has been melting in the oven while adding the other ingredients, so that goes in last

DSCN0549

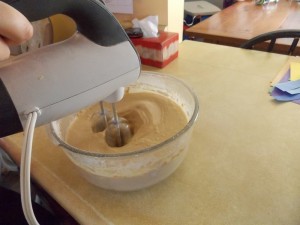
mix on medium speed till well blended, will be real watery

DSCN0551

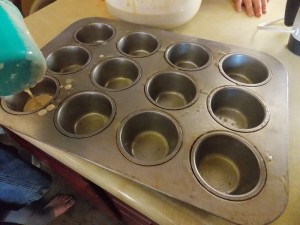
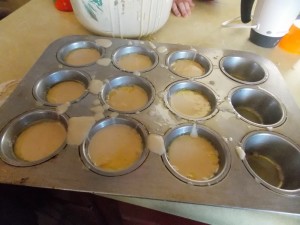
make sure that you grease your tins very well, or these will not turn out, I just use cooking spray, but have used butter wiped on as well.

DSCN0552

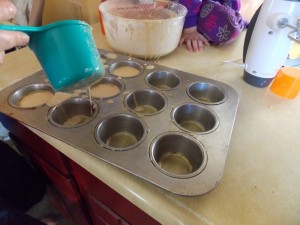
pour into the muffin tins, or you can get “real” popover pans in the store, but these work just fine

DSCN0553

little messy, letting the younger children fill them:)   They need to be about 3/4 full to ensure perfect puffiness

DSCN0554

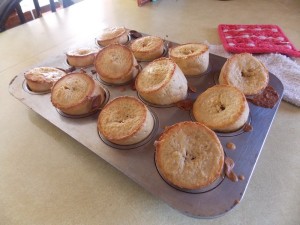
Bake 20-30 minutes, this is what they will look like

DSCN0555

nice and puffy as soon as they are out of the oven, but they will start to relax soon afterwards and the tops will collapse inward.

DSCN0556

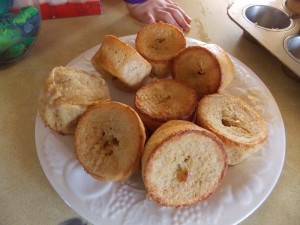
Its best served right away, to ensure the most delectable flavor

DSCN0557

They are great plain, you can put a dab of butter on top or some of my children love strawberry jam on them.


DSCN0559