
Making and freezing homemade applesauce
When we had four little ones, I used to do a lot of preserving for our family and then the Lord blessed us with 6 children all in a row. I haven’t gotten to do as much canning as I would have liked to do over the past seven years, but we have slowly started enjoying doing things like strawberry picking and blueberry picking. We have been able to make our own freezer strawberry jam and have a supply of blueberries in the freezer for them to eat throughout the winter months. Making and freezing applesauce is something that we also try and do because of its ease.. We don’t usually pick the apples ourselves, we have a Mennonite store that we go to to purchase them fairly inexpensively. It is a great fruit that doesn’t have to be done all in one day either a bonus with having many little ones.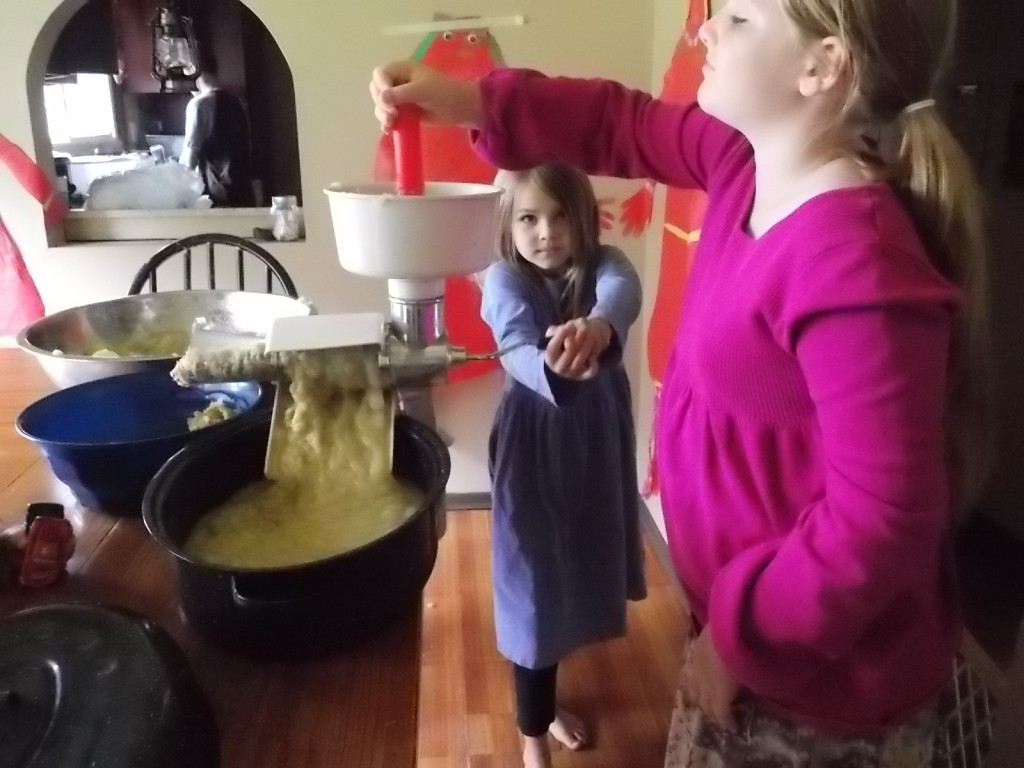
What a blessing we had received this past week, our neighbor had an apple tree in her yard that was abundantly flowing with apples. I had asked her if she did anything with them and she said she did not because they were too tart. Well my children had each taken a few to munch on and were liking them. We then decided it was time for us to start making and freezing homemade applesauce this year.
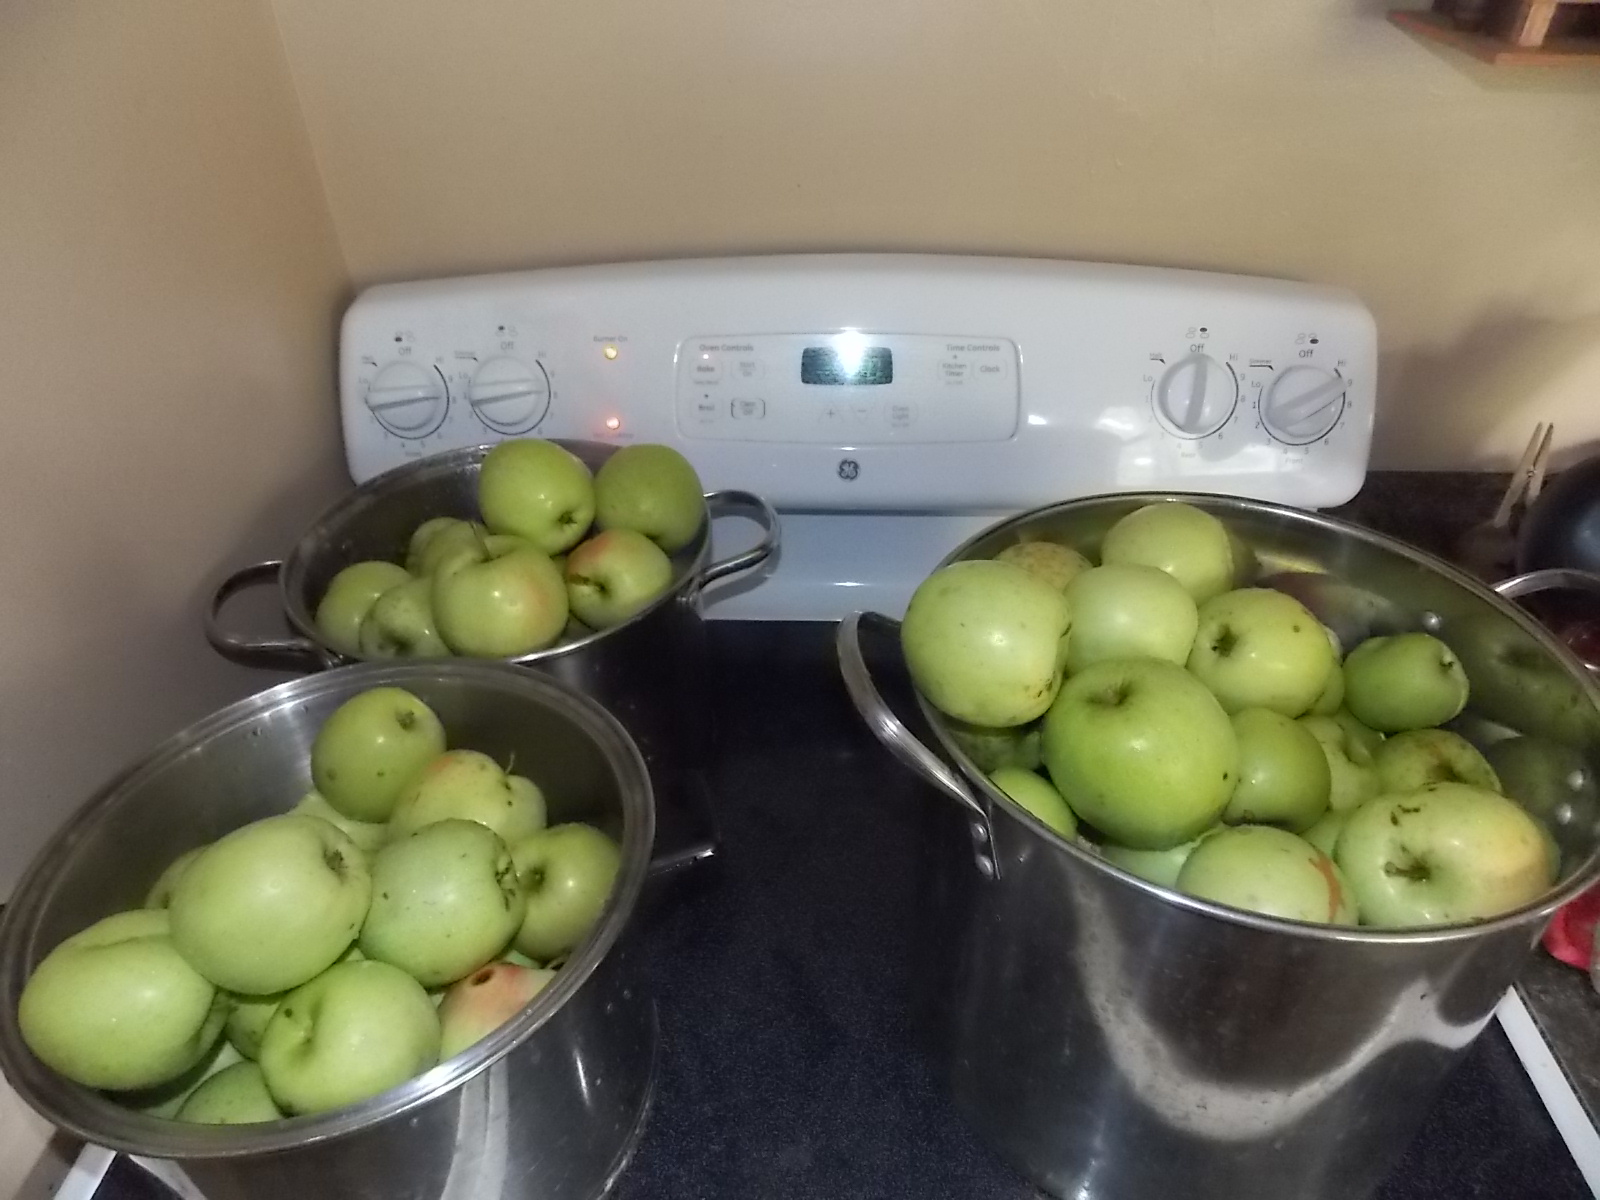
We had three pots cooking most all of the day on the stove. I just wash our apples and leave them the way that they are, no peeling or slicing required. We put about 1-2 inches of water in the pot and place the lid on it. Keep it on a high heat until it boils then turn it down to a medium to low heat to keep it simmering, until all of the apples are soft and the tops ones are splitting. Note….we do make sure to remove the leaves from the apples,if you do not,it tends to make a bitter taste in your sauce.
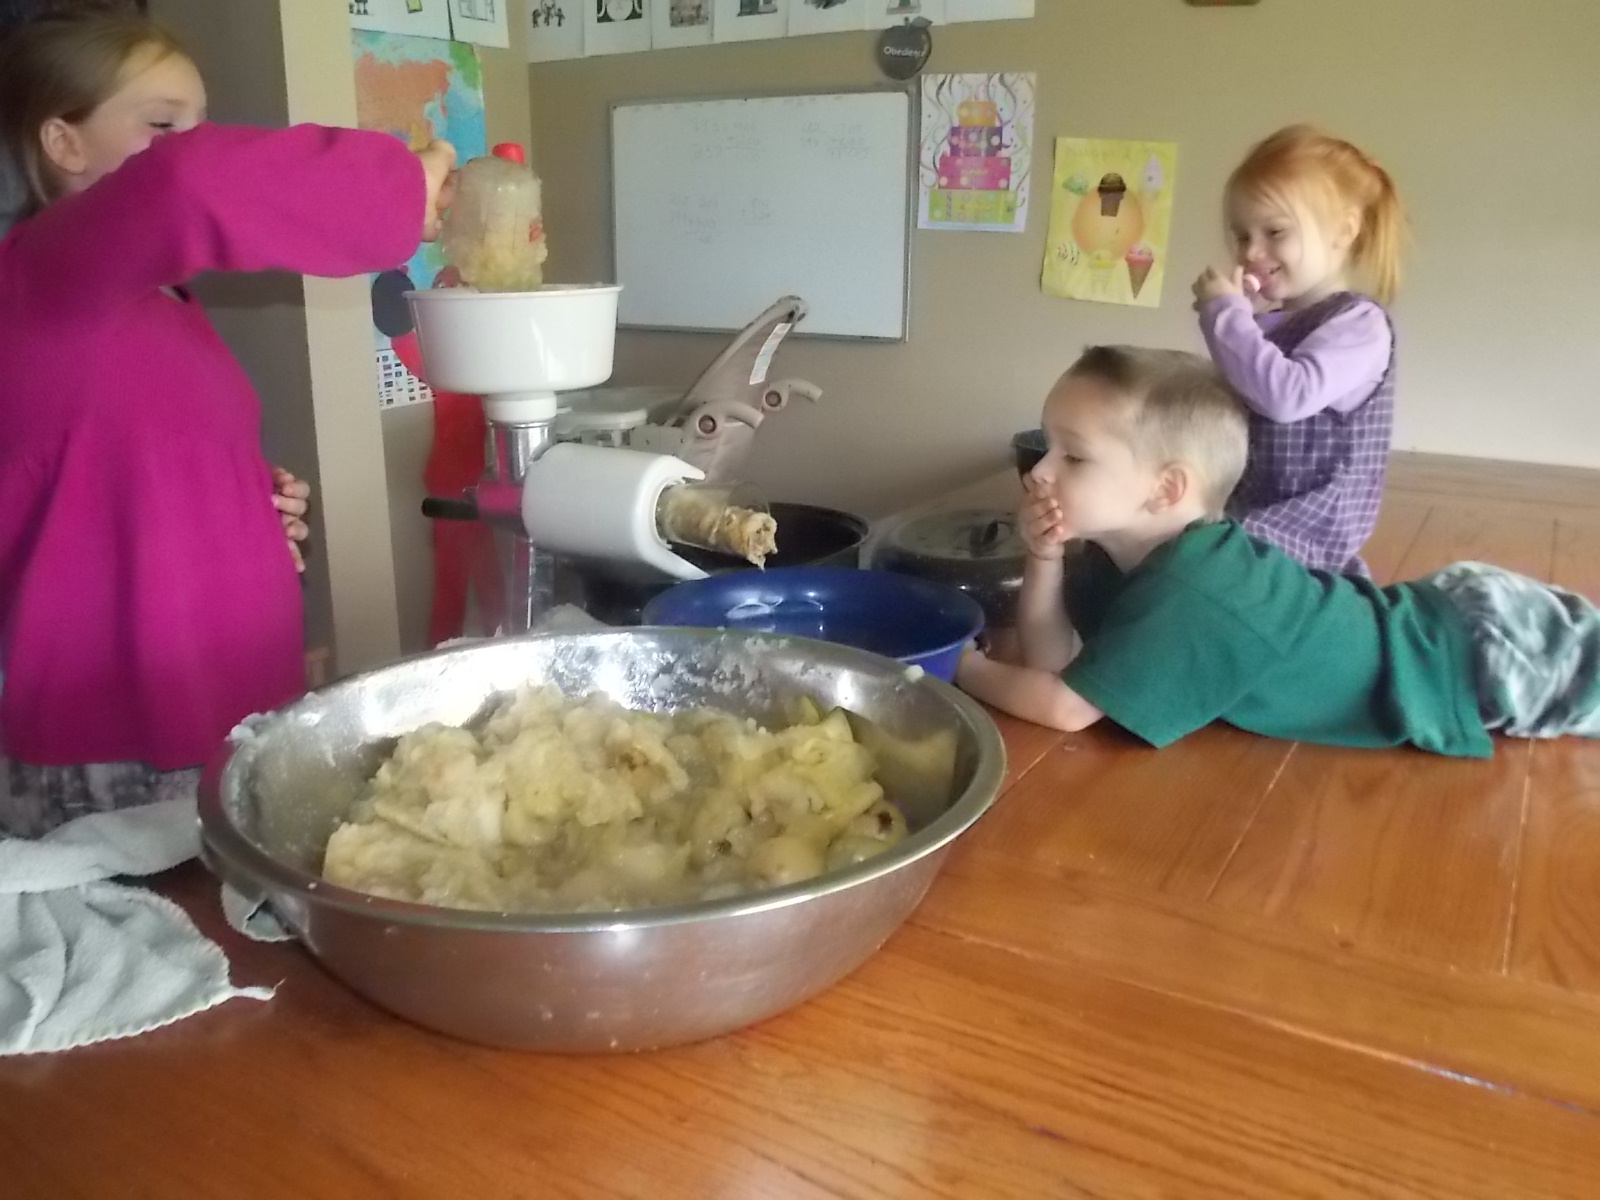
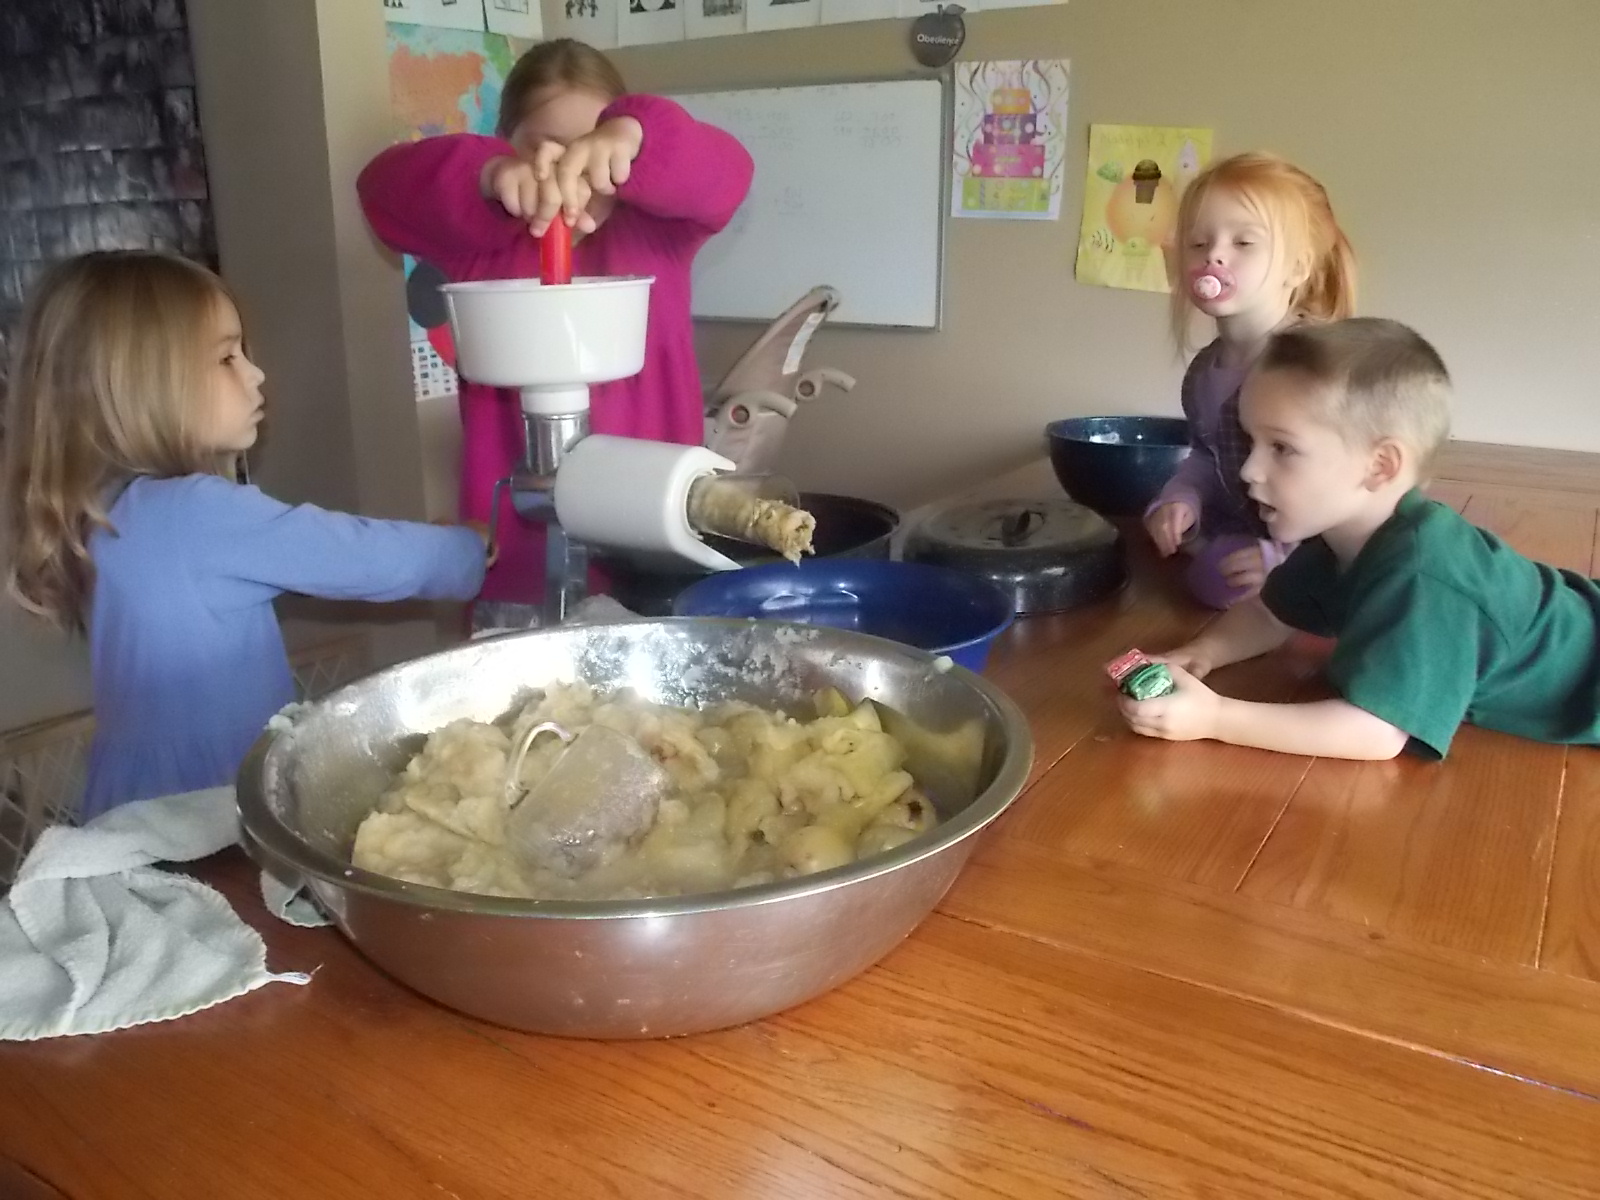 We then put it in our Victorio food strainer and let the machine do the separating. You pour your cooked apple mash into the top of the machine and turn the handle. Out one shoot come the clean applesauce and out the other is all the peeling, seeds, and stem. Could this get any easier??
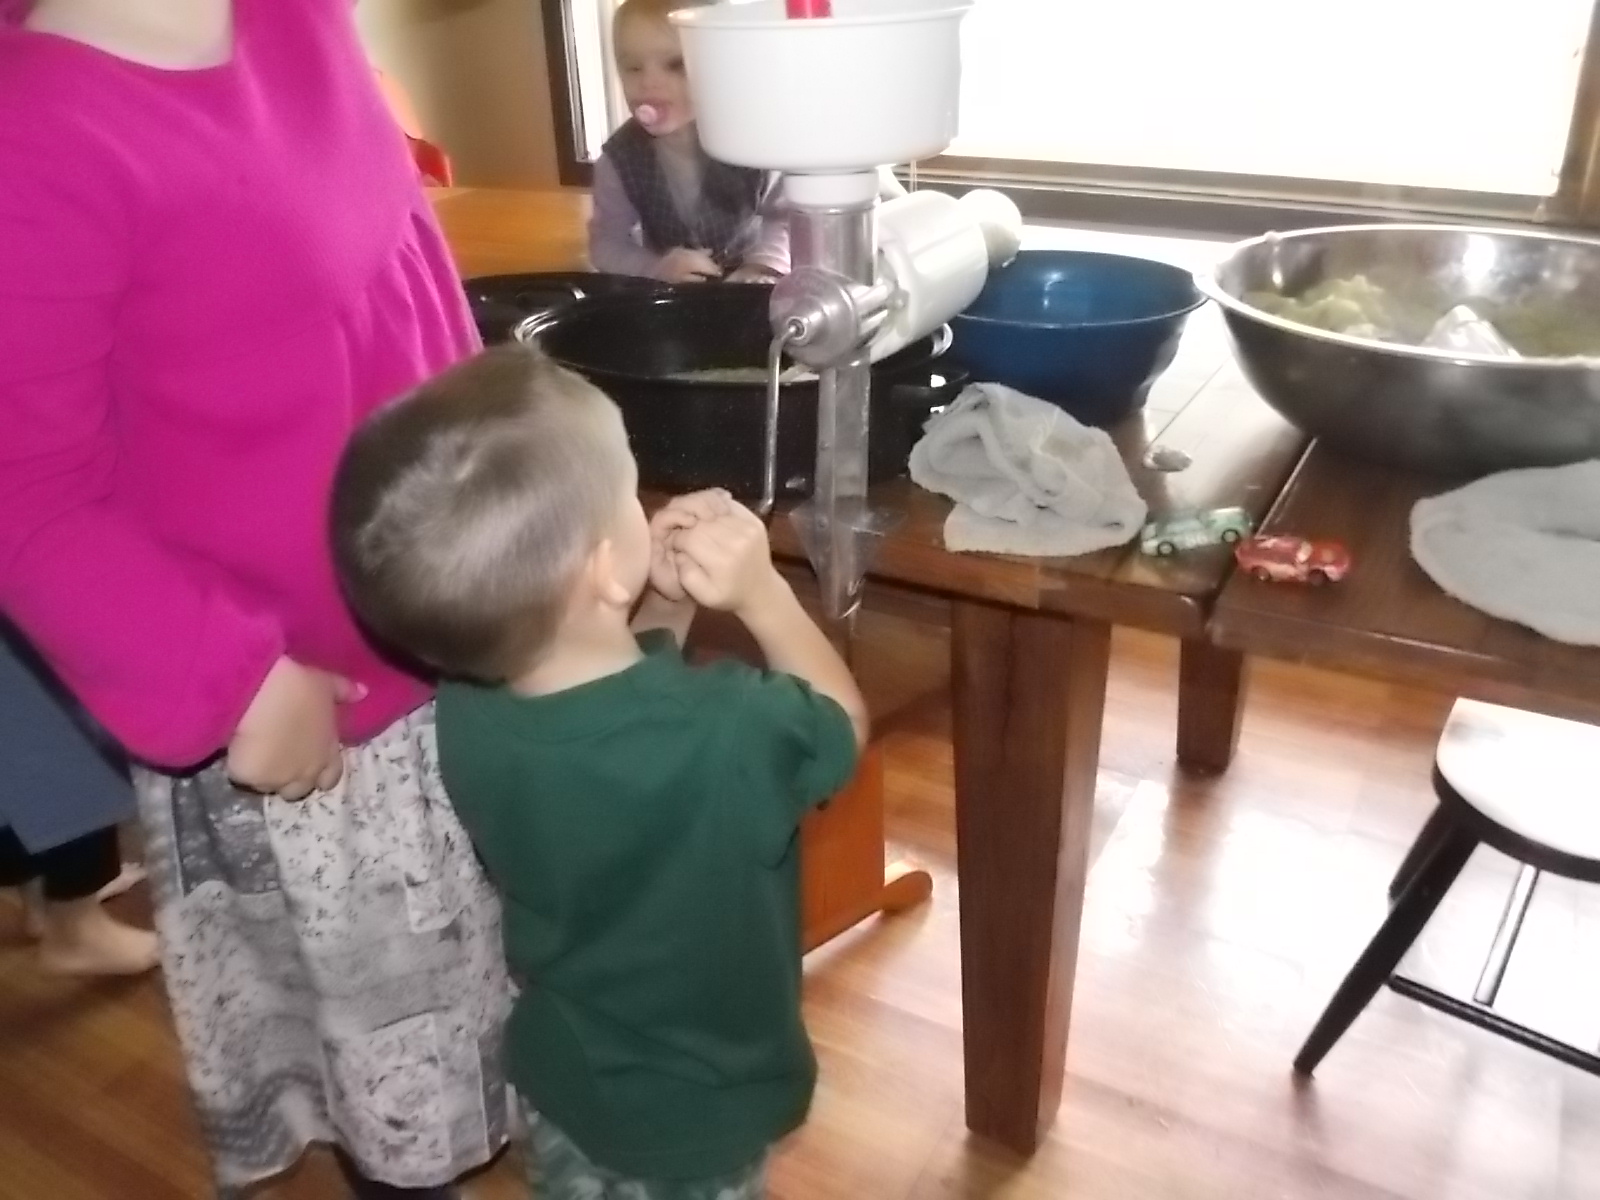
This year was so great doing it because I had most of my children helping with the process. Even the little ones were enjoying taking a turn turning the handle. 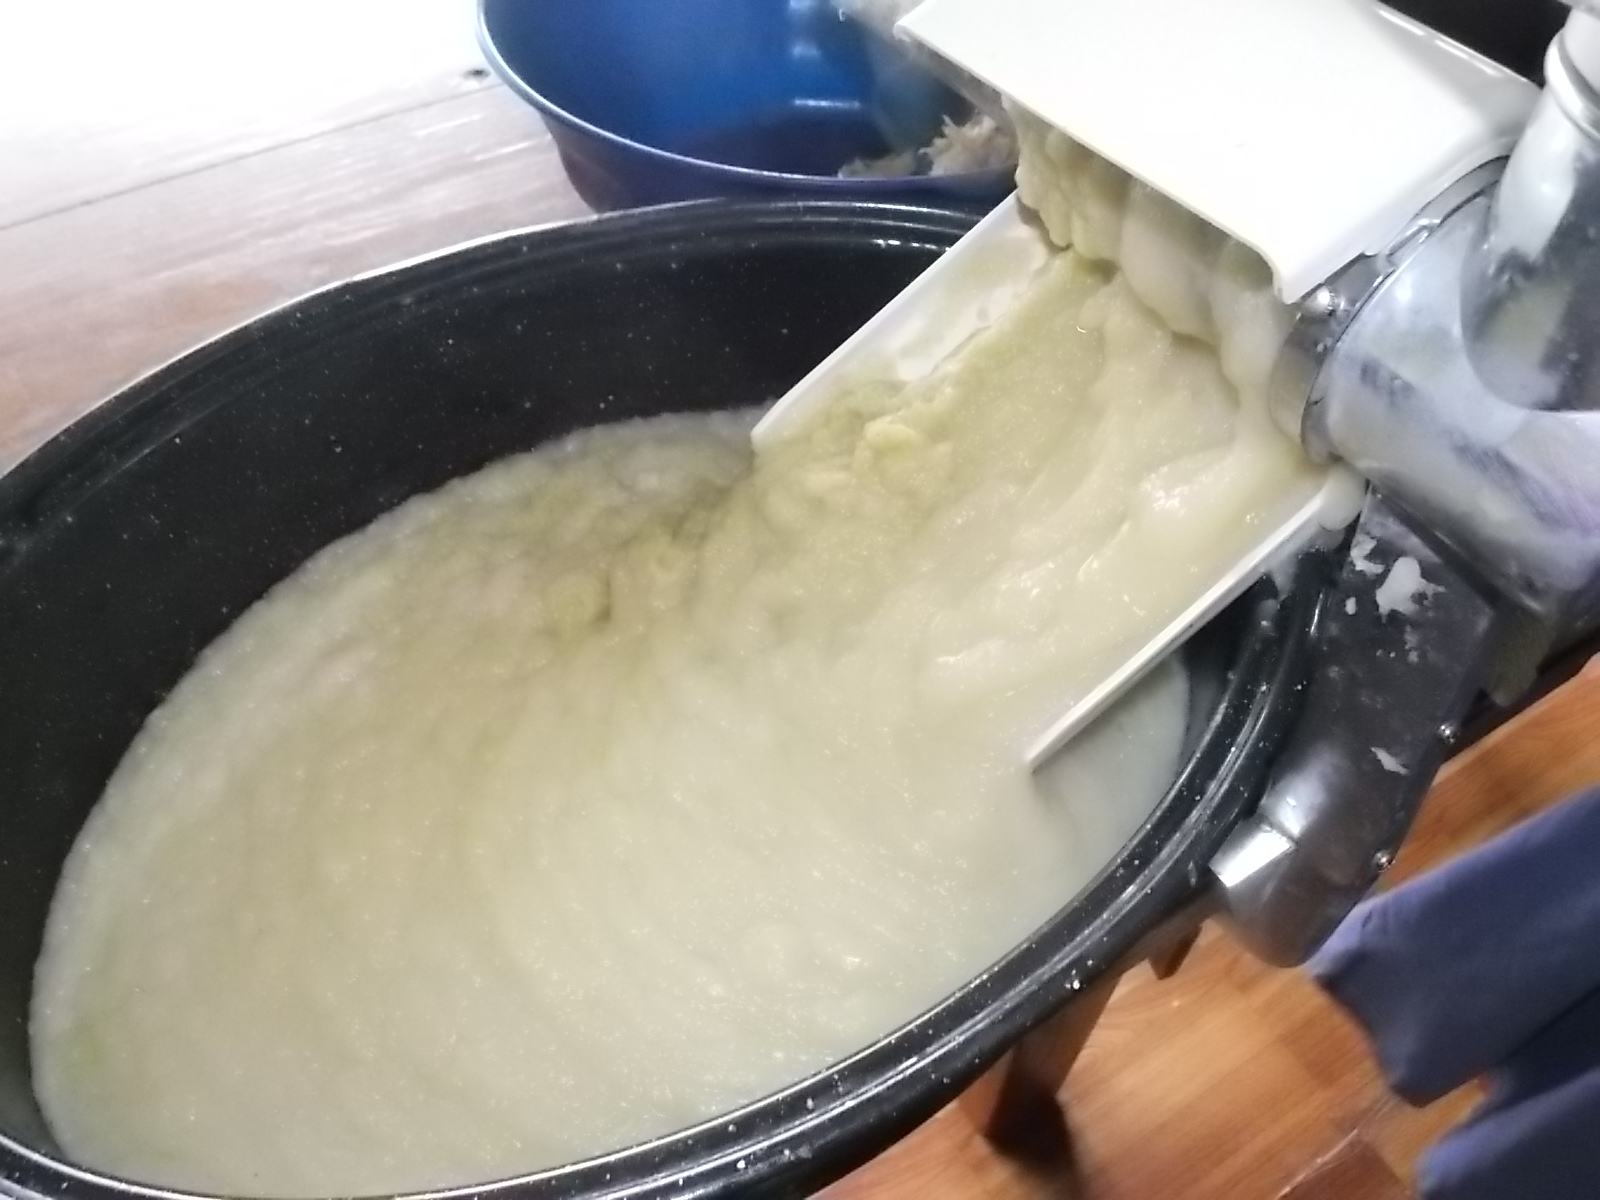
I am not sure on the name of the apples that the tree produces but to us, they tasted like McIntosh apples. We only needed to add about 2 cups of sugar to this large black roaster pan. Last year we used Jonagold apples and did not use any sugar at all,but the year before we used McIntosh and had to add about the same amount of sugar.
Having to do this on a school day and with all of the demands that are placed upon us, we made sure to make an easy dinner early on so that we could focus our day on doing apples. While everyone was getting ready I made a pan of sloppy joe casserole and homemade macaroni and cheese. I placed it in the oven and left it there until dinner time. An easy meal and only 2 pans to clean up, we of course used paper plates as to not have to wash so many dishes. Oh and yes we had applesauce with it too.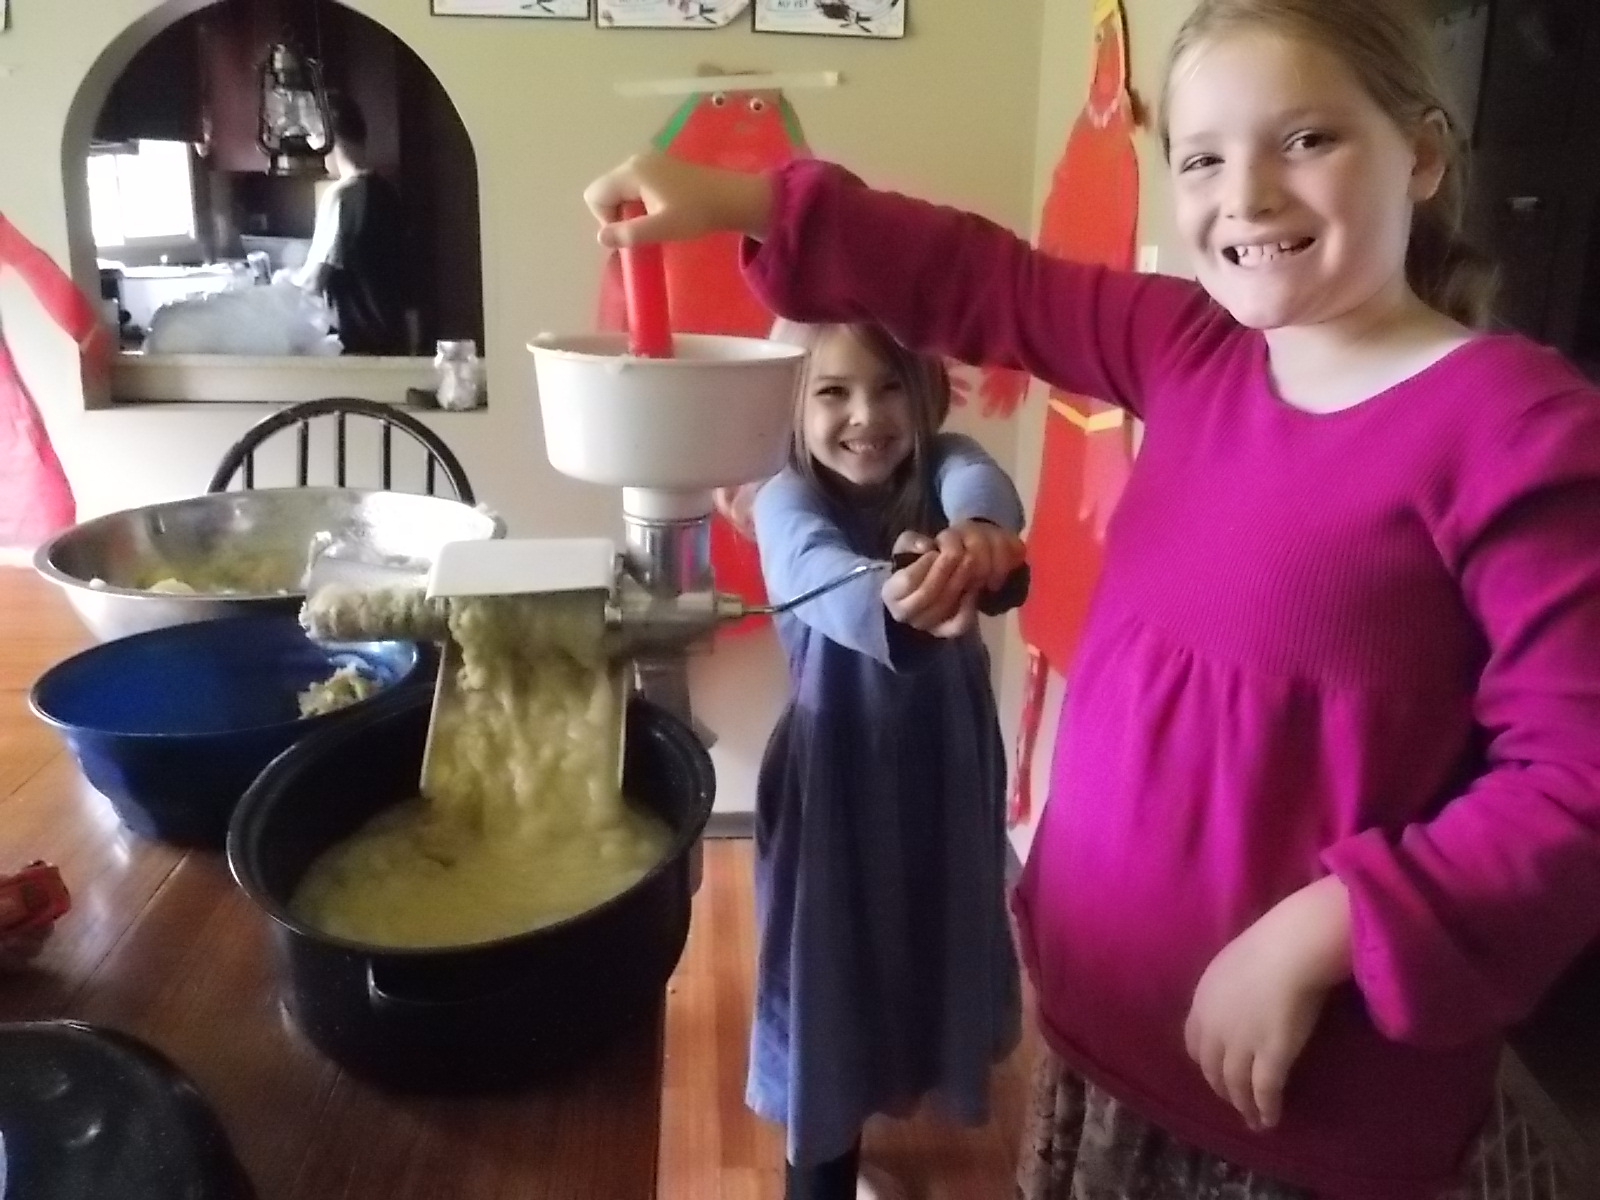
When it was all said and done we came out with about 100 quarts of applesauce that we put in freezer bags. I then diced up about 25 bags of apples to use in baking foods like apple dapple cake, oatmeal apple bars, and crockpot apple oatmeal—a recommendation from our neighbor. I
This is the first year we didn’t make any applesauce for a baby, but if I would have, I would have made it with no sugar and then put it in my ice cube trays and froze them. When frozen, just pop them out into a ziploc baggie. You only have to remove the amount that you need.
I know that most people don’t enjoy making and freezing homemade applesauce, they prefer to can it. Our family enjoys it frozen. I like to get a bag out of the freezer in the morning and let it thaw for dinner time. When we serve it we like it partially slushy. It is very good, try it sometime.
Why do we freeze our foods that we harvest instead of canning them in jars???
The reason we started freezing it was for safety reasons. After I did all my canning years before, I started reading stories about babies being more susceptible to food borne illnesses. As a mom, I never would want to harm my children in that way. Well when we had so many little ones, it was pointless to serve a “safe frozen food” to some and then to others my canned items. After that I got rid of my canner and jars. We started freezing everything. I know that it is not the first choice for most foods especially for pears and peaches, but I choose to make the foods that are good frozen like applesauce and homemade freezer jam. Maybe one day I will go back to canning in jars, but for now,with many littles ones to worry about, I will stick to freezing them. I am thinking I might need to invest in another deep freezer.