
An inexpensive frozen winter birthday party
Okay, you have all heard the songs……Let it go……….let it go……..and of course Do you want to build a snowman?…..I am not an advocate of the Frozen movie as it has some things that I am prone to wanting to deter my children from but my children still know what it is.
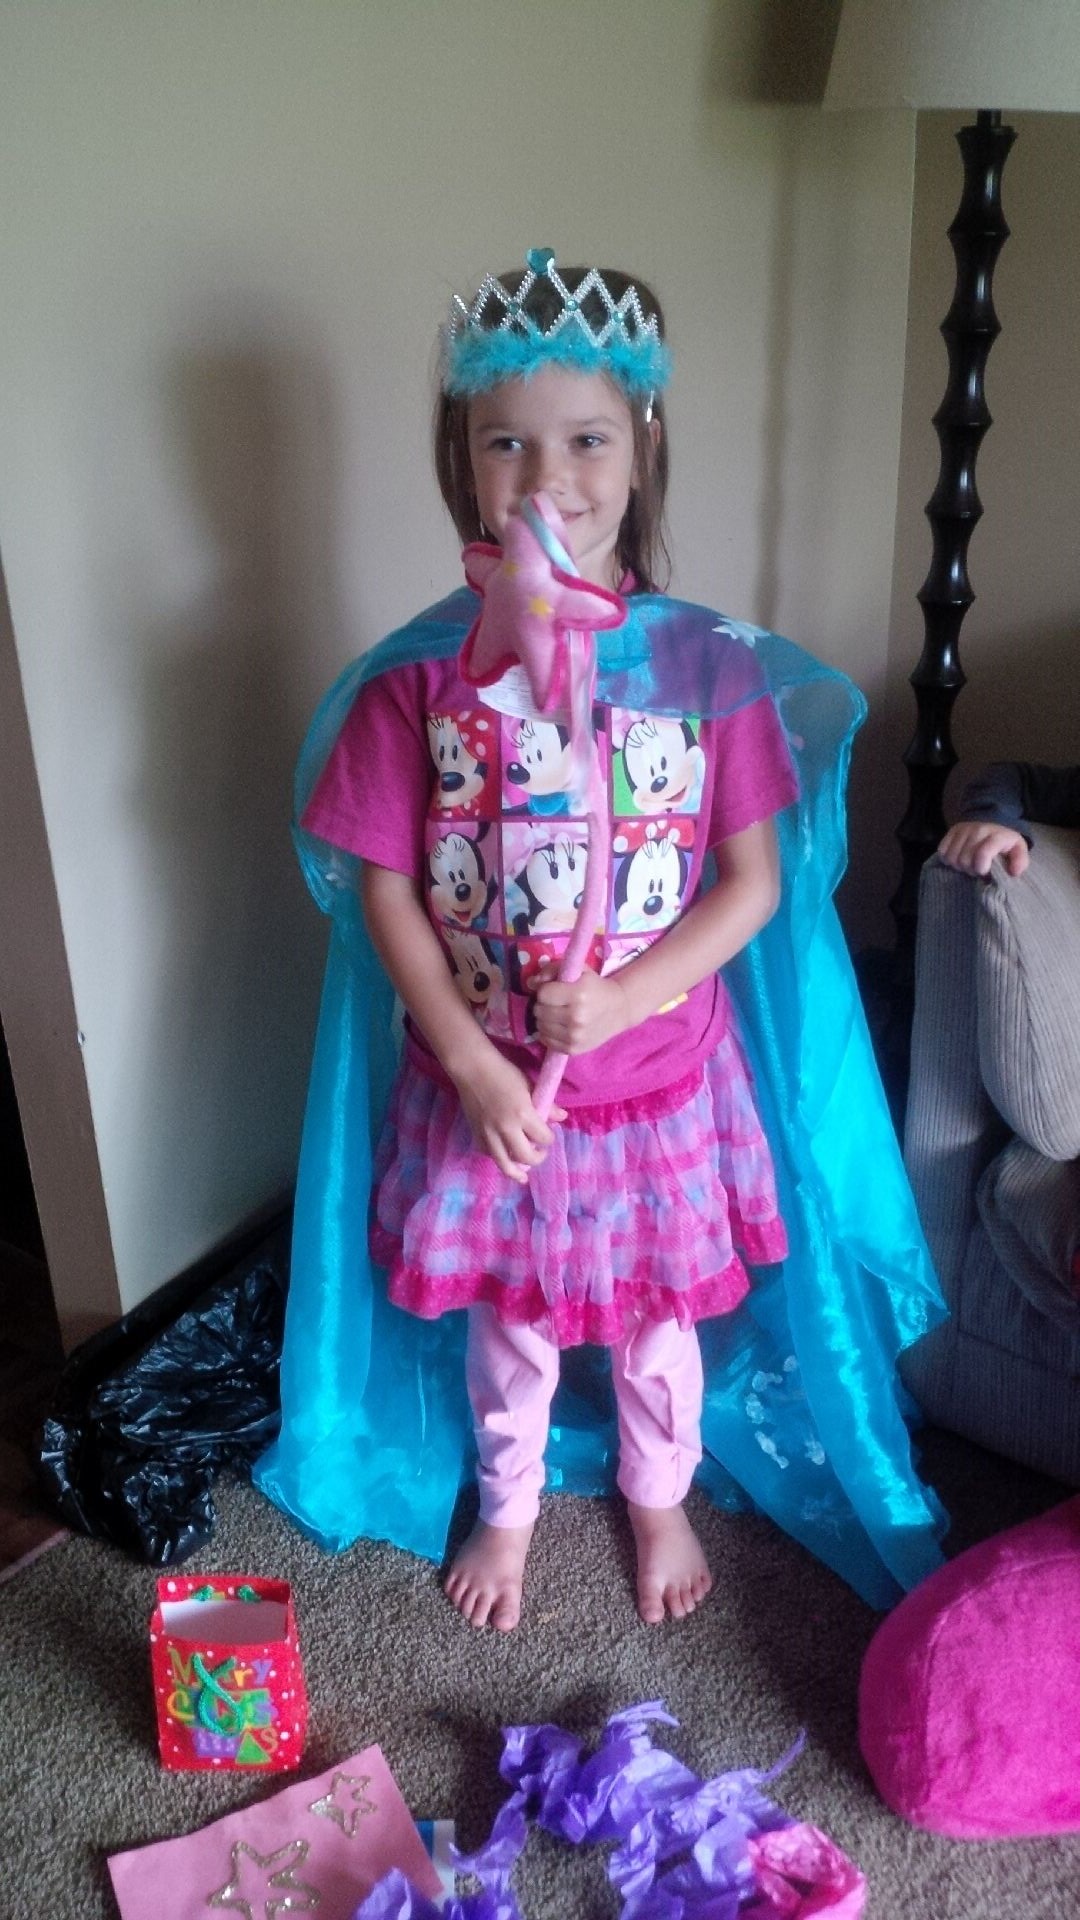
My children and I like to watch all the youtube videos of people that have done parodies to the different songs. The princess is one that my daughter likes to dress up as. She is just like any normal little girl who likes to play dress up with frilly capes and crowns.
We decided to do a Frozen themed birthday party and we did it rather inexpensively.
For the birthday girl, we let her help make cupcakes and then decorate all by herself. 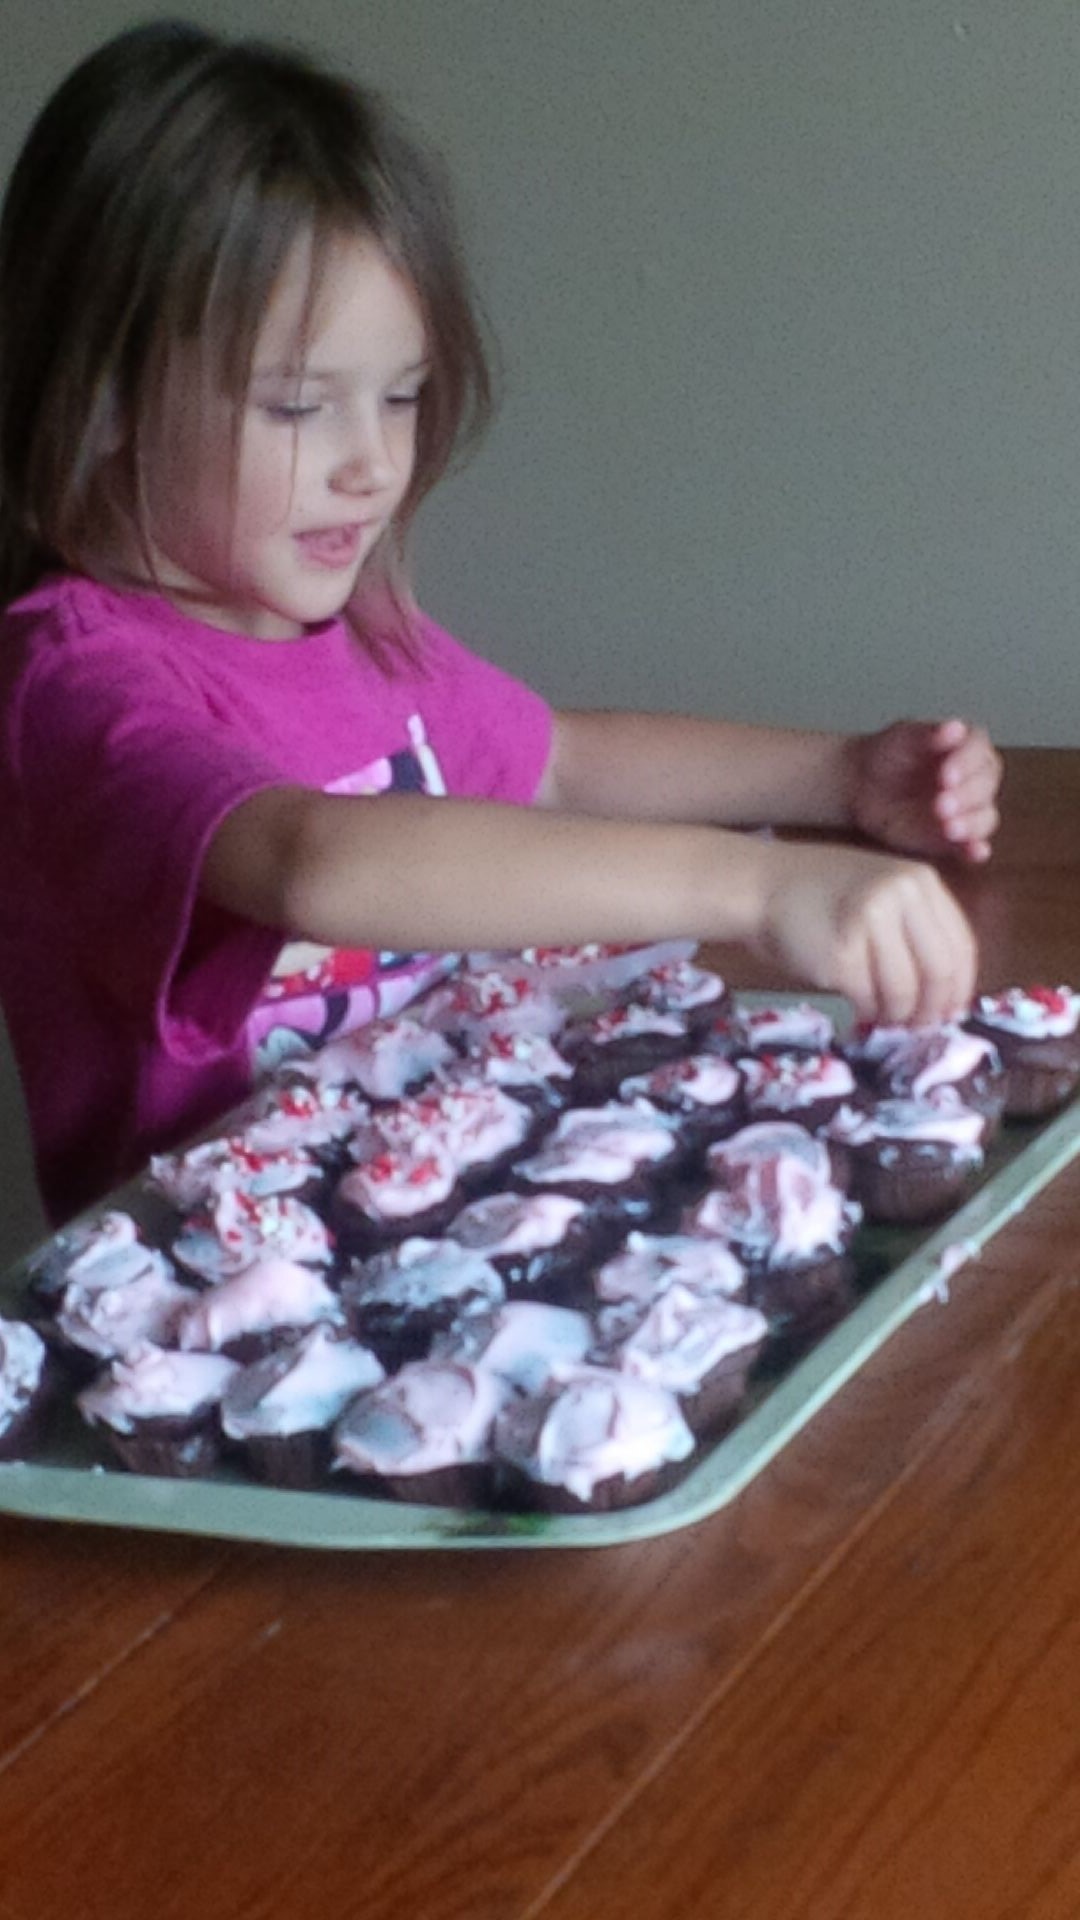
This was the highlight of her day. Ooey, gooey frosting and sprinkles yes definitely made a mess…..but she loved every moment of it.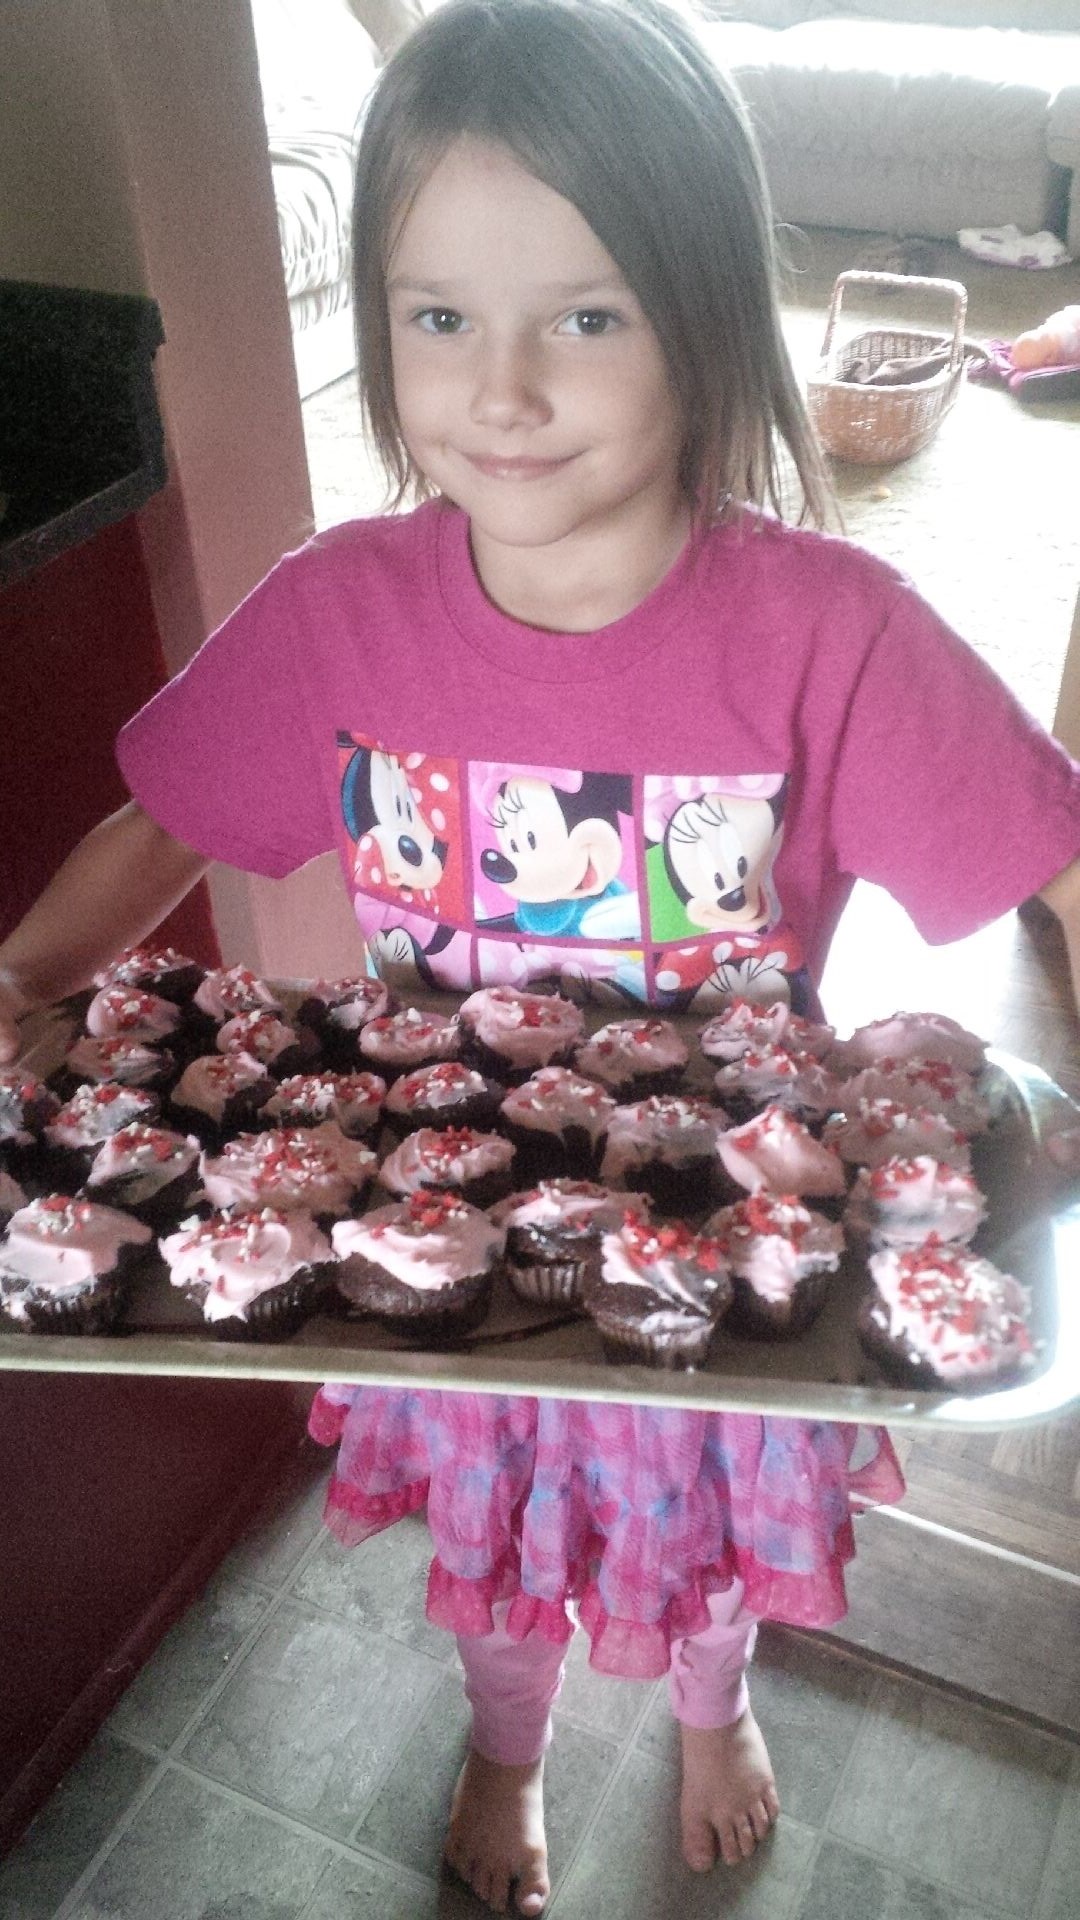
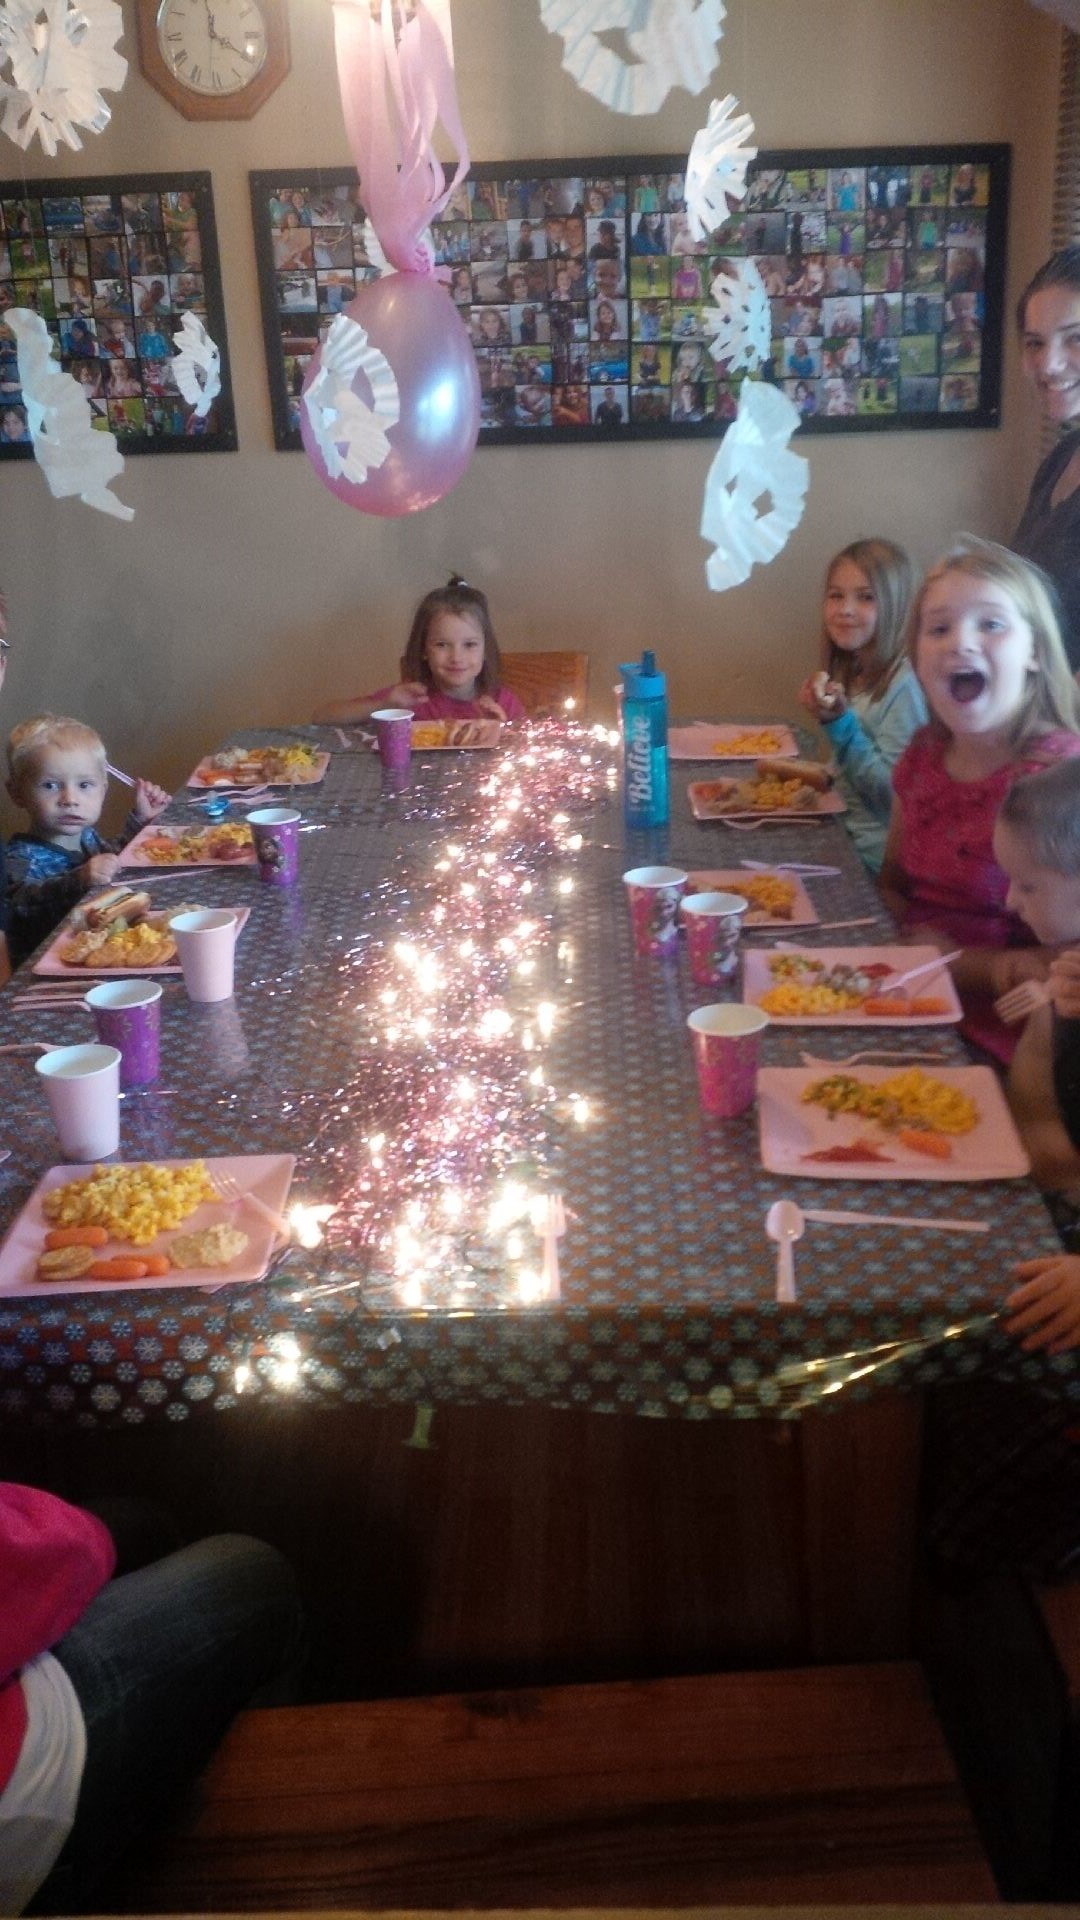
For her birthday lunch we kept it light. We were going to be enjoying a big dinner later on and I didn’t want to fill them up too full.
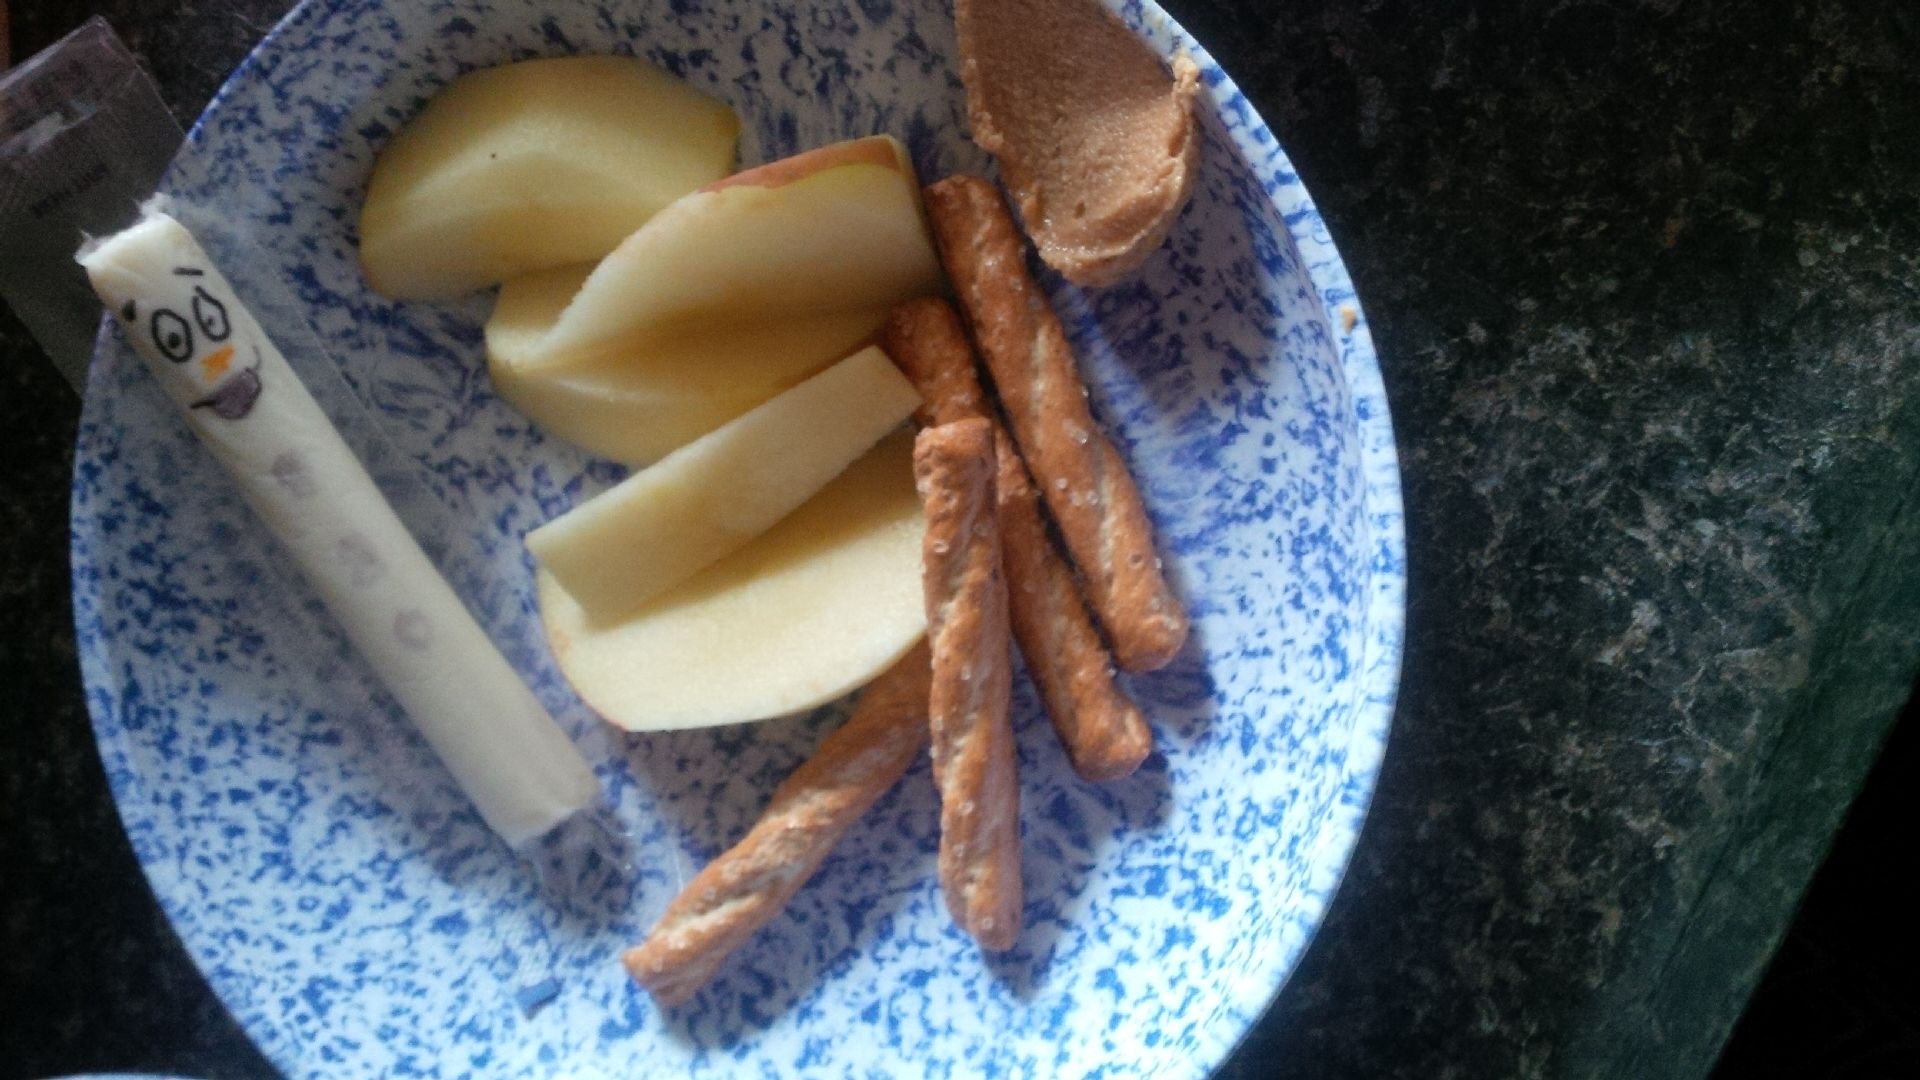
Pinterest had tons of ideas for Frozen foods, we took one of the ideas and made the snowman on string cheese. I served whole wheat pretzel sticks, apple slices, and homemade peanut butter. Easy but nutritious.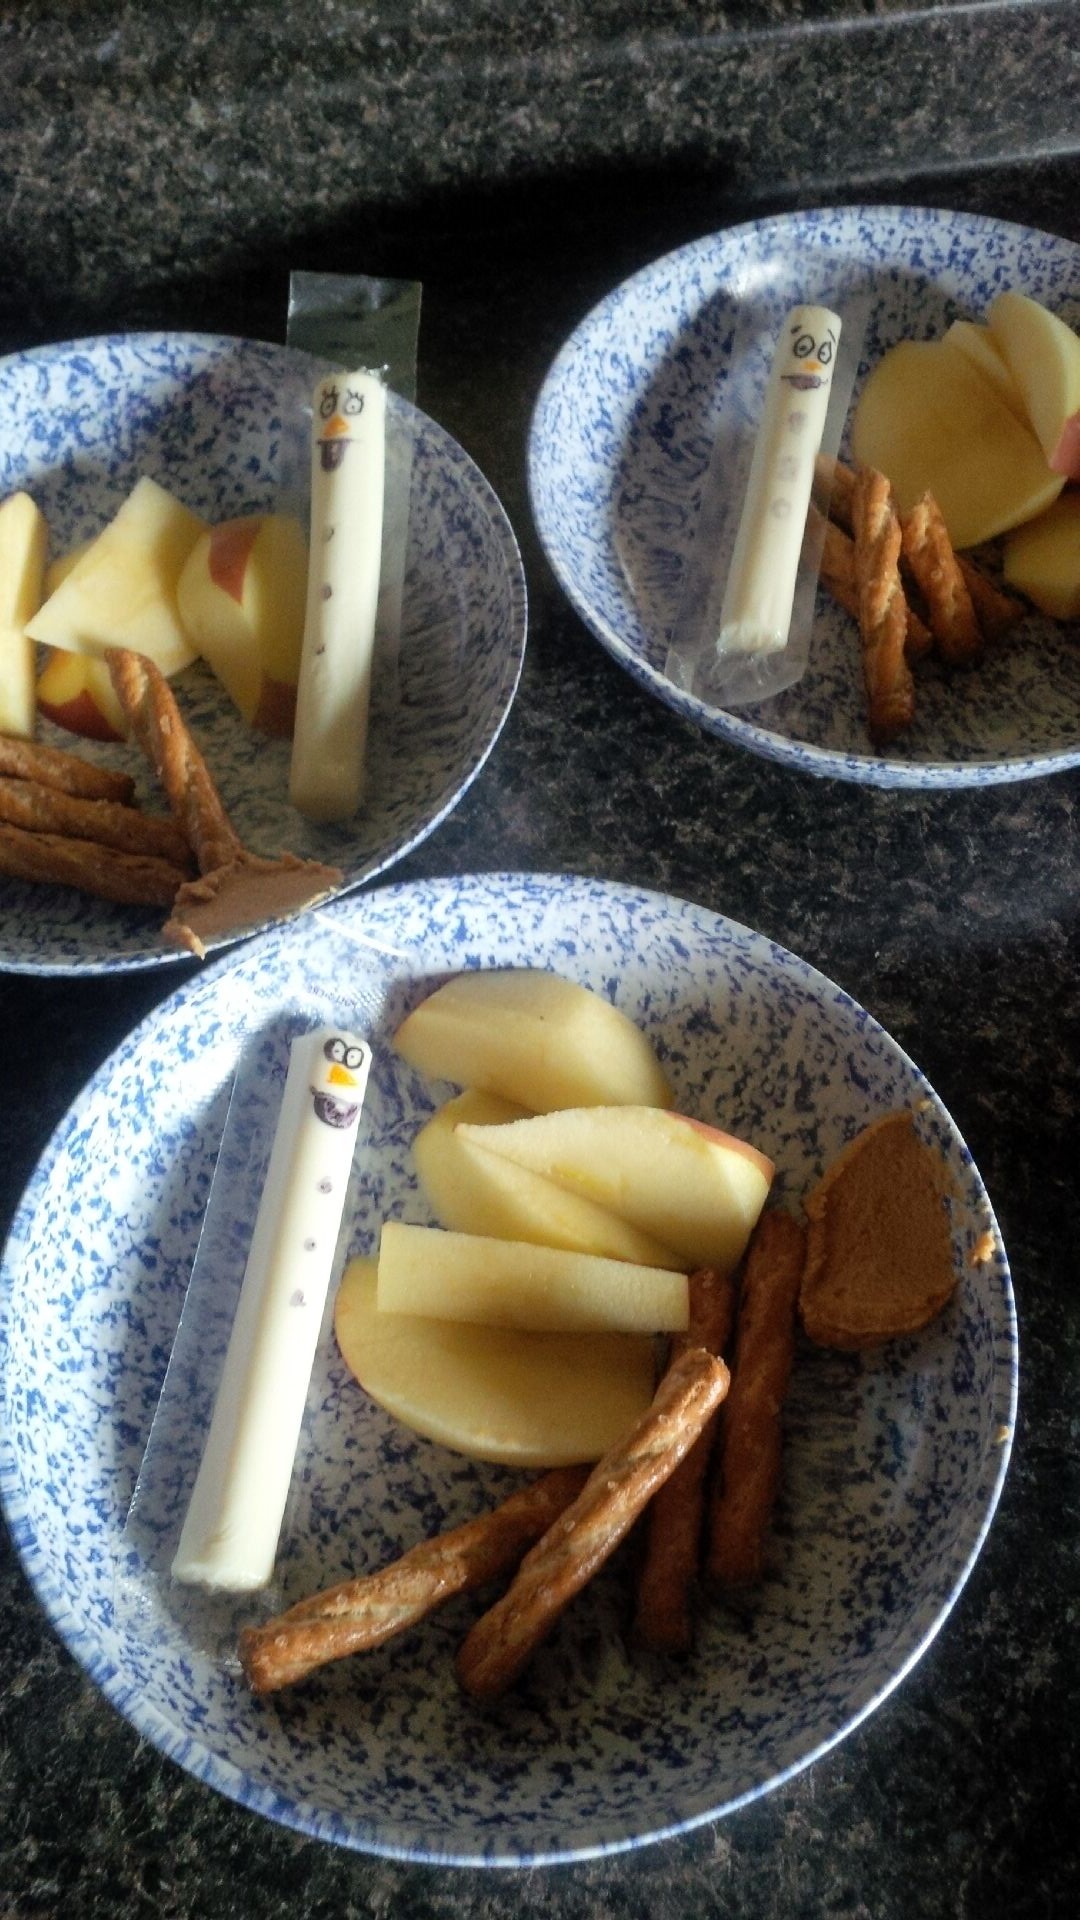
Then of course, what birthday lunch wouldn’t be complete without letting your children eat in the living room!! A forbidden thing in our home. 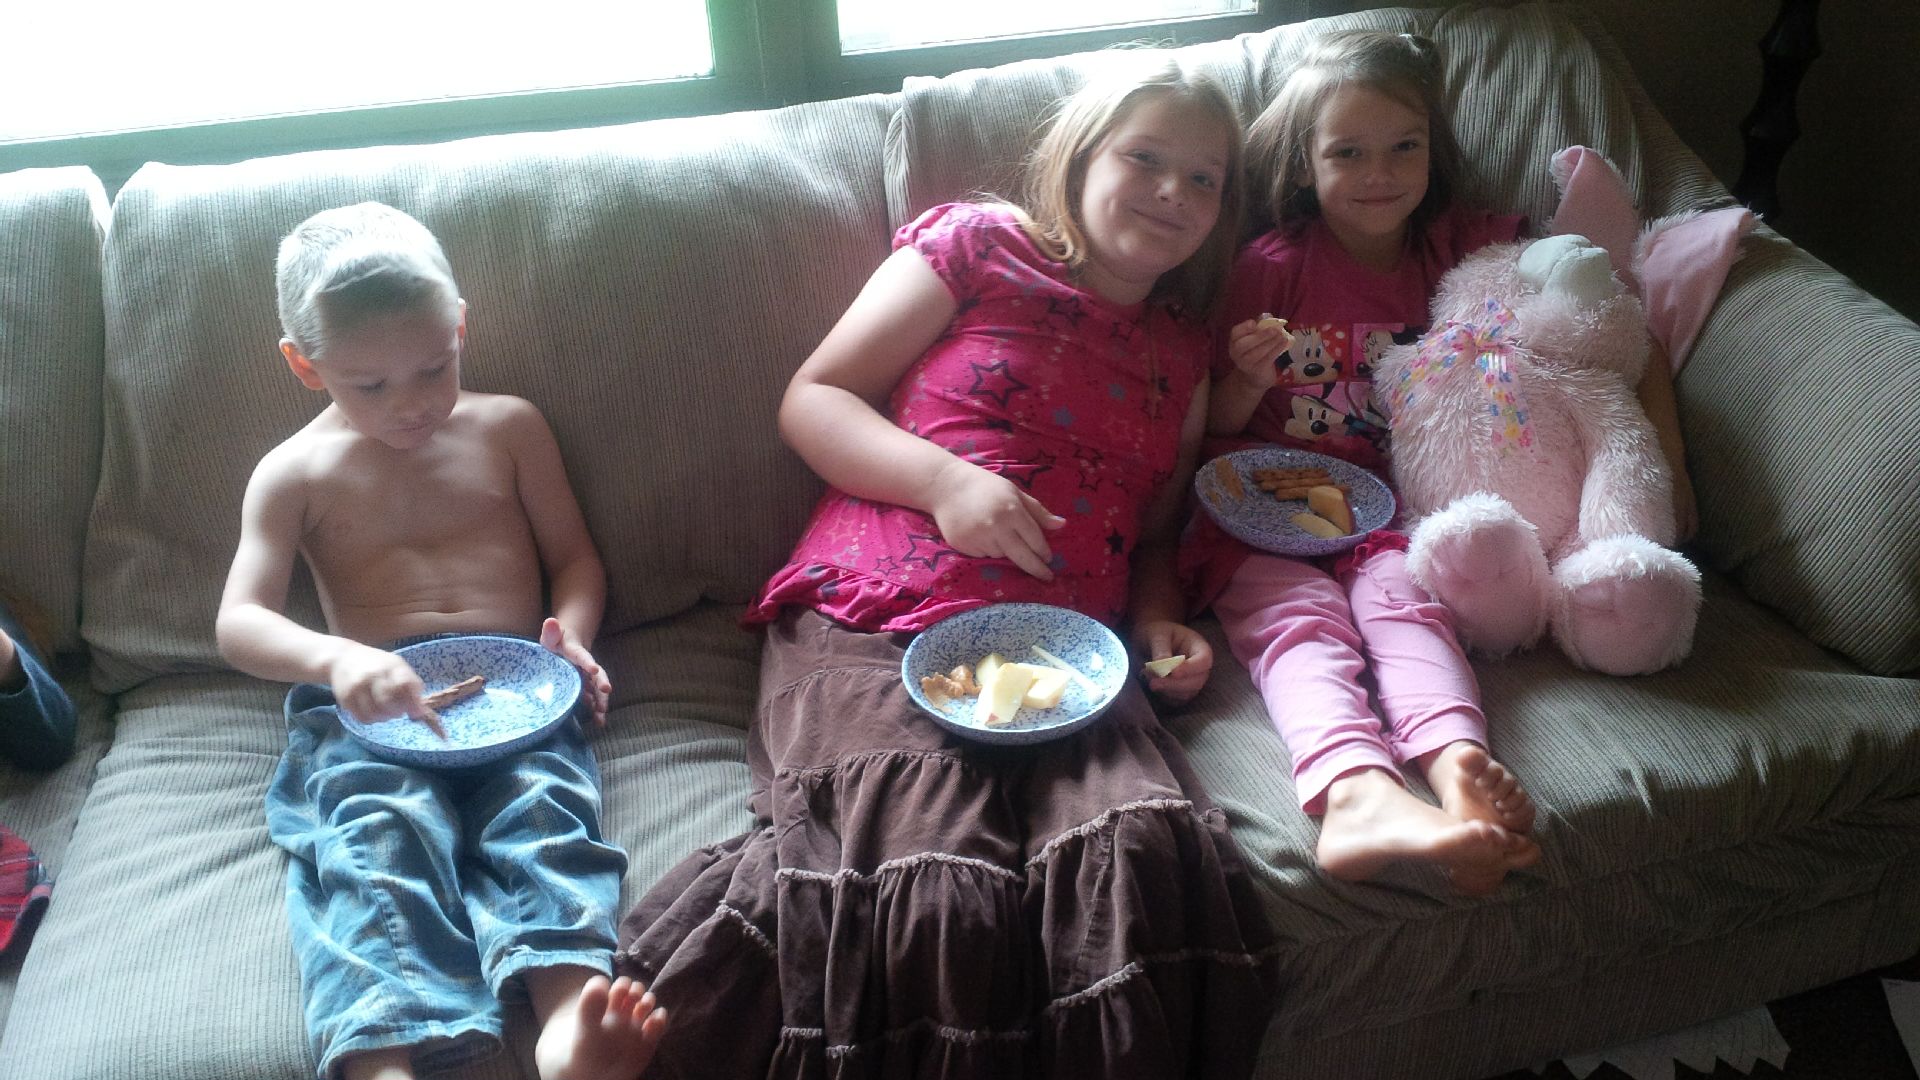 Just make sure to put the messiest child on the floor. Here he was sitting on some party decorations.
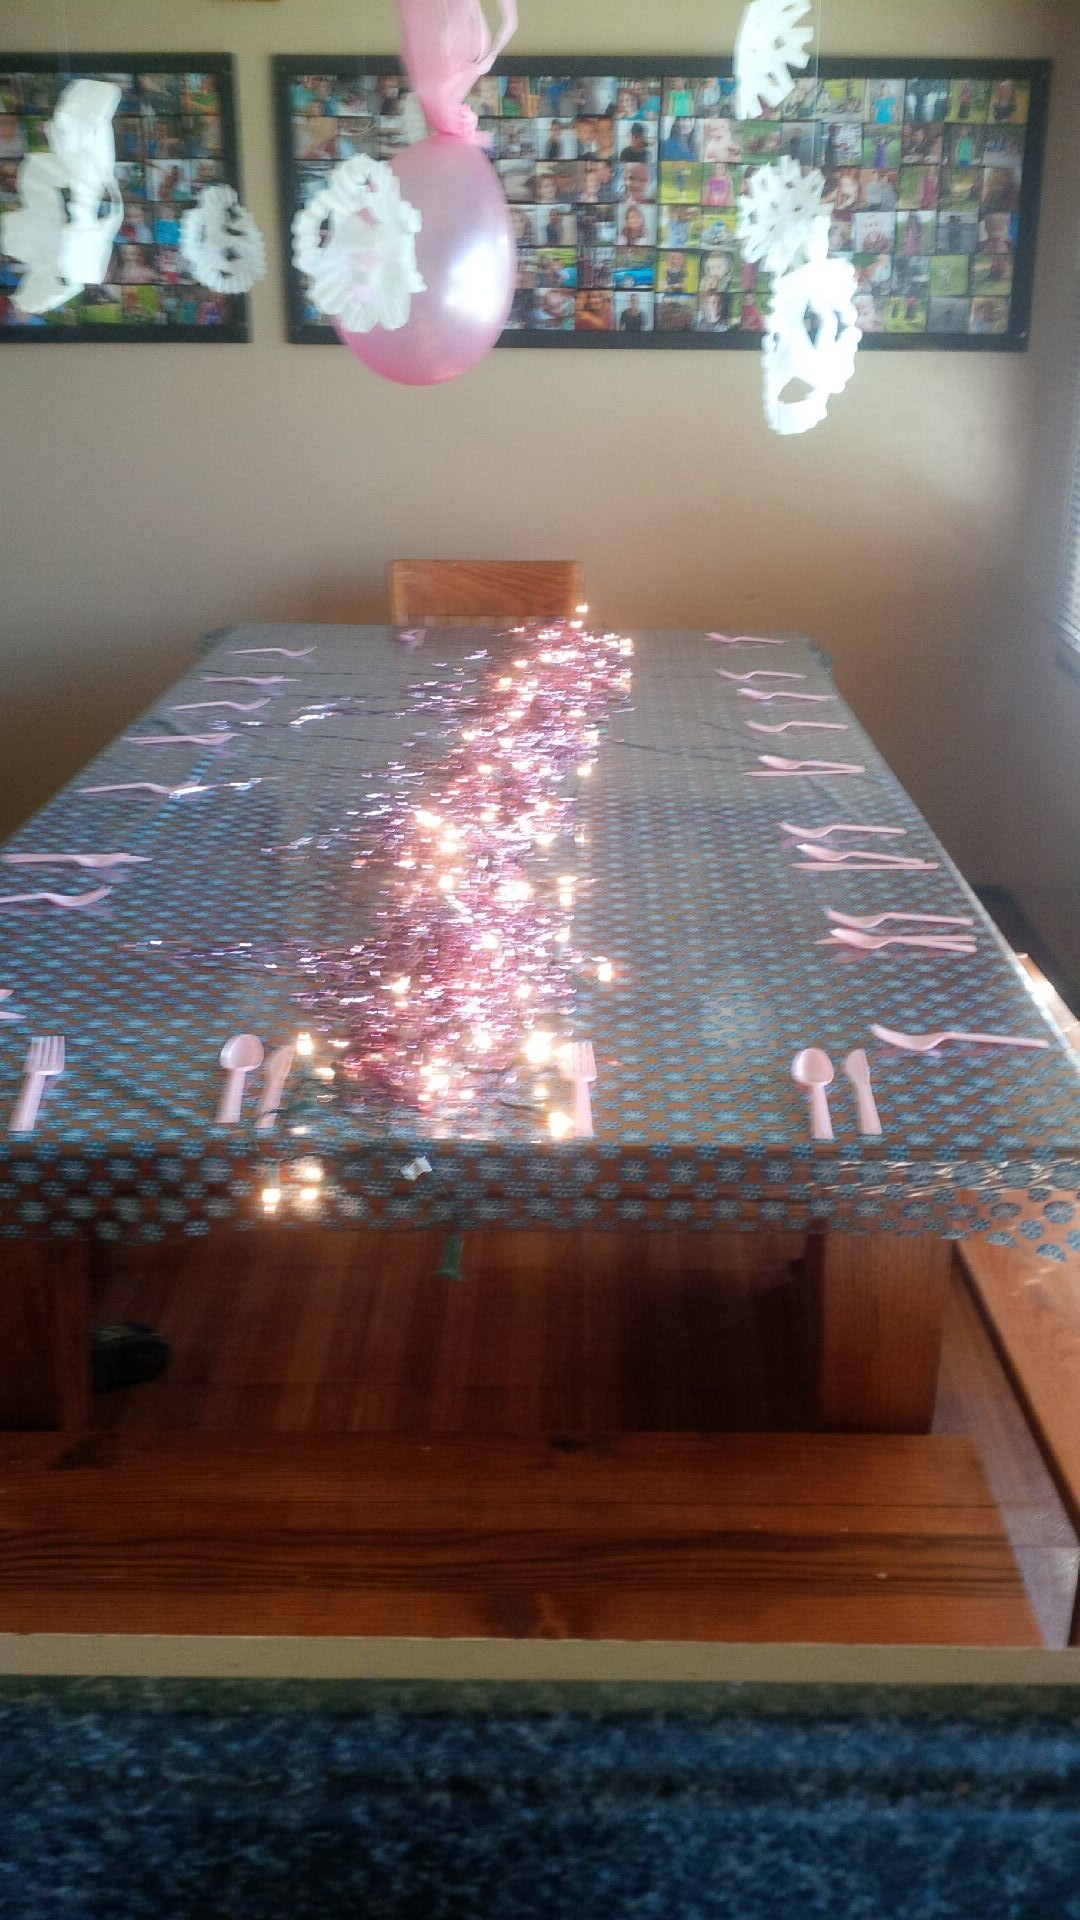
 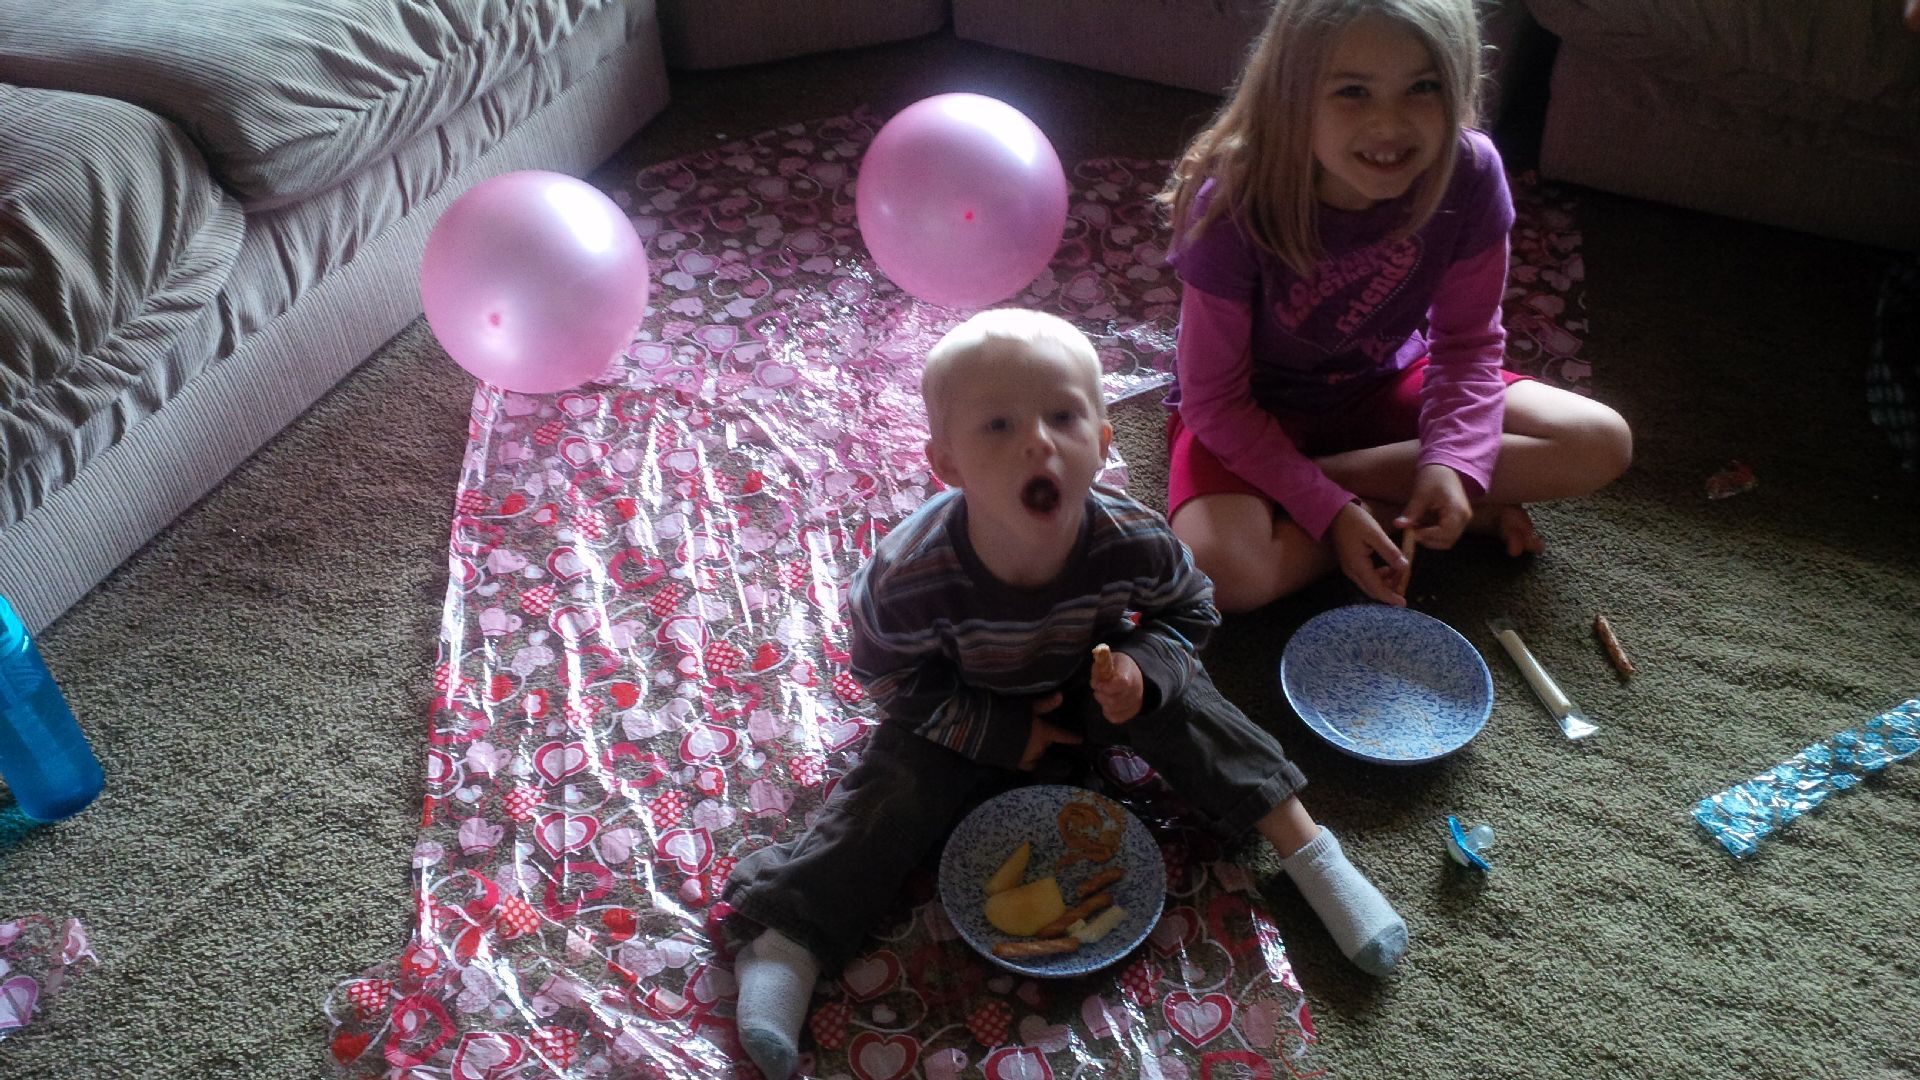 We had simple decorations. I bought a pack of coffee filters and made them into snowflakes. We hung them with fishing line. We decorated with Christmas lights and pink balloons. It was a request from the birthday girl.
 For the menu, we went with the Swedish theme as that is where the movie is taken from. –or so I think?!?!
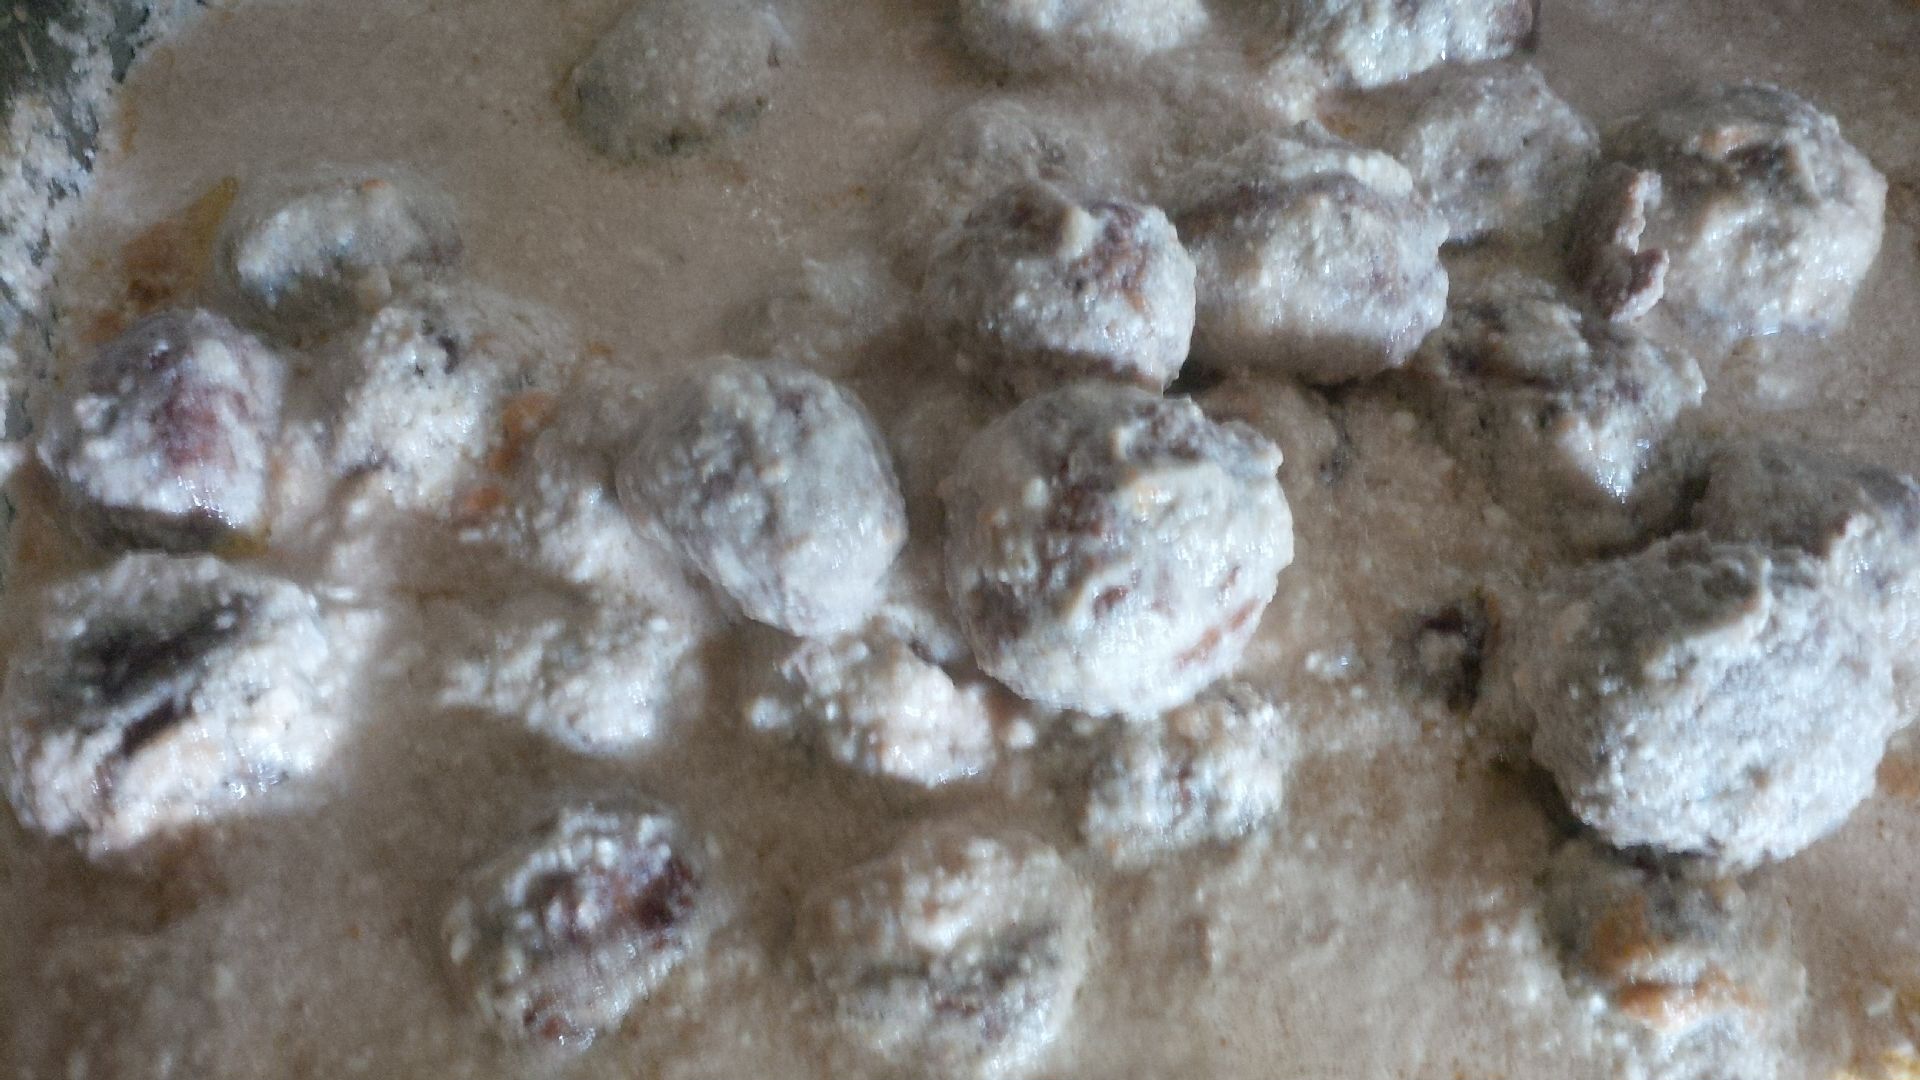 We made Sven’s Swedish Meatballs–he is a character in the movie.
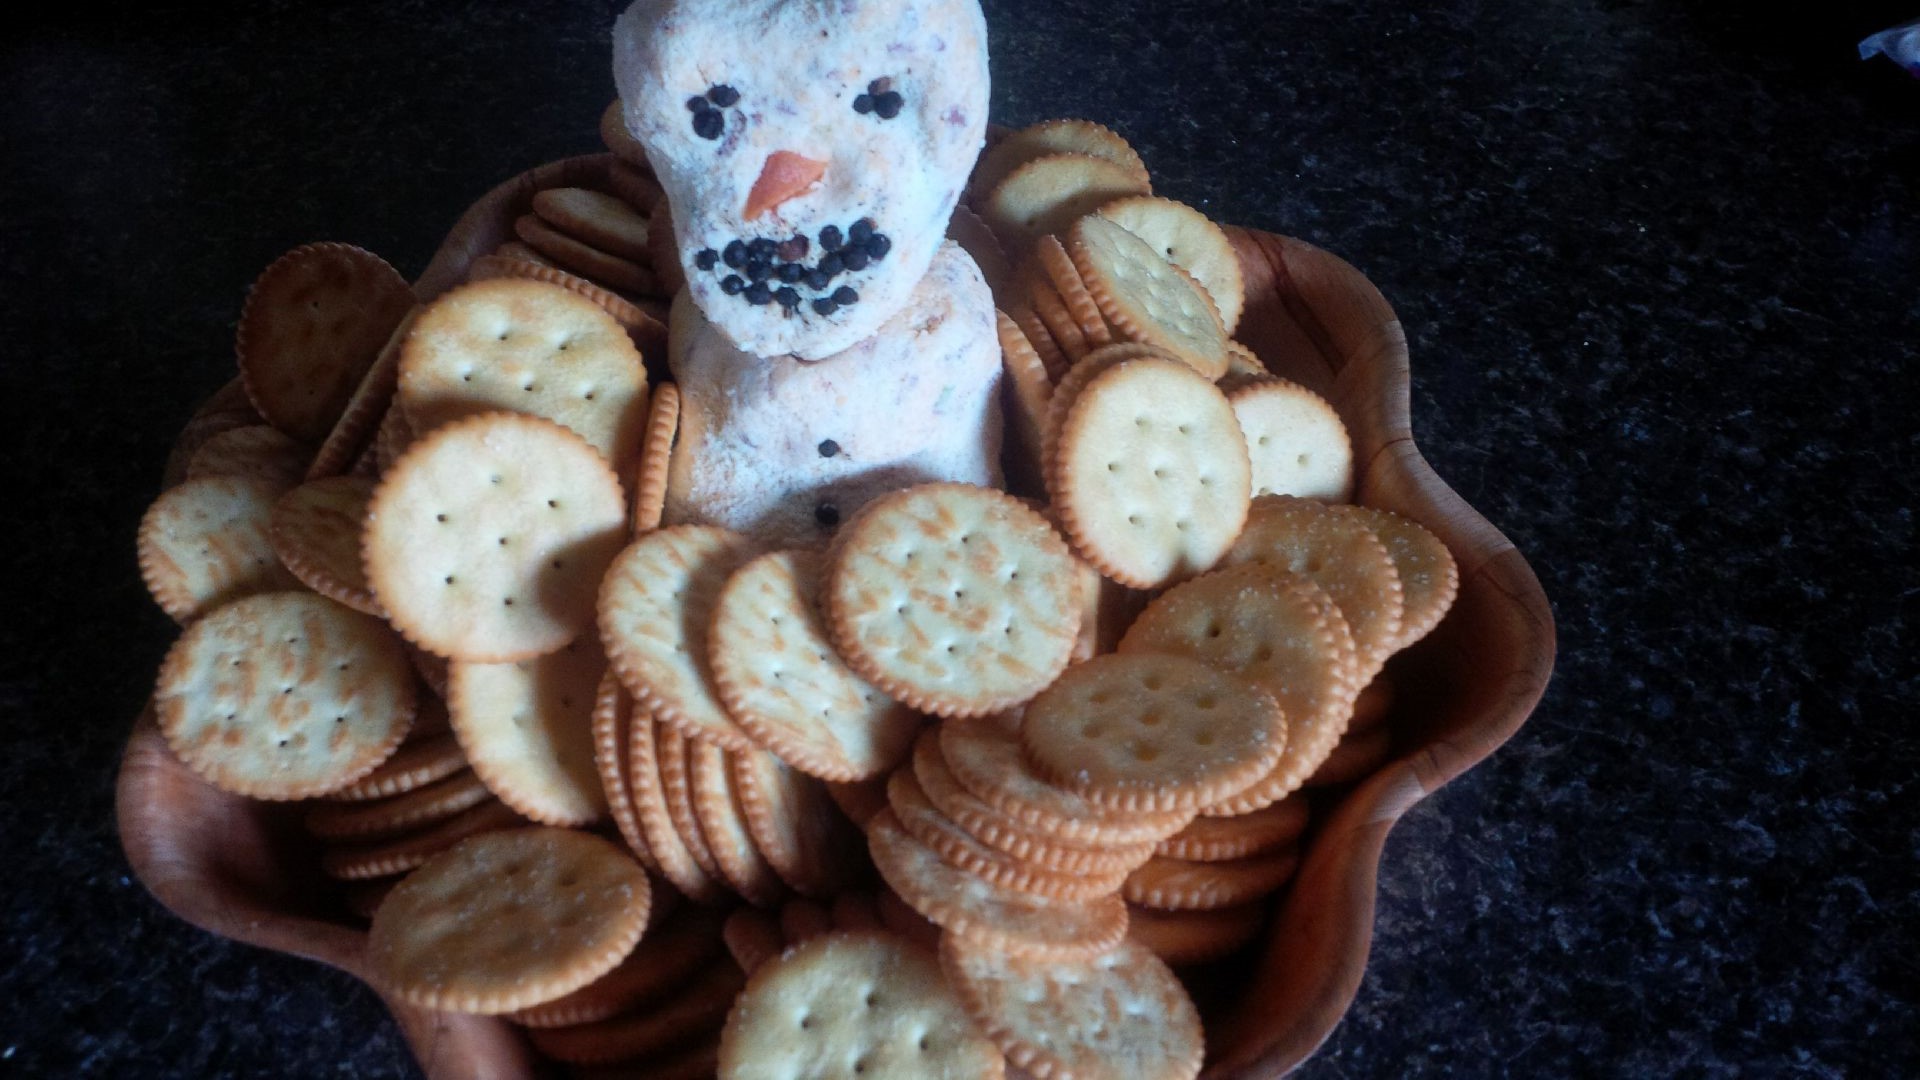 We also had an Olaf cheeseball. This has been one of our favorite snacks to make for parties. Again, a character in the movie.
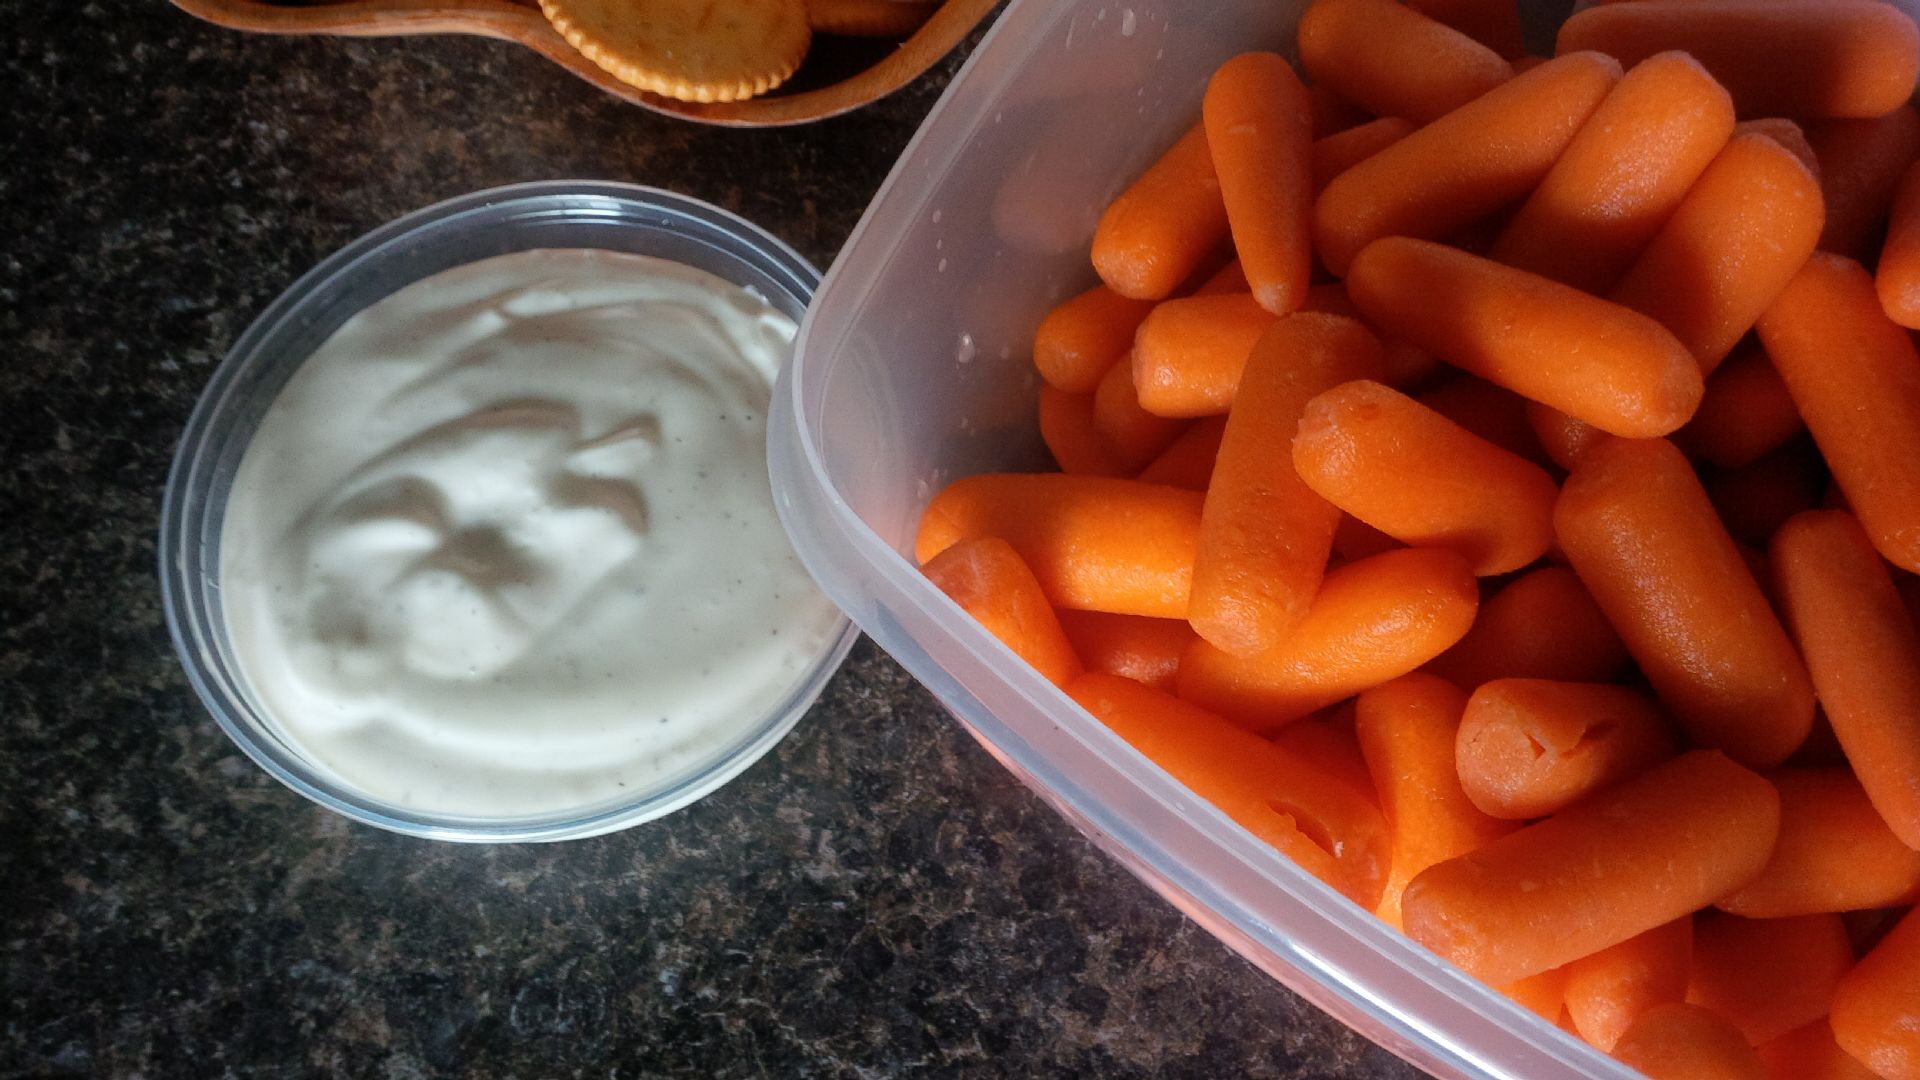 We served Olaf’s nose—carrots and Elsa’s snow dipping sauce—ranch dressing.
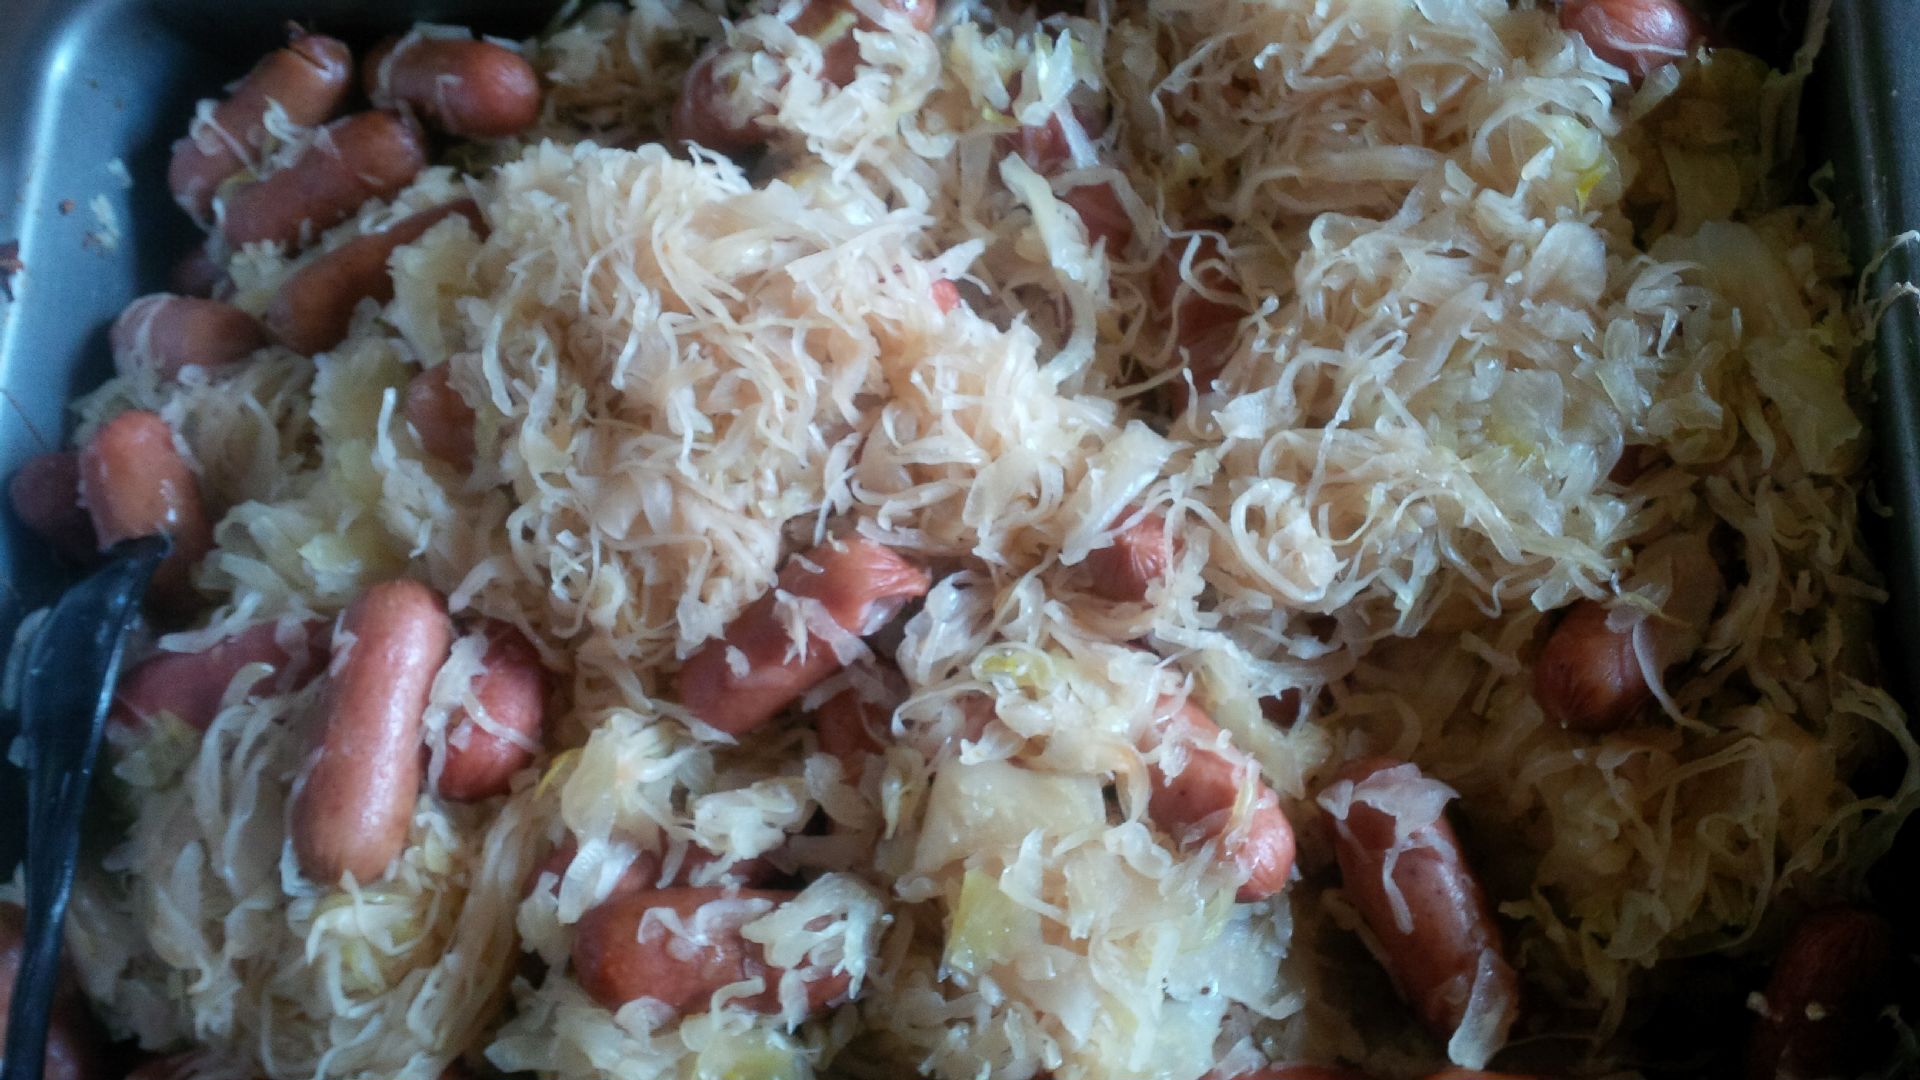 For the Swedish theme–I thought of sauerkraut and sausage. I think I can link Swedish and German foods together??!?! Maybe not, but I was dying to try out my new homemade sauerkraut and this was a perfect time. It was DELICIOUS!! We put mini sausages inside, making this a new favorite.
We also served macaroni and cheese. It didn’t have any correlation to the movie, but it was the #1 requested food by the birthday girl.
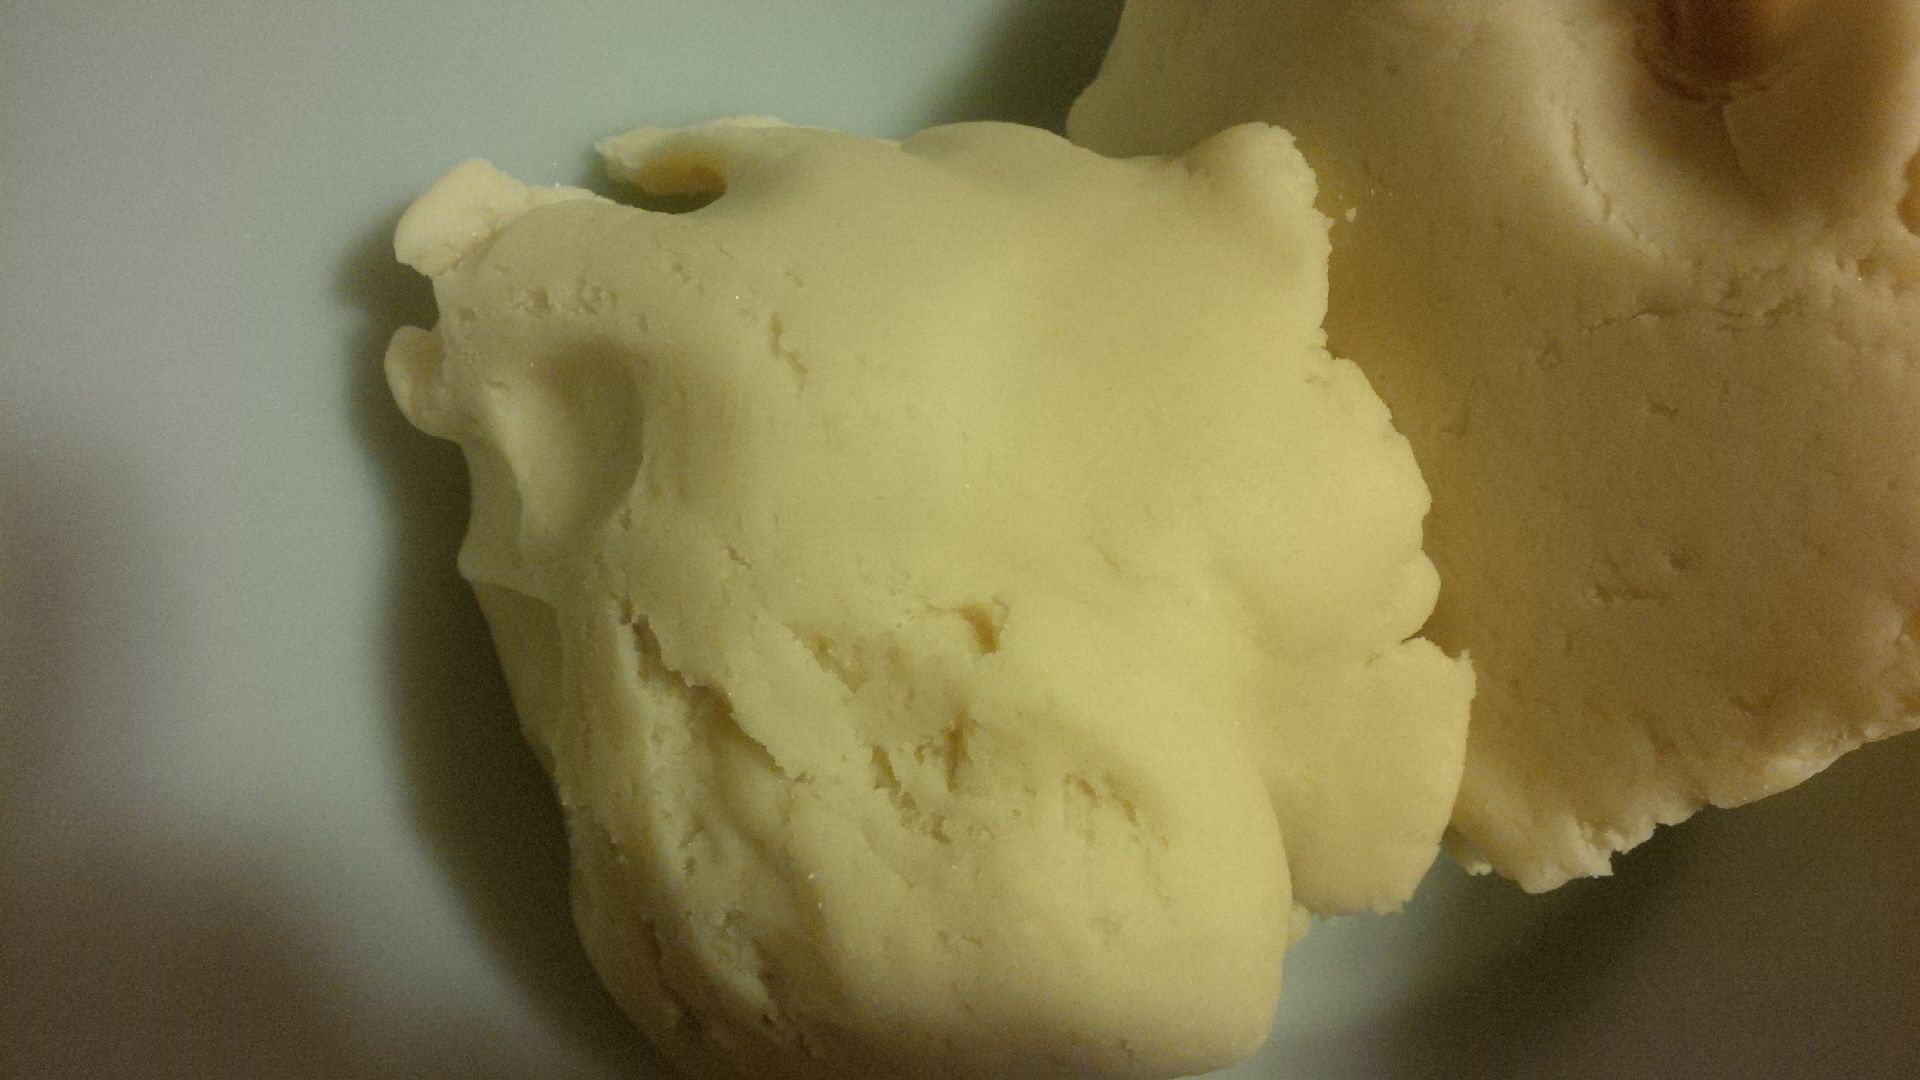
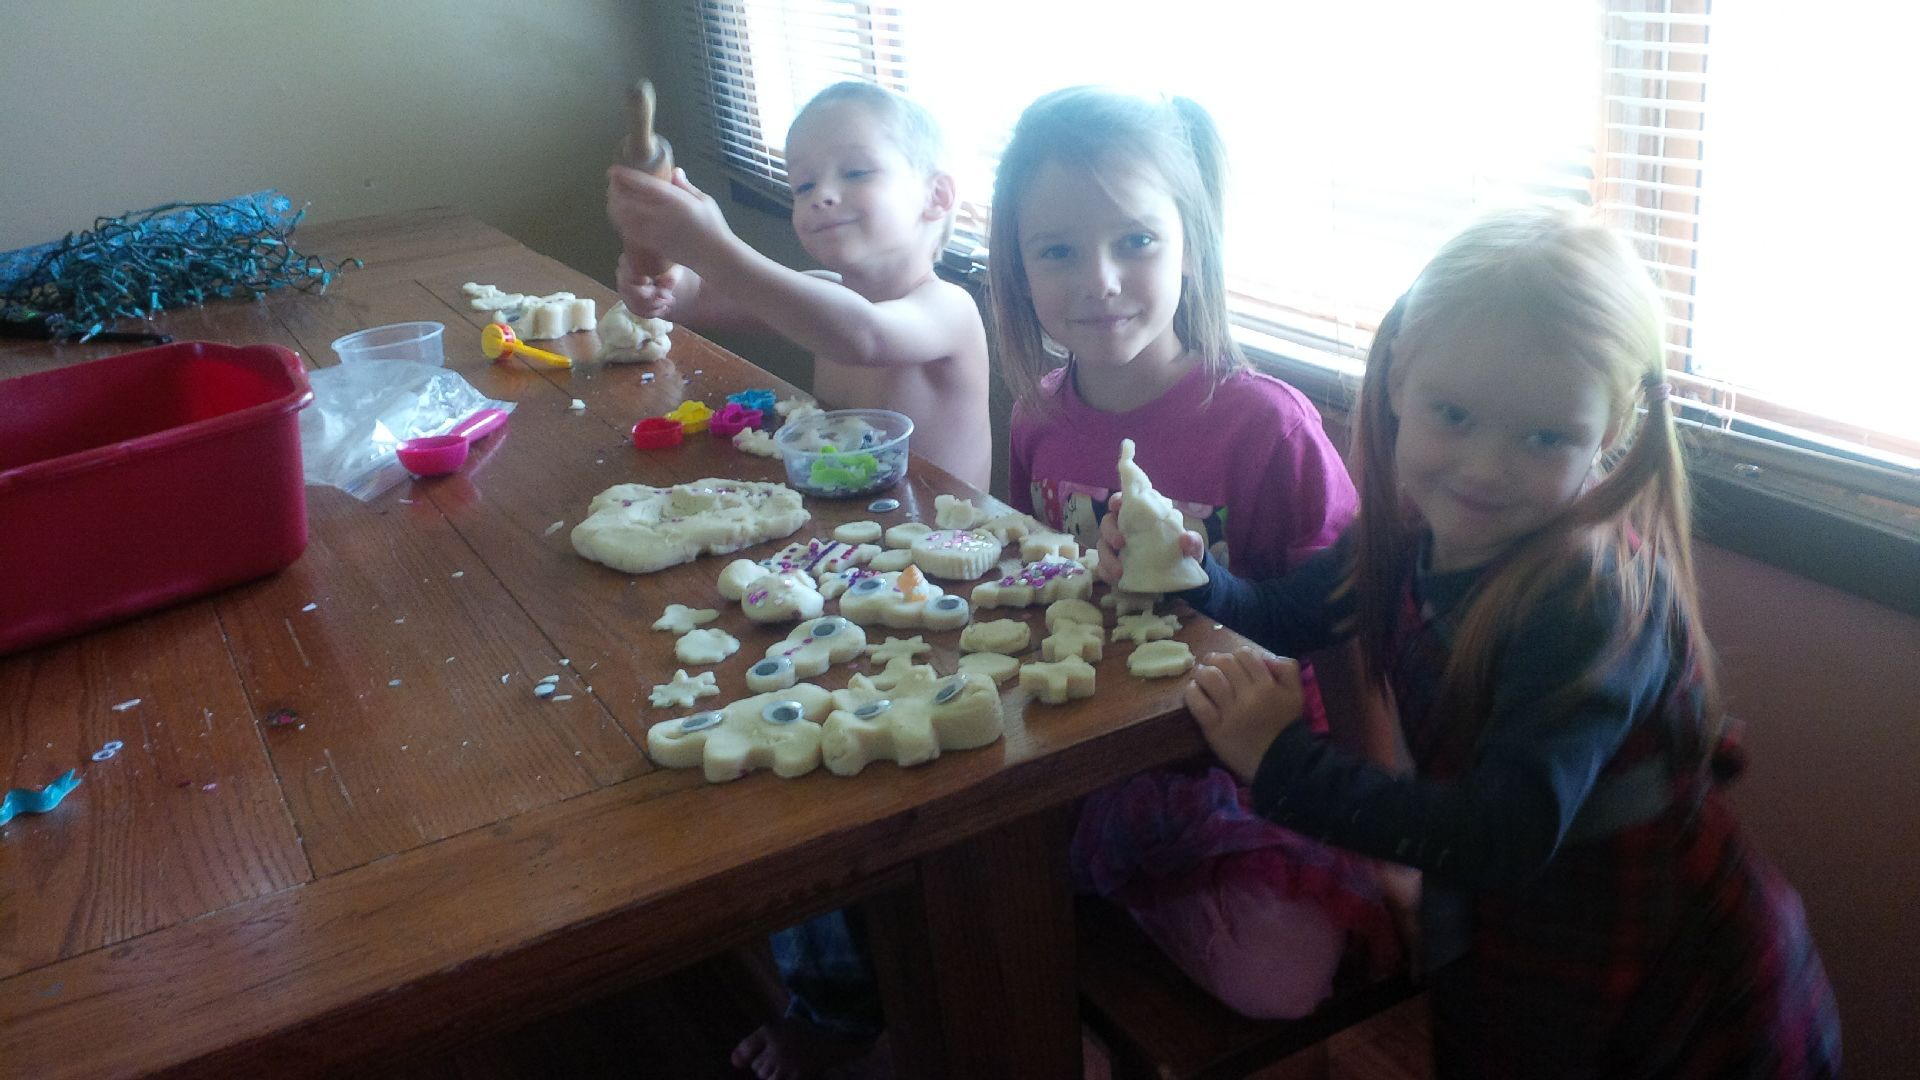
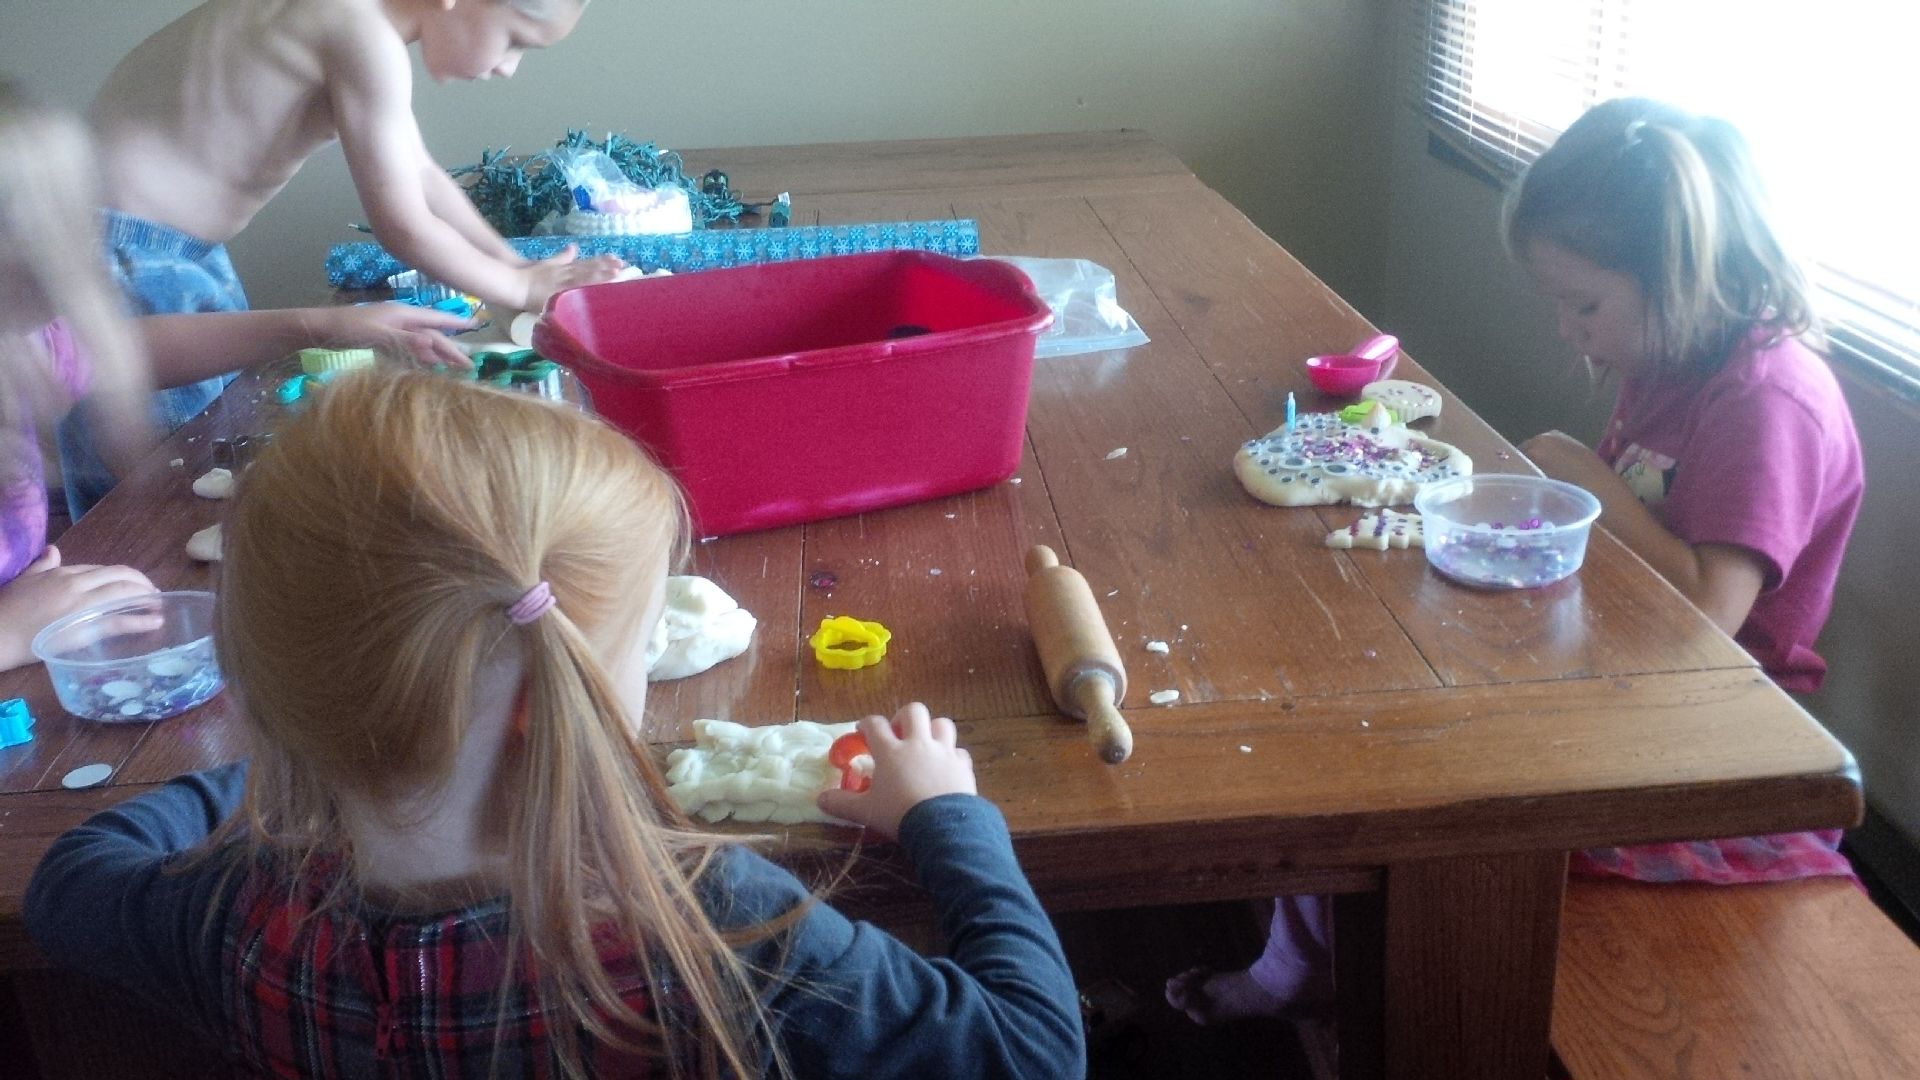
 I haven’t made any play dough since last winter, so this was a treat for my children. I made white “snow” play dough and the children enjoyed making snowmen with googly eyes and sequin pieces that I got from the Dollar store.
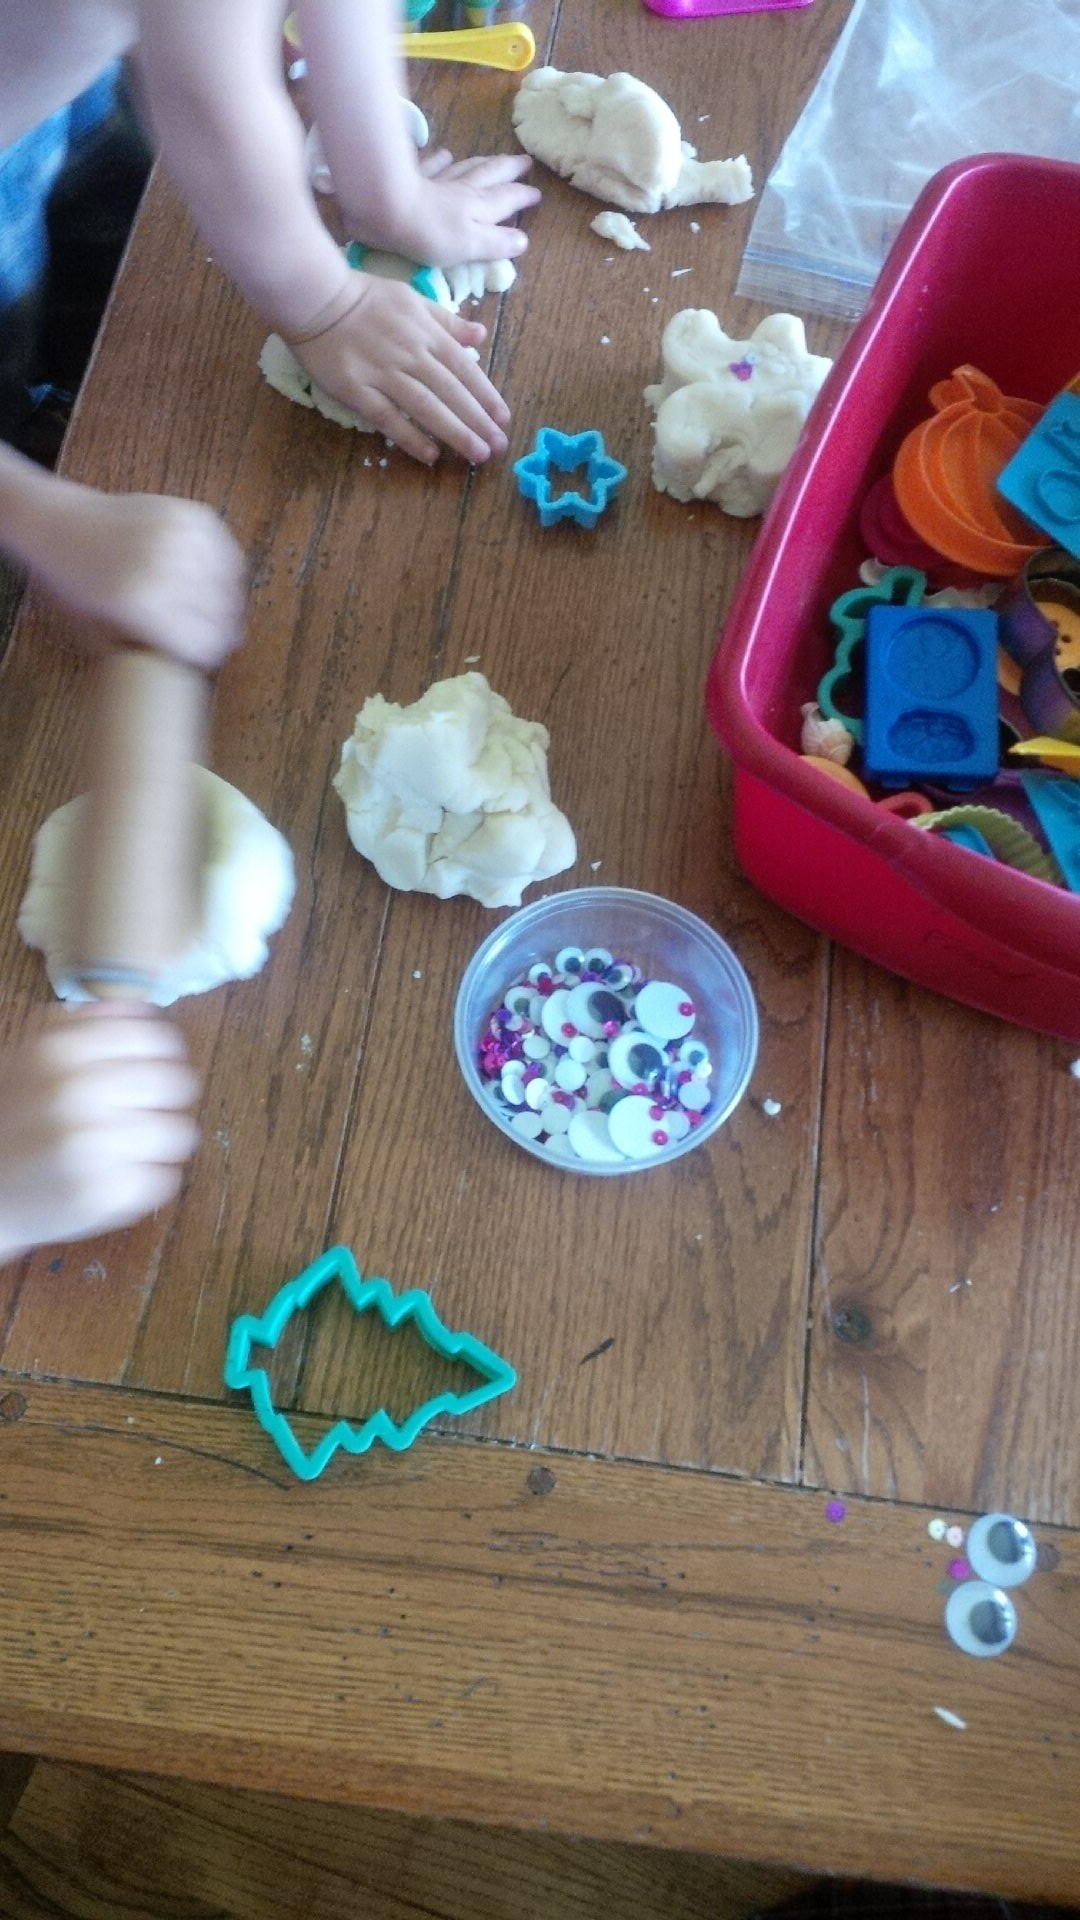 I also made a new recipe with coconut oil instead of vegetable oil–much healthier results.
  We made a pin the nose on Olaf.
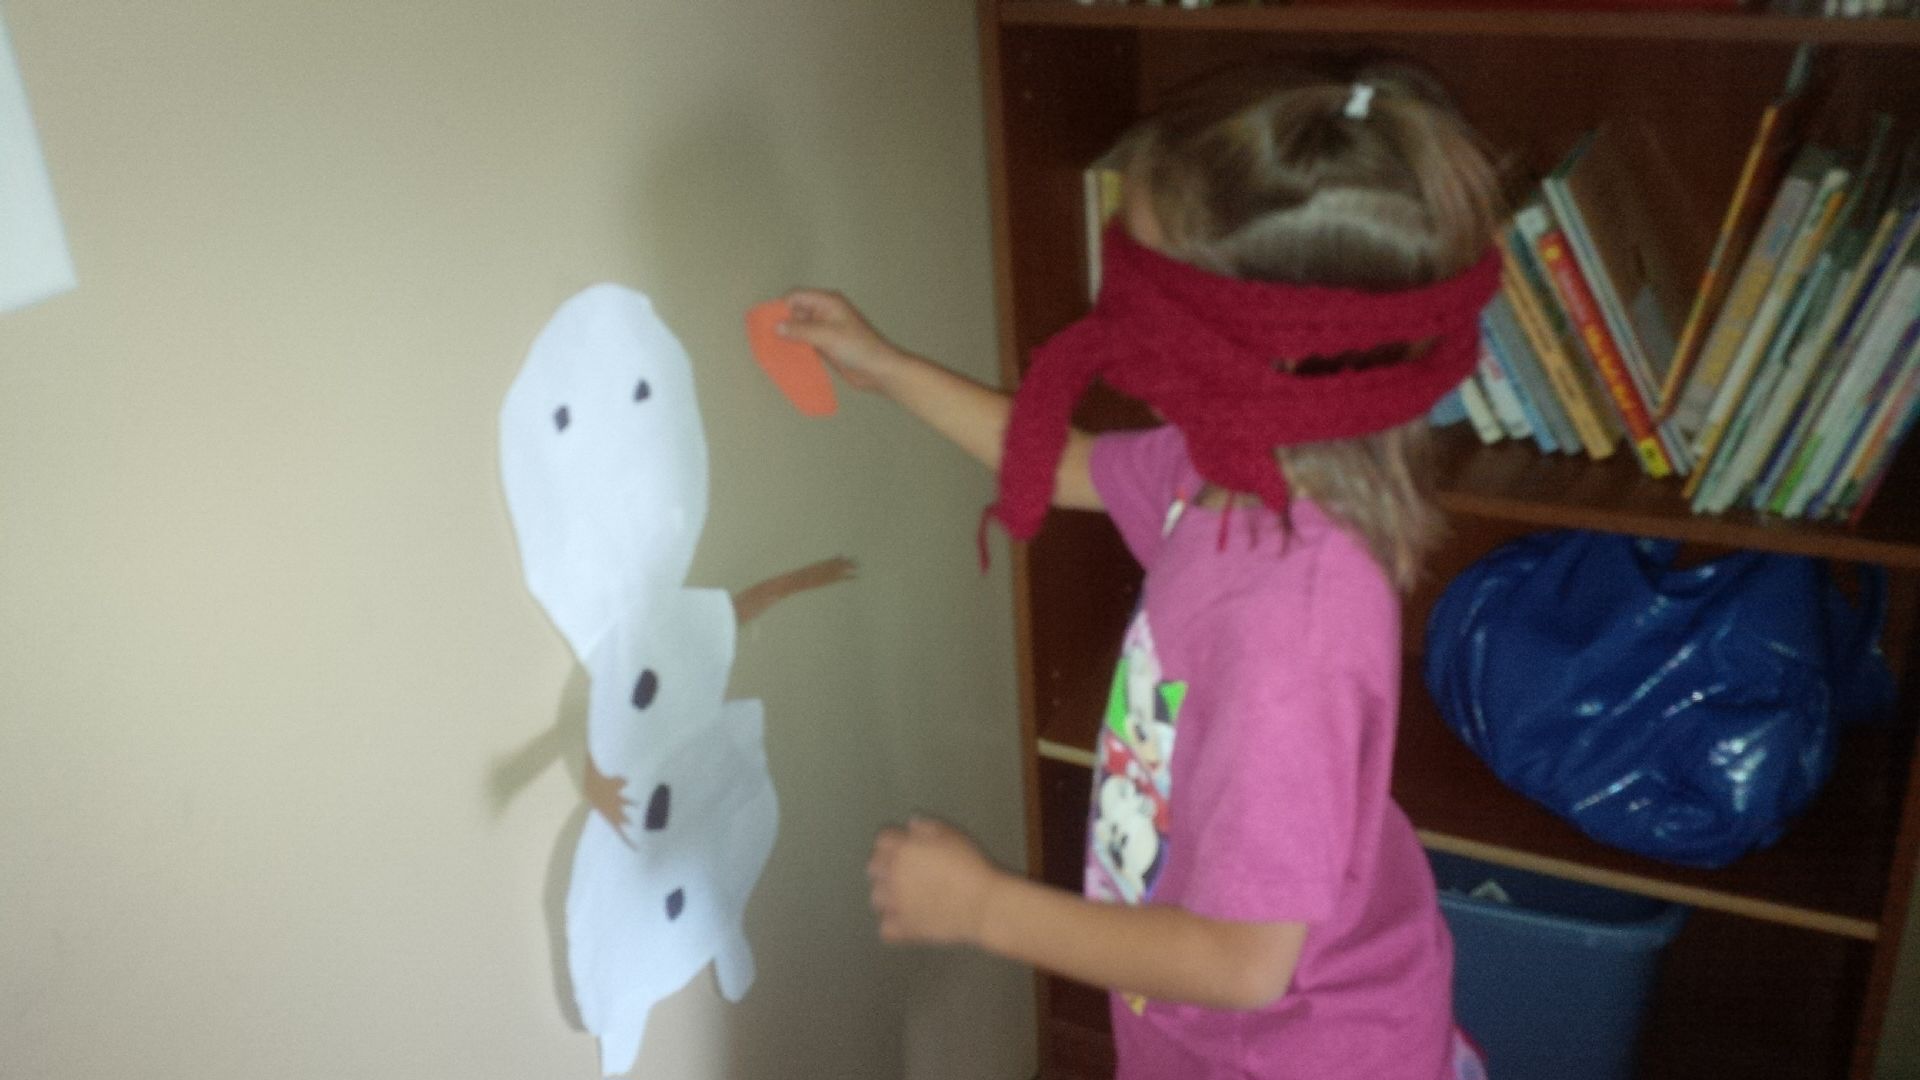
Of course, it is REQUIRED that all family members participate. Here is our oldest daughter.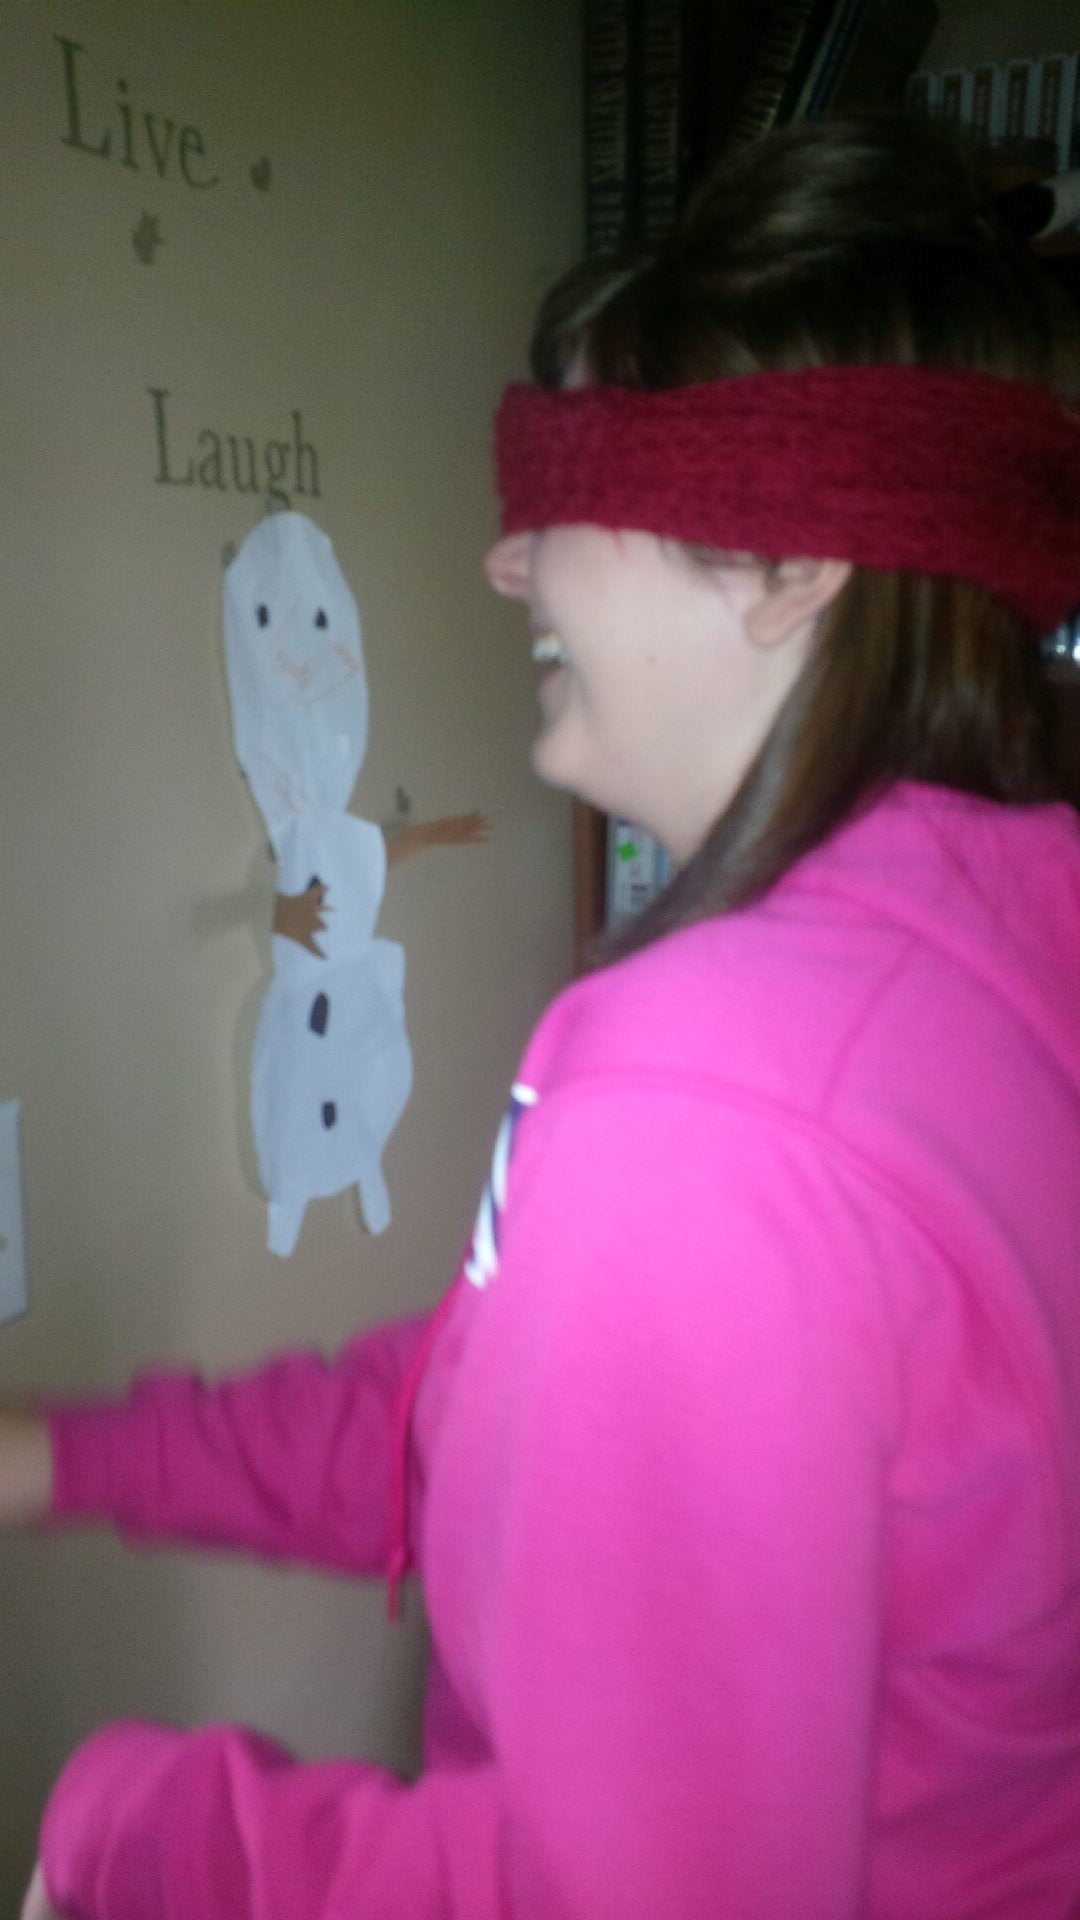 And our eldest son.
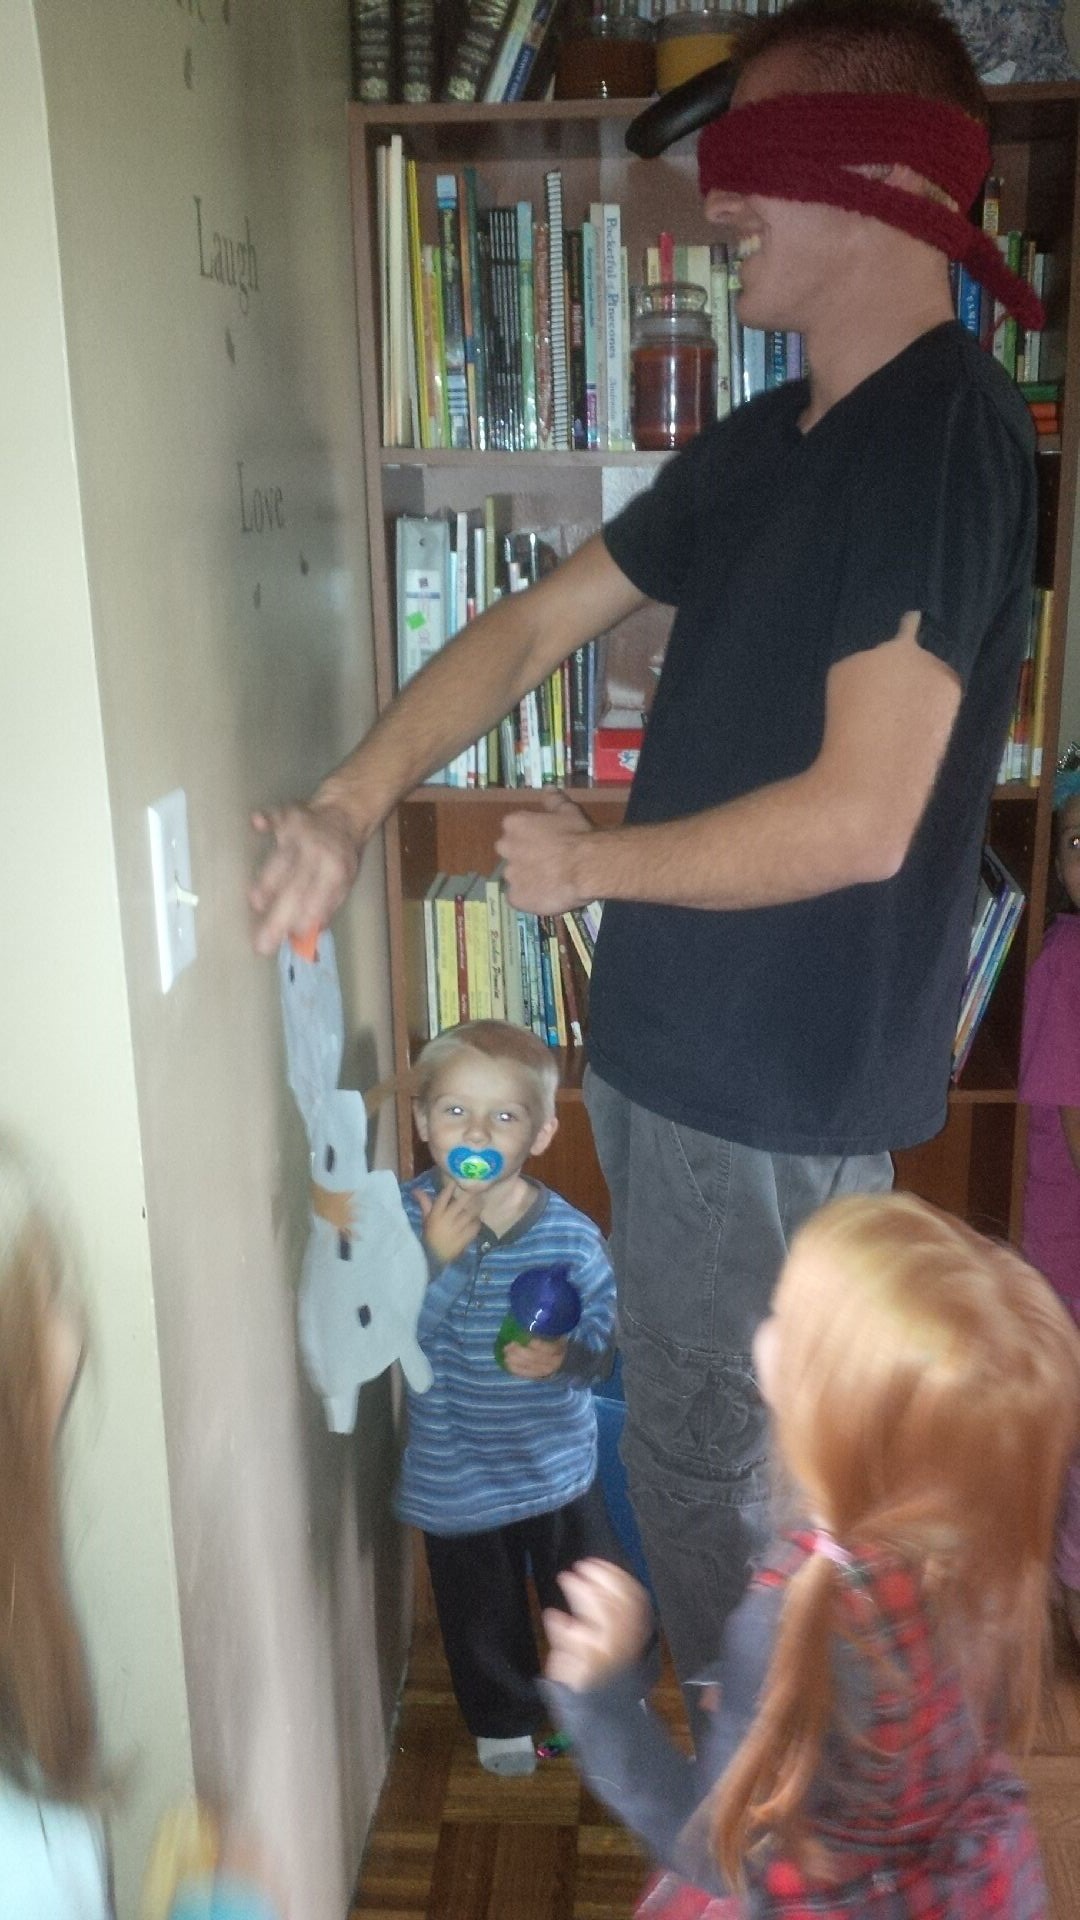
We also played simple games like throw the snowball (cotton balls) into the bucket. We played Elsa, Elsa, Olaf—her version of Duck, duck, goose.
Simple games, the little ones focuses are not long. We keep them short, and don’t focus on the winning or losing aspect. Just a fun time.
Gifts:
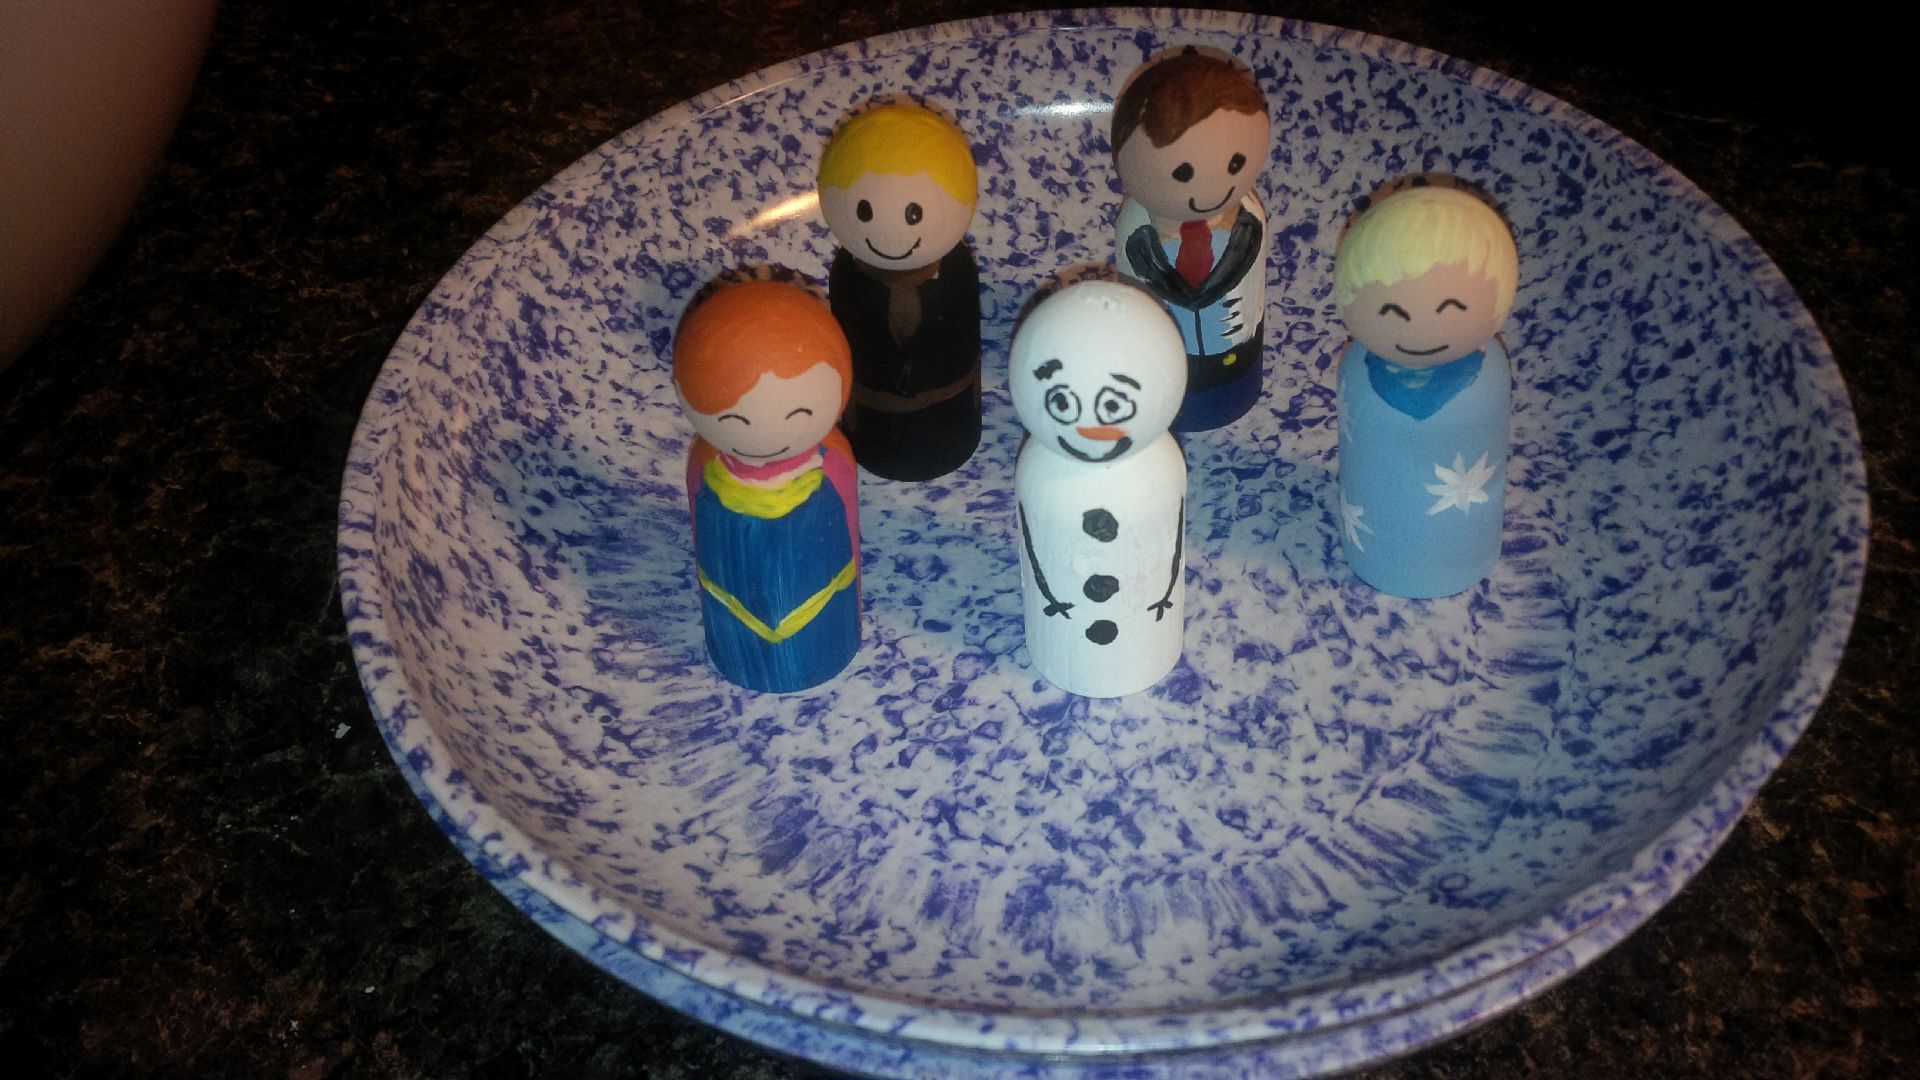 I made these wooden people based on the movie characters.
Next, I wanted to make her some sort of princess item. I am not big on sewing but came across this DIY no sew cape from makeit-loveit.
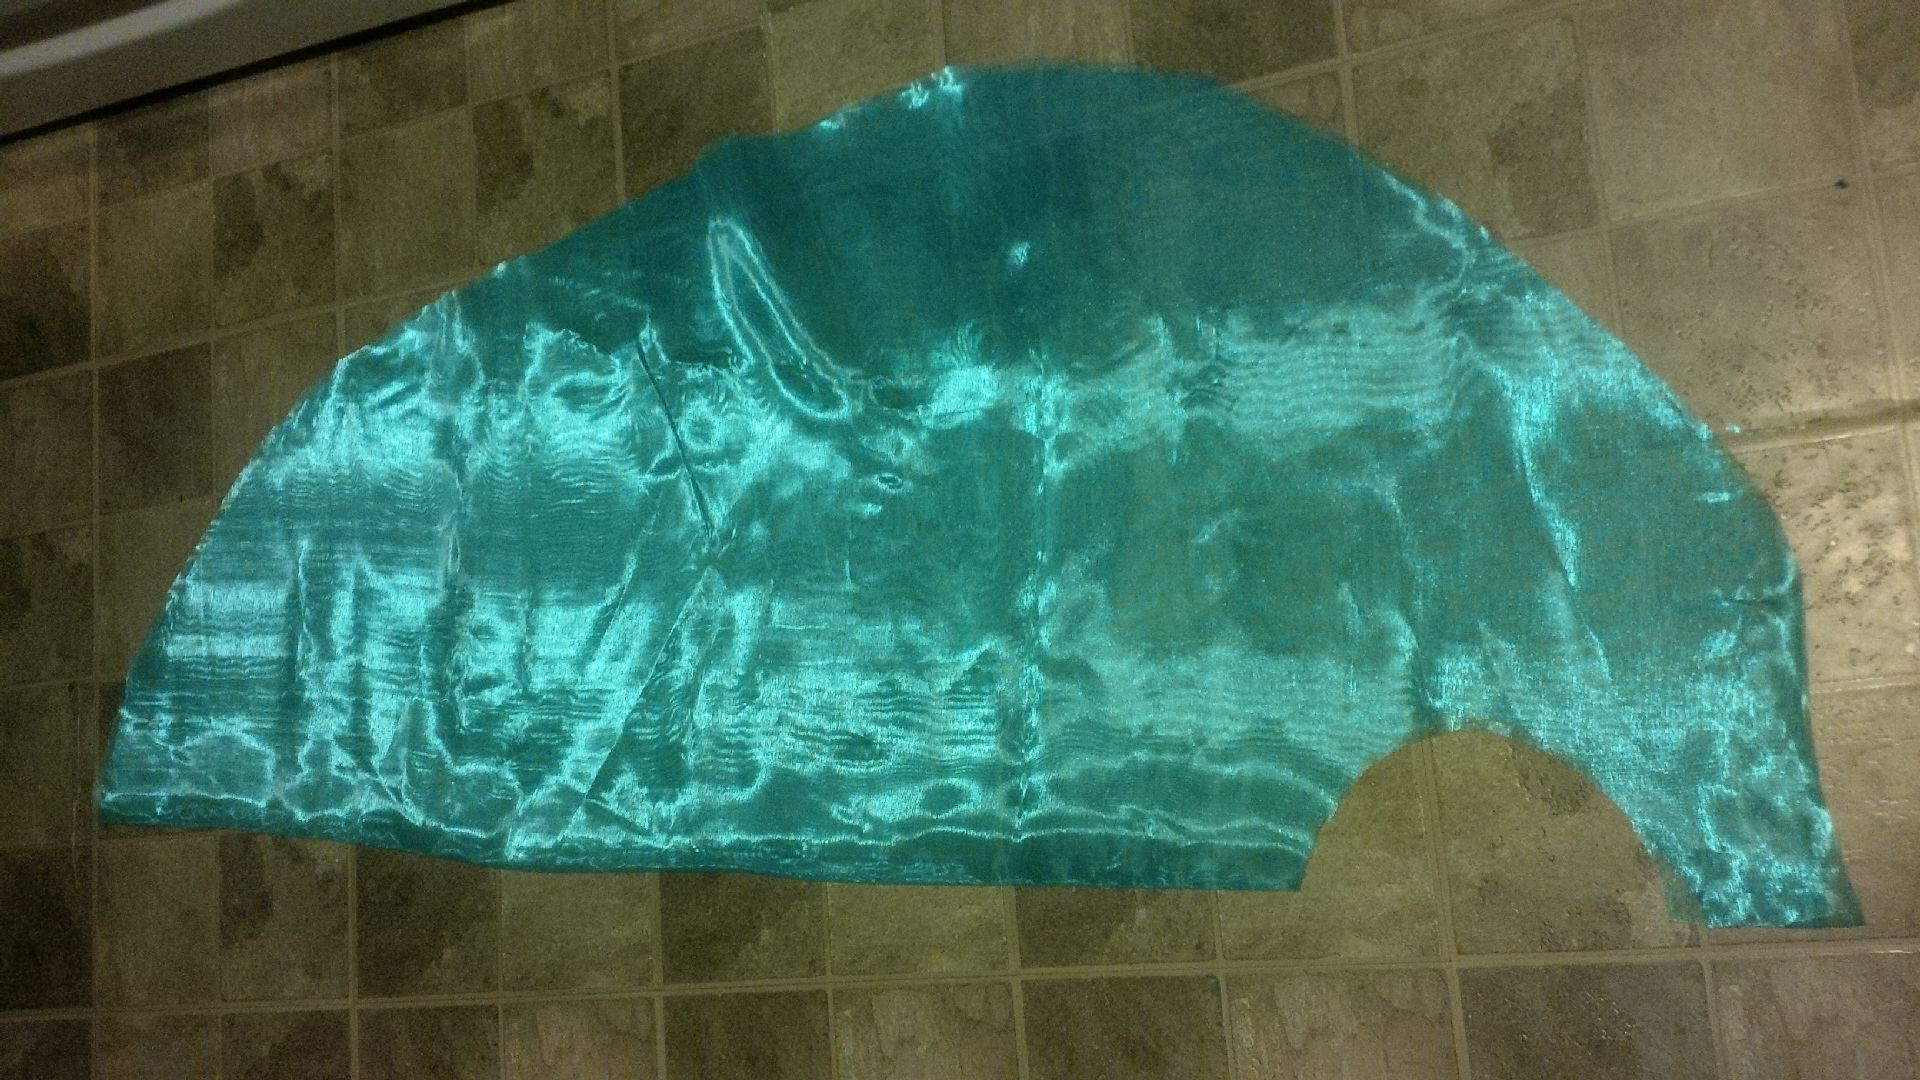
Here is what my pattern looked like when I cut it out.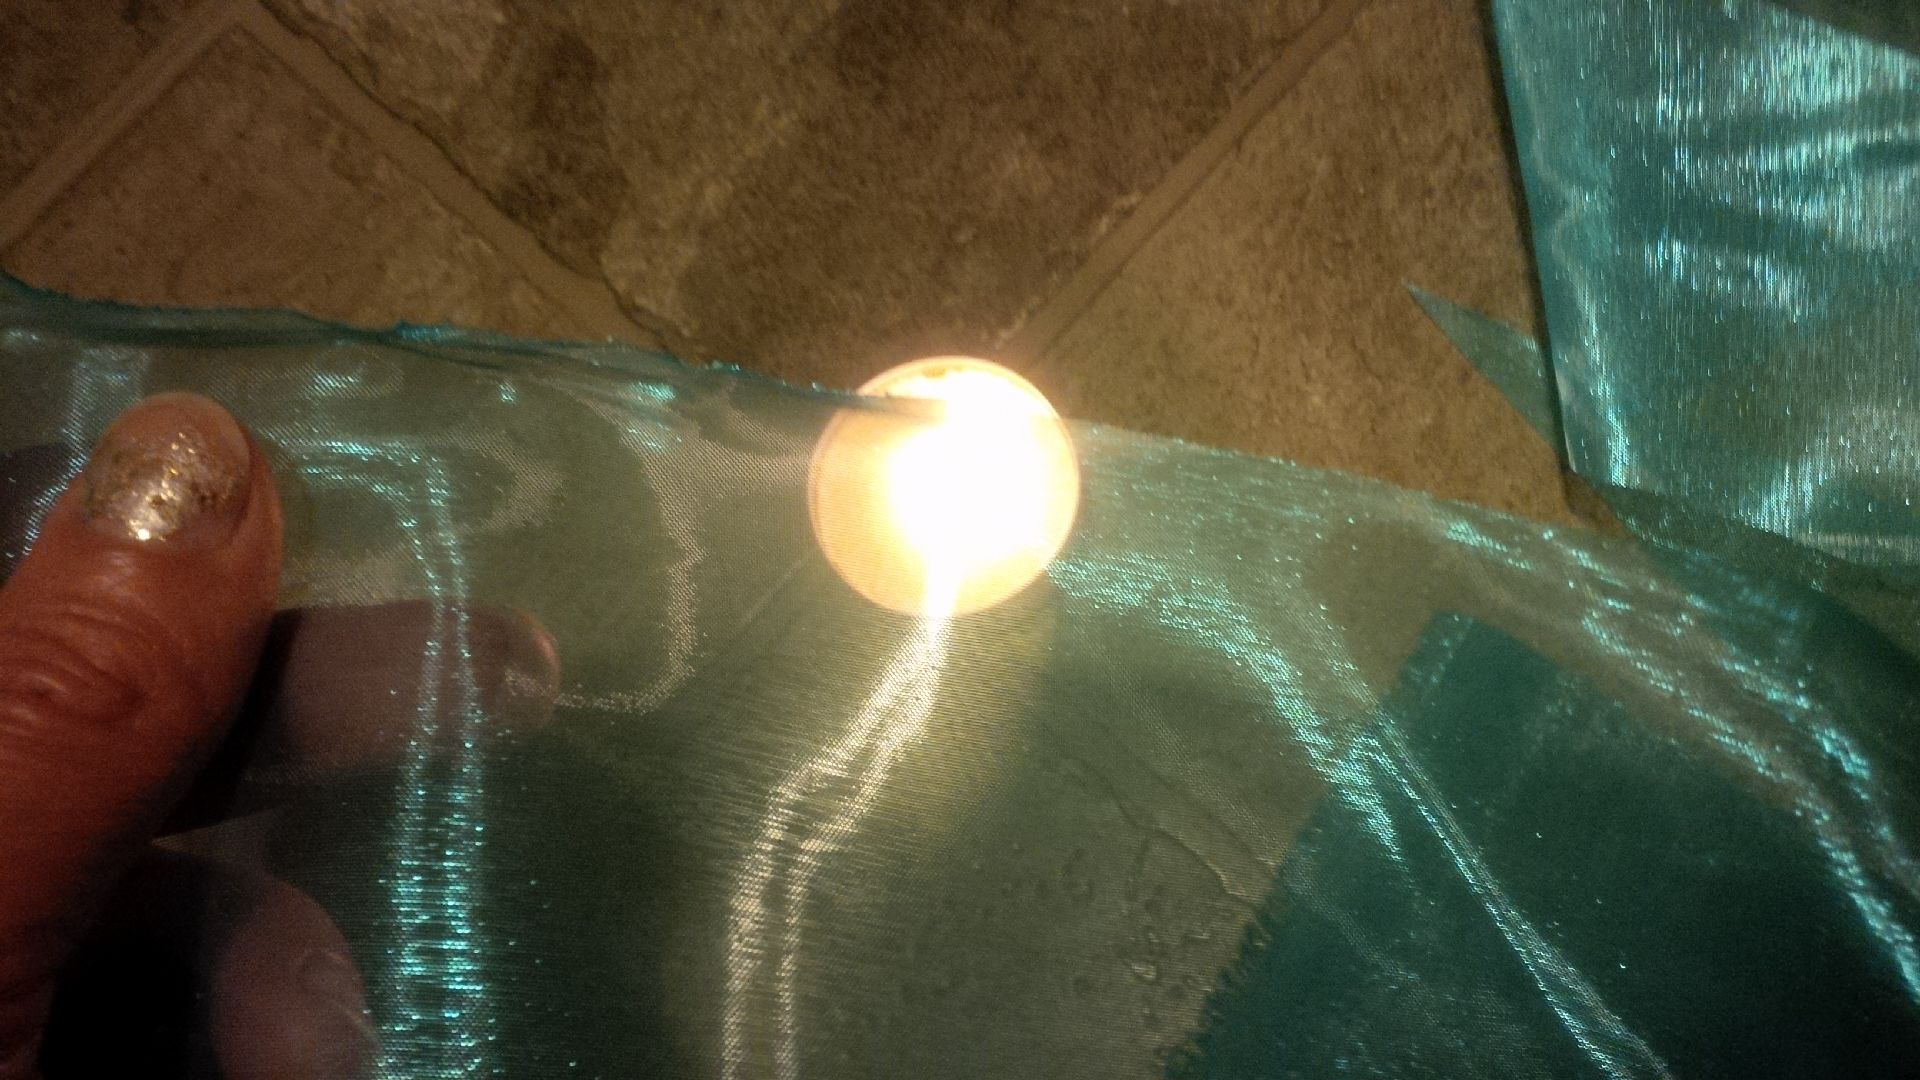
I then took and “burned” the edges so that they wouldn’t fray. This was neat and left them with a wavy edge. Looks neat.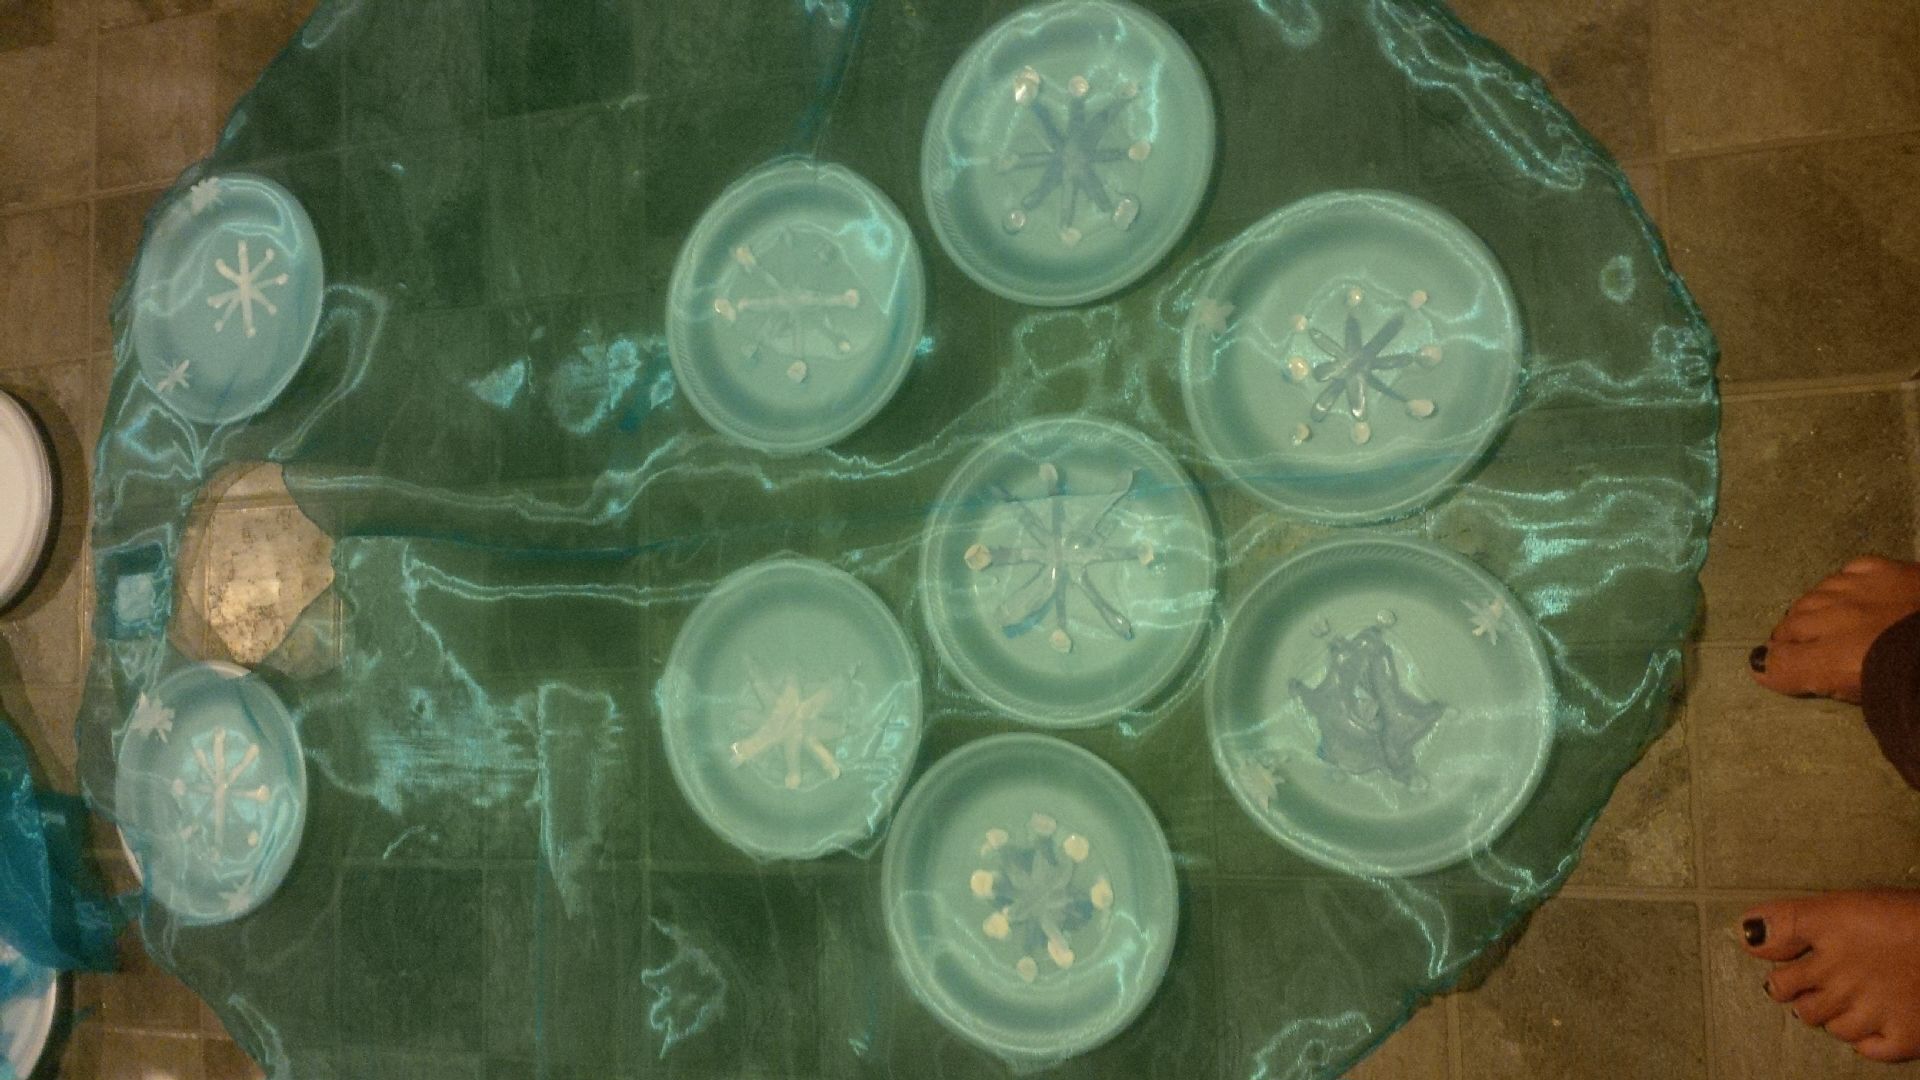
I then painted snowflakes on the cape. I put paper plates underneath while it was drying. I used acrylic paint.
For the enclosure to the neck, I used velcro with sticky backs. No sewing needed just stick it on.
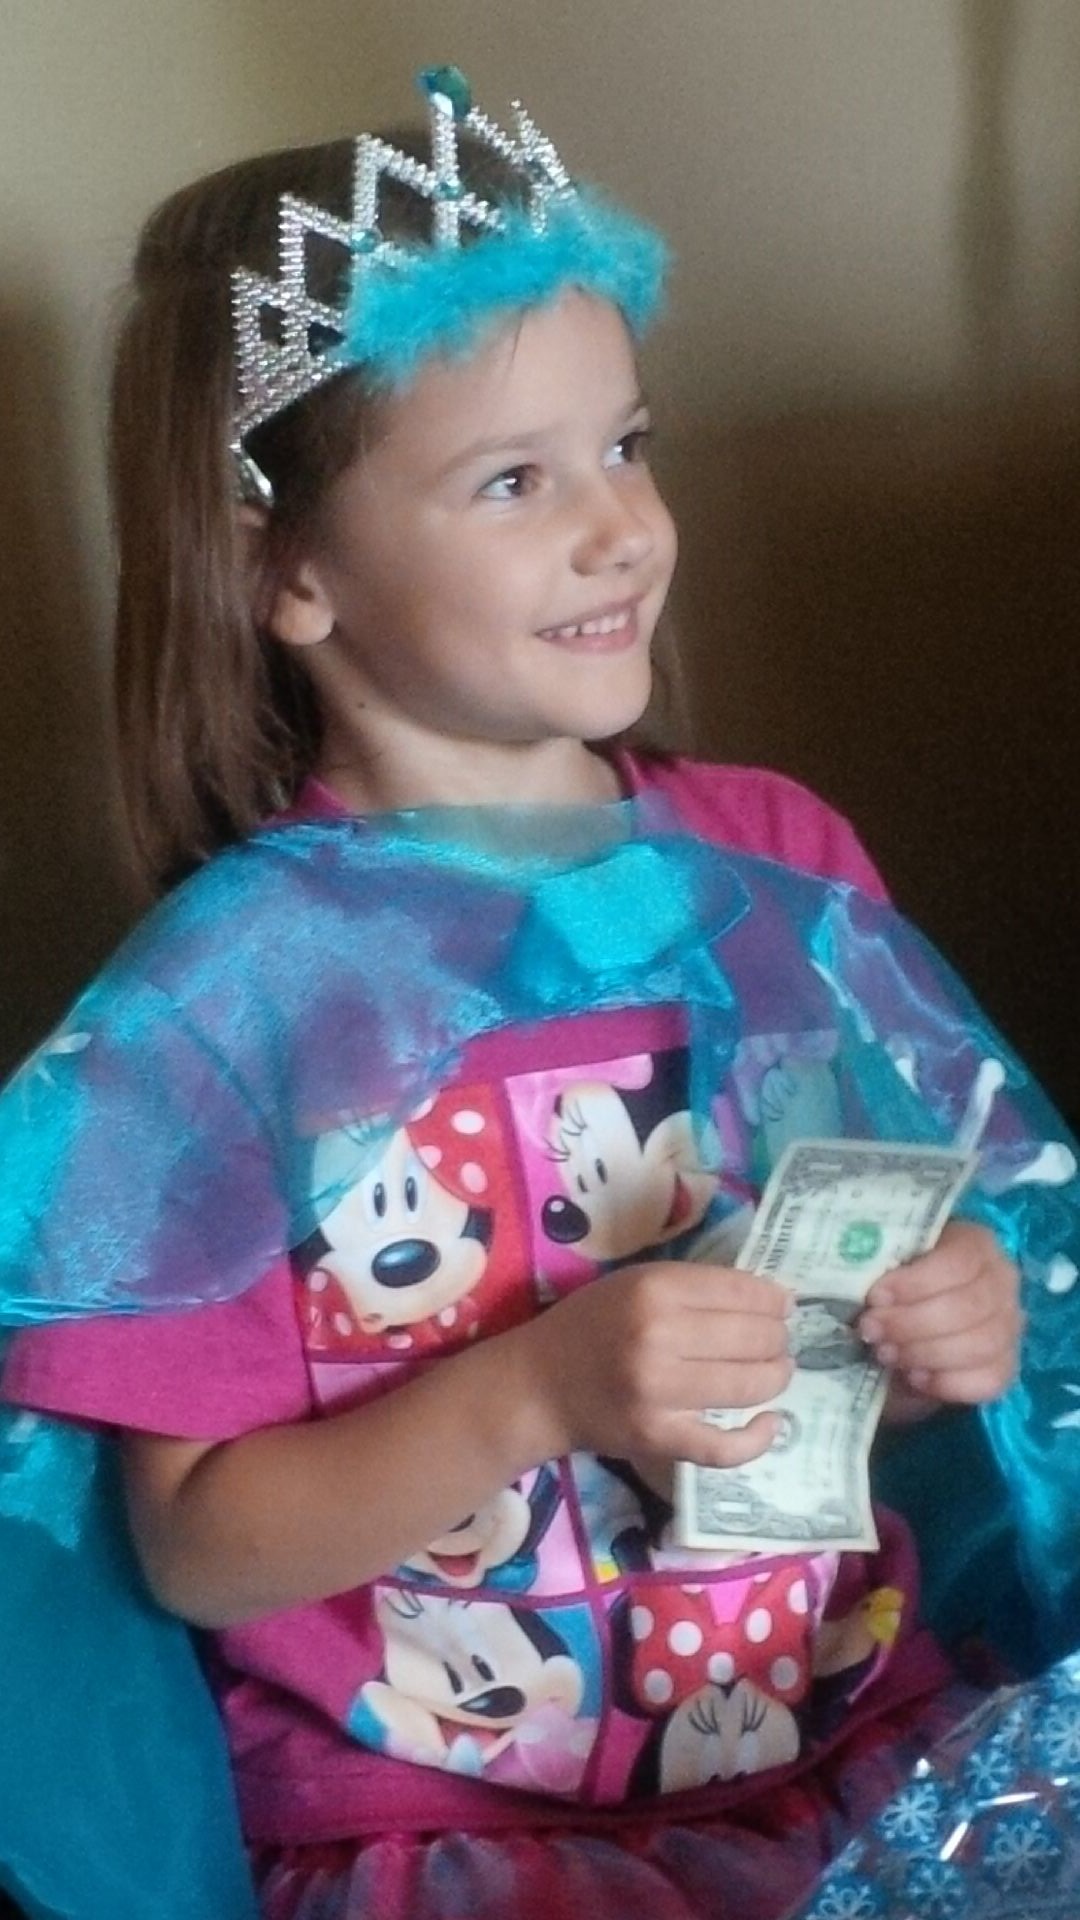
This cost me about $5 to make. Very simple. I actually had some satin material that I have since made capes for the other girls and one Larry Boy cape for my son.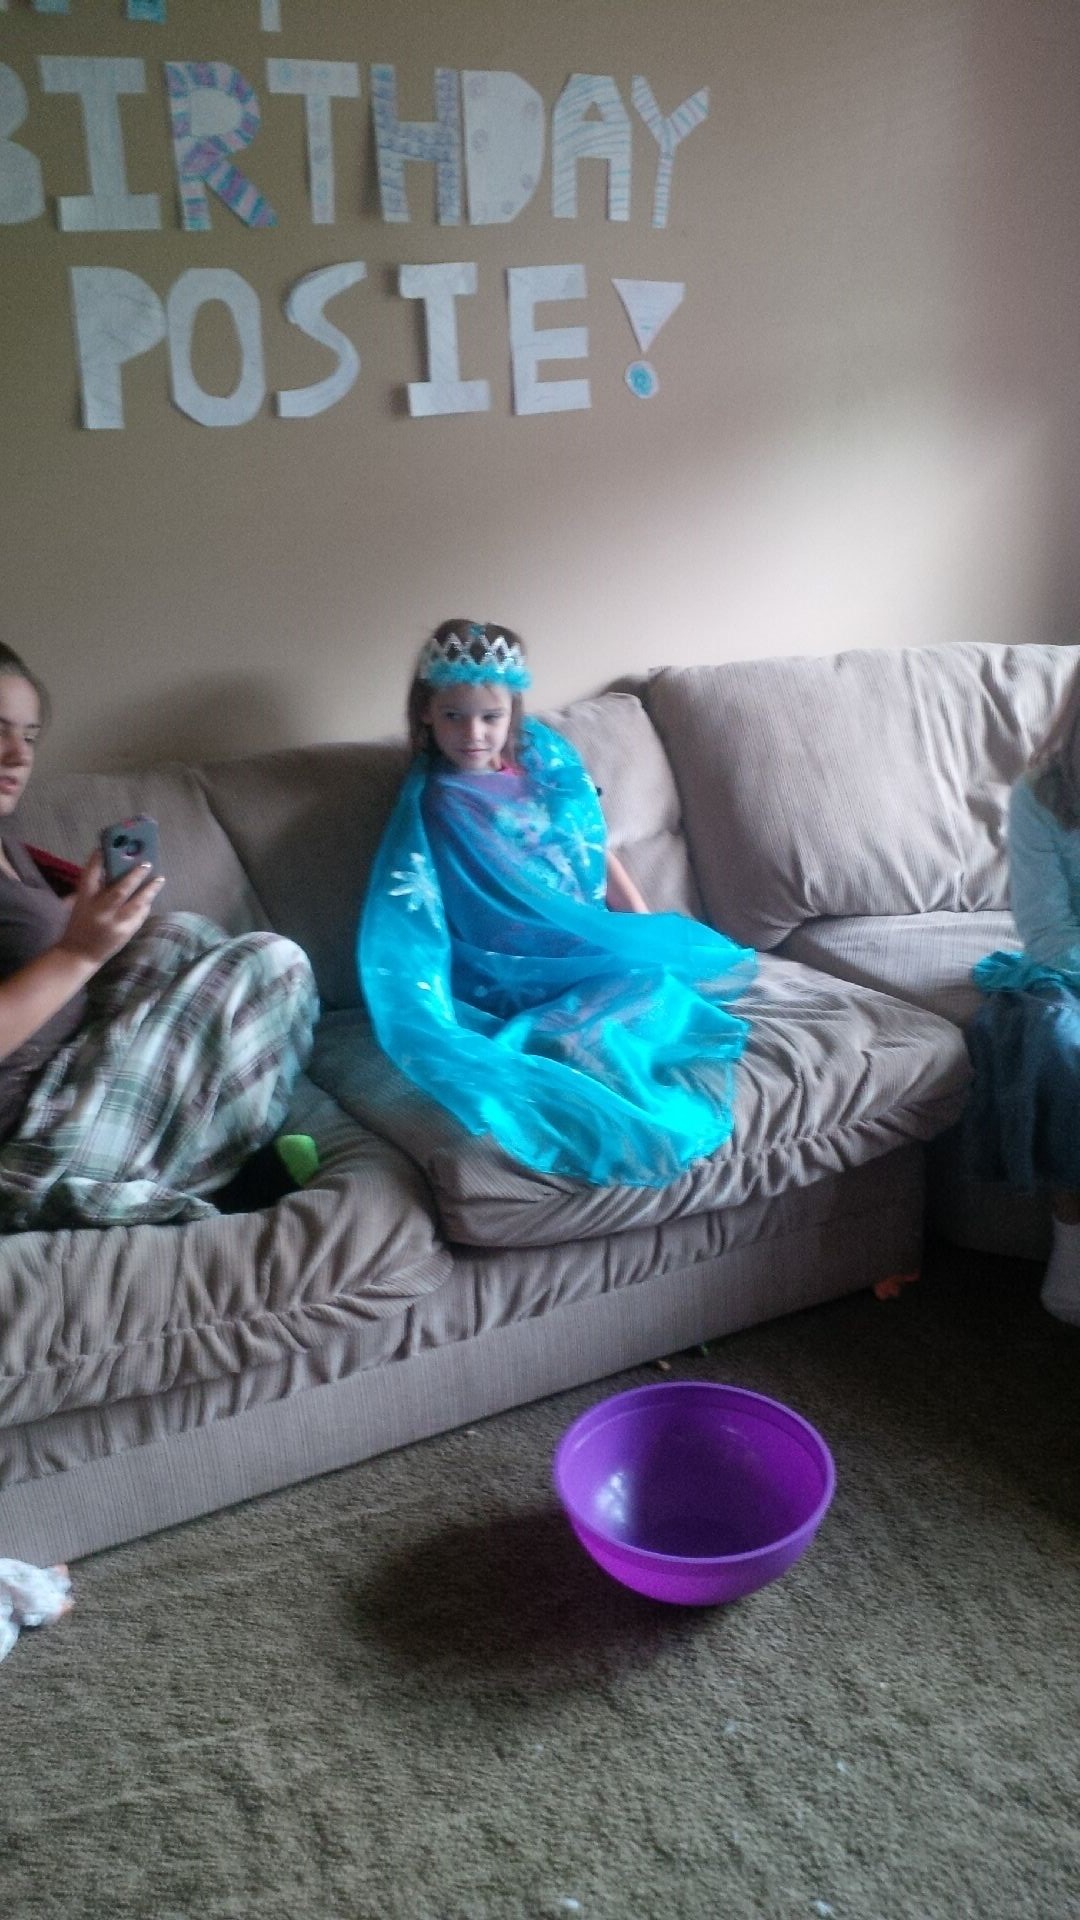 Her nickname is “Posie” so Lauren our birthday decorator made the sign on the wall with the help of other sisters. It is a tradition that when the little ones wake up the house is decorated with streamers, balloons, and a sign. It has been done by Lauren every since they were little. When I had so many little ones, it was just enough to get through my days, who had time to blow up balloons and decorate? Not me, so thankfully my daughter enjoys doing that as a surprise. Each child puts in their request for decoration colors or themes and then Lauren decorates.
For her cake, she wanted Superman ice cream. I realized that this is something that you can ONLY get in Michigan. Or so I was told. We decided to make a “frozen” birthday cake. I made a funfetti cake mix and baked it as usual then froze it. I topped it with partially thawed superman ice cream. Froze that and then topped with whipped topping and added blue sprinkles.
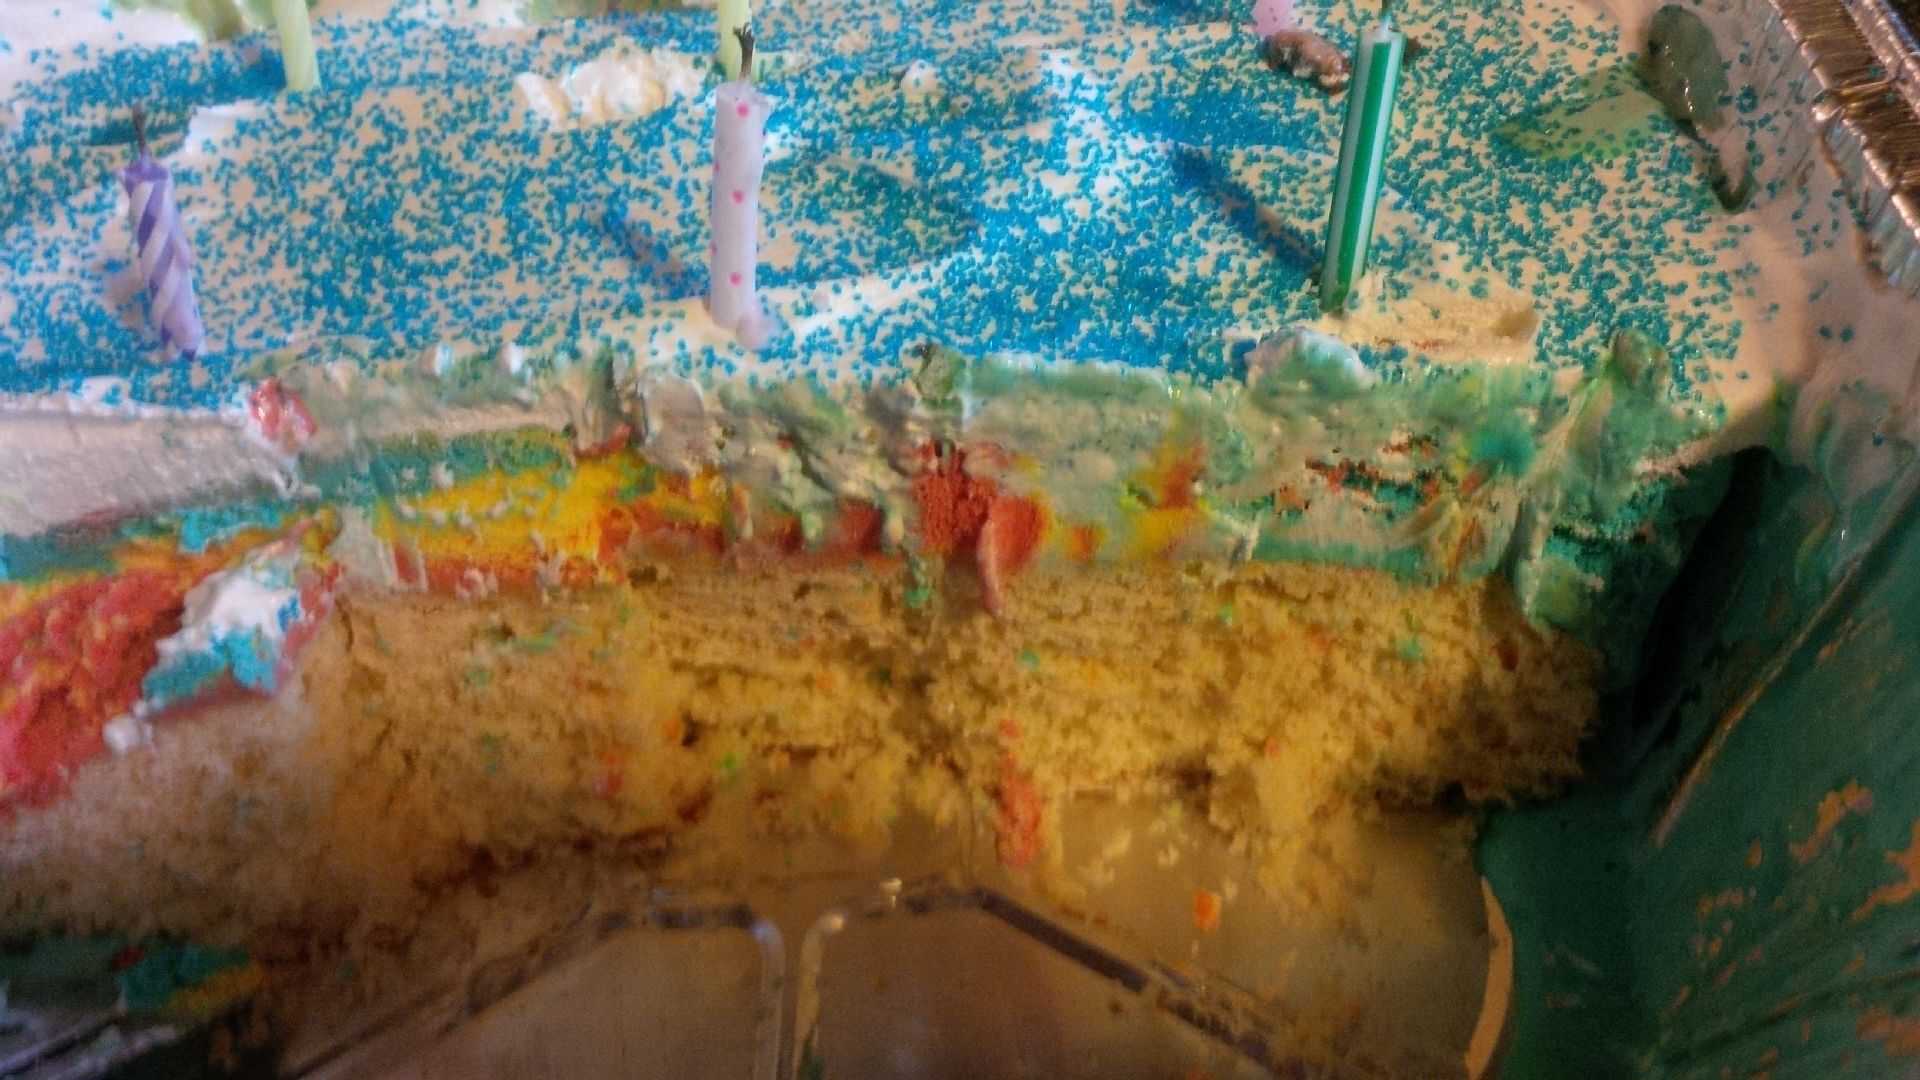
It was yummy. I wanted to make another kind in case not everyone liked superman ice cream, so we went with the chocolate theme.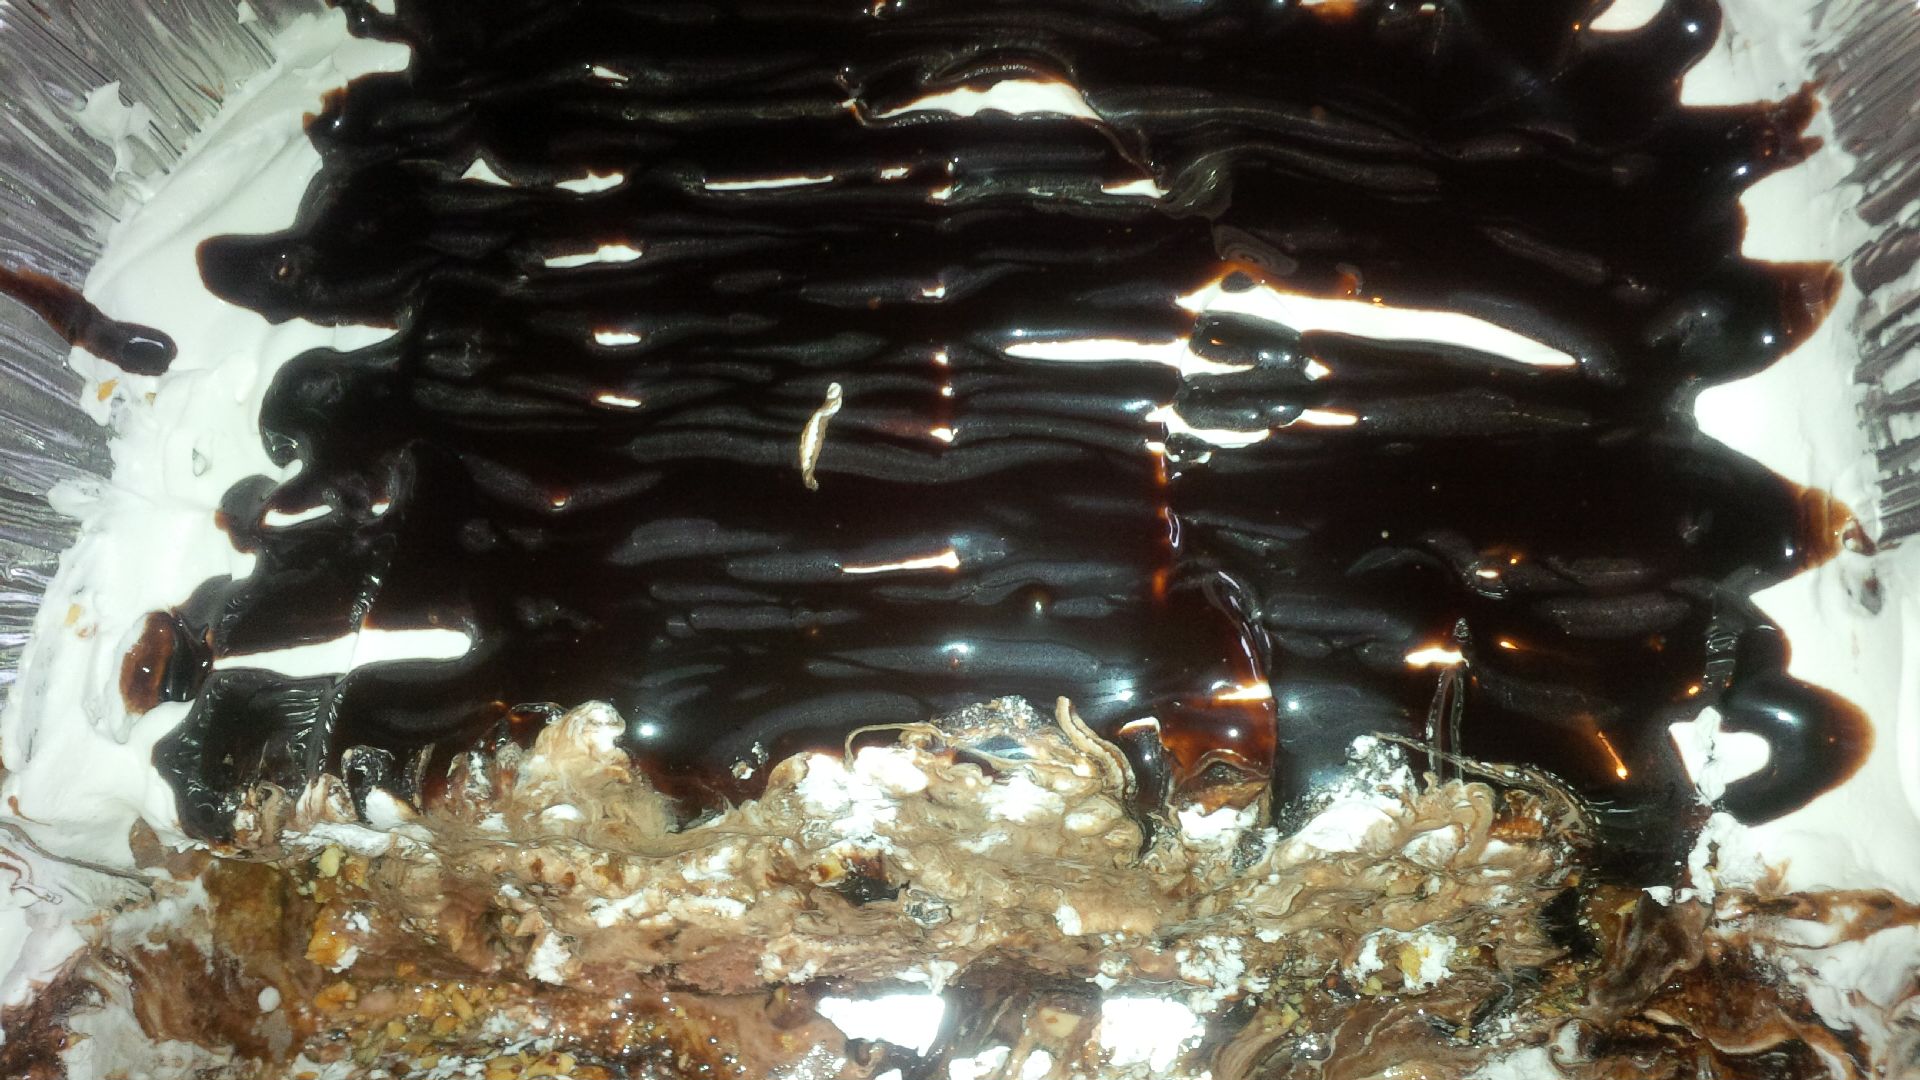
I did the same thing as the superman frozen cake. I made everything in layers and froze it in between steps. It had:
- chocolate cake
- chocolate ice cream
- chocolate syrup drizzled
- chocolate covered toffee bits
- whipped topping
- chocolate syrup drizzled
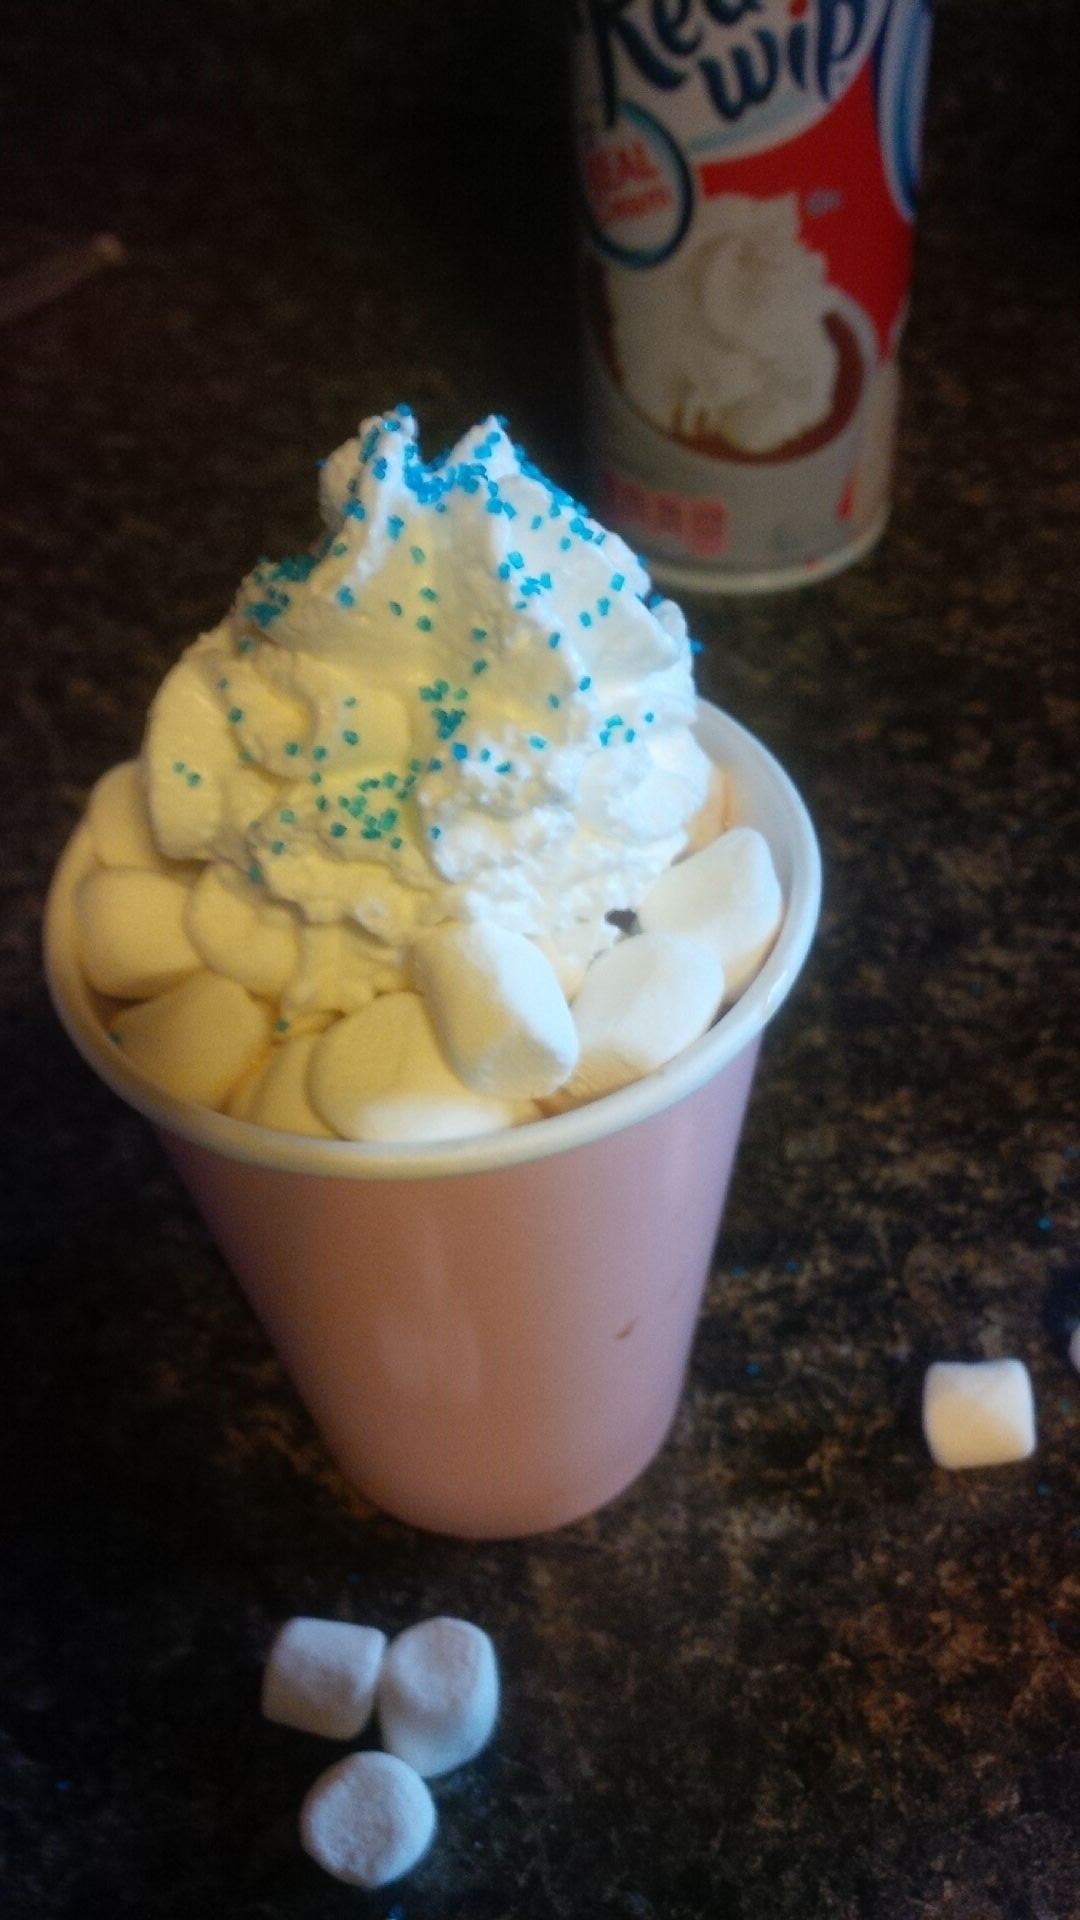
To top off the night we had some homemade hot chocolate to go with our frozen theme. This is one recipe that we like to make many times during the winter months.
 It was a happy day, full of fun, laughter, and memories. It didn’t cost us an arm and a leg, but we were still able to do something special.