Discovery Days Tuxedo Park fun family day
Community
People alone can only do so little…………but people together can do so much!
Why I believe in building together with your community.
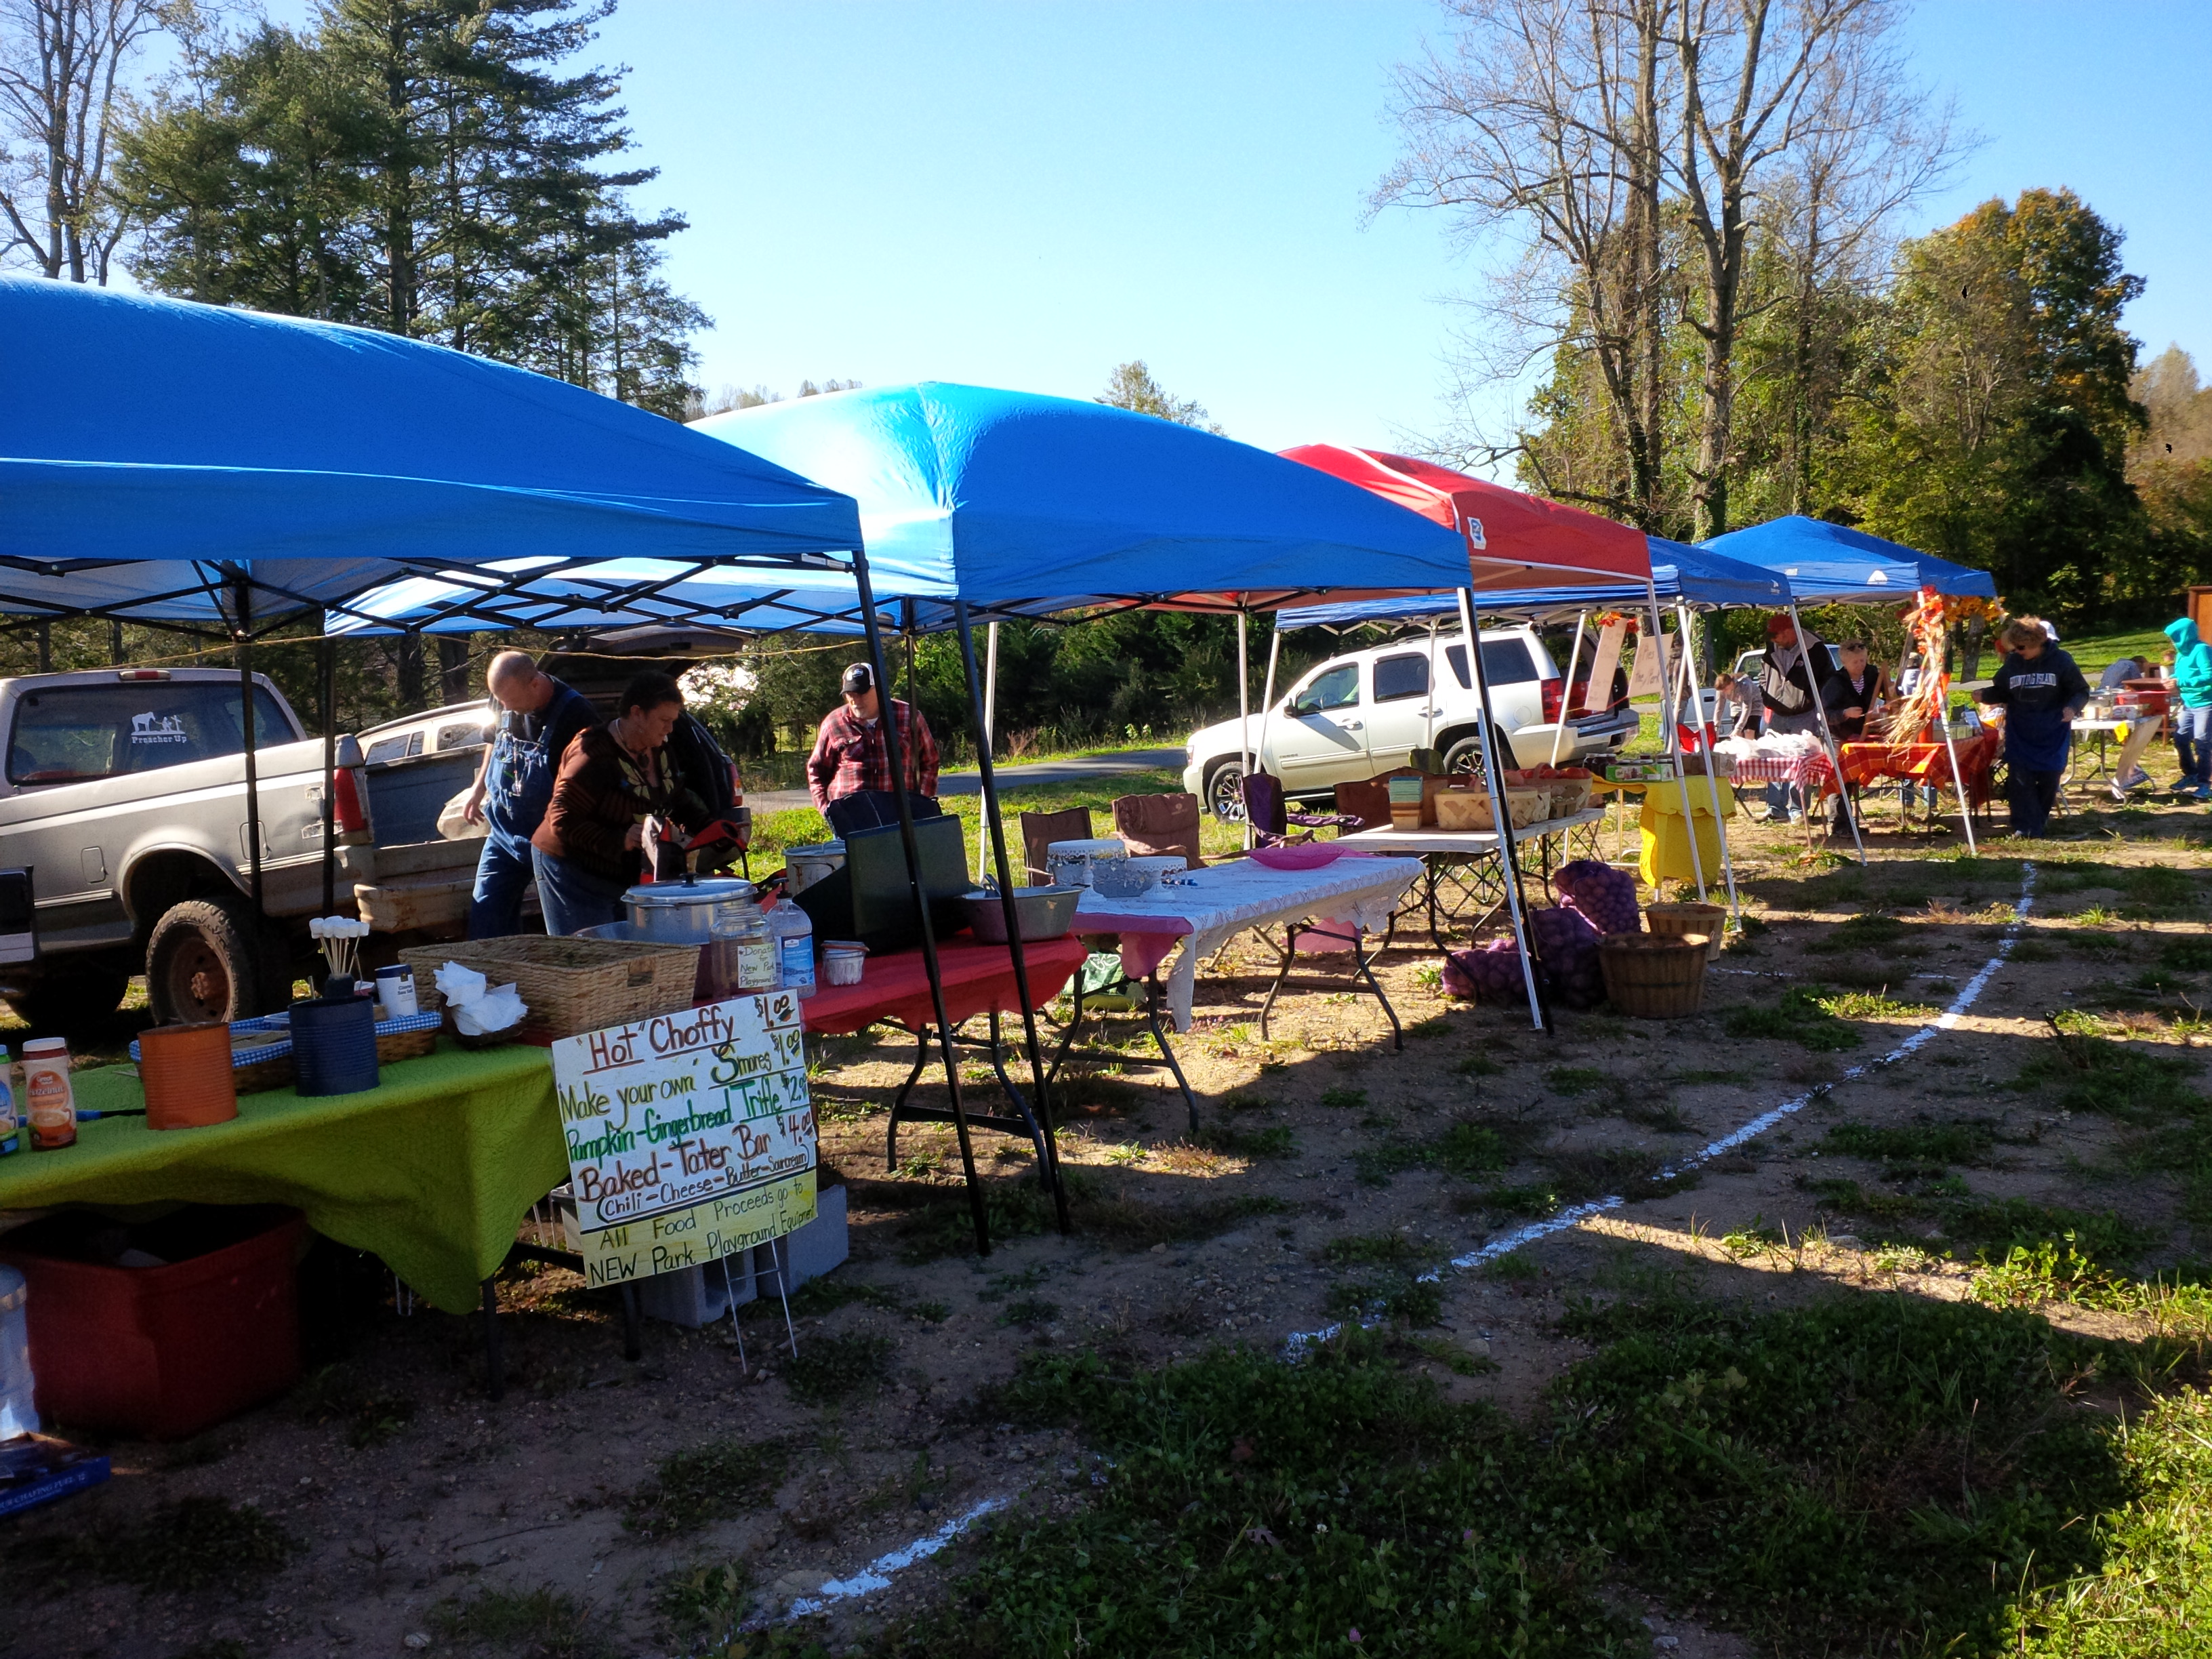
This past weekend we were blessed to be able to take part in our community “Discovery days.” This was one of many things that we took part in this past year since moving to our new town. As you may remember we did our town’s tailgate market and enjoyed meeting many new people through that. This event was for our whole community to come together to raise money for our park’s new playground equipment.
Here is a little video clip from our day
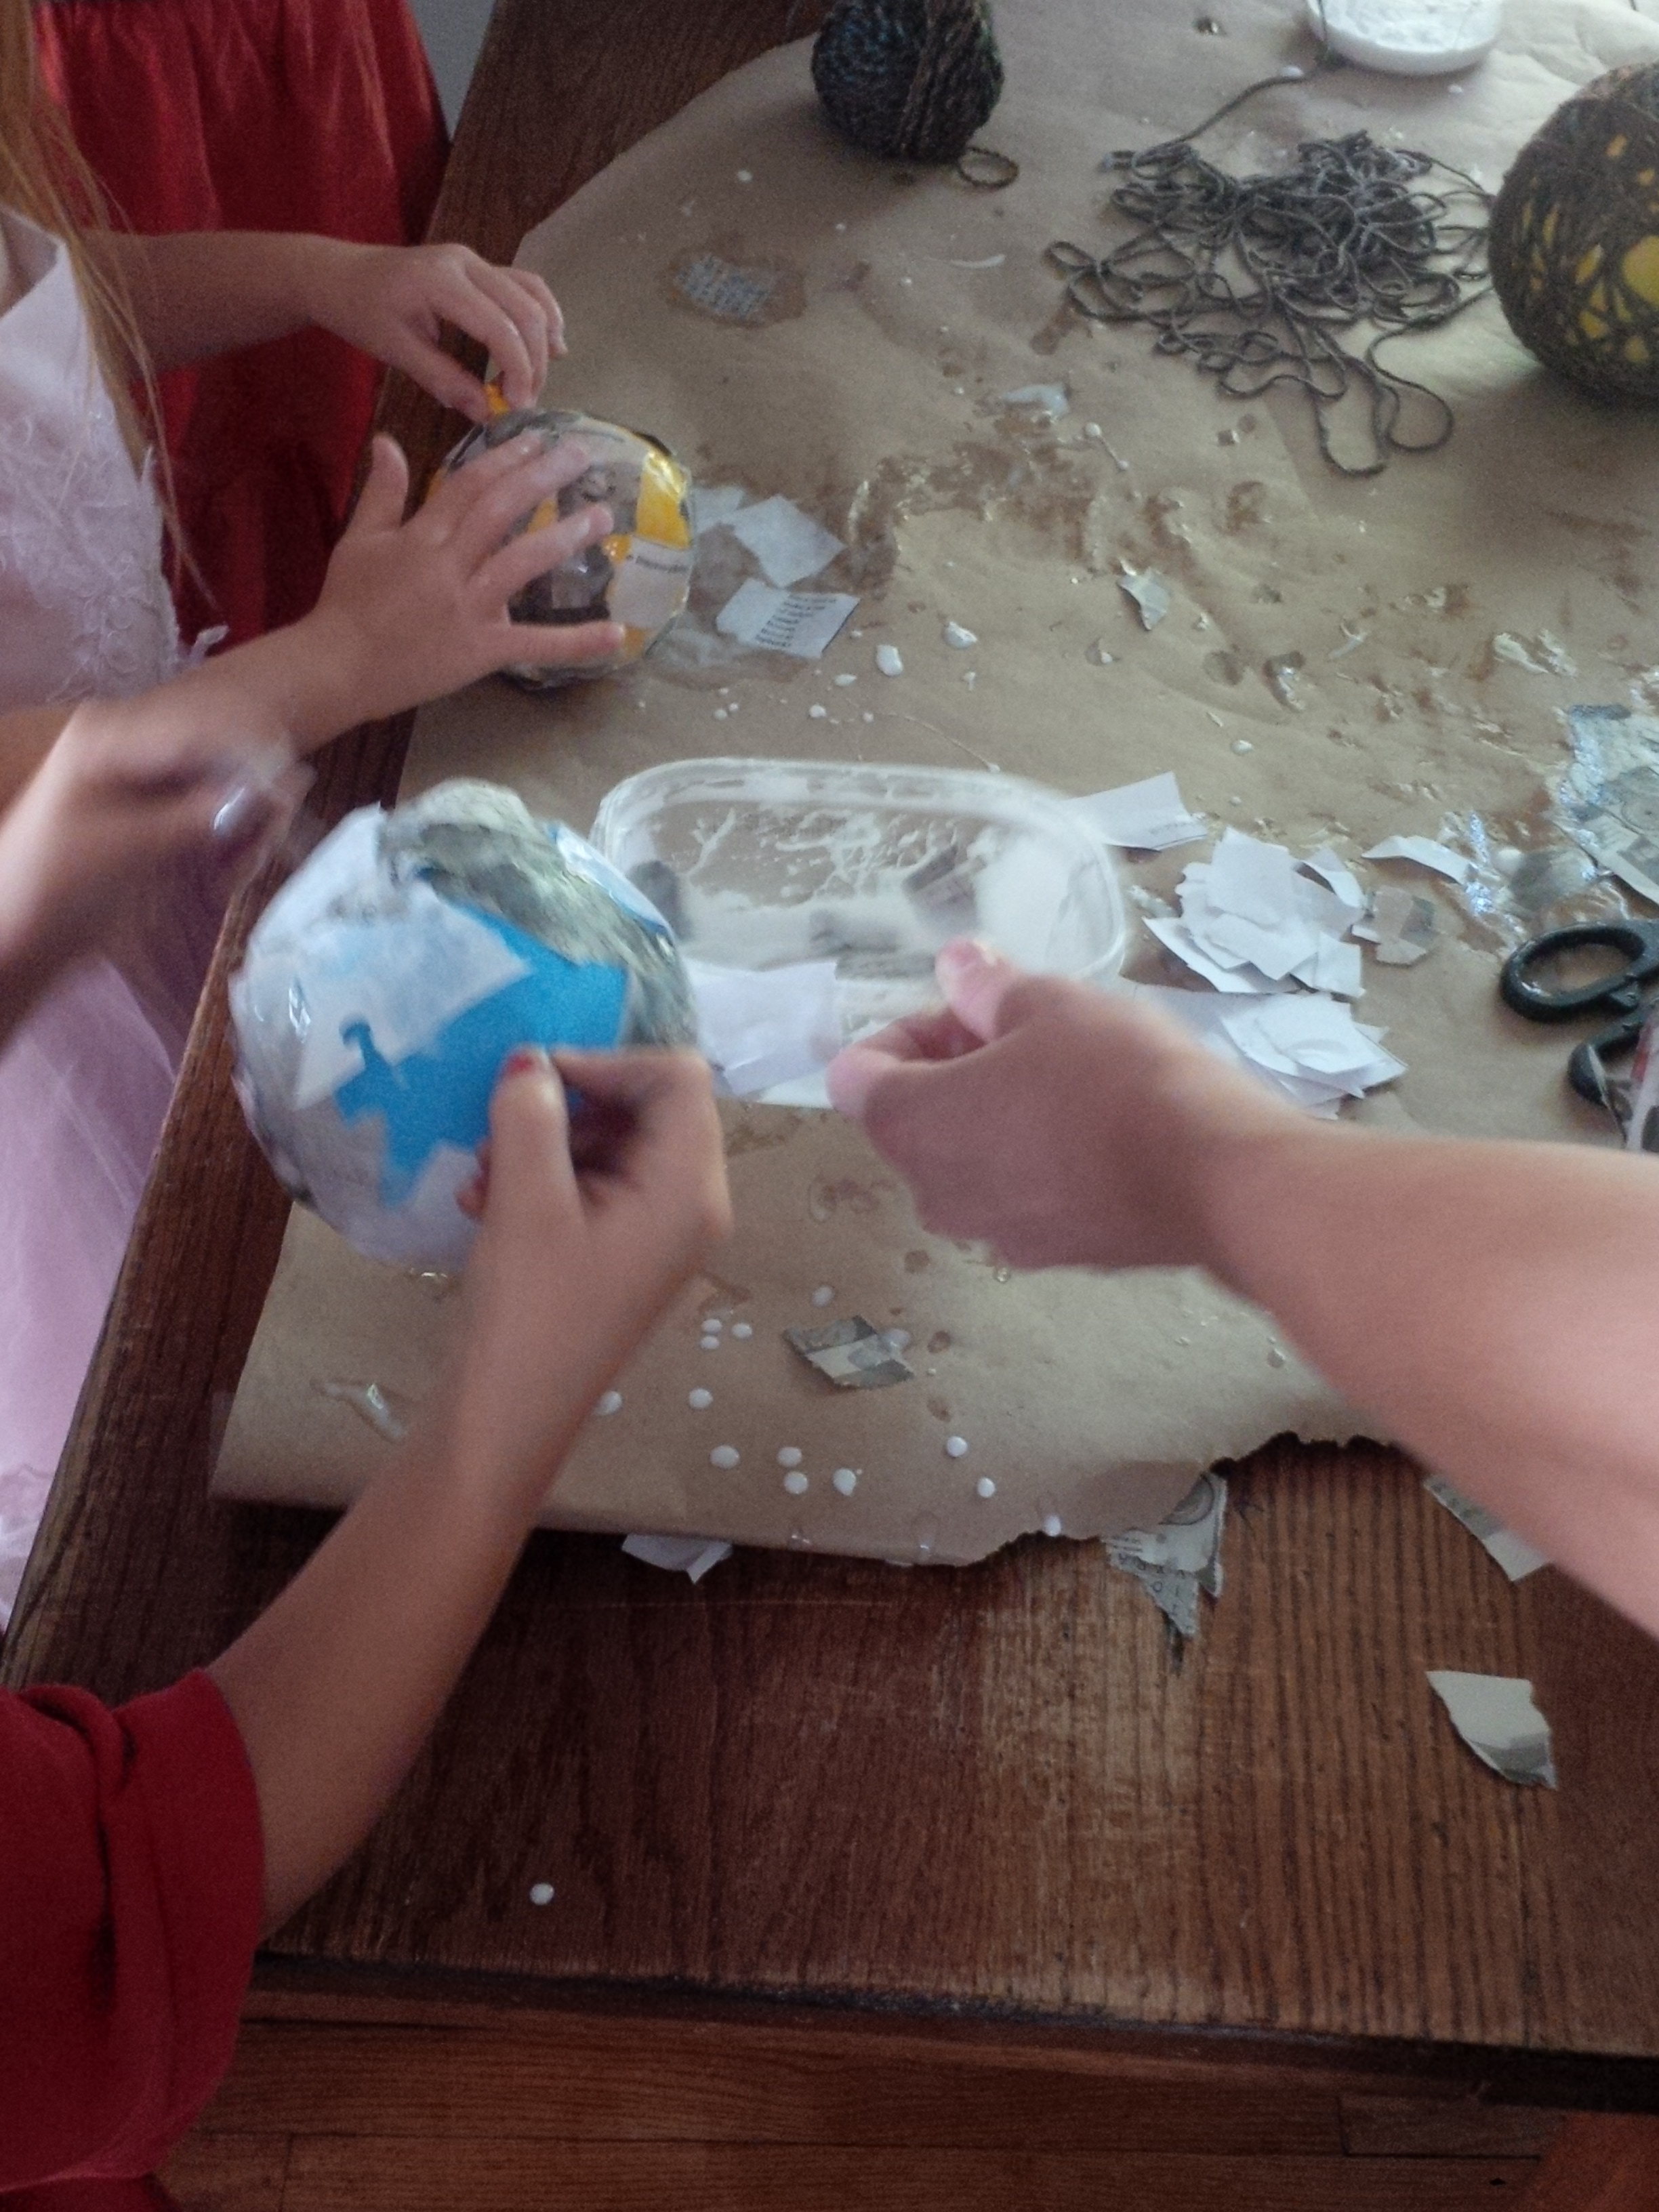
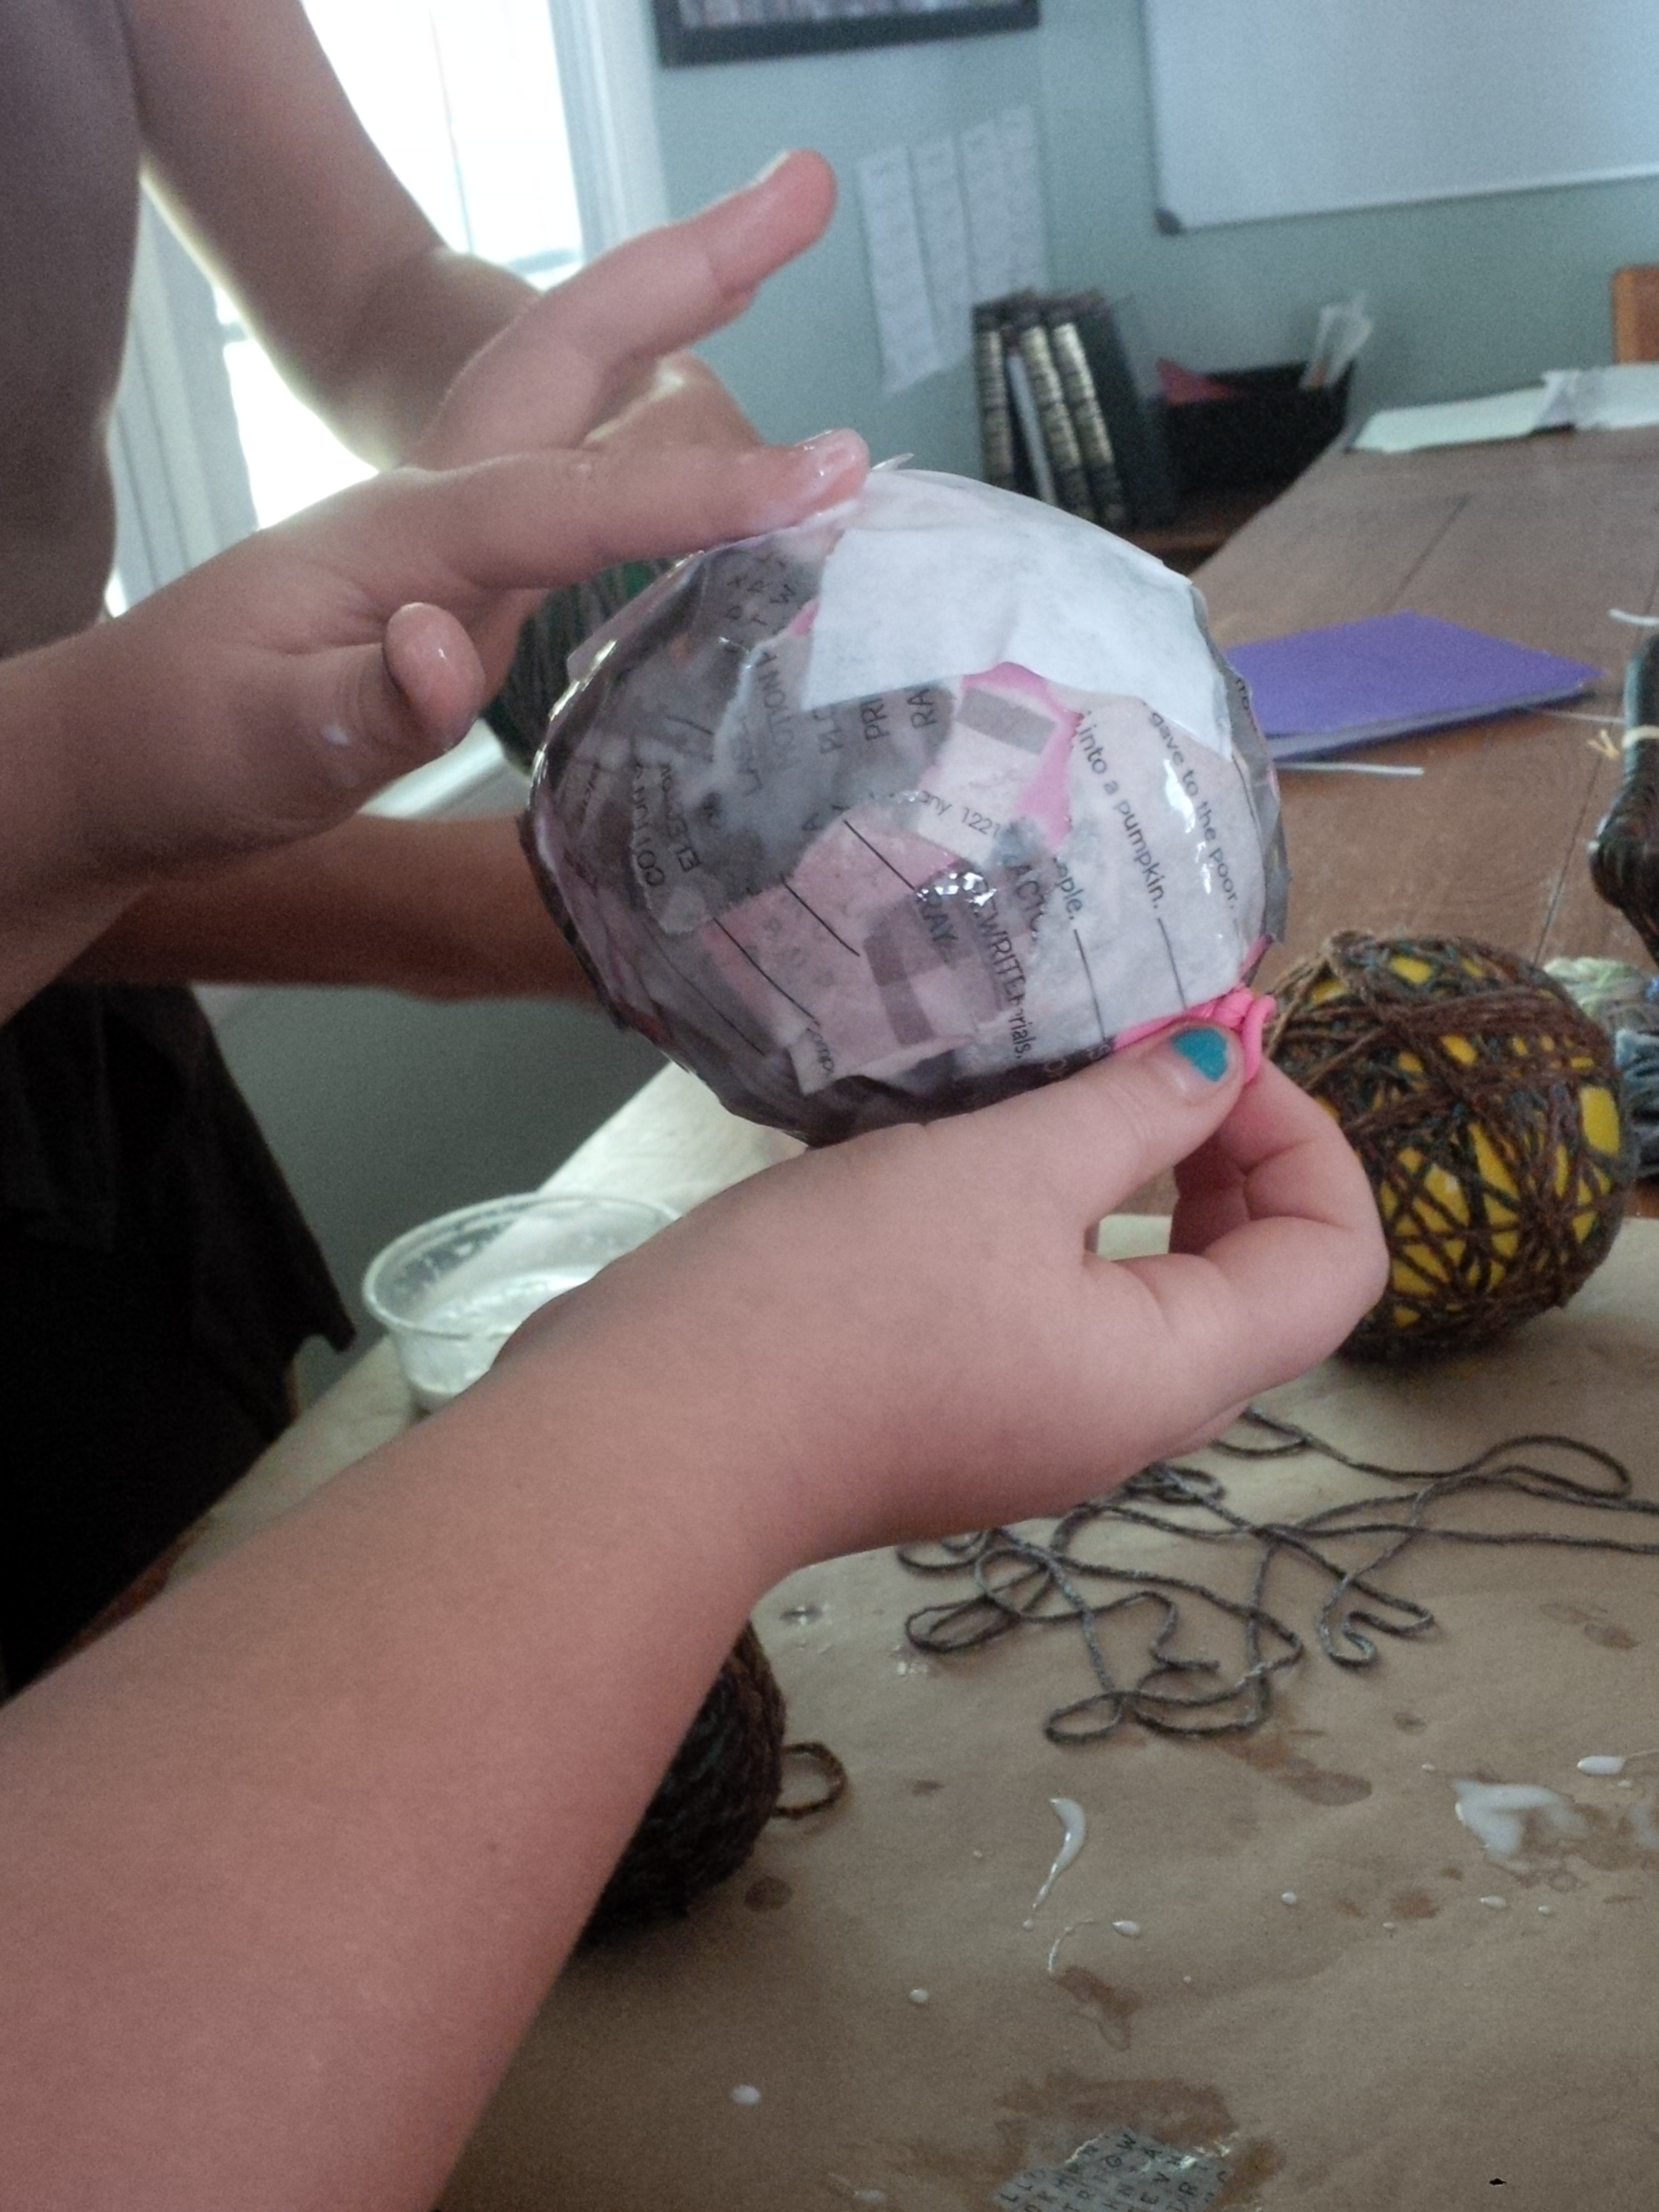
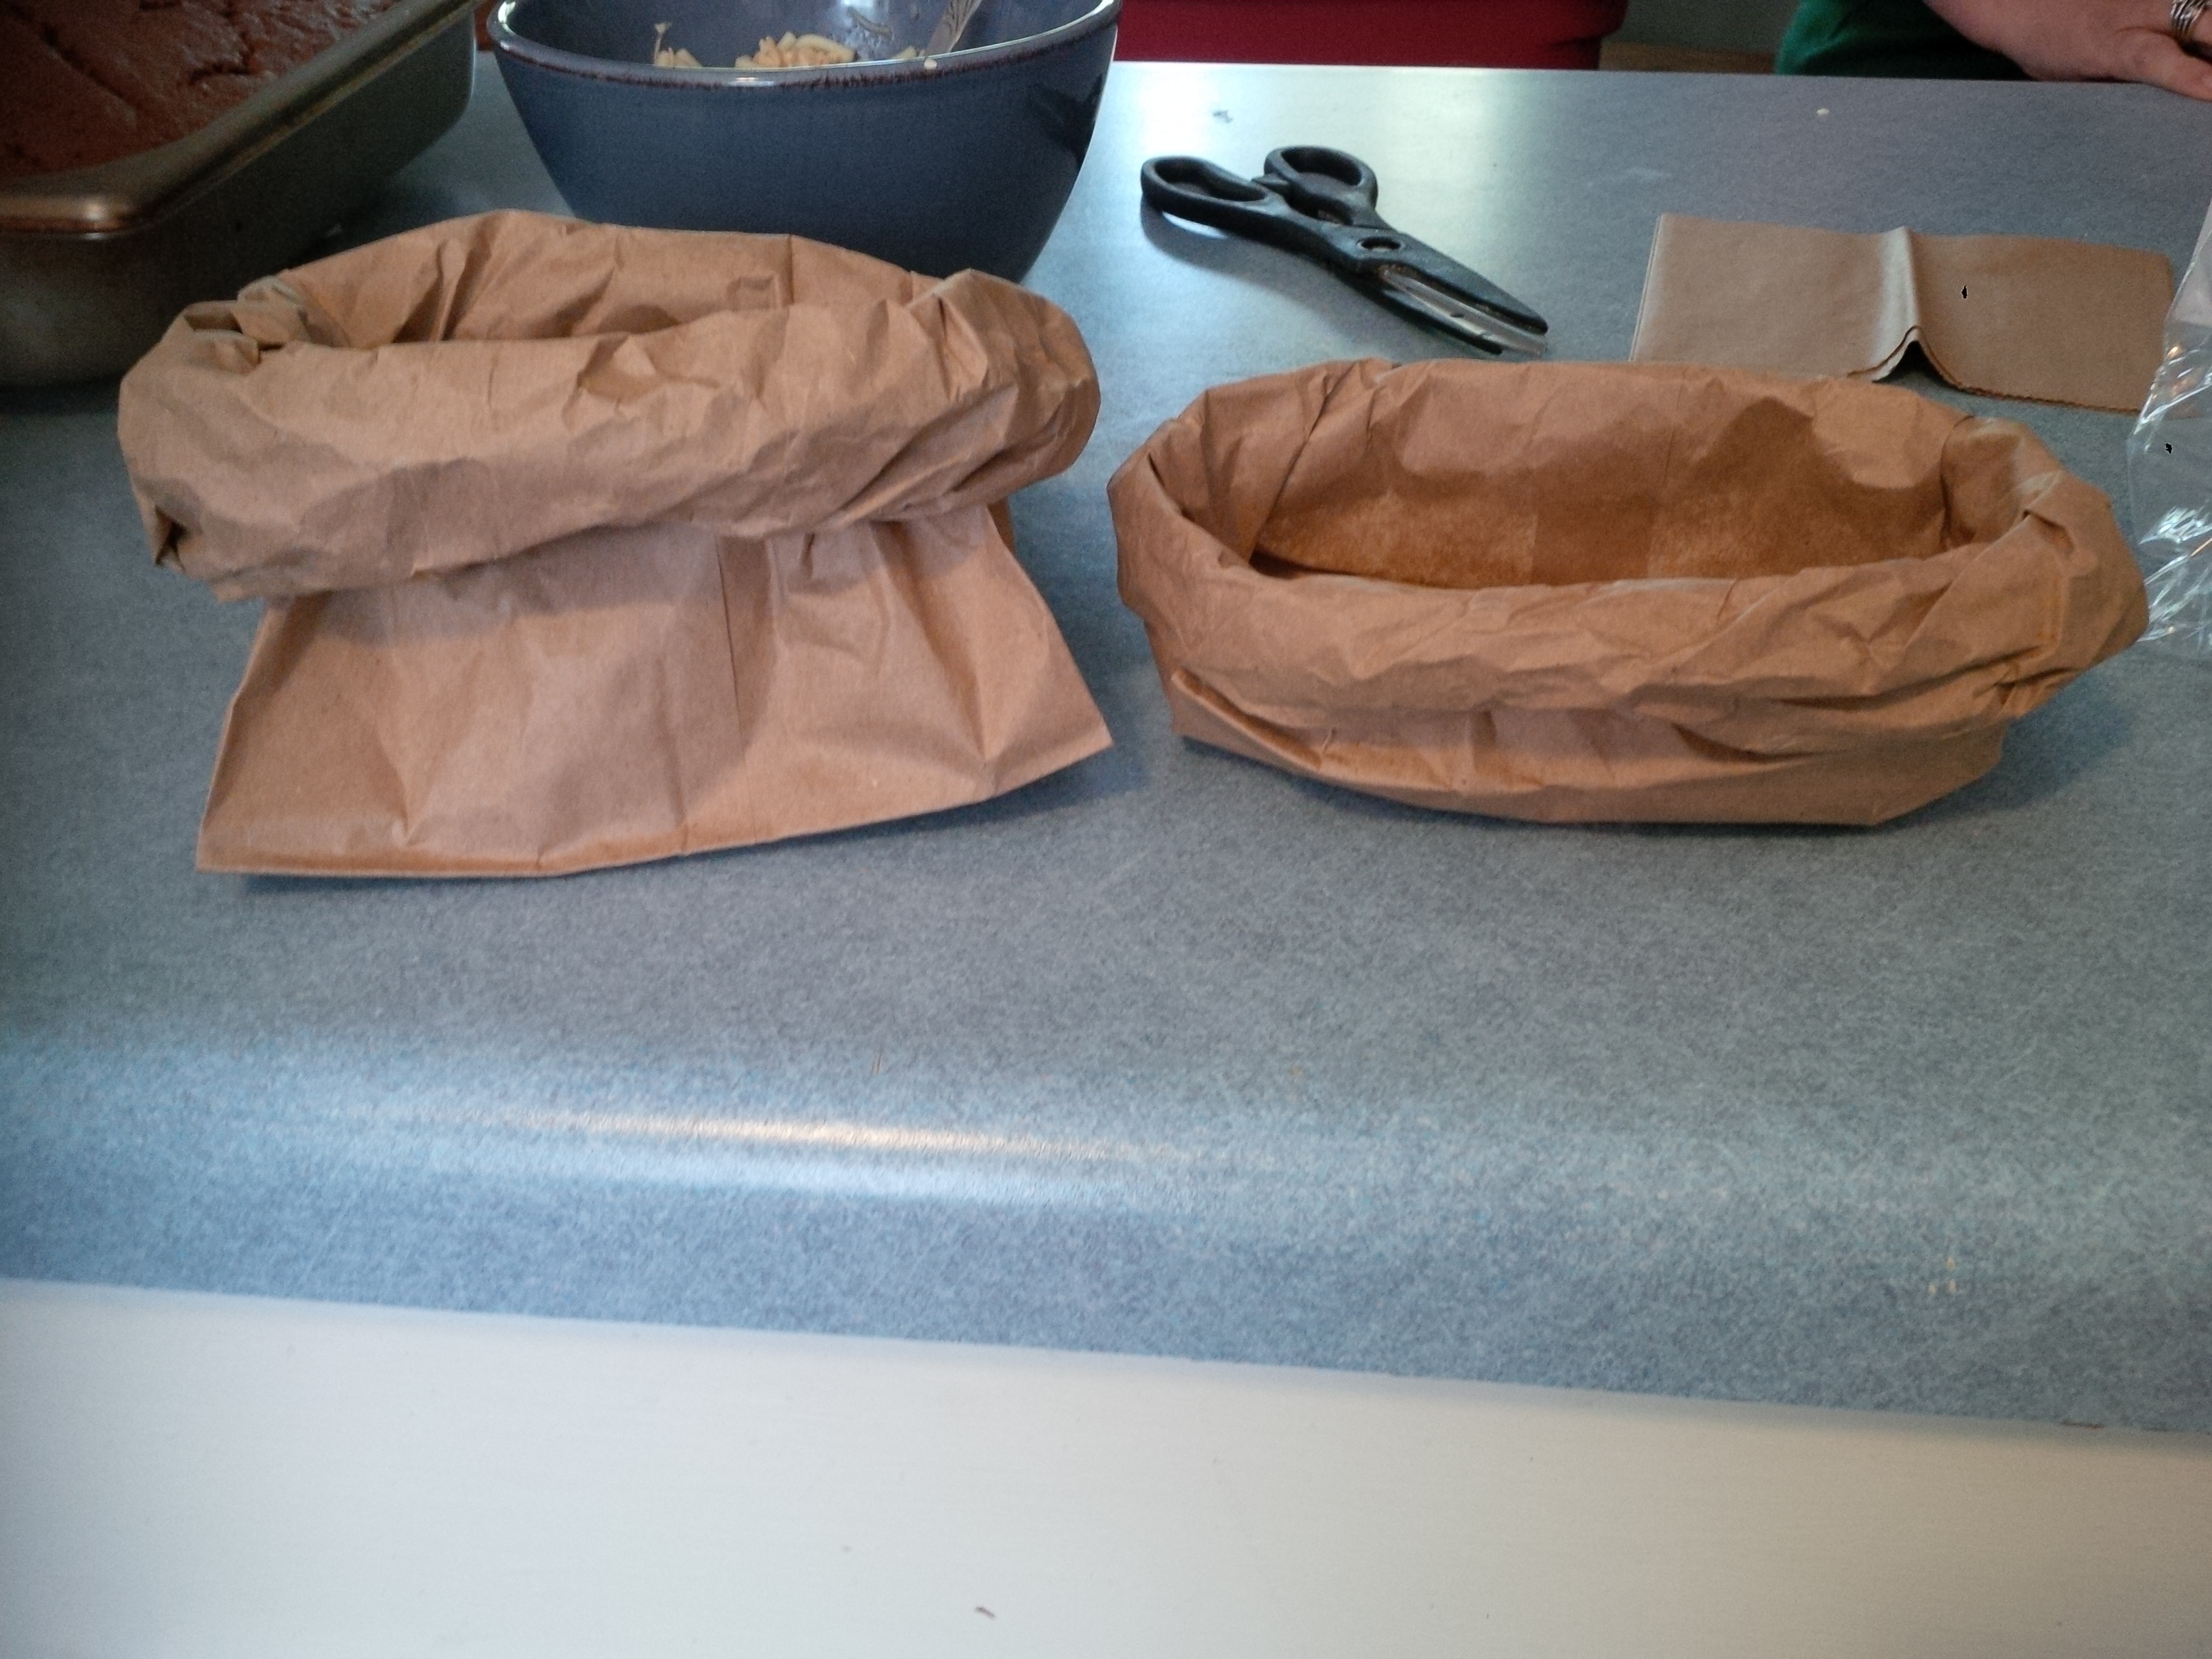
The days before we started with much “prep” for the big day. My daughters took time to roll 100 paper bags to make potato sacks for food we were selling.
 In each bag we placed one of those french fry trays and that is what we put the tinfoil wrapped potato in. We put in a cup of chili and then offered shredded cheese, sour cream, and packs of butter for toppings. We sold our meal for $4. I don’t have a “finished” product photo as I forgot to take a picture that day.
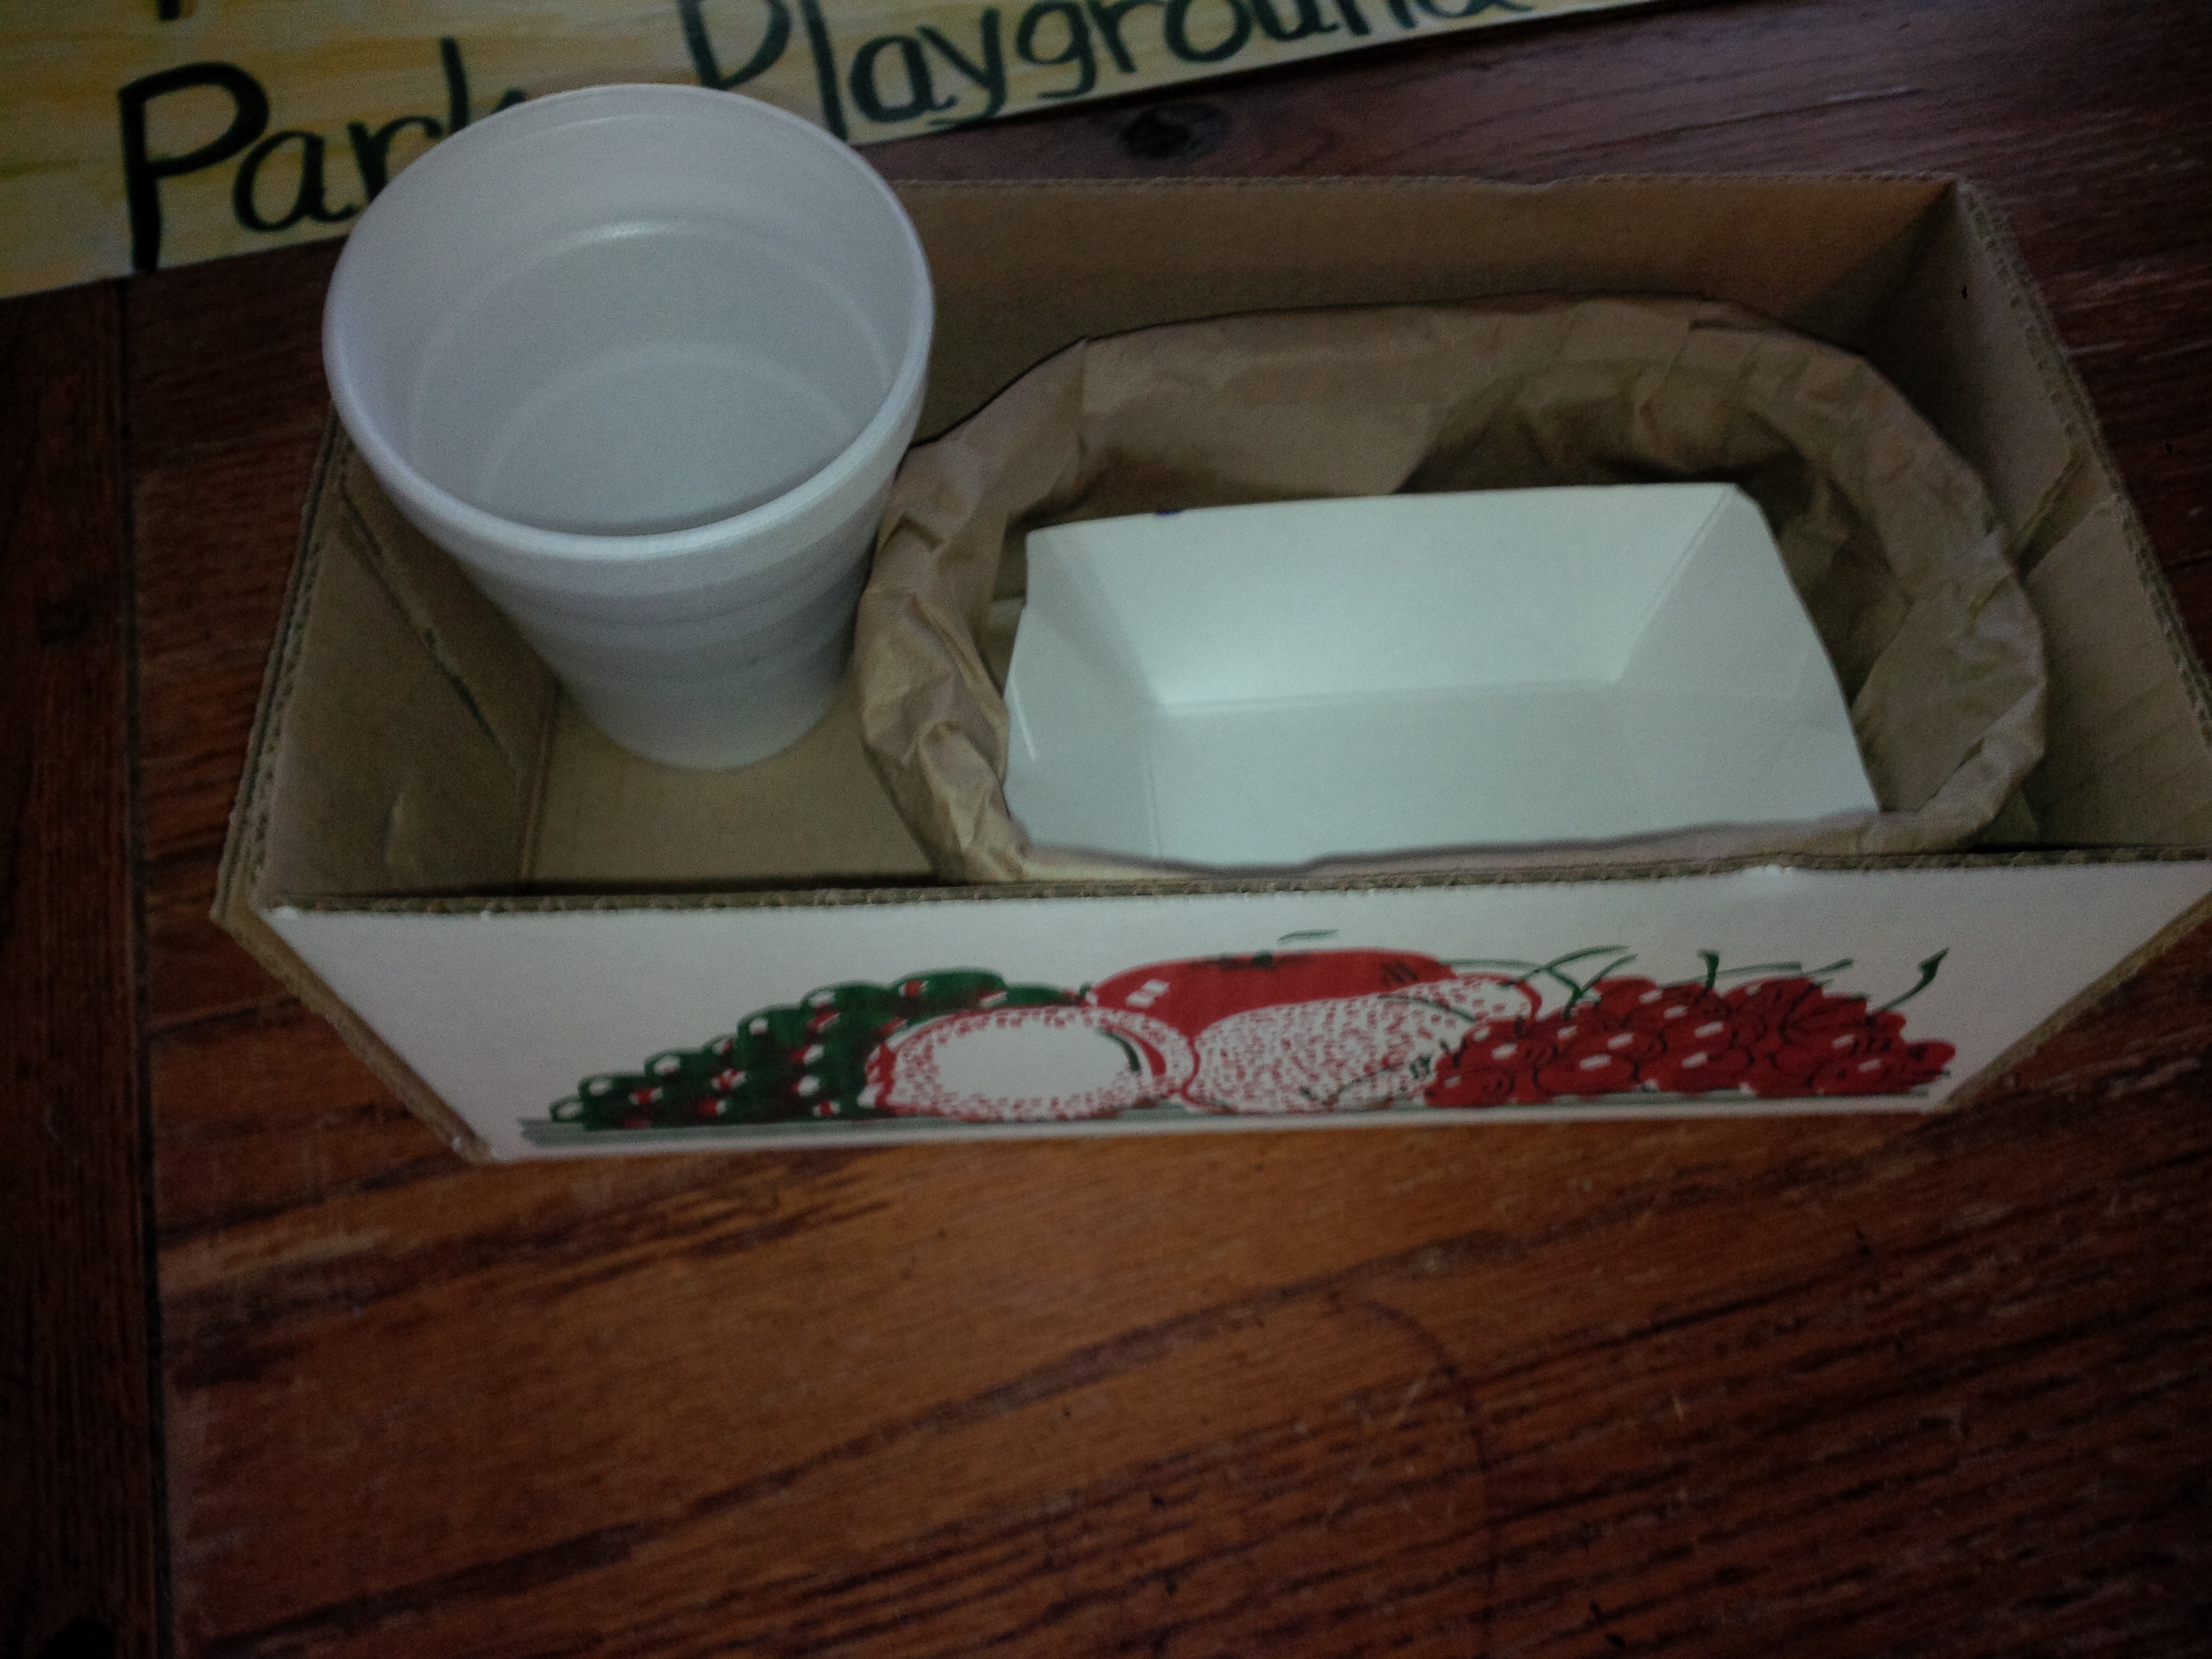
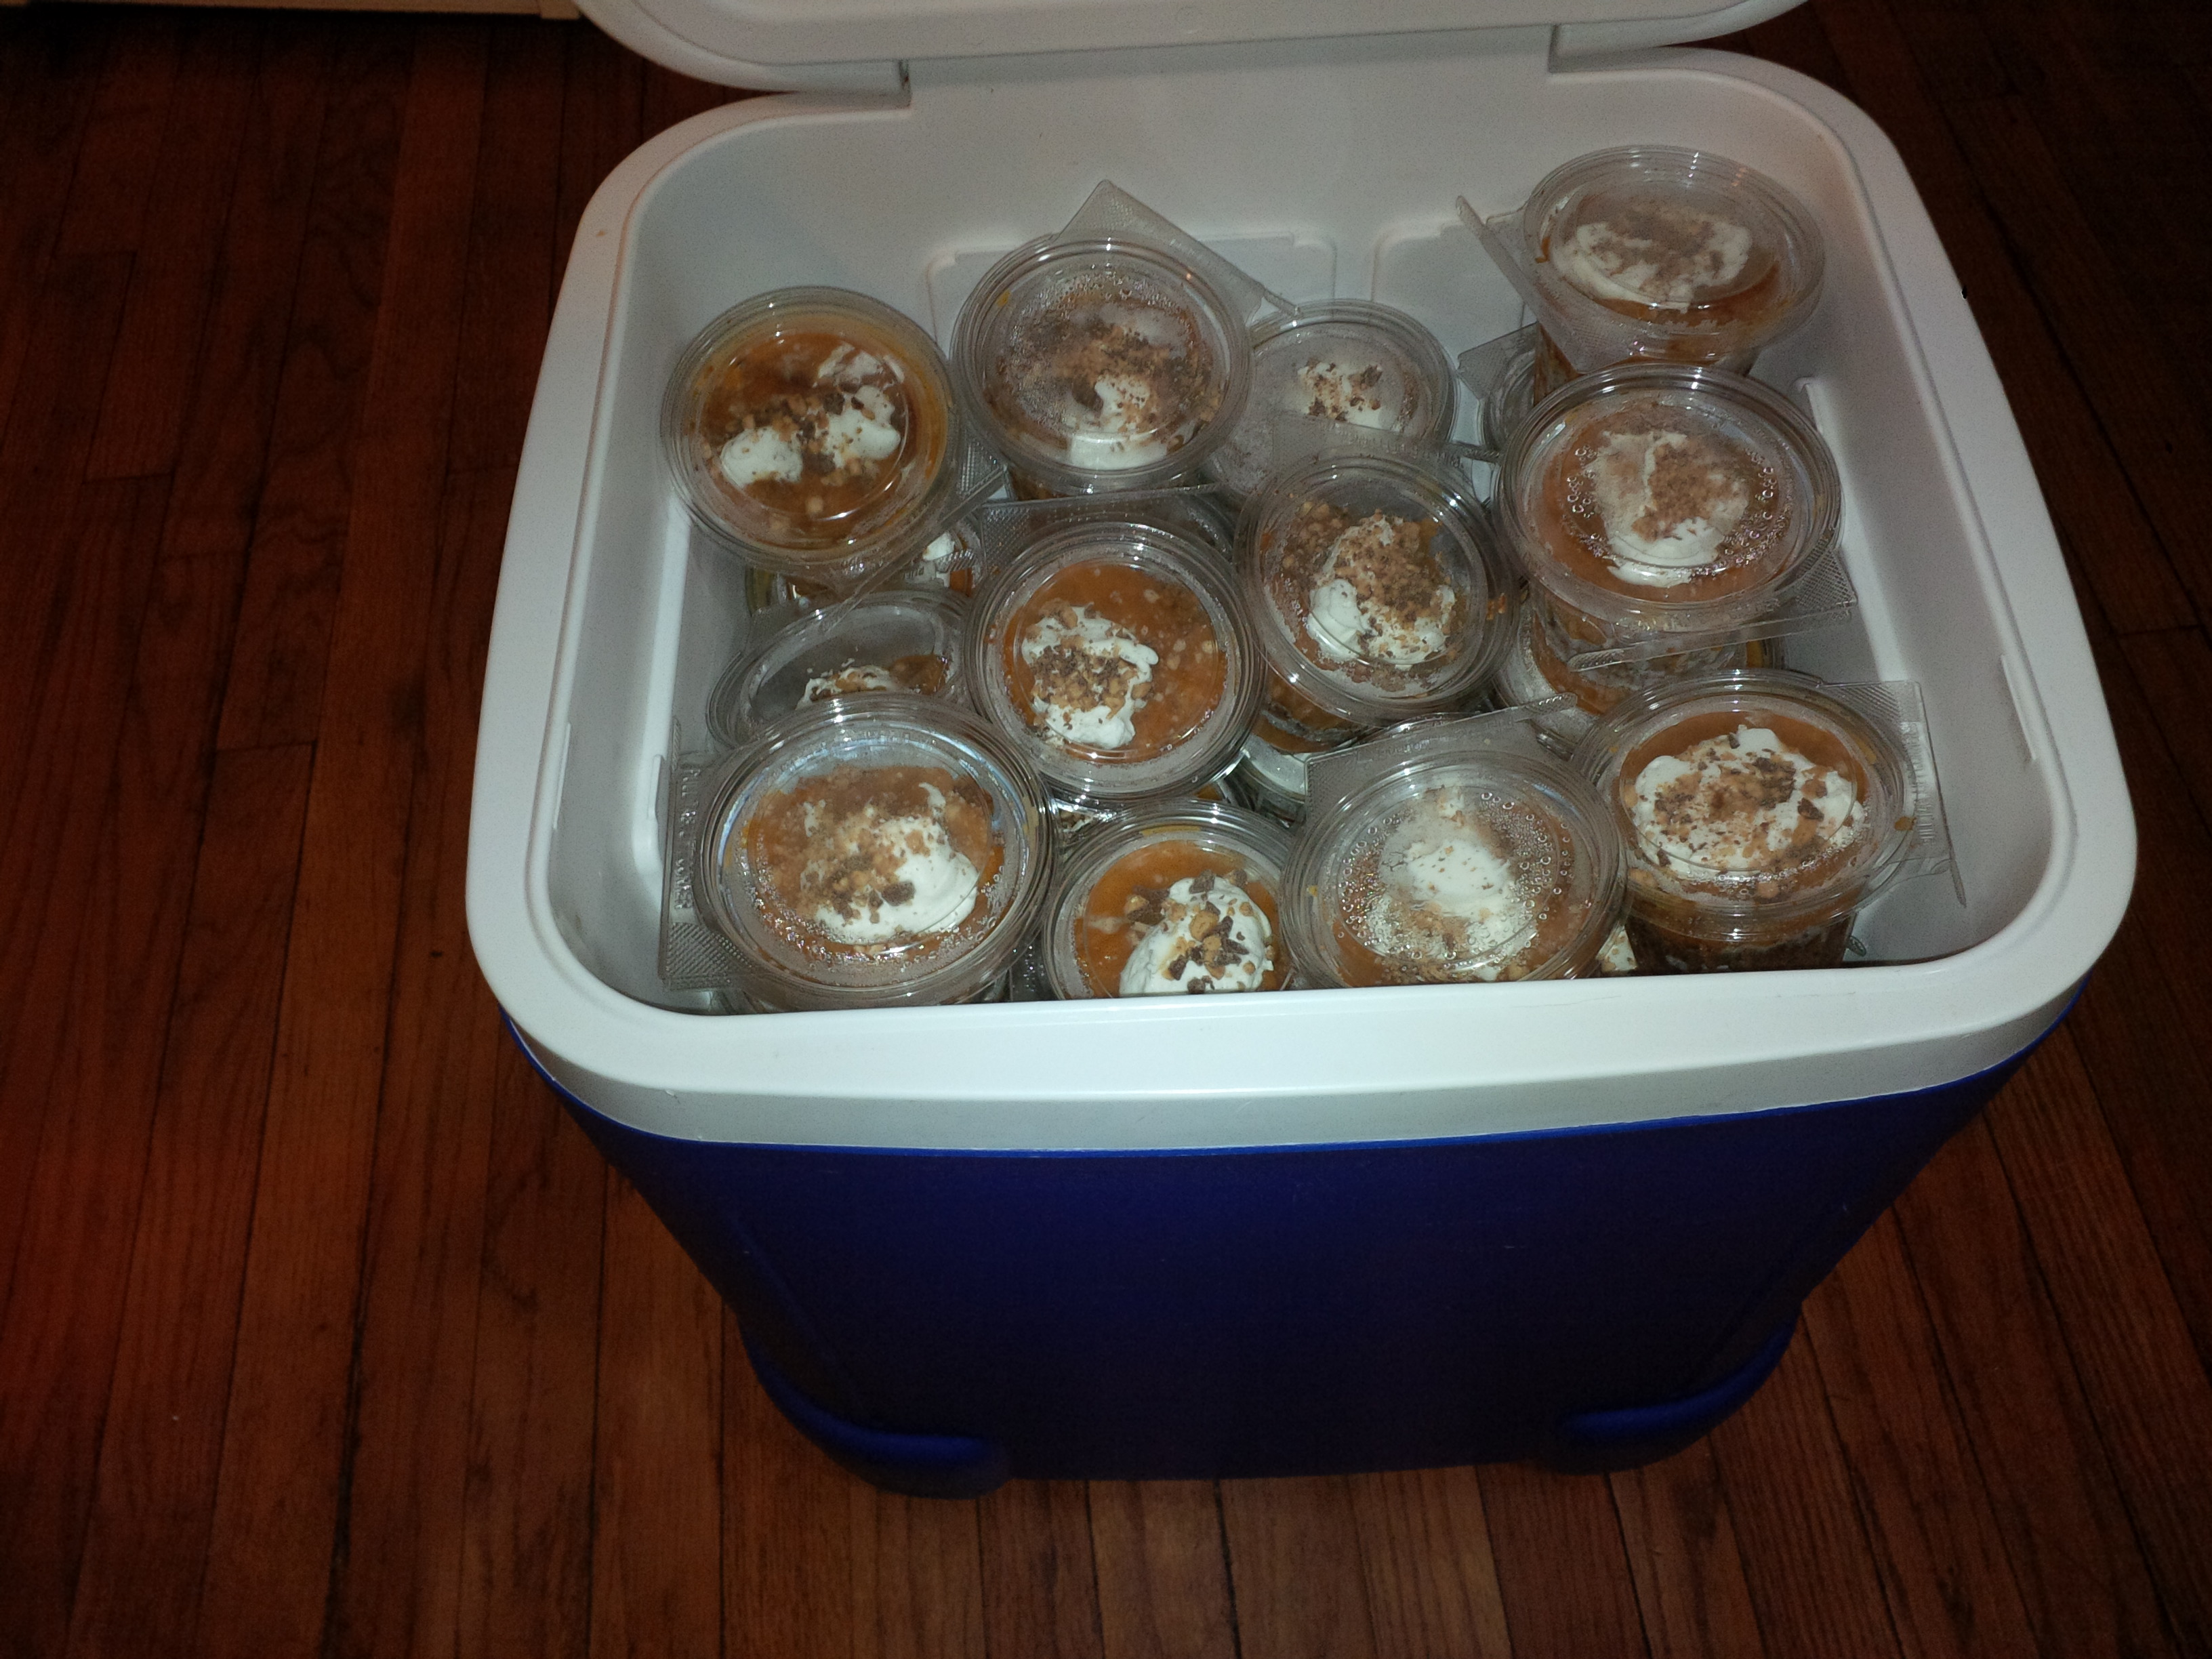
We also made butterscotch pumpkin gingerbread trifle desert to sell. We froze them and then as we served them, they were partially thawed. An easy thing, and with leftovers we just kept them in the freezer.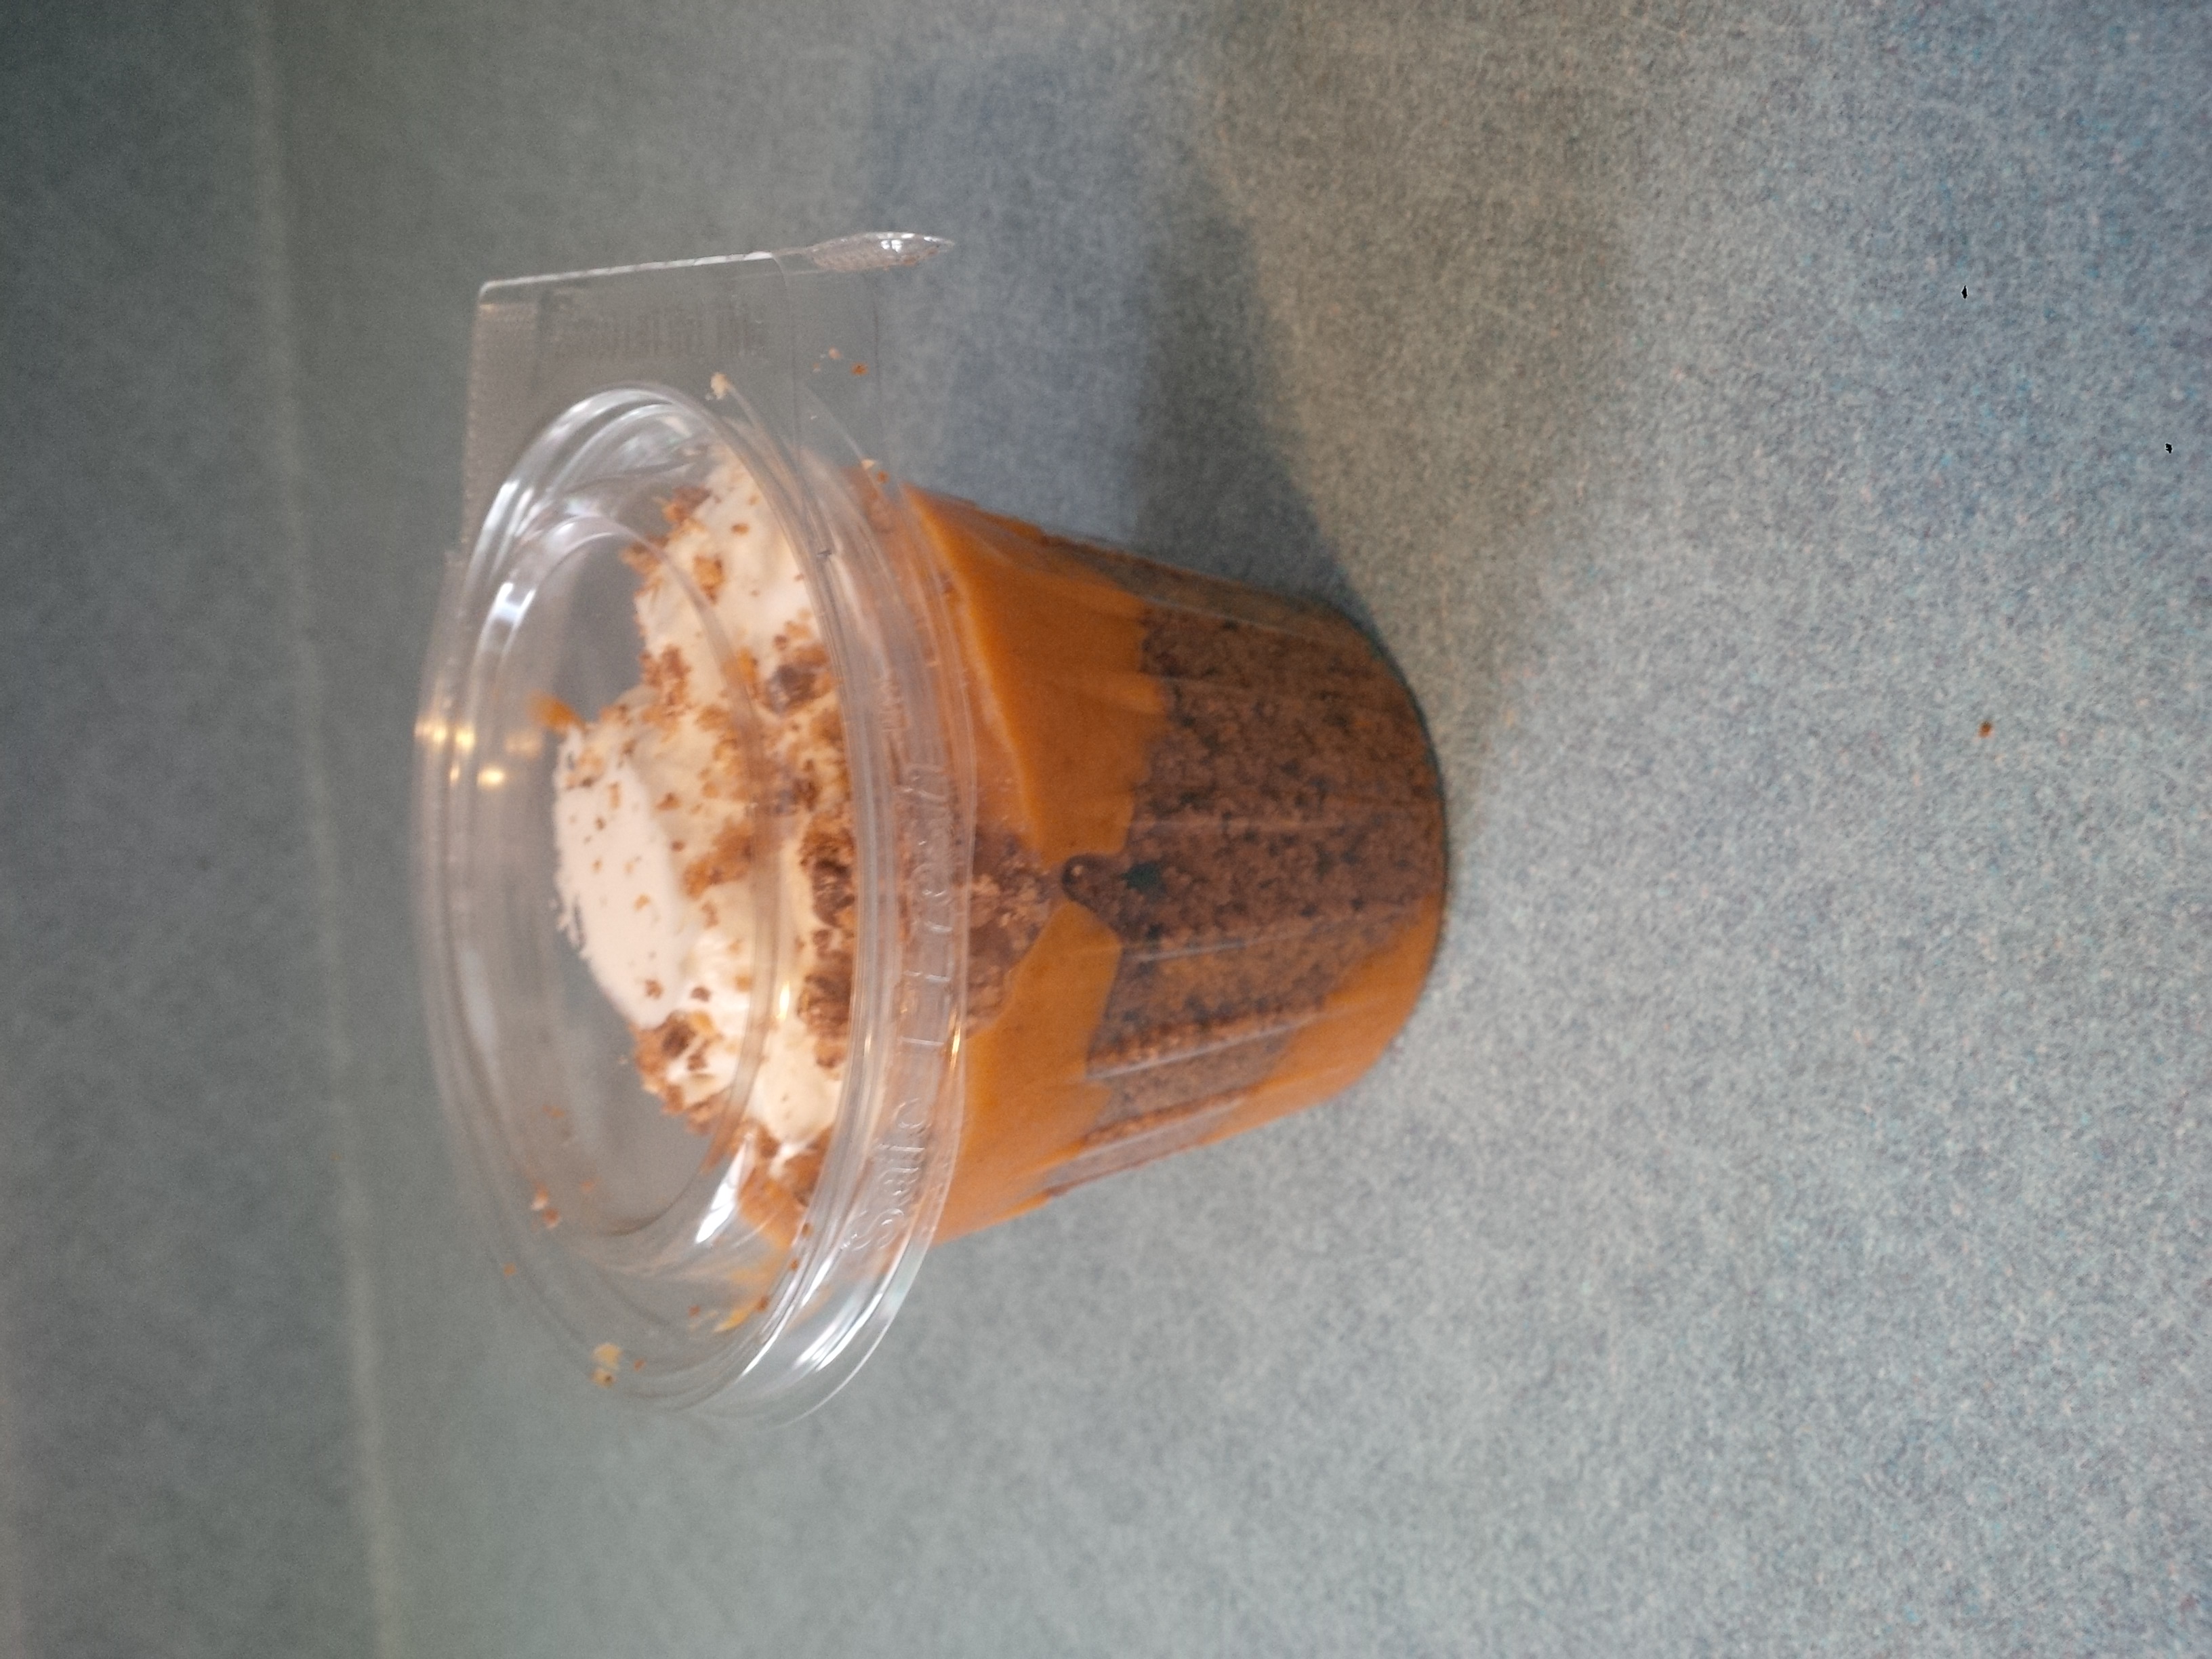 We stored them in a cooler for transport and to keep frozen. Most stayed pretty solid all day at 65 degrees outside and sunshine.
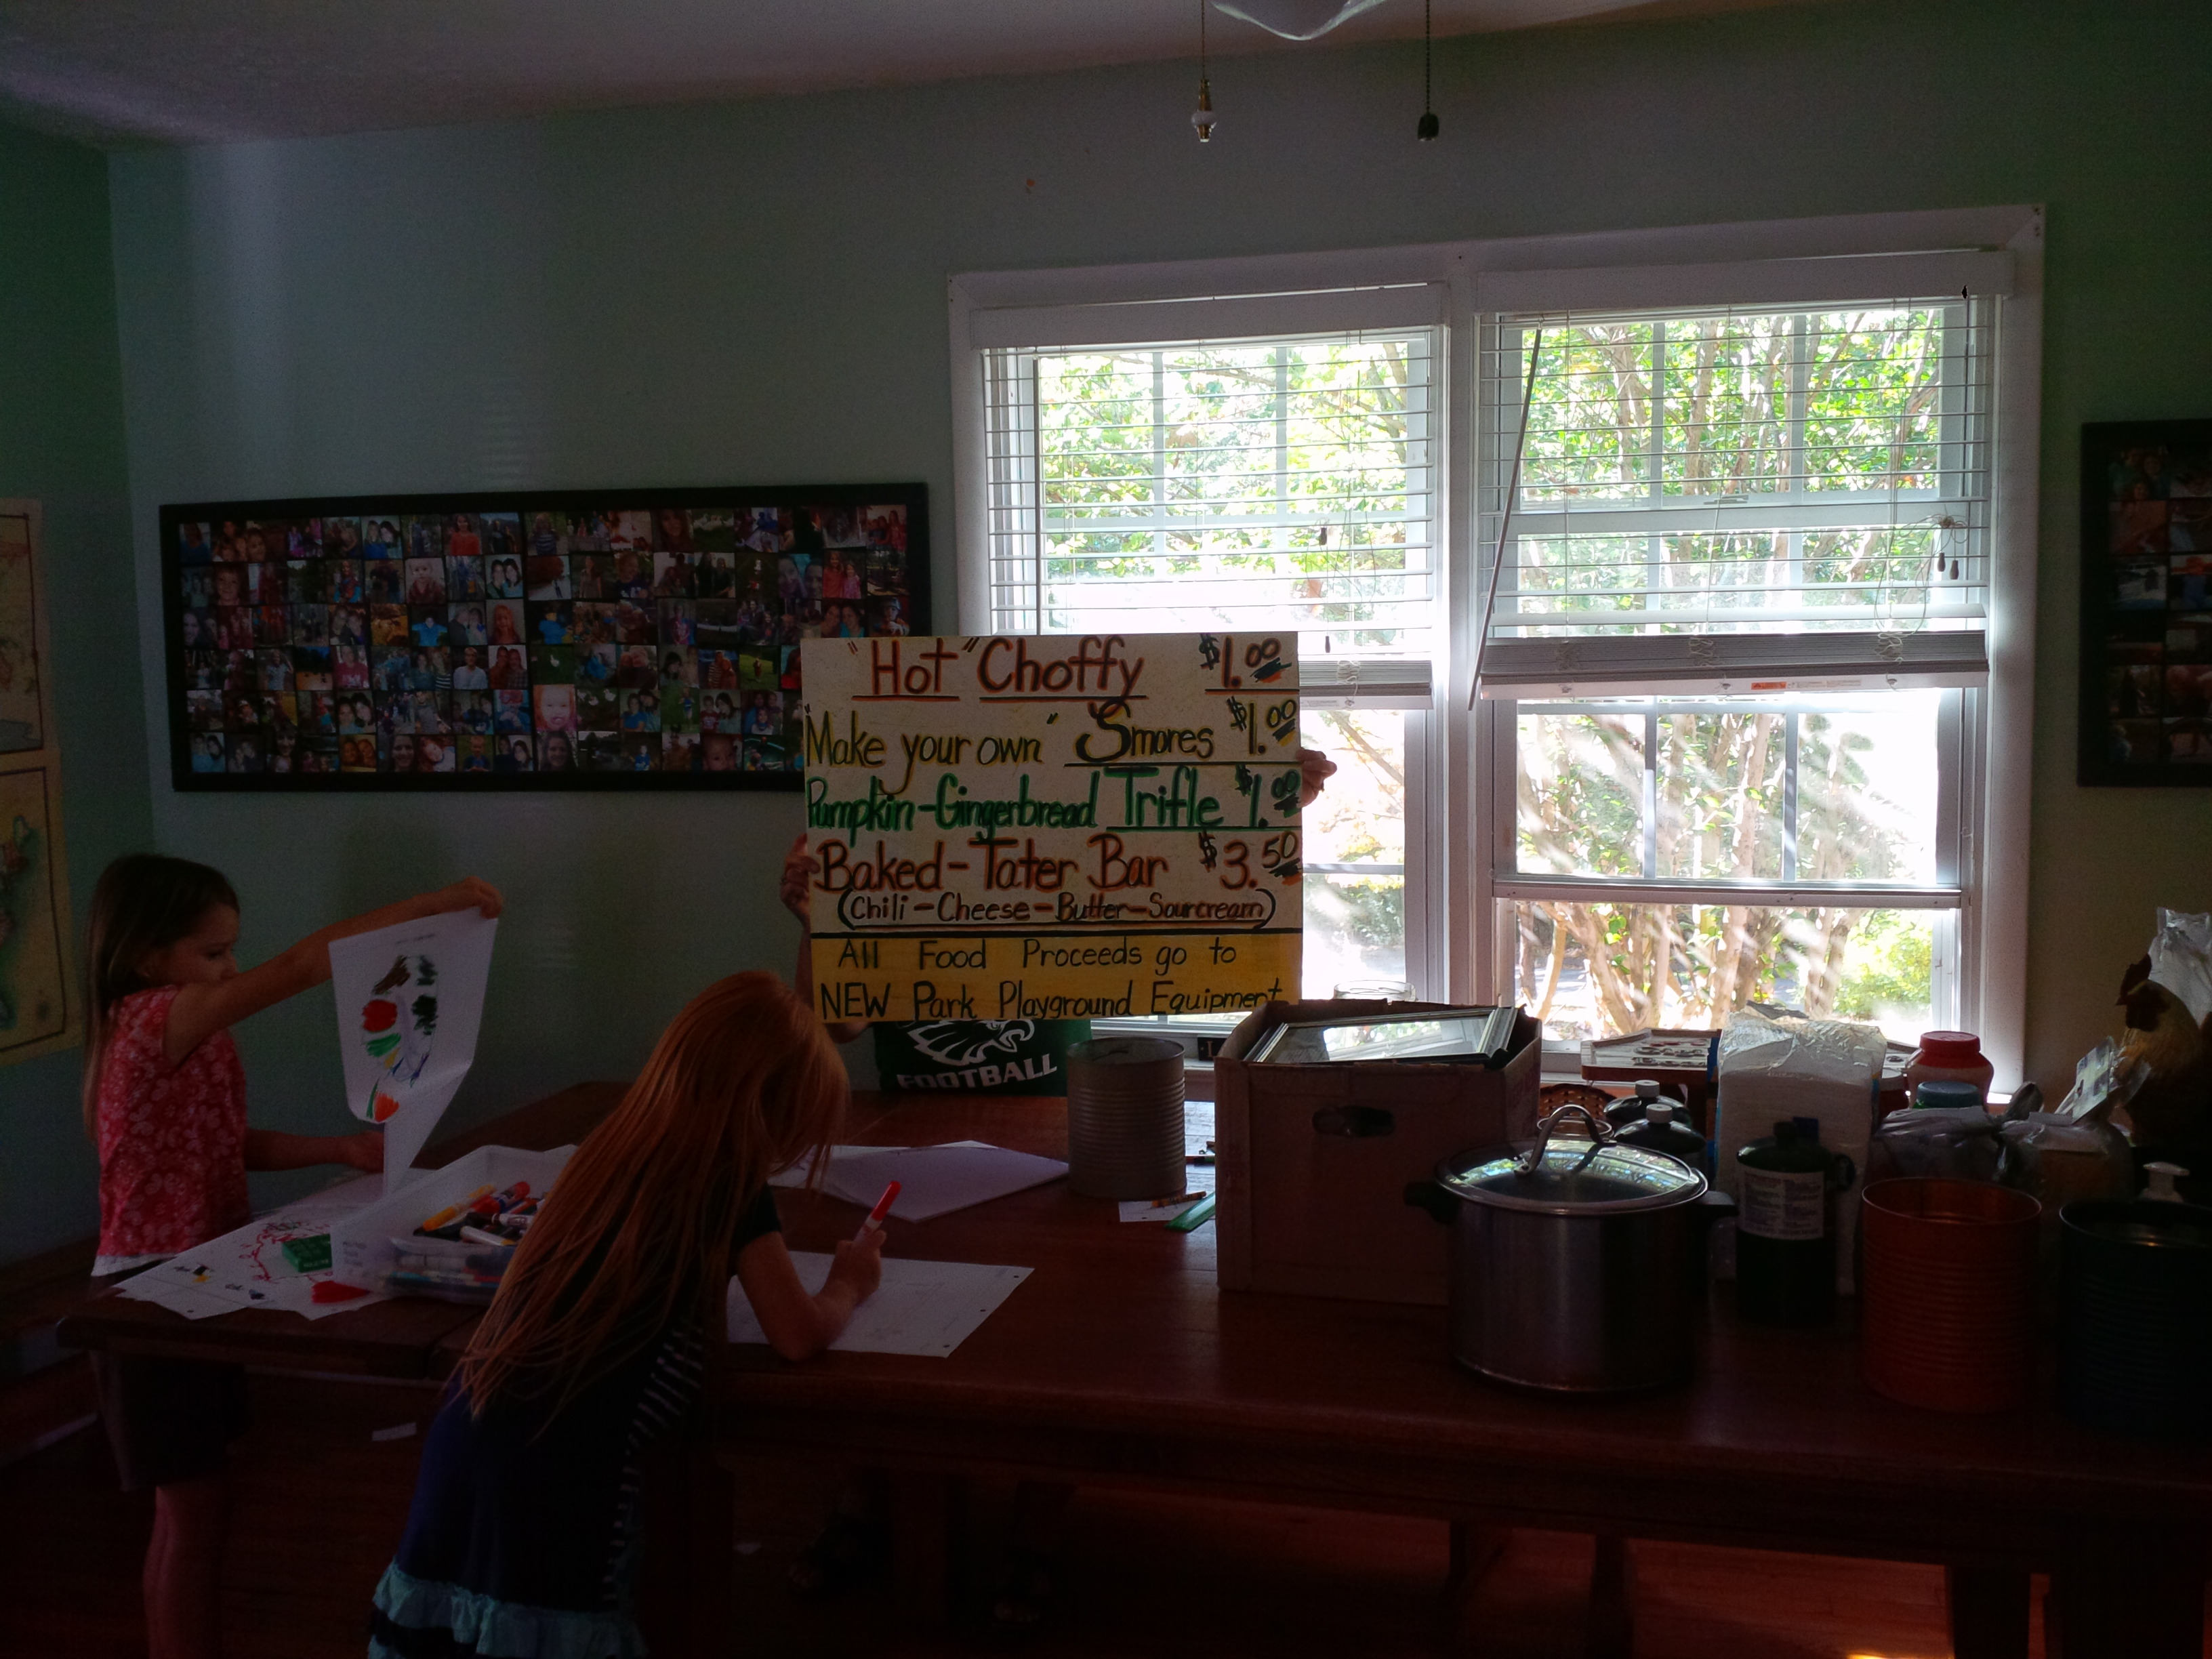
Here we had a friend, Tammy make all our signs. She is a good sign maker:) The children had fun having “free for all” with markers this day—I lost many markers without lids this day:)
We also did an “Aprons with Attitude” contest. We gave away aprons and had people decorate them. This was the winner of the contest.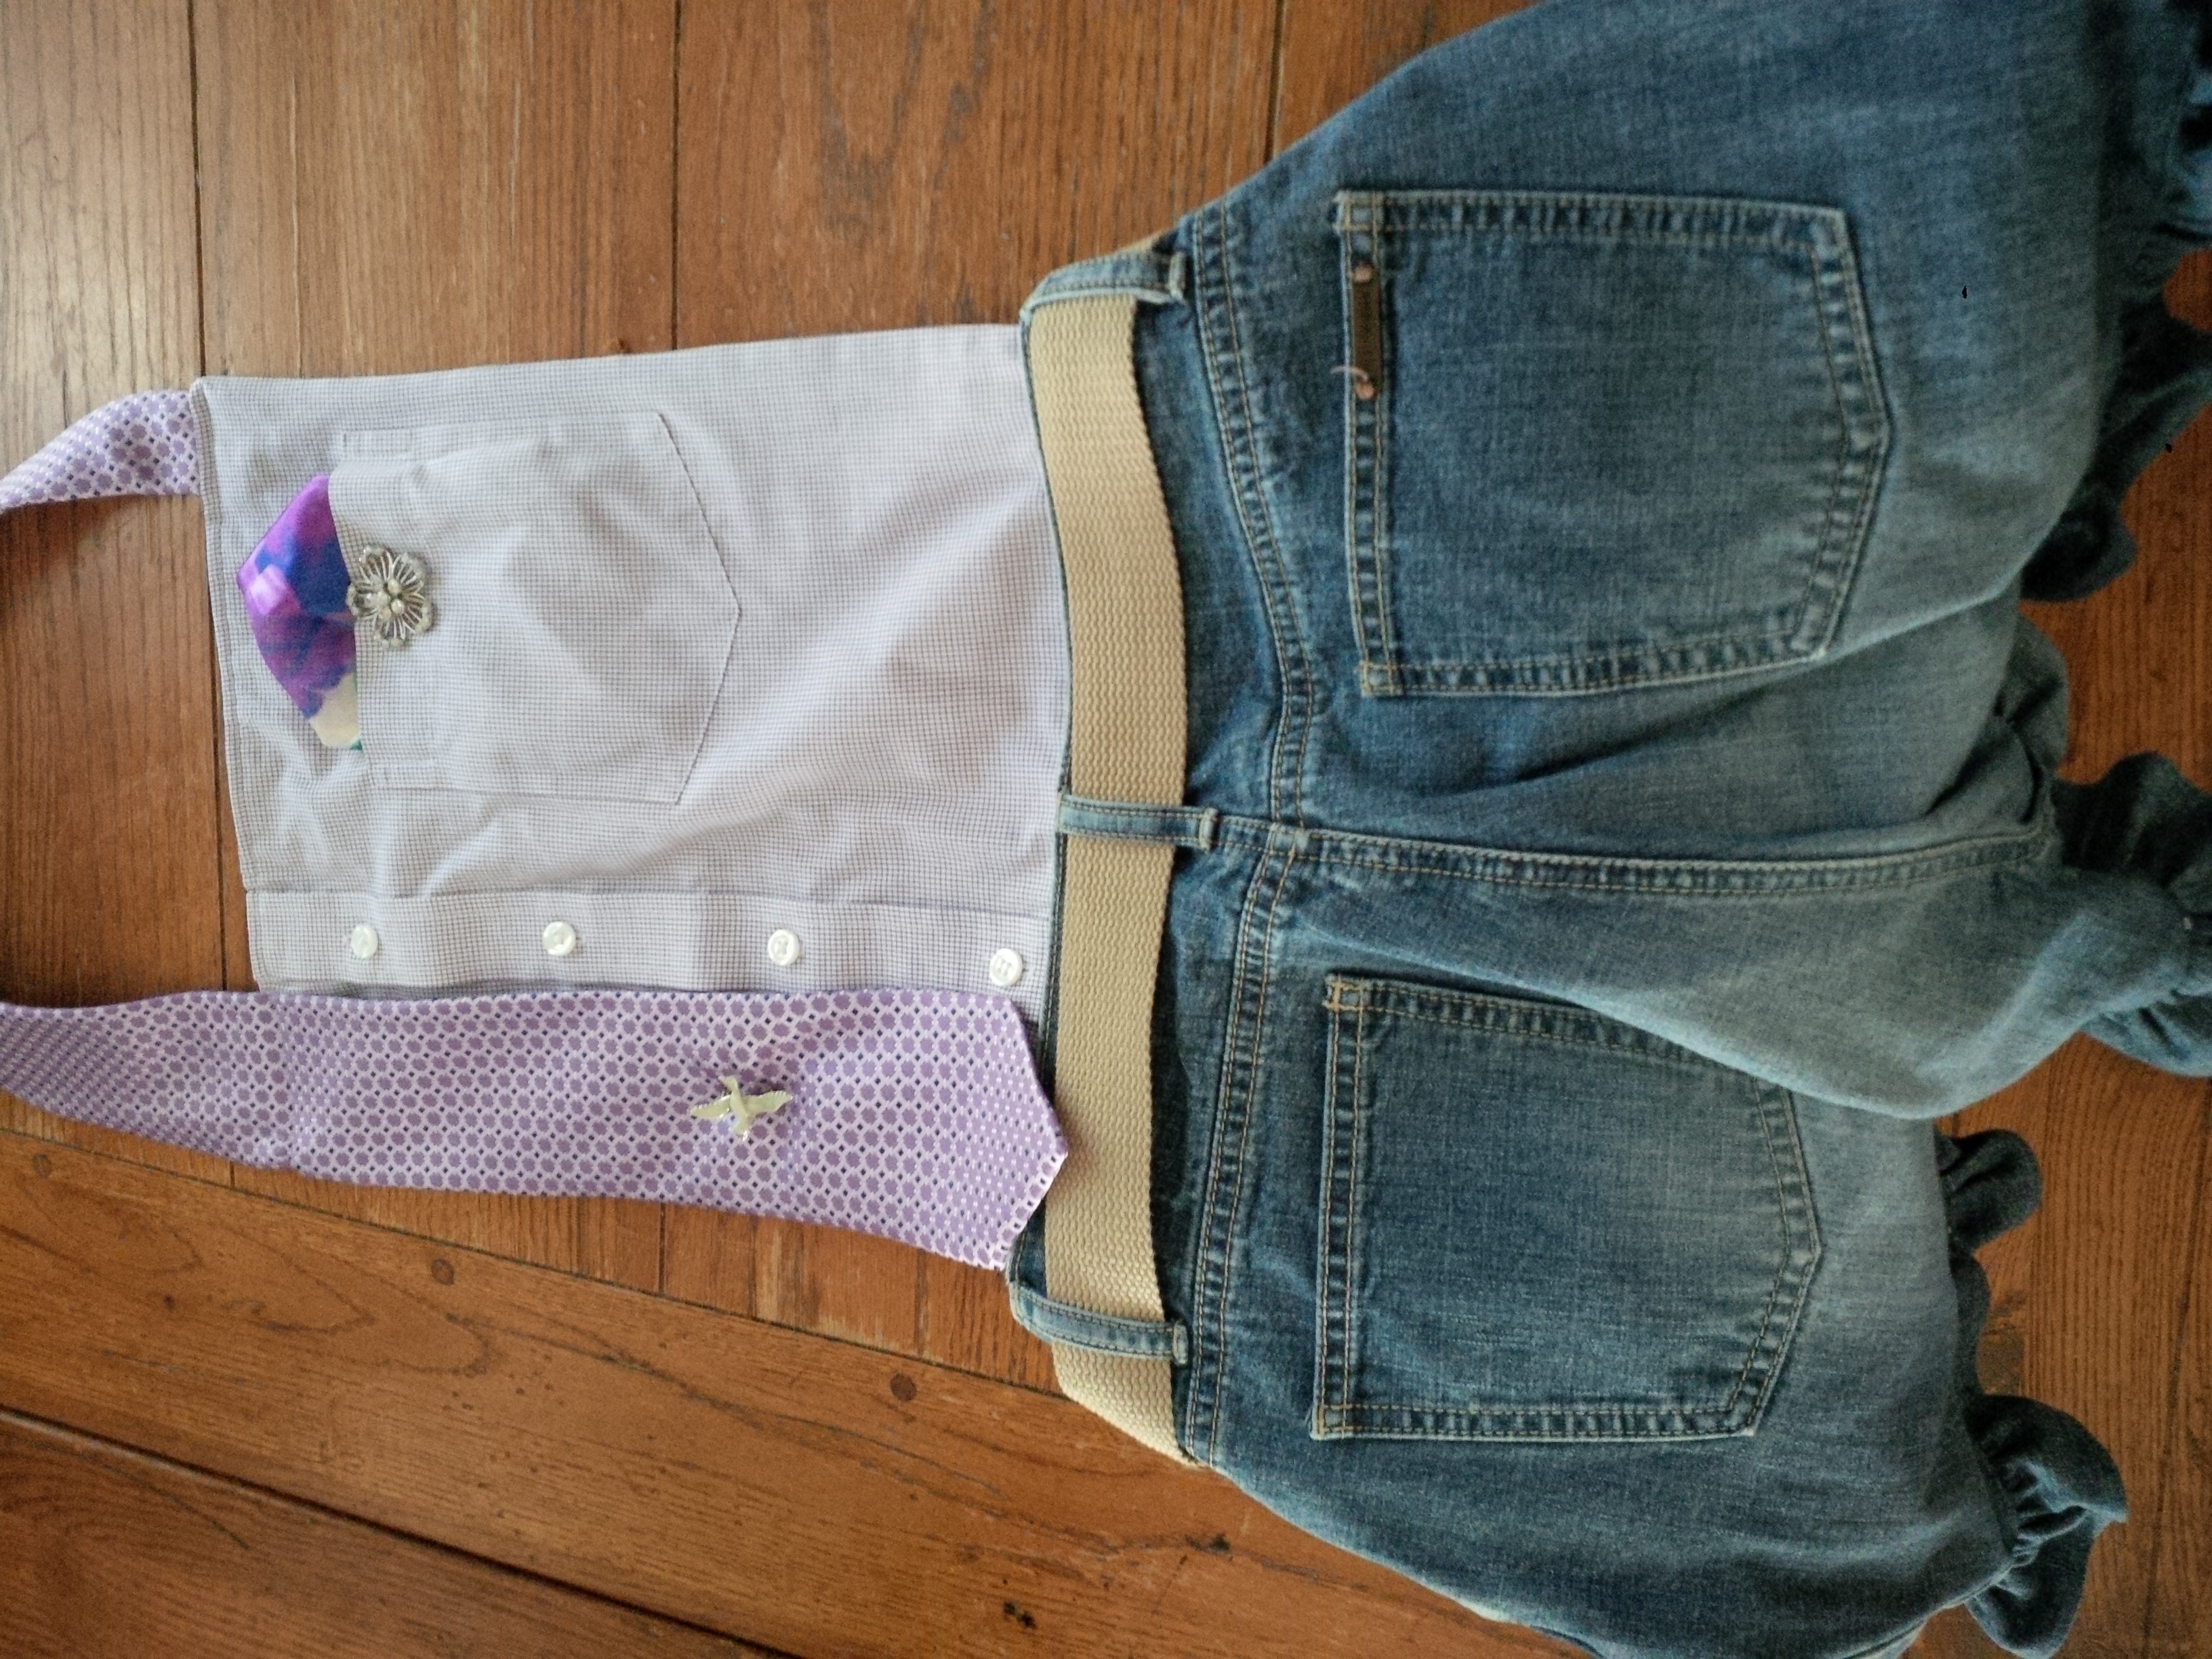
Isn’t this a neat idea?
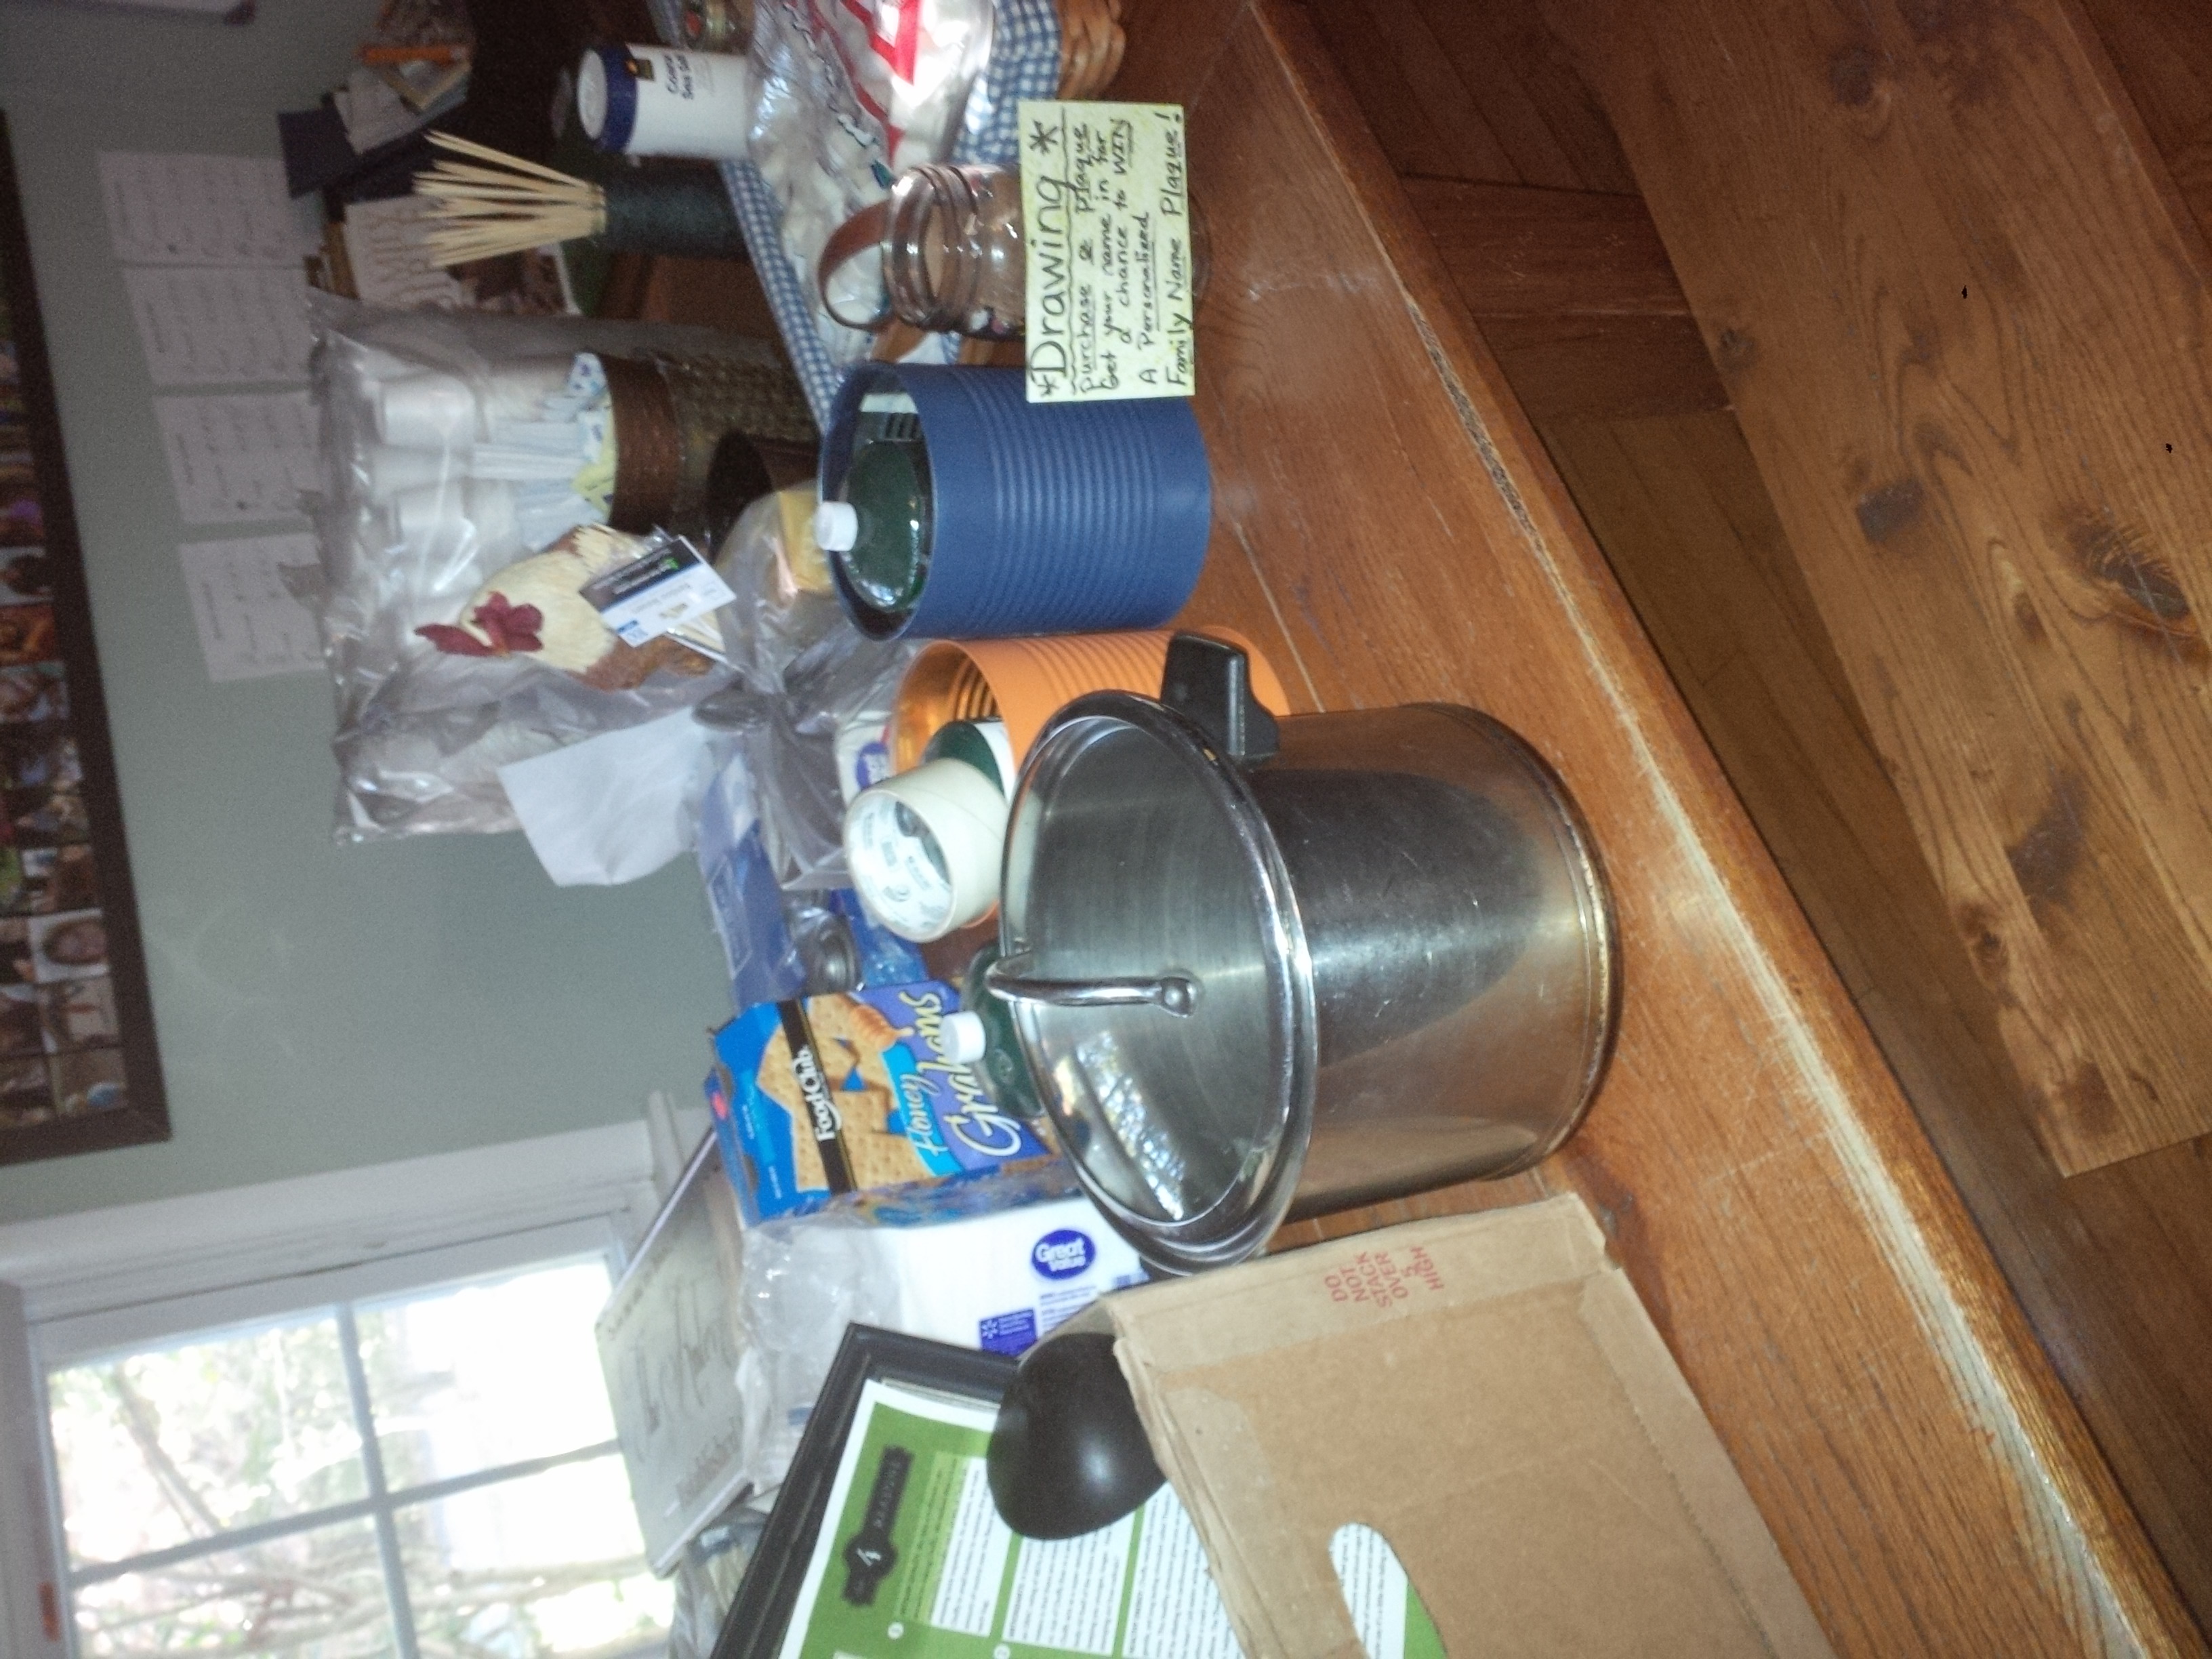 Here was my table the day before. All holding everything we needed. We did a Smores bar as well. We ended up using those large tin cans and put the Sterno cans to burn inside of them and it was perfect. The reason being is because it was very windy when we first started out and they would have blown out the flame. The sides of the can were warm and I teased people saying they were “hand warmers” as it was a little chilly. We went through 3 burners all day (8 hours).
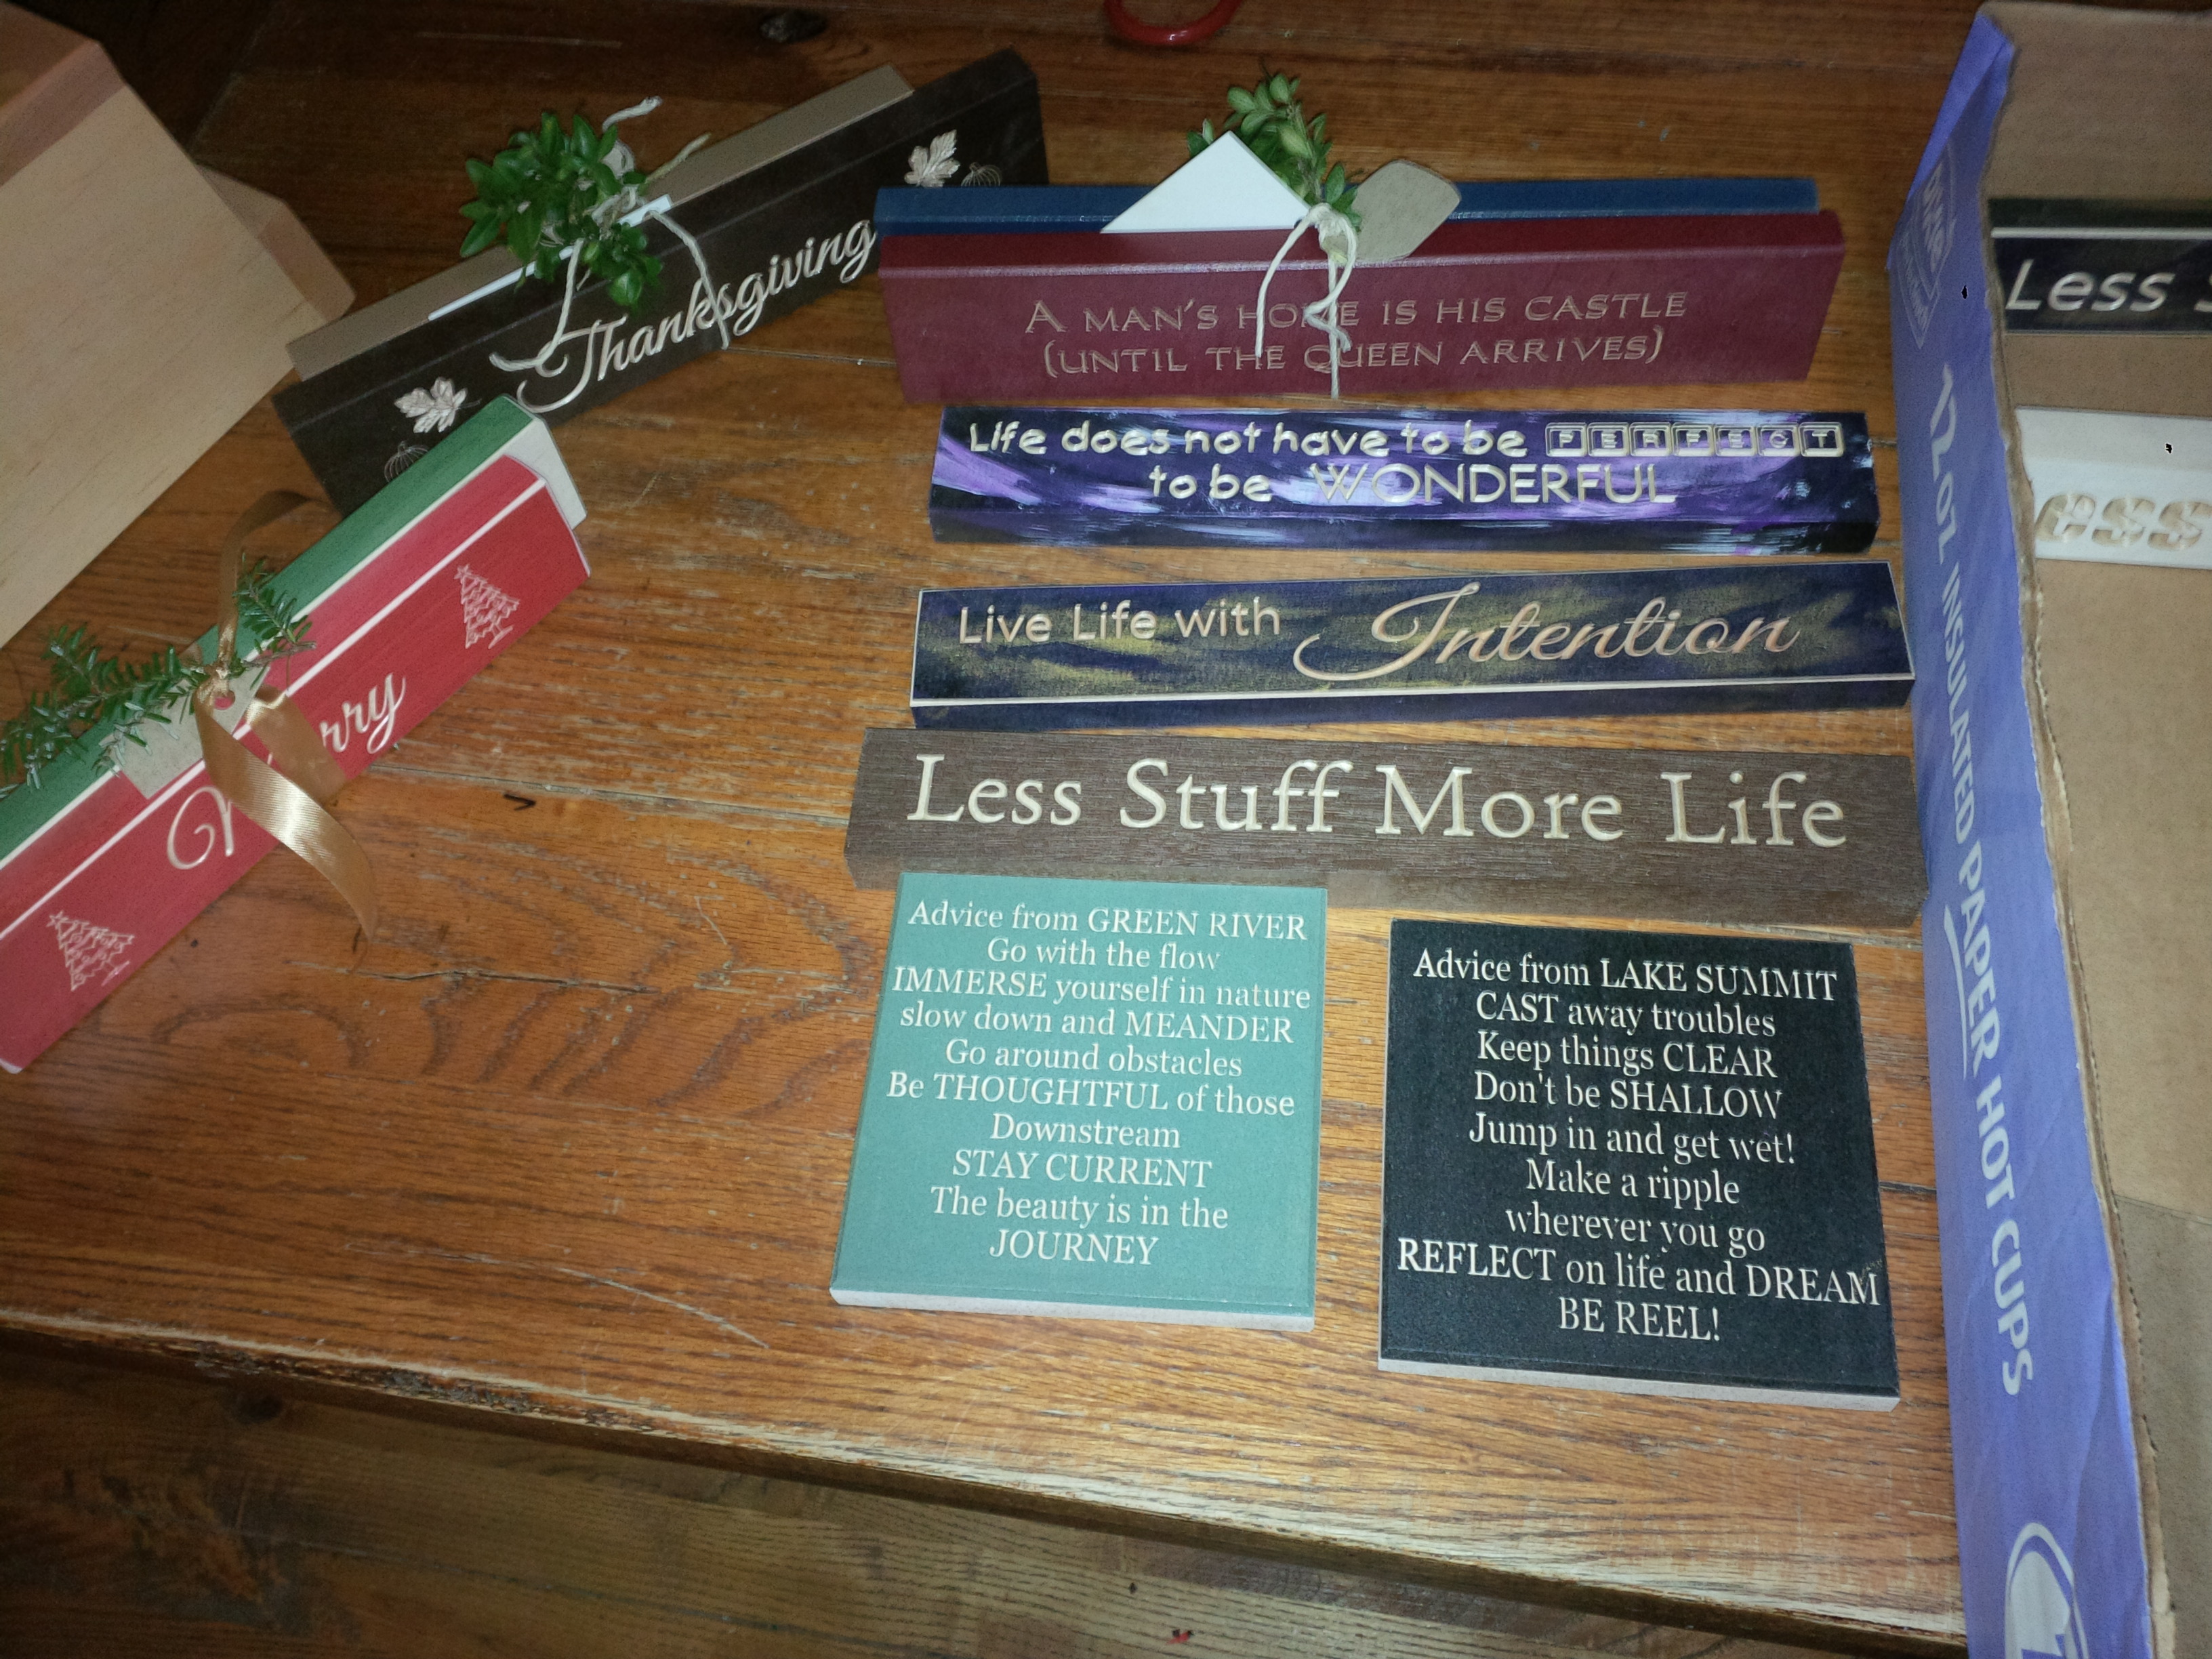
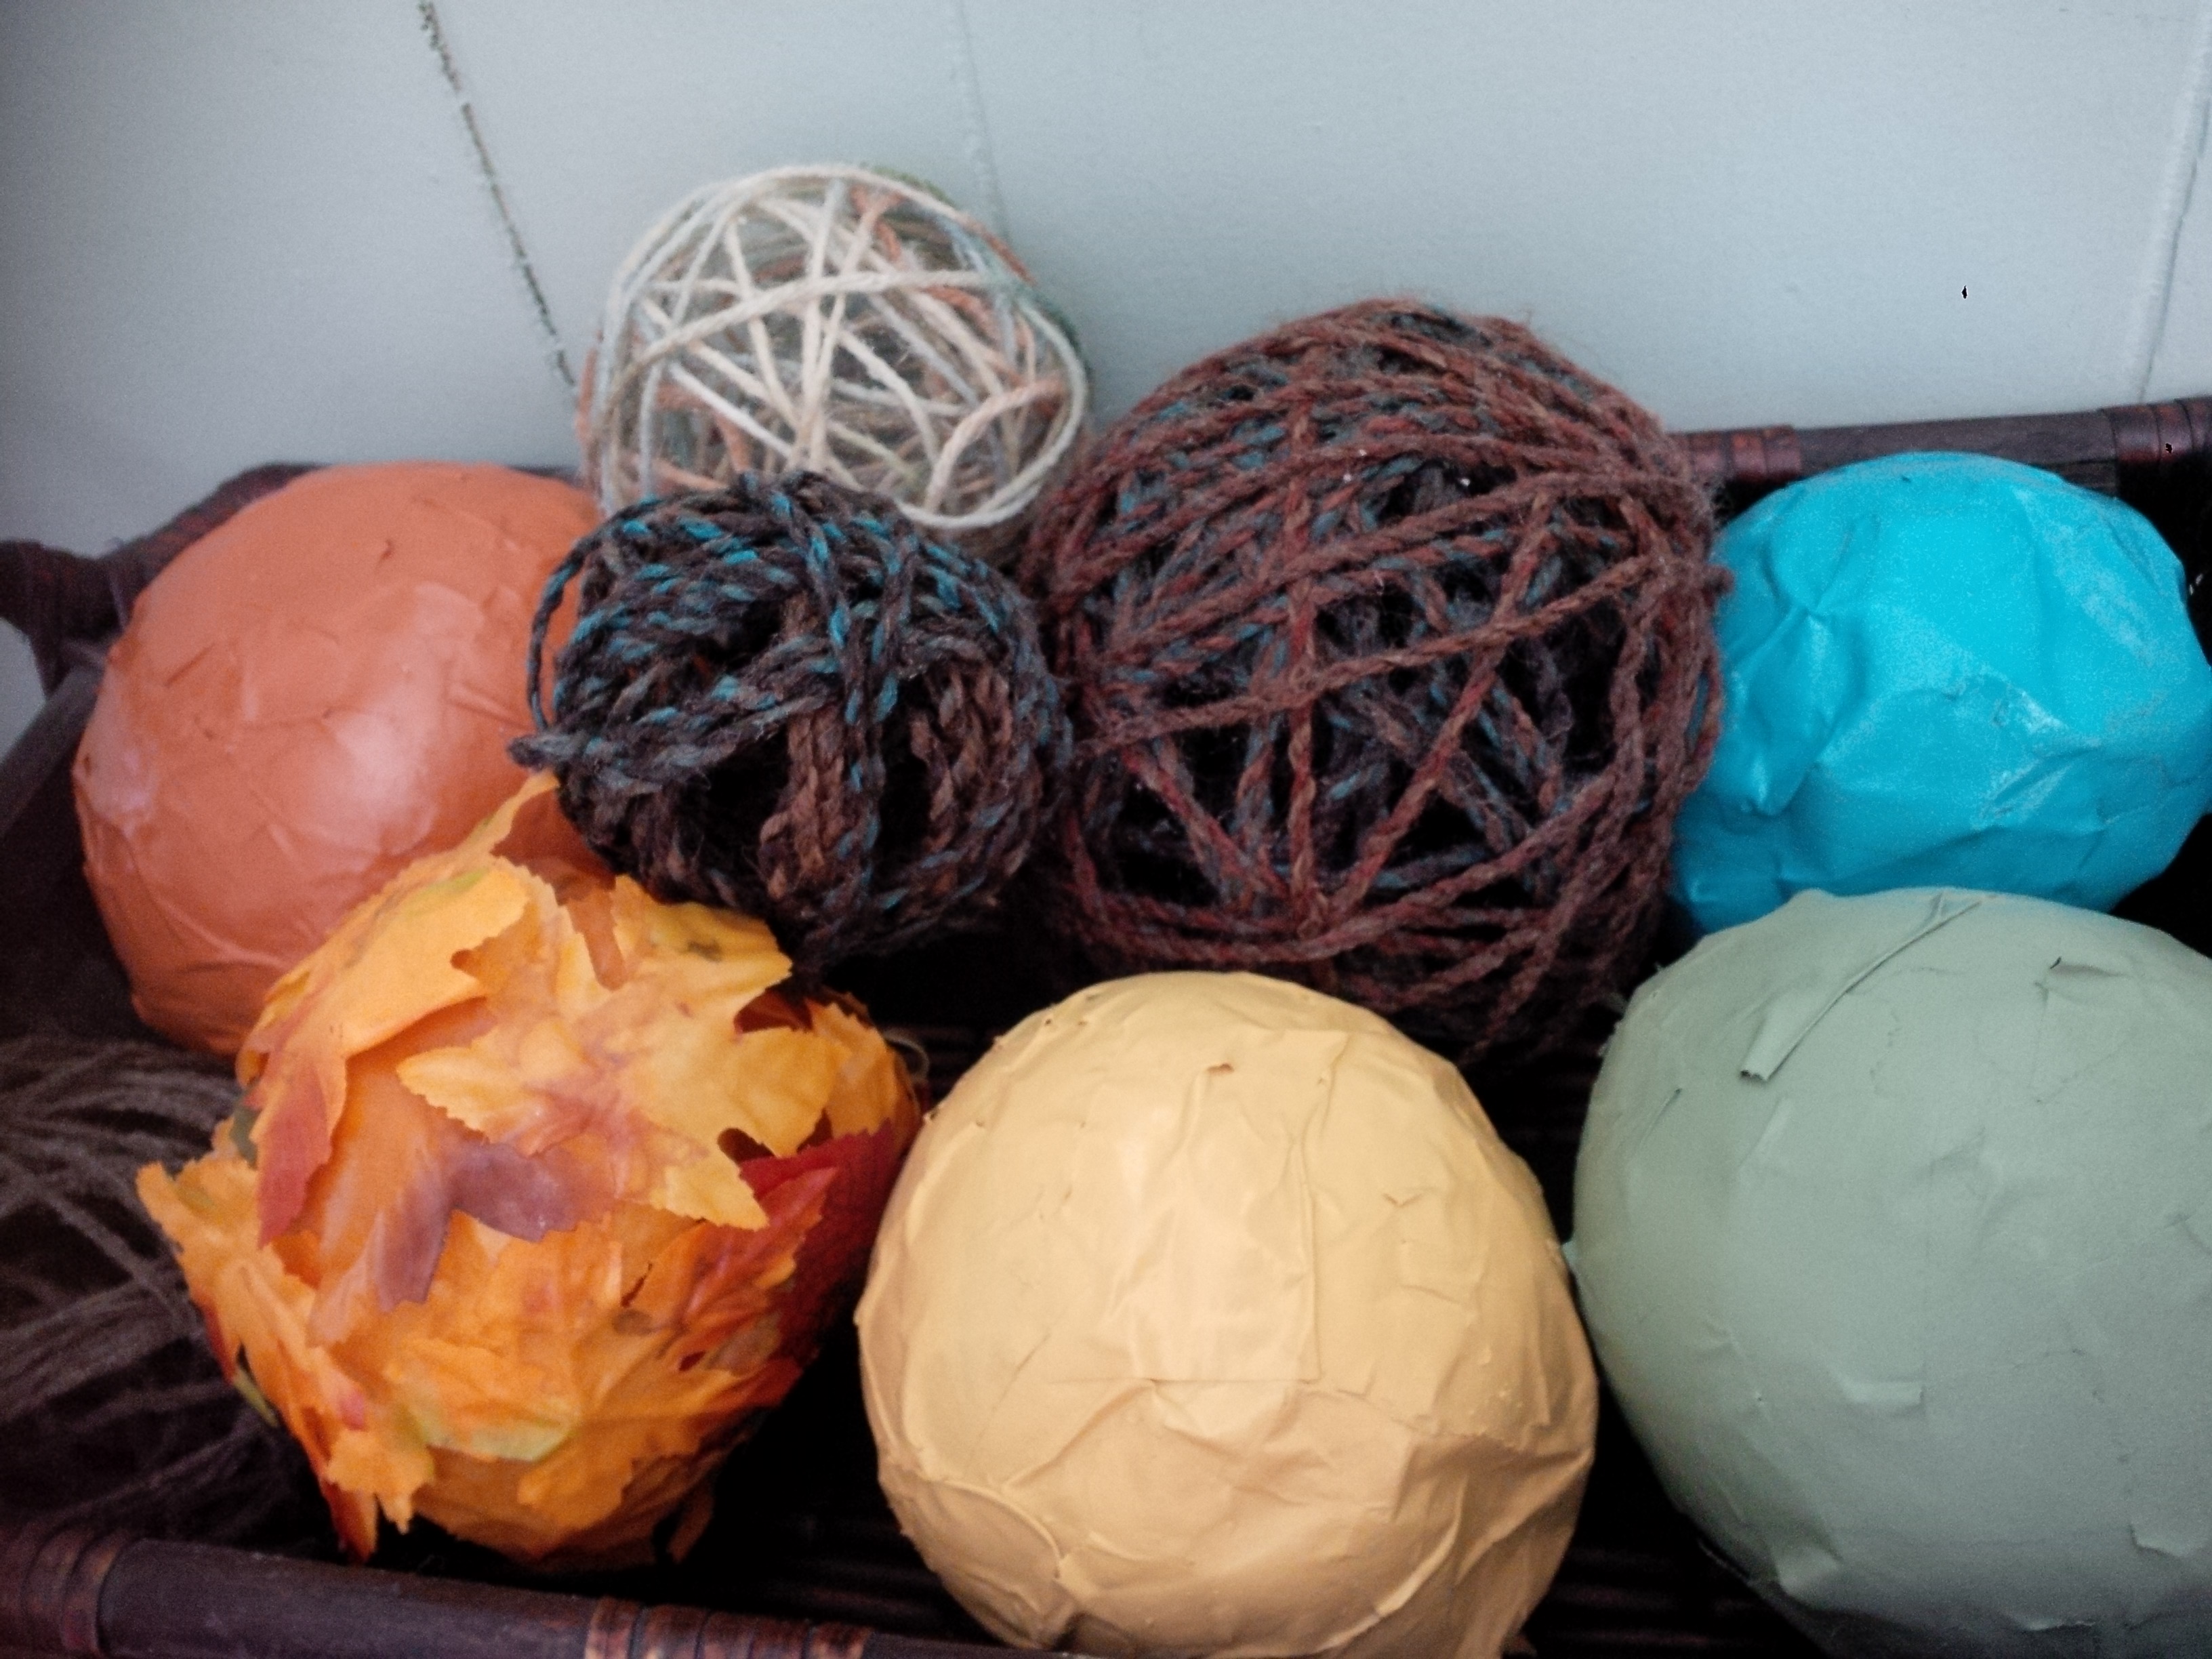
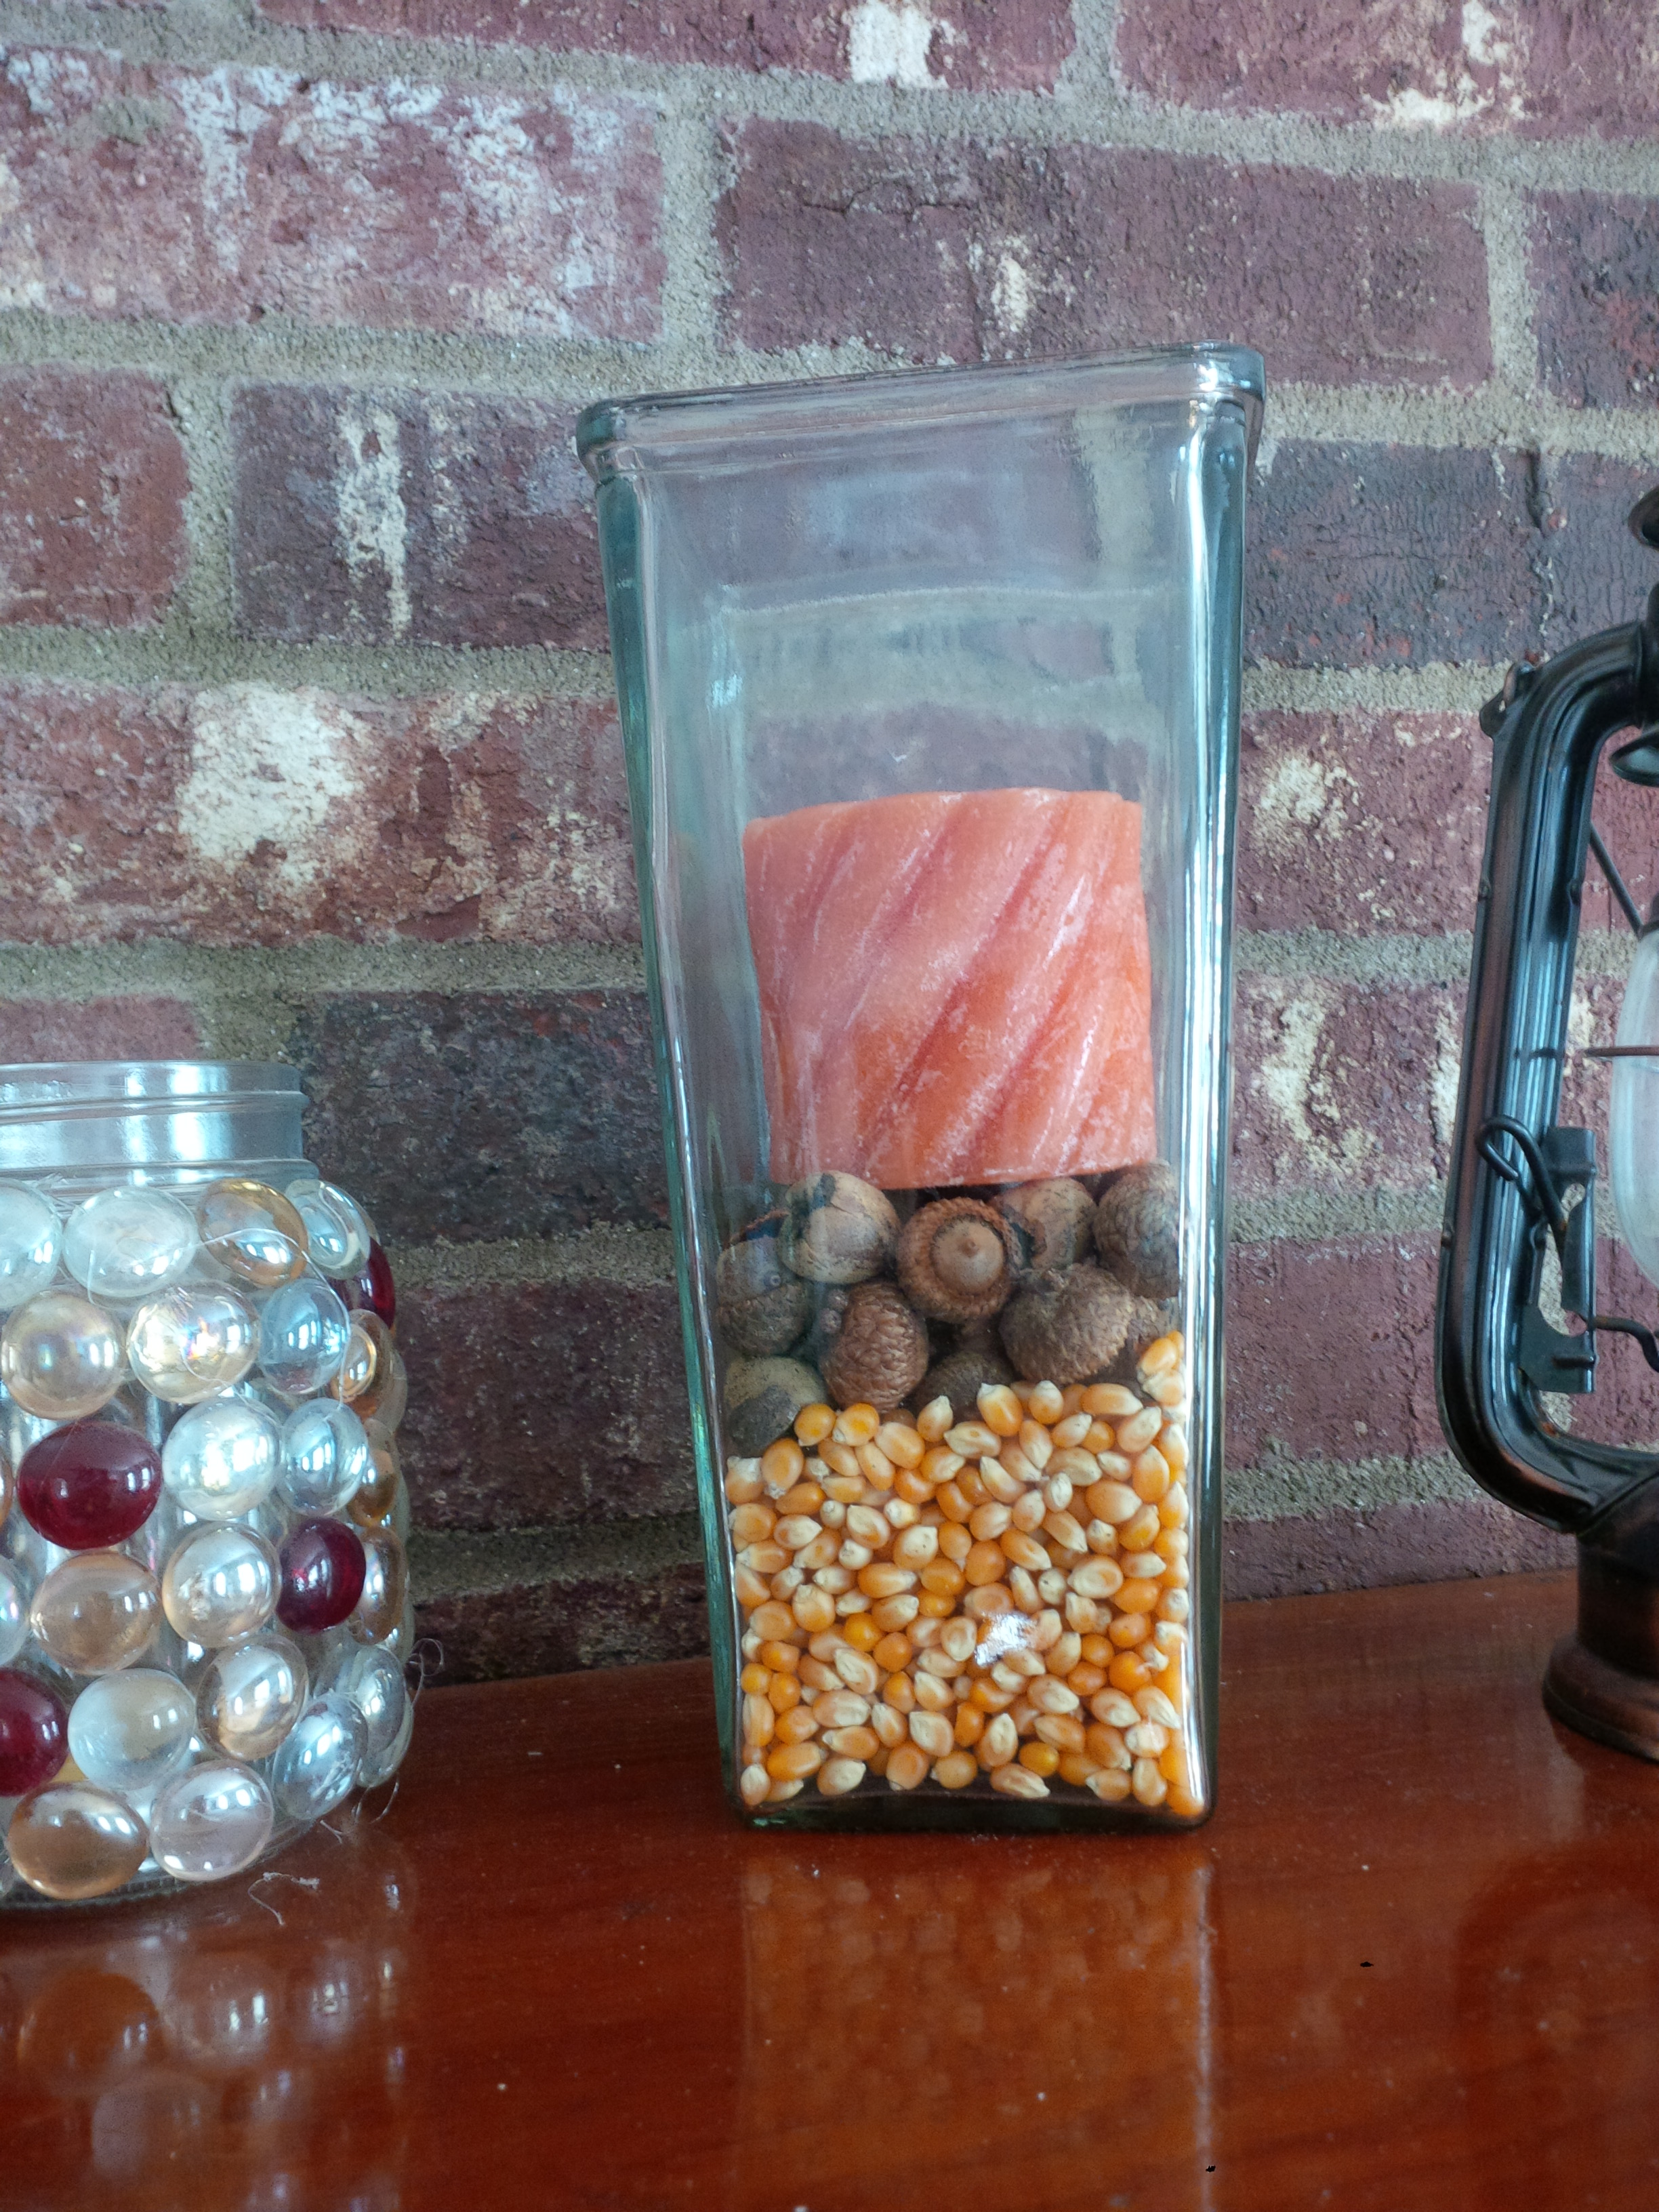
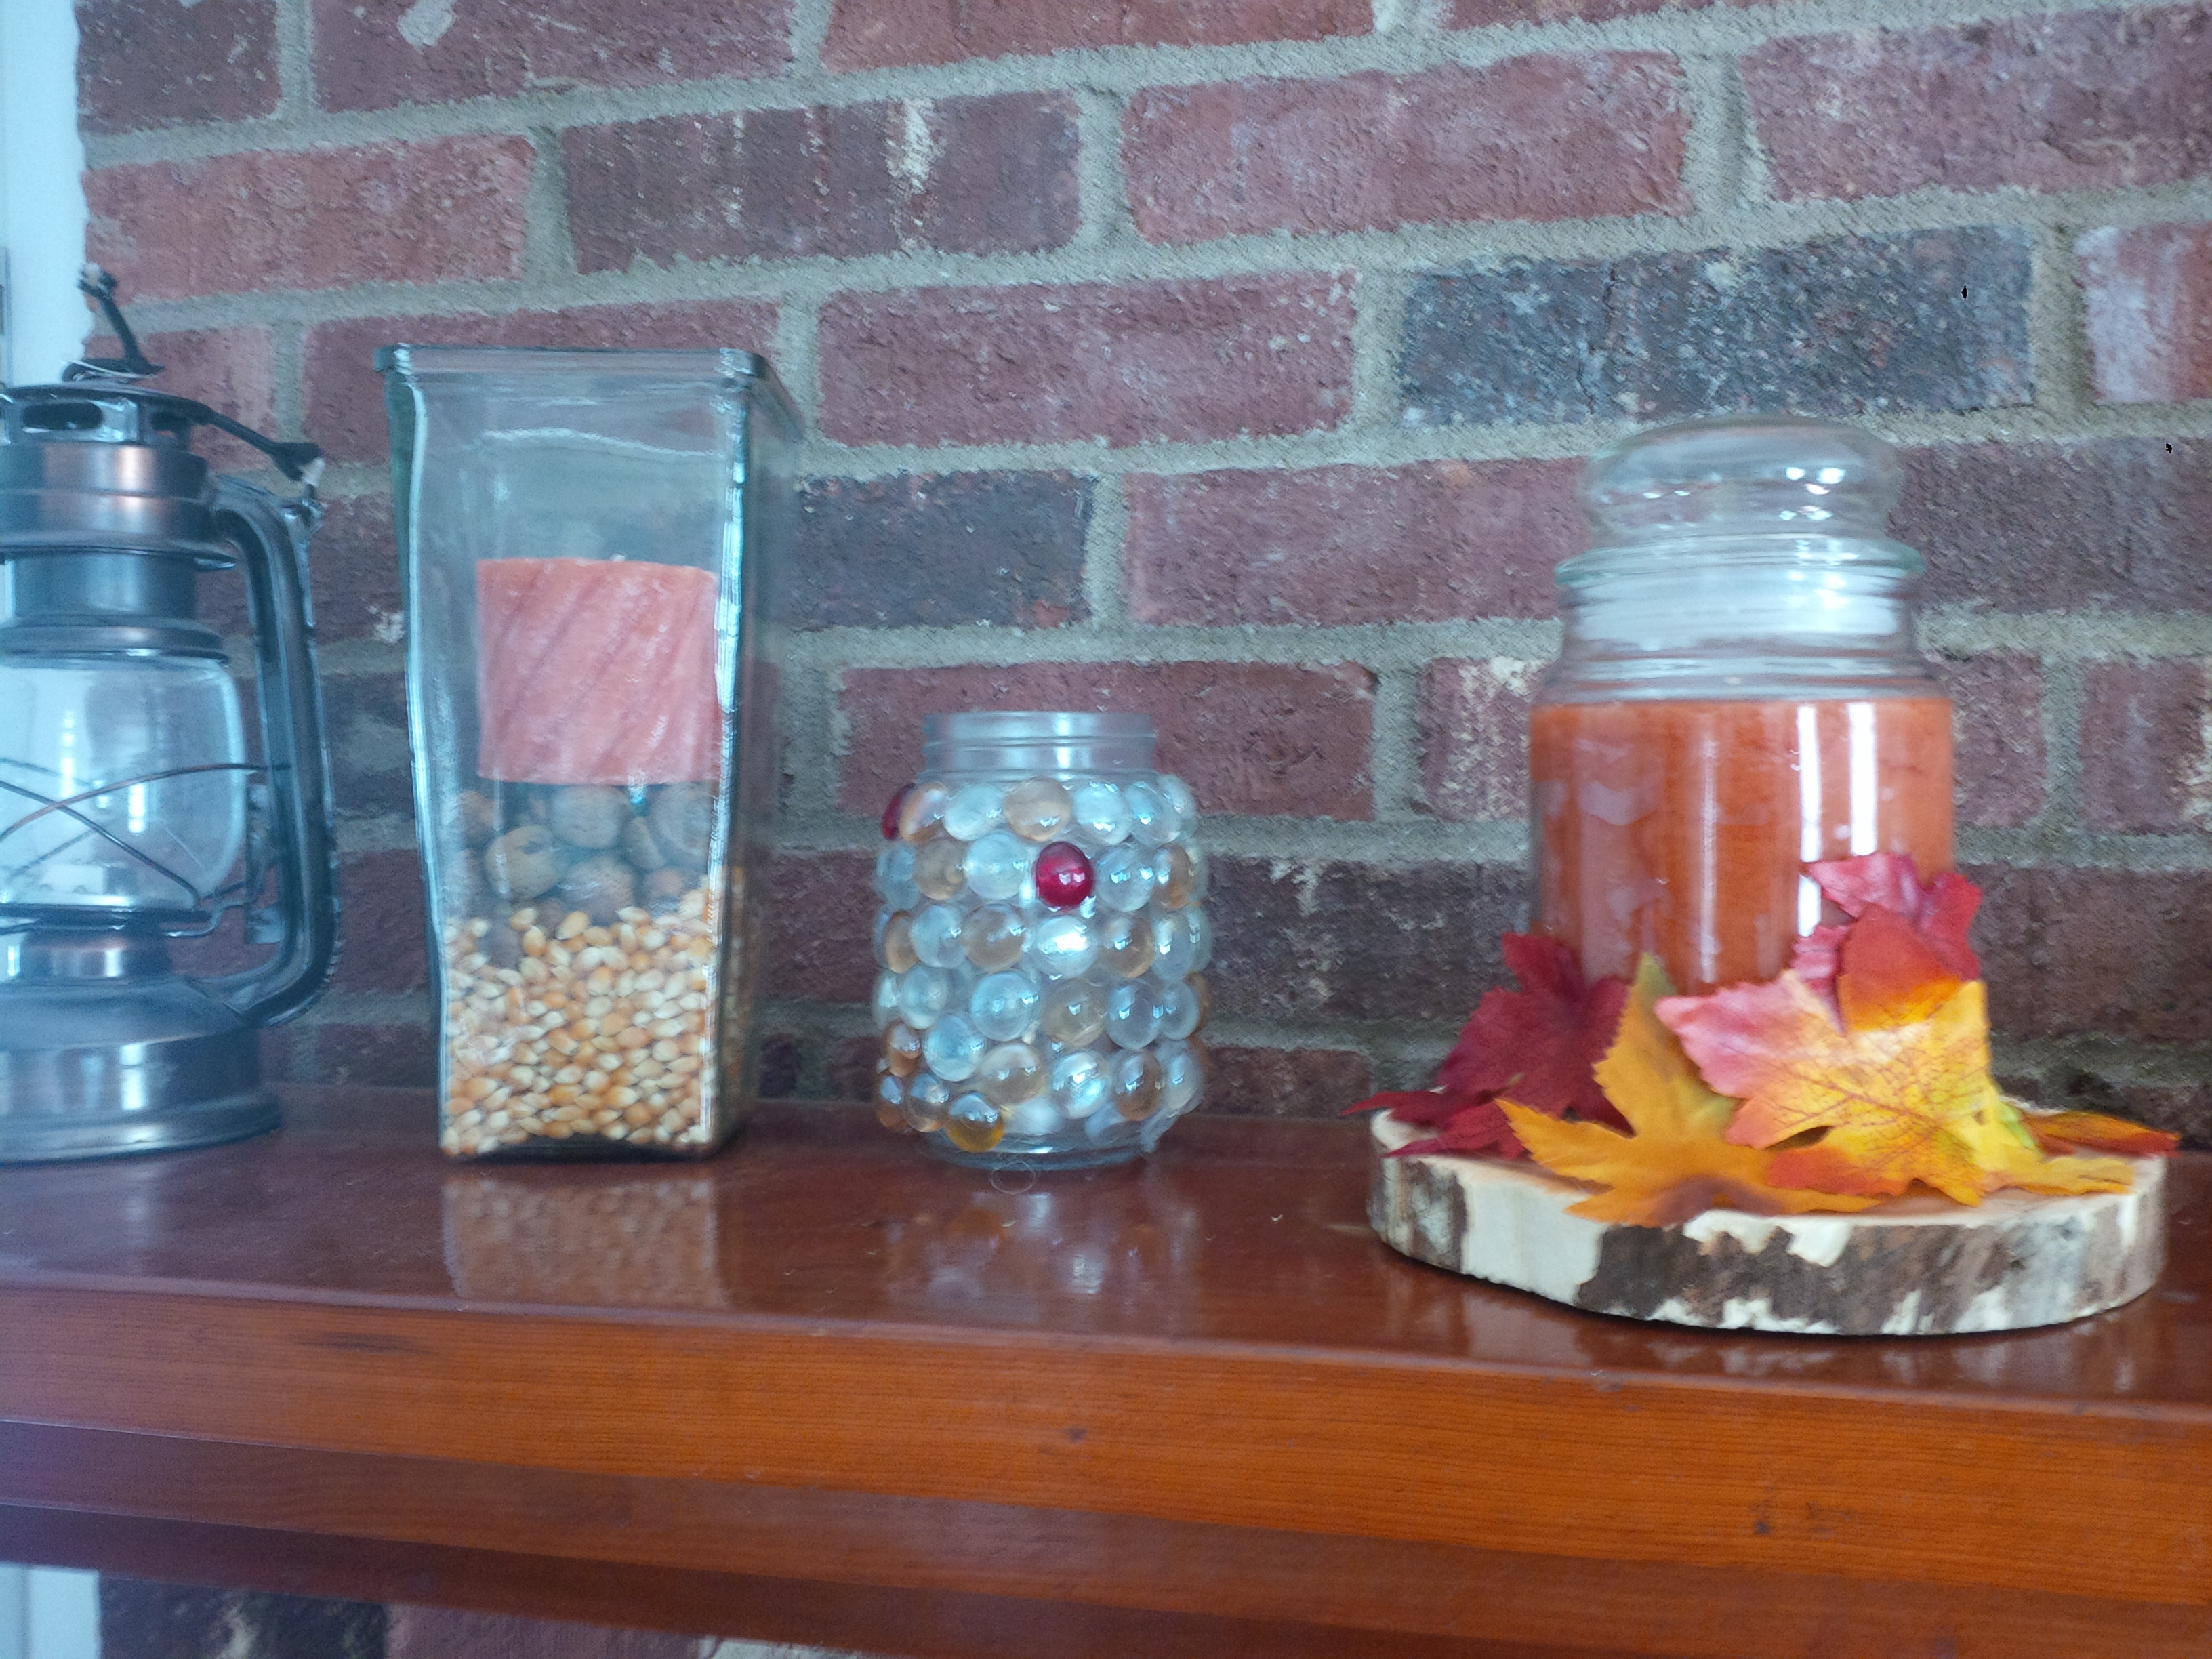
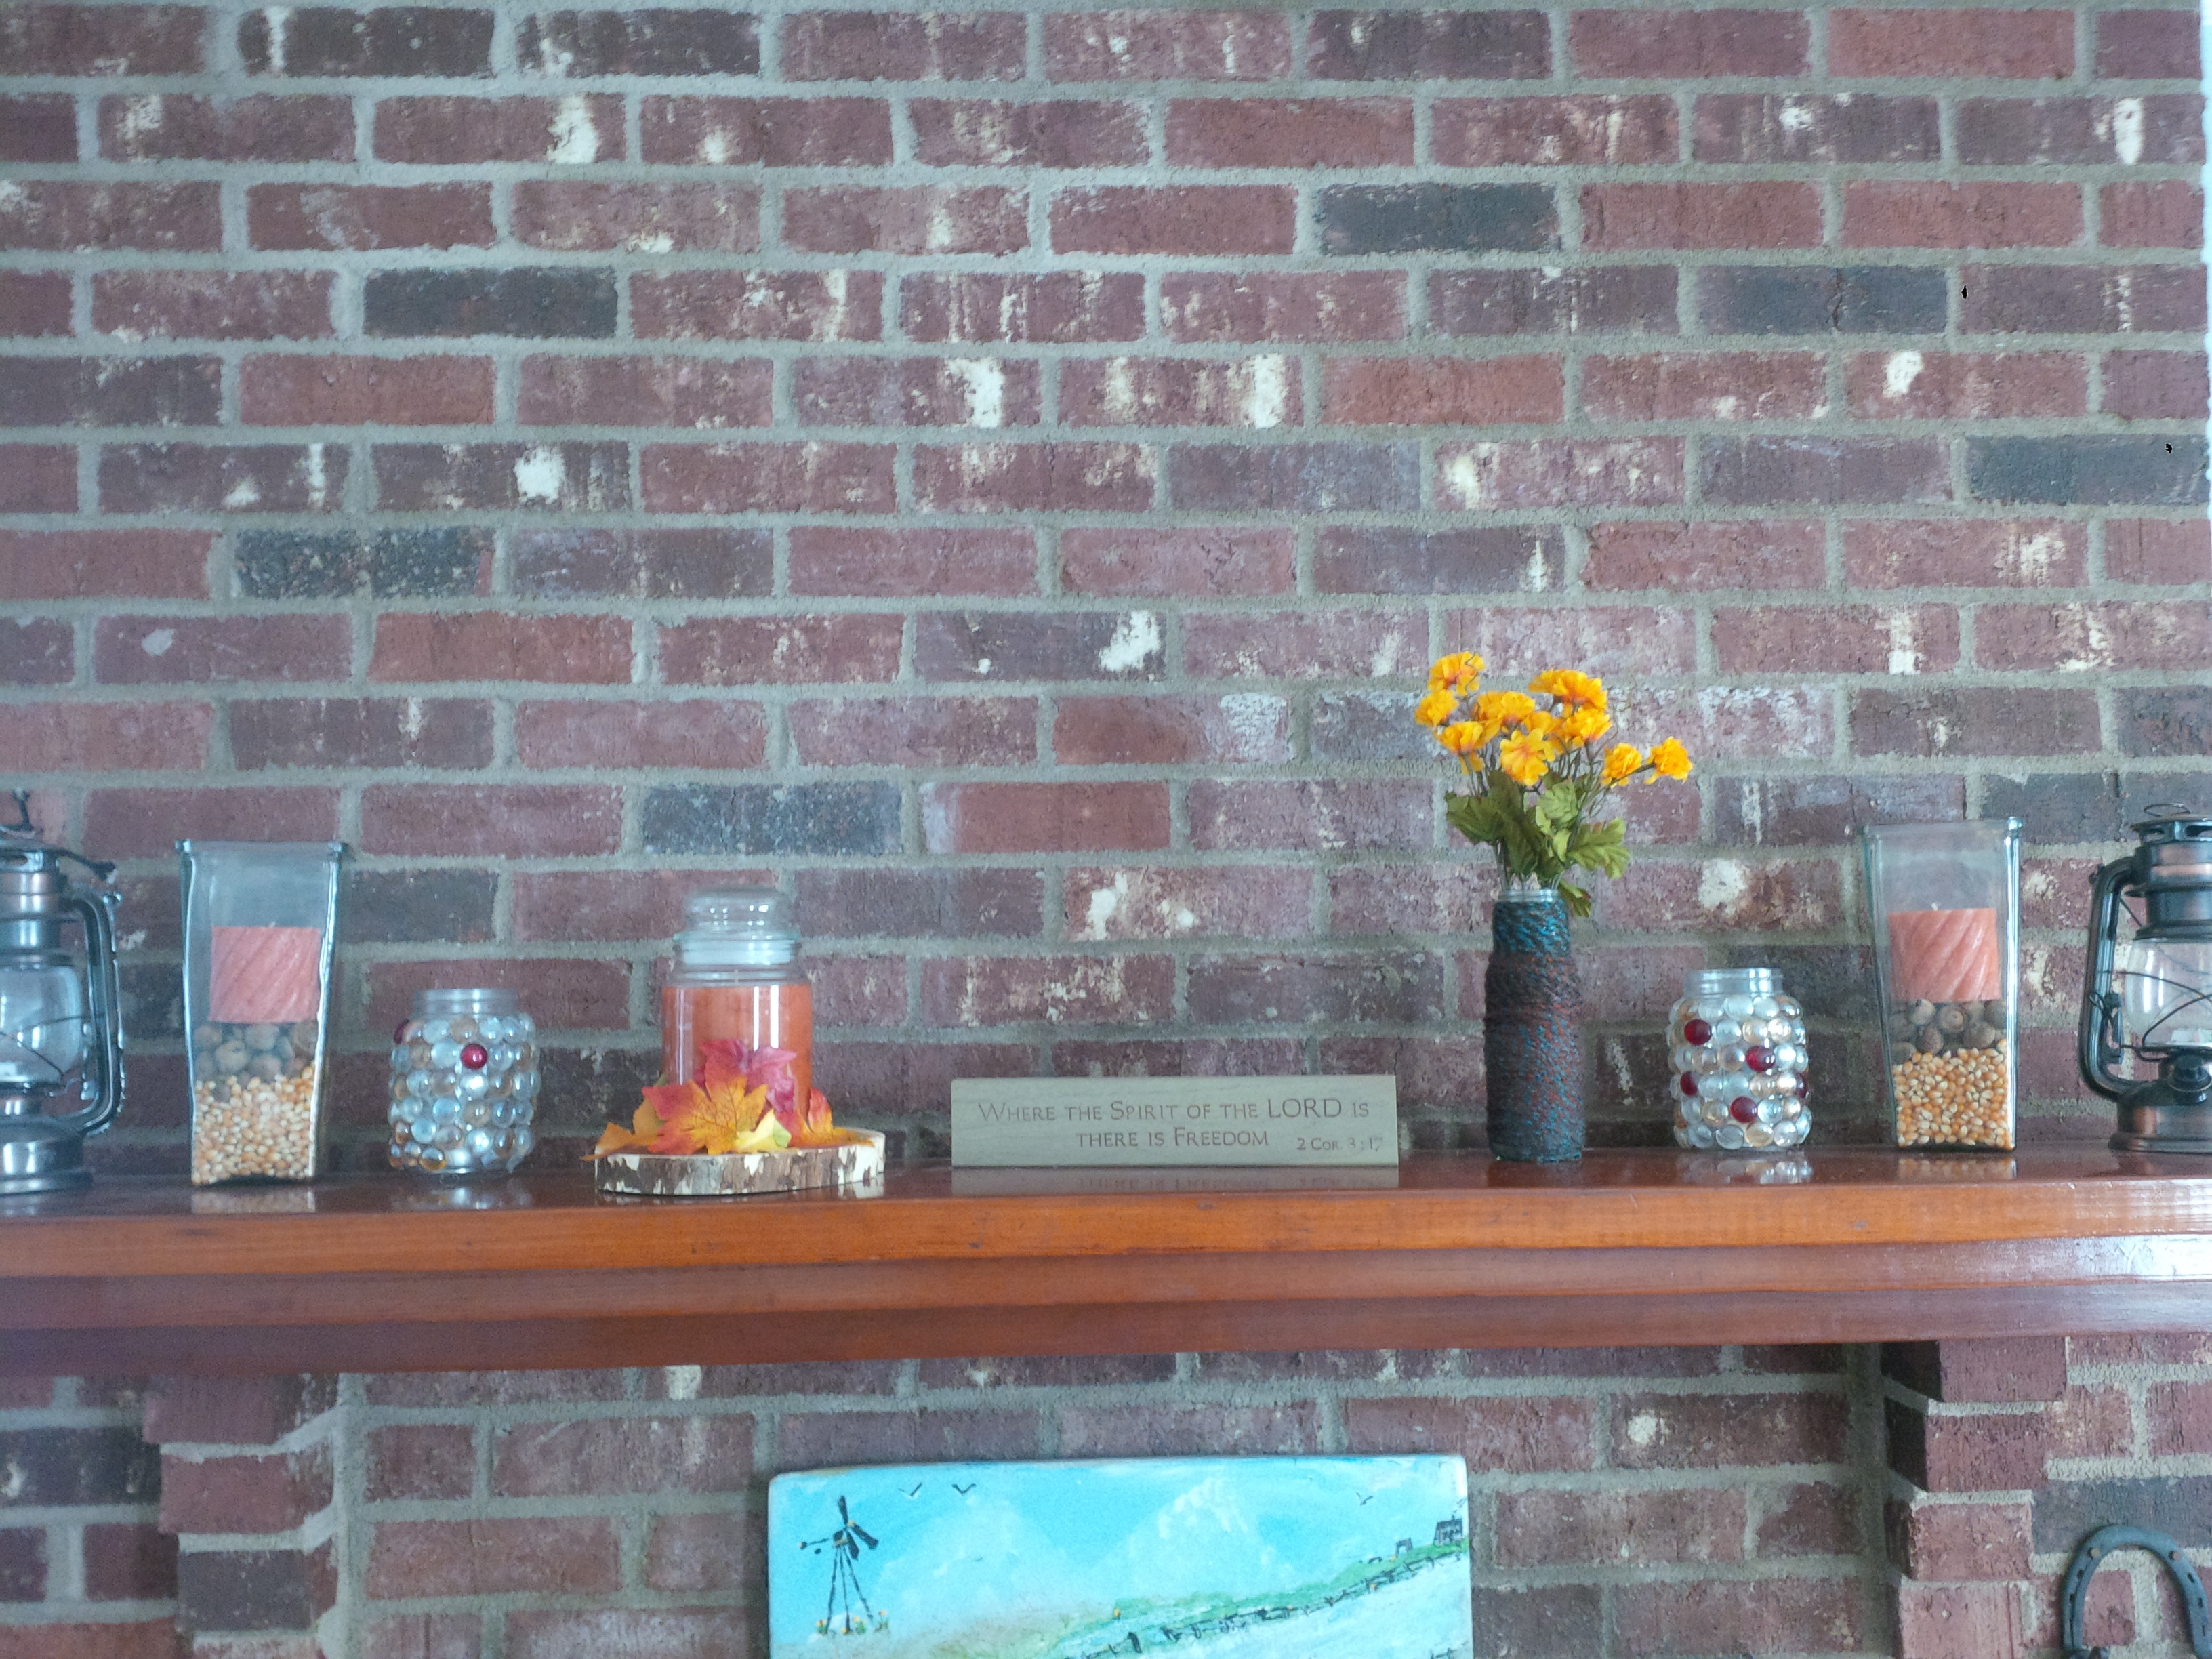
Here were some of our wood signs that we put for sale. I decorated our wood plaques with twine and some greenery from our trees outside. It spruced them up a bit and I put a paper tag on them so they would be ready to give as gifts. 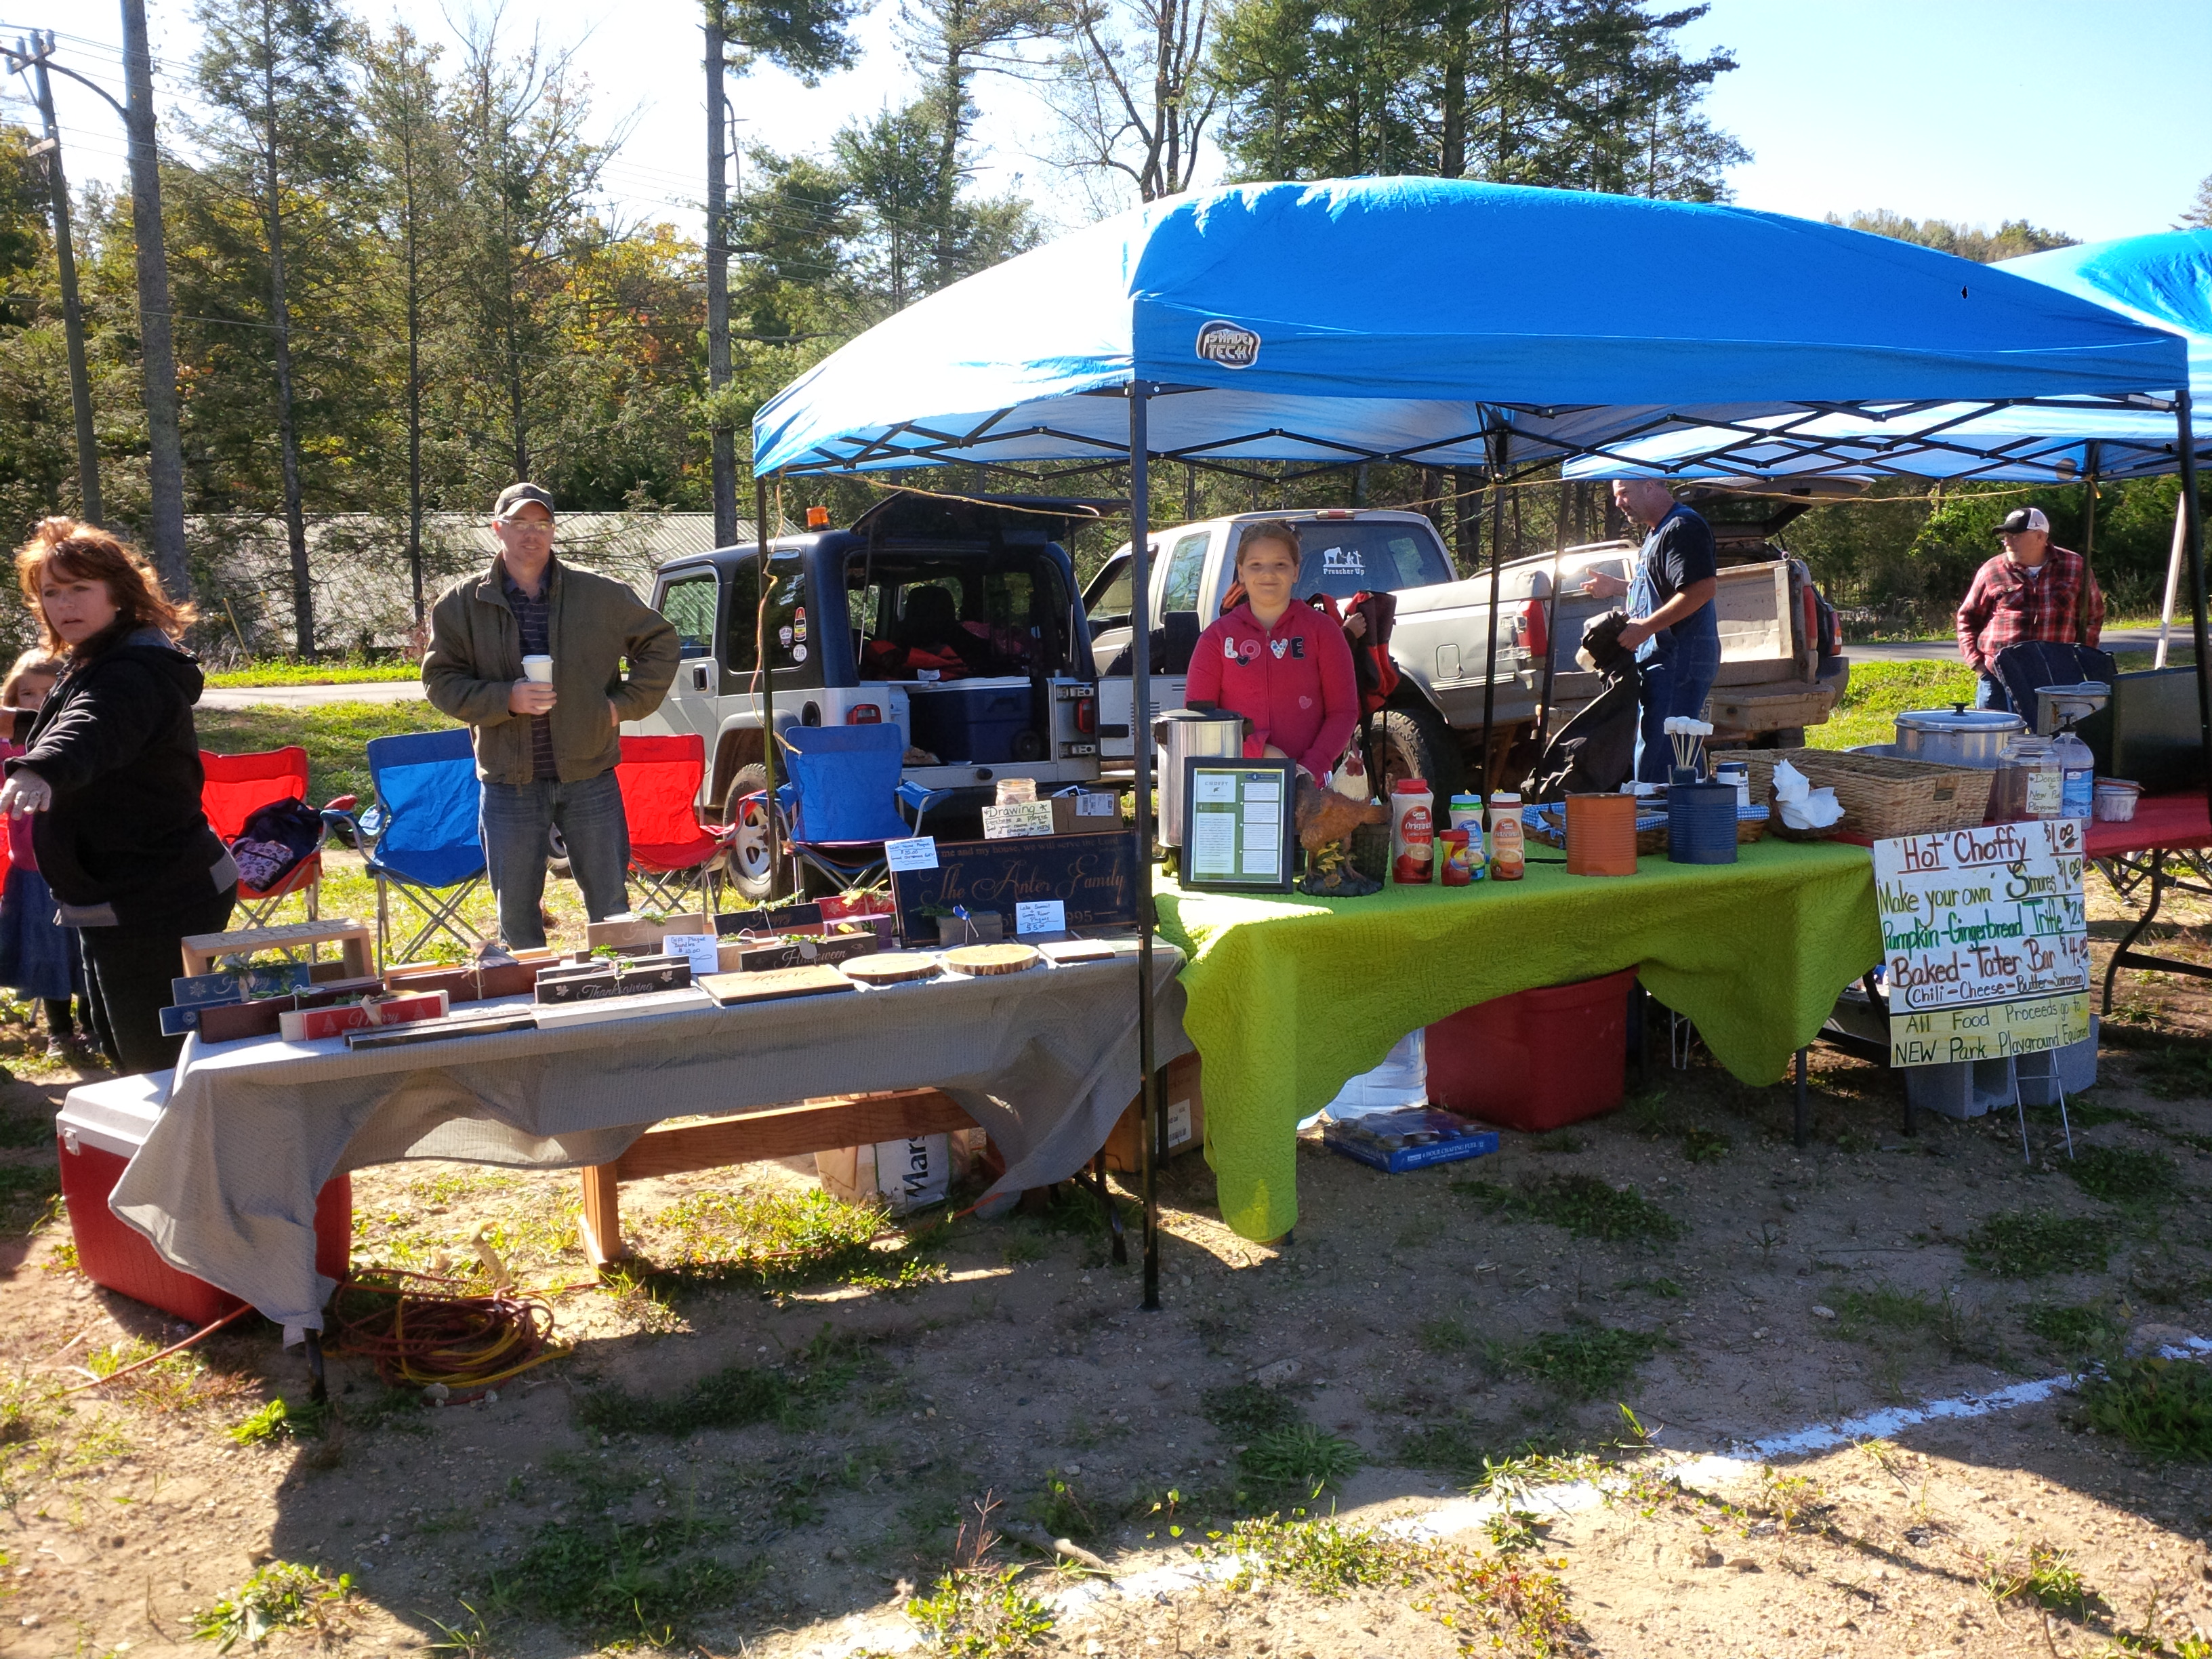 Our wood table is on the left, our Choffy and Smores table in the green. Choffy was something new we had. It was brewed cacao. It brews like coffee but has the health benefits of cocoa because it is all natural and healthy. You expected it to taste like coffee but it was chocolate. You can add creamer and sugar to it to make it more like hot chocolate. Something new and different but a great thing to sell at fairs. Google them!
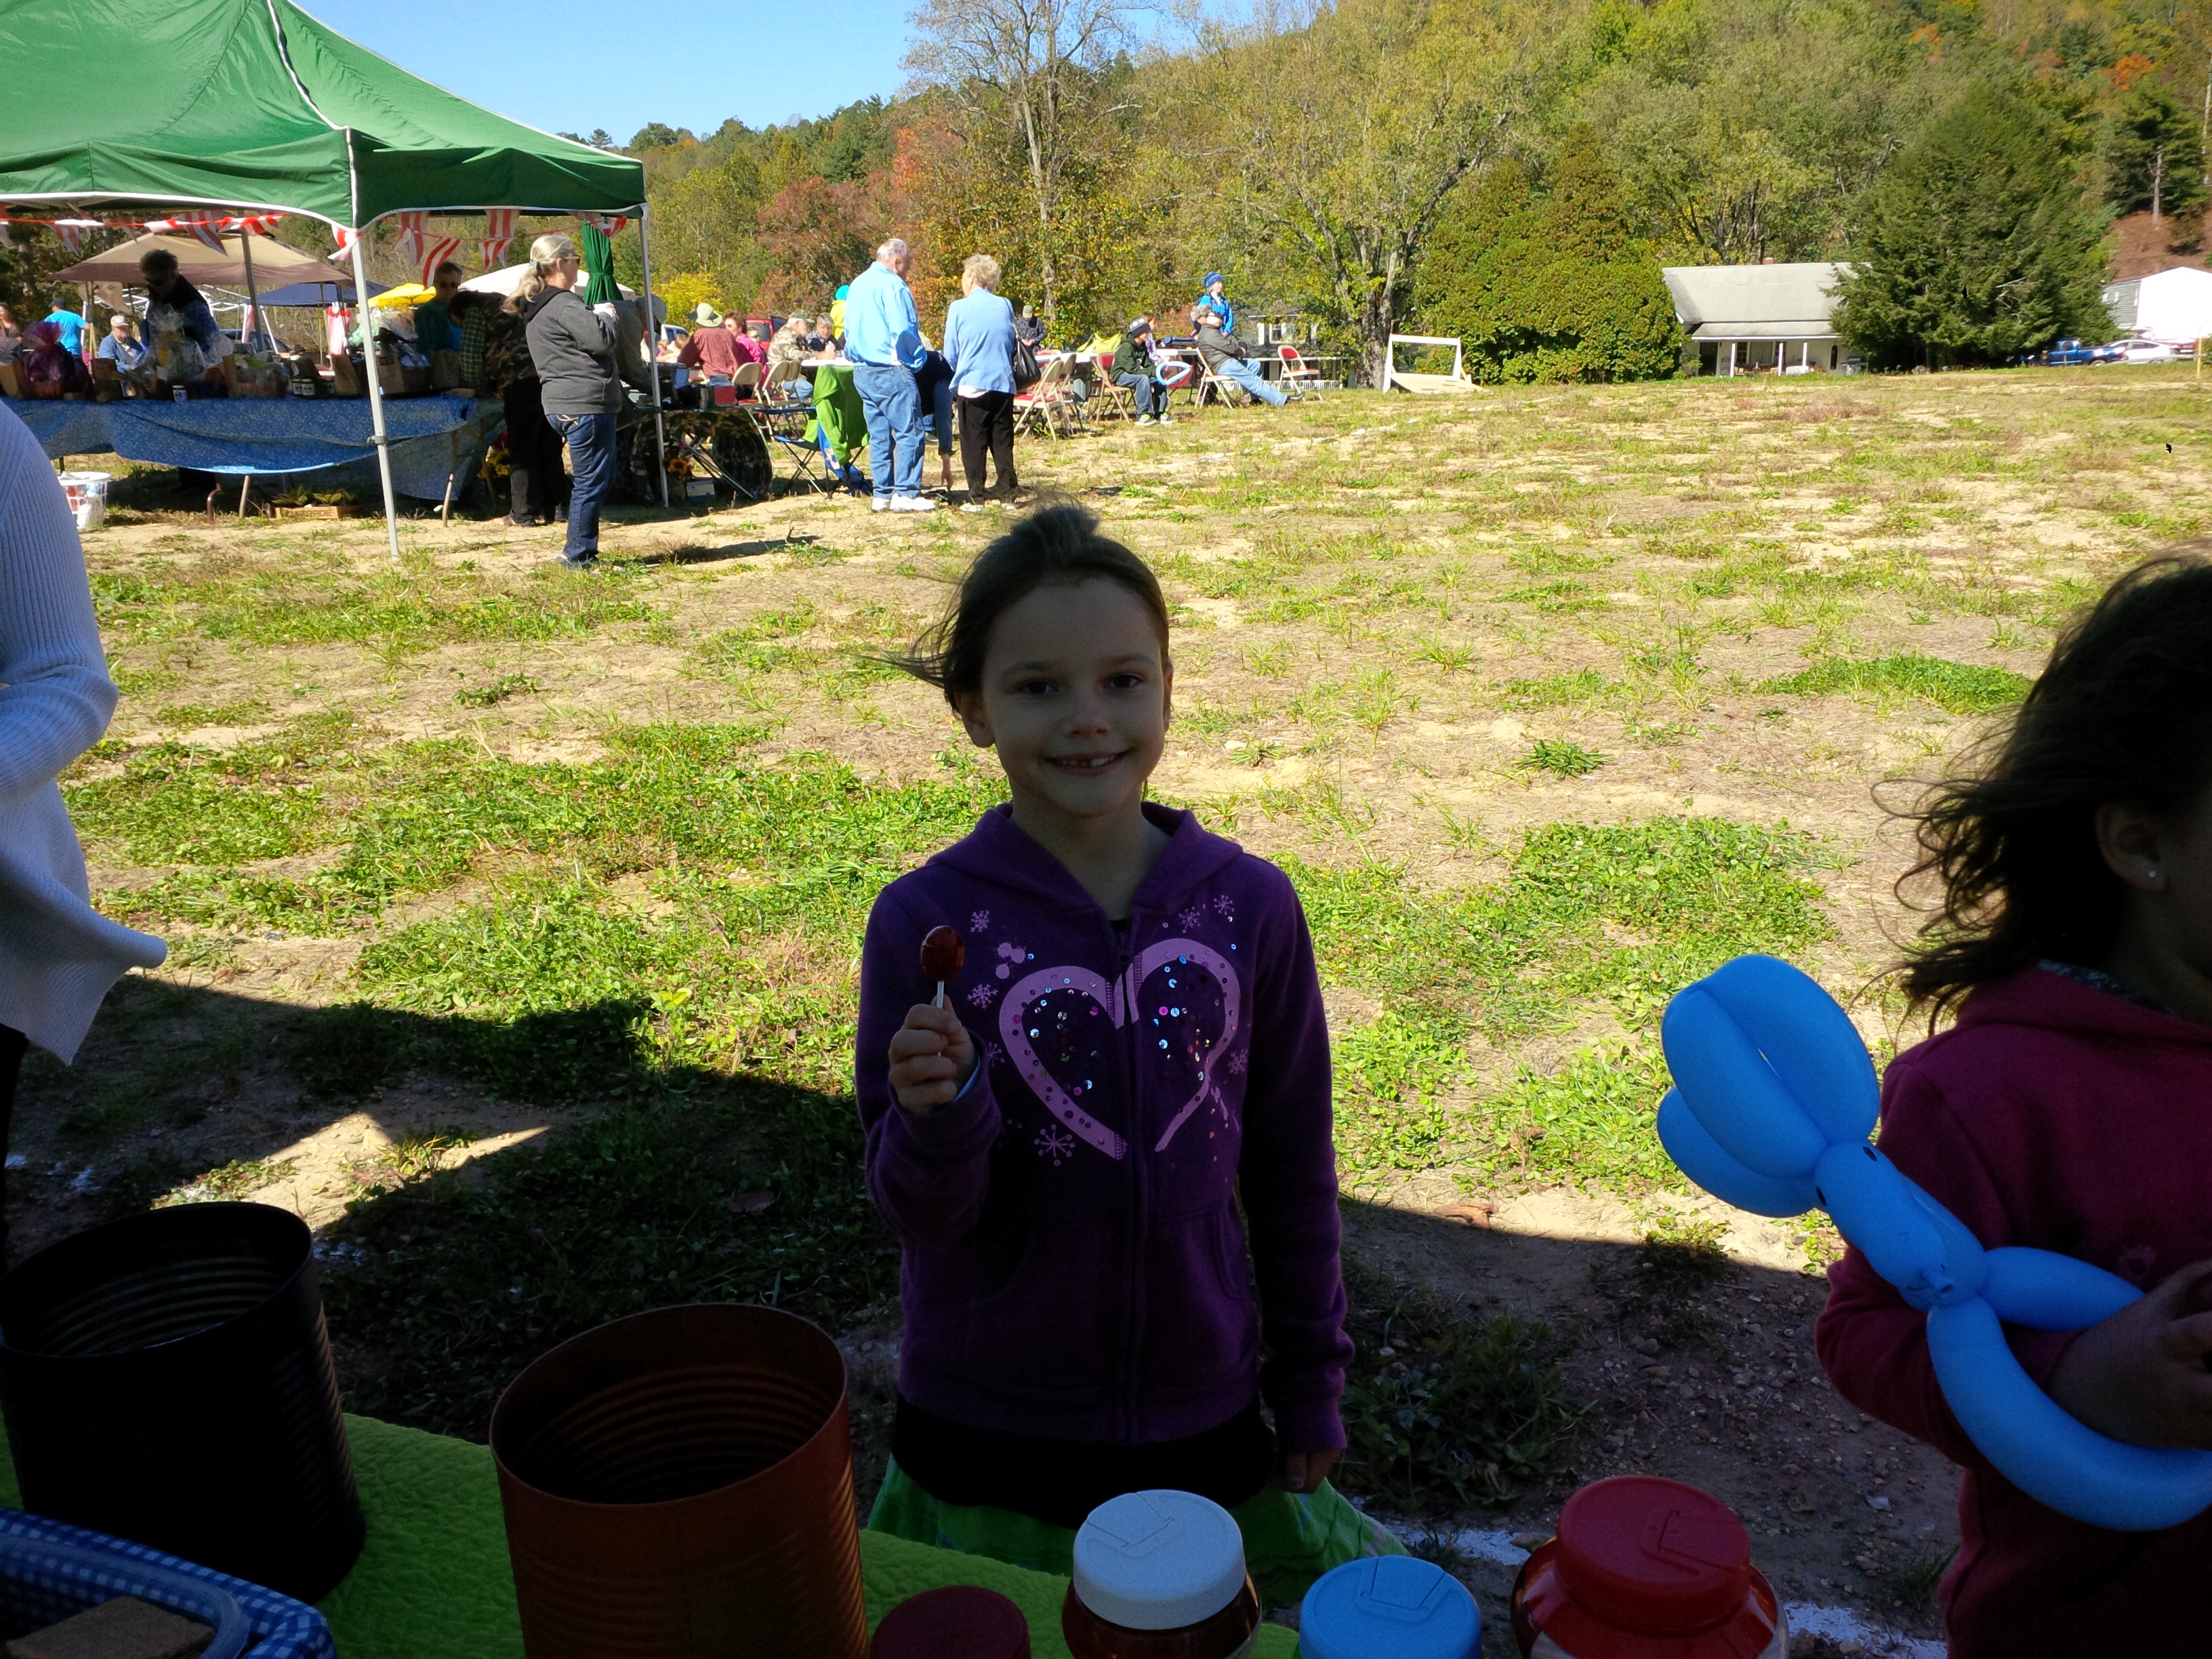
Here is Autumn enjoying her sucker. 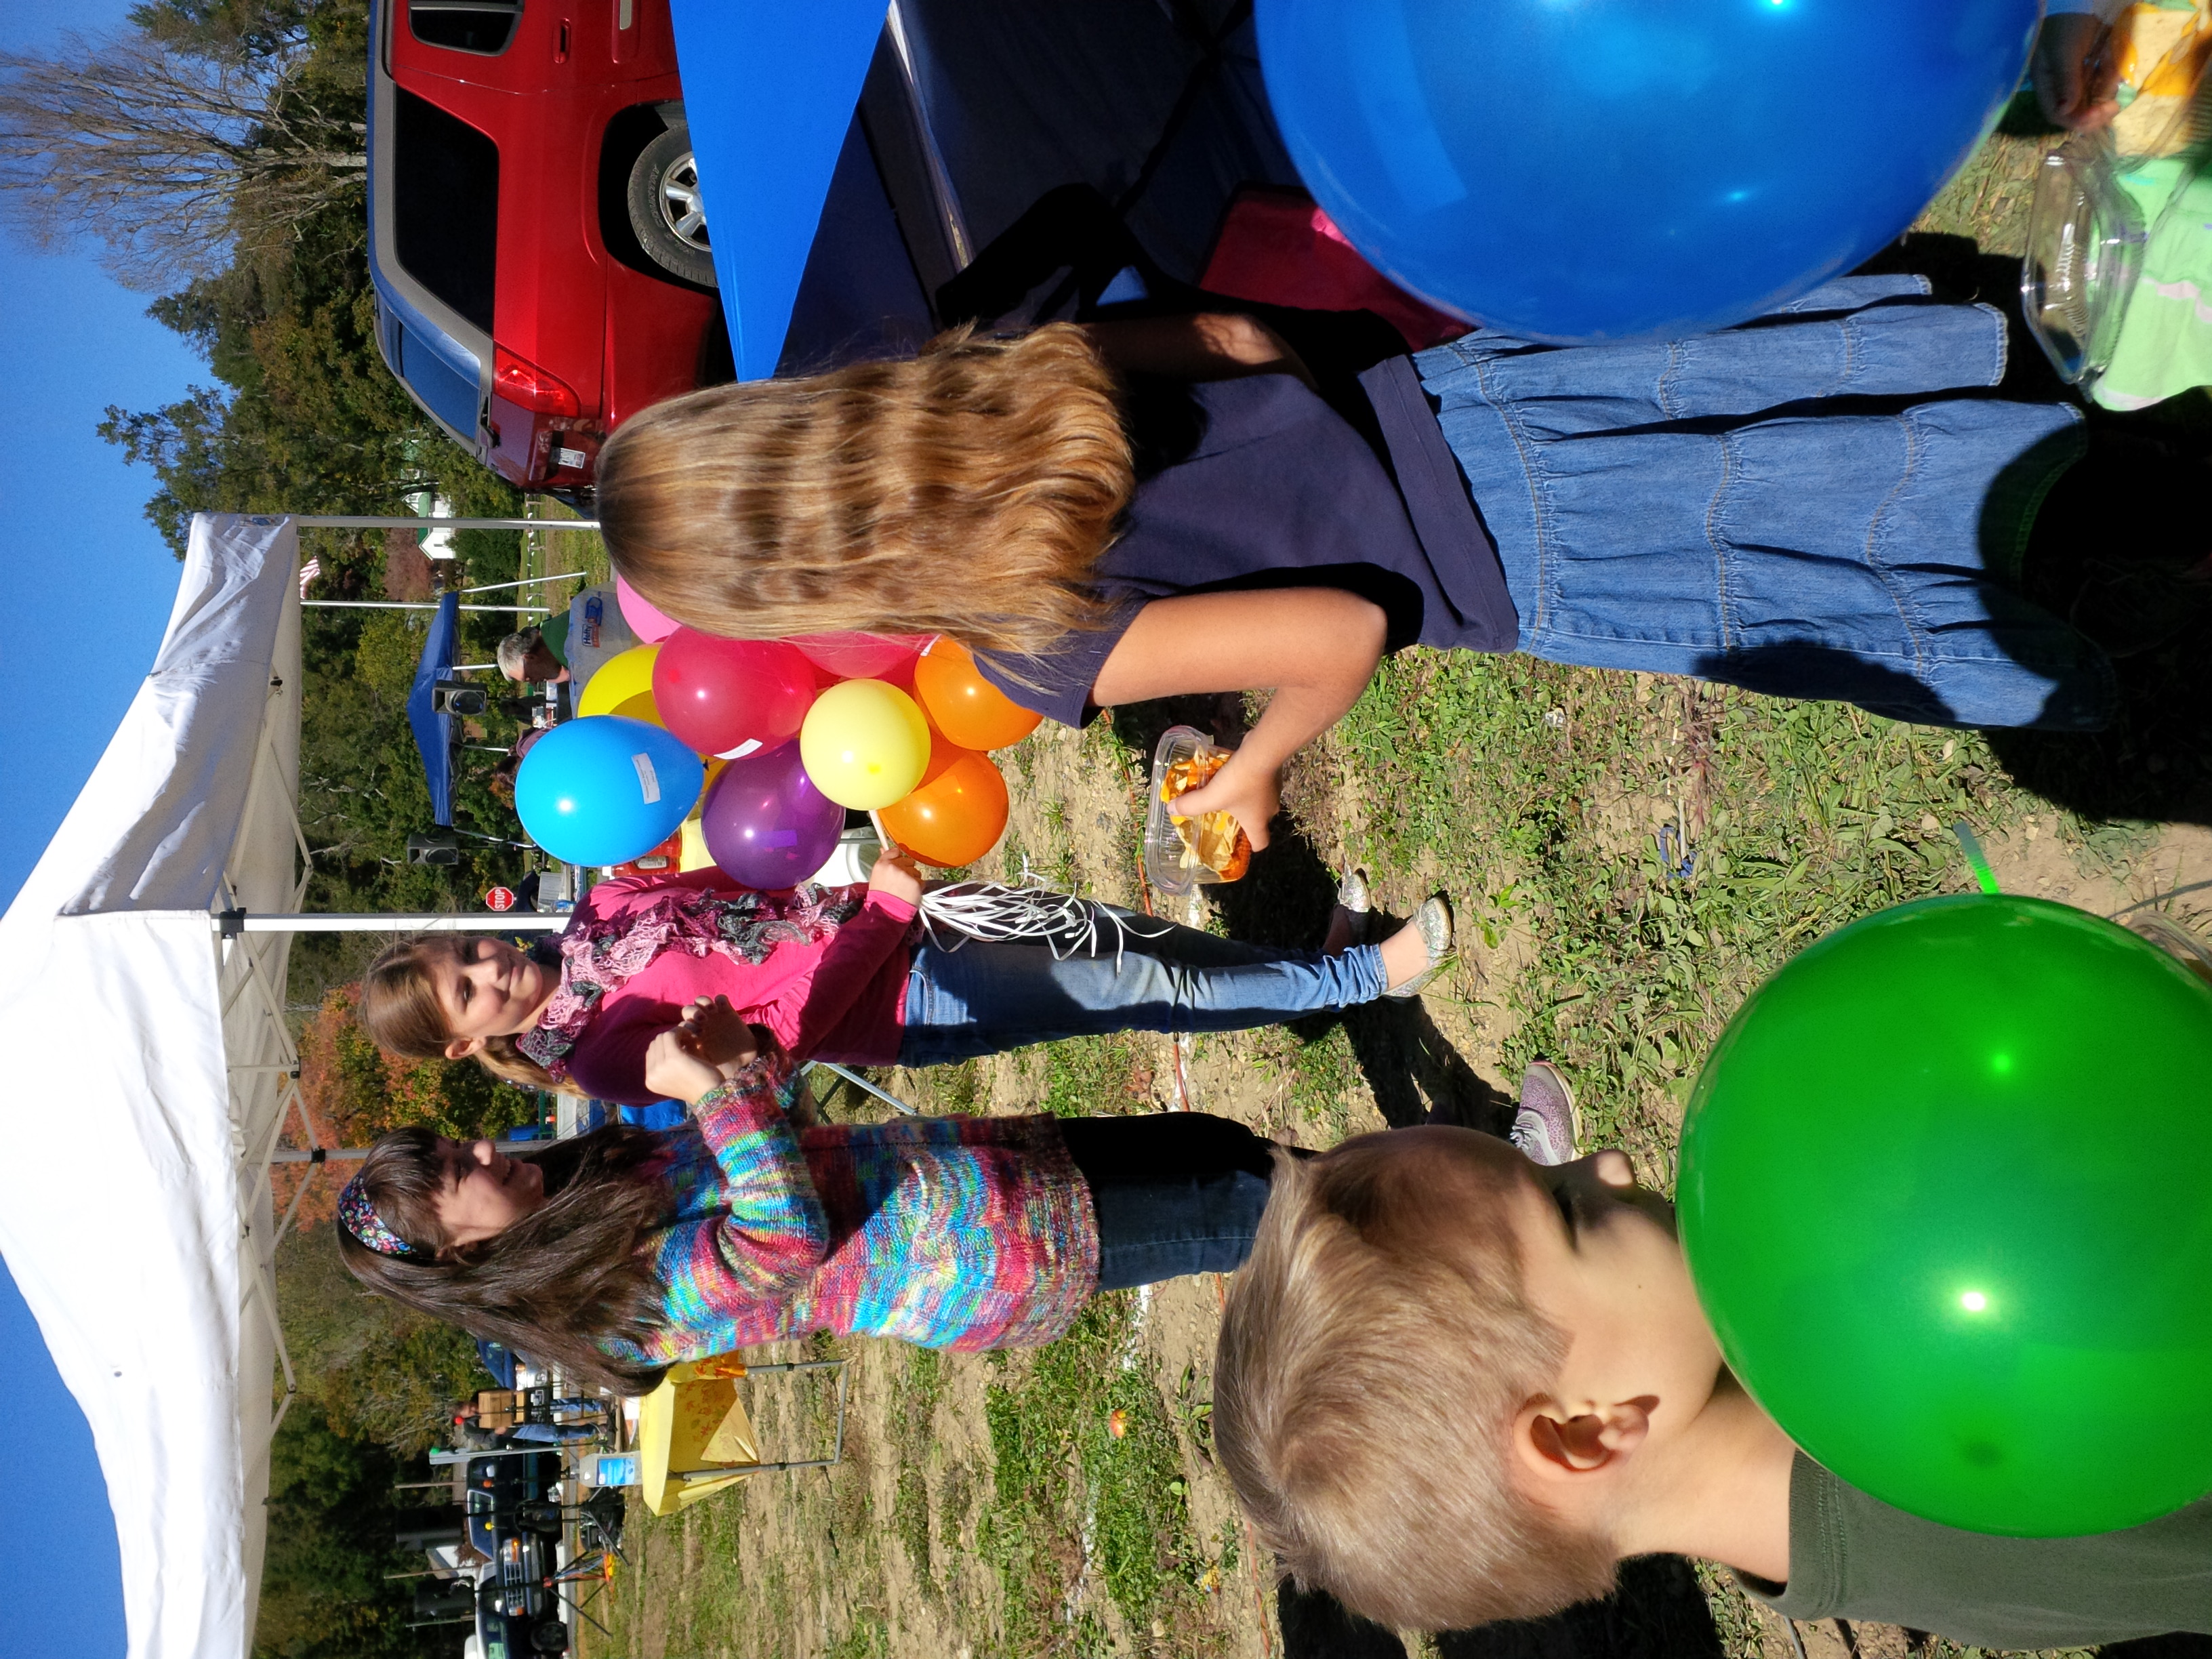
One of the churches gave away balloons for Jesus. Inside the balloon was a piece of paper that said “Jesus loves you.” When the children released them, someone somewhere would hopefully find that note. Neat idea. 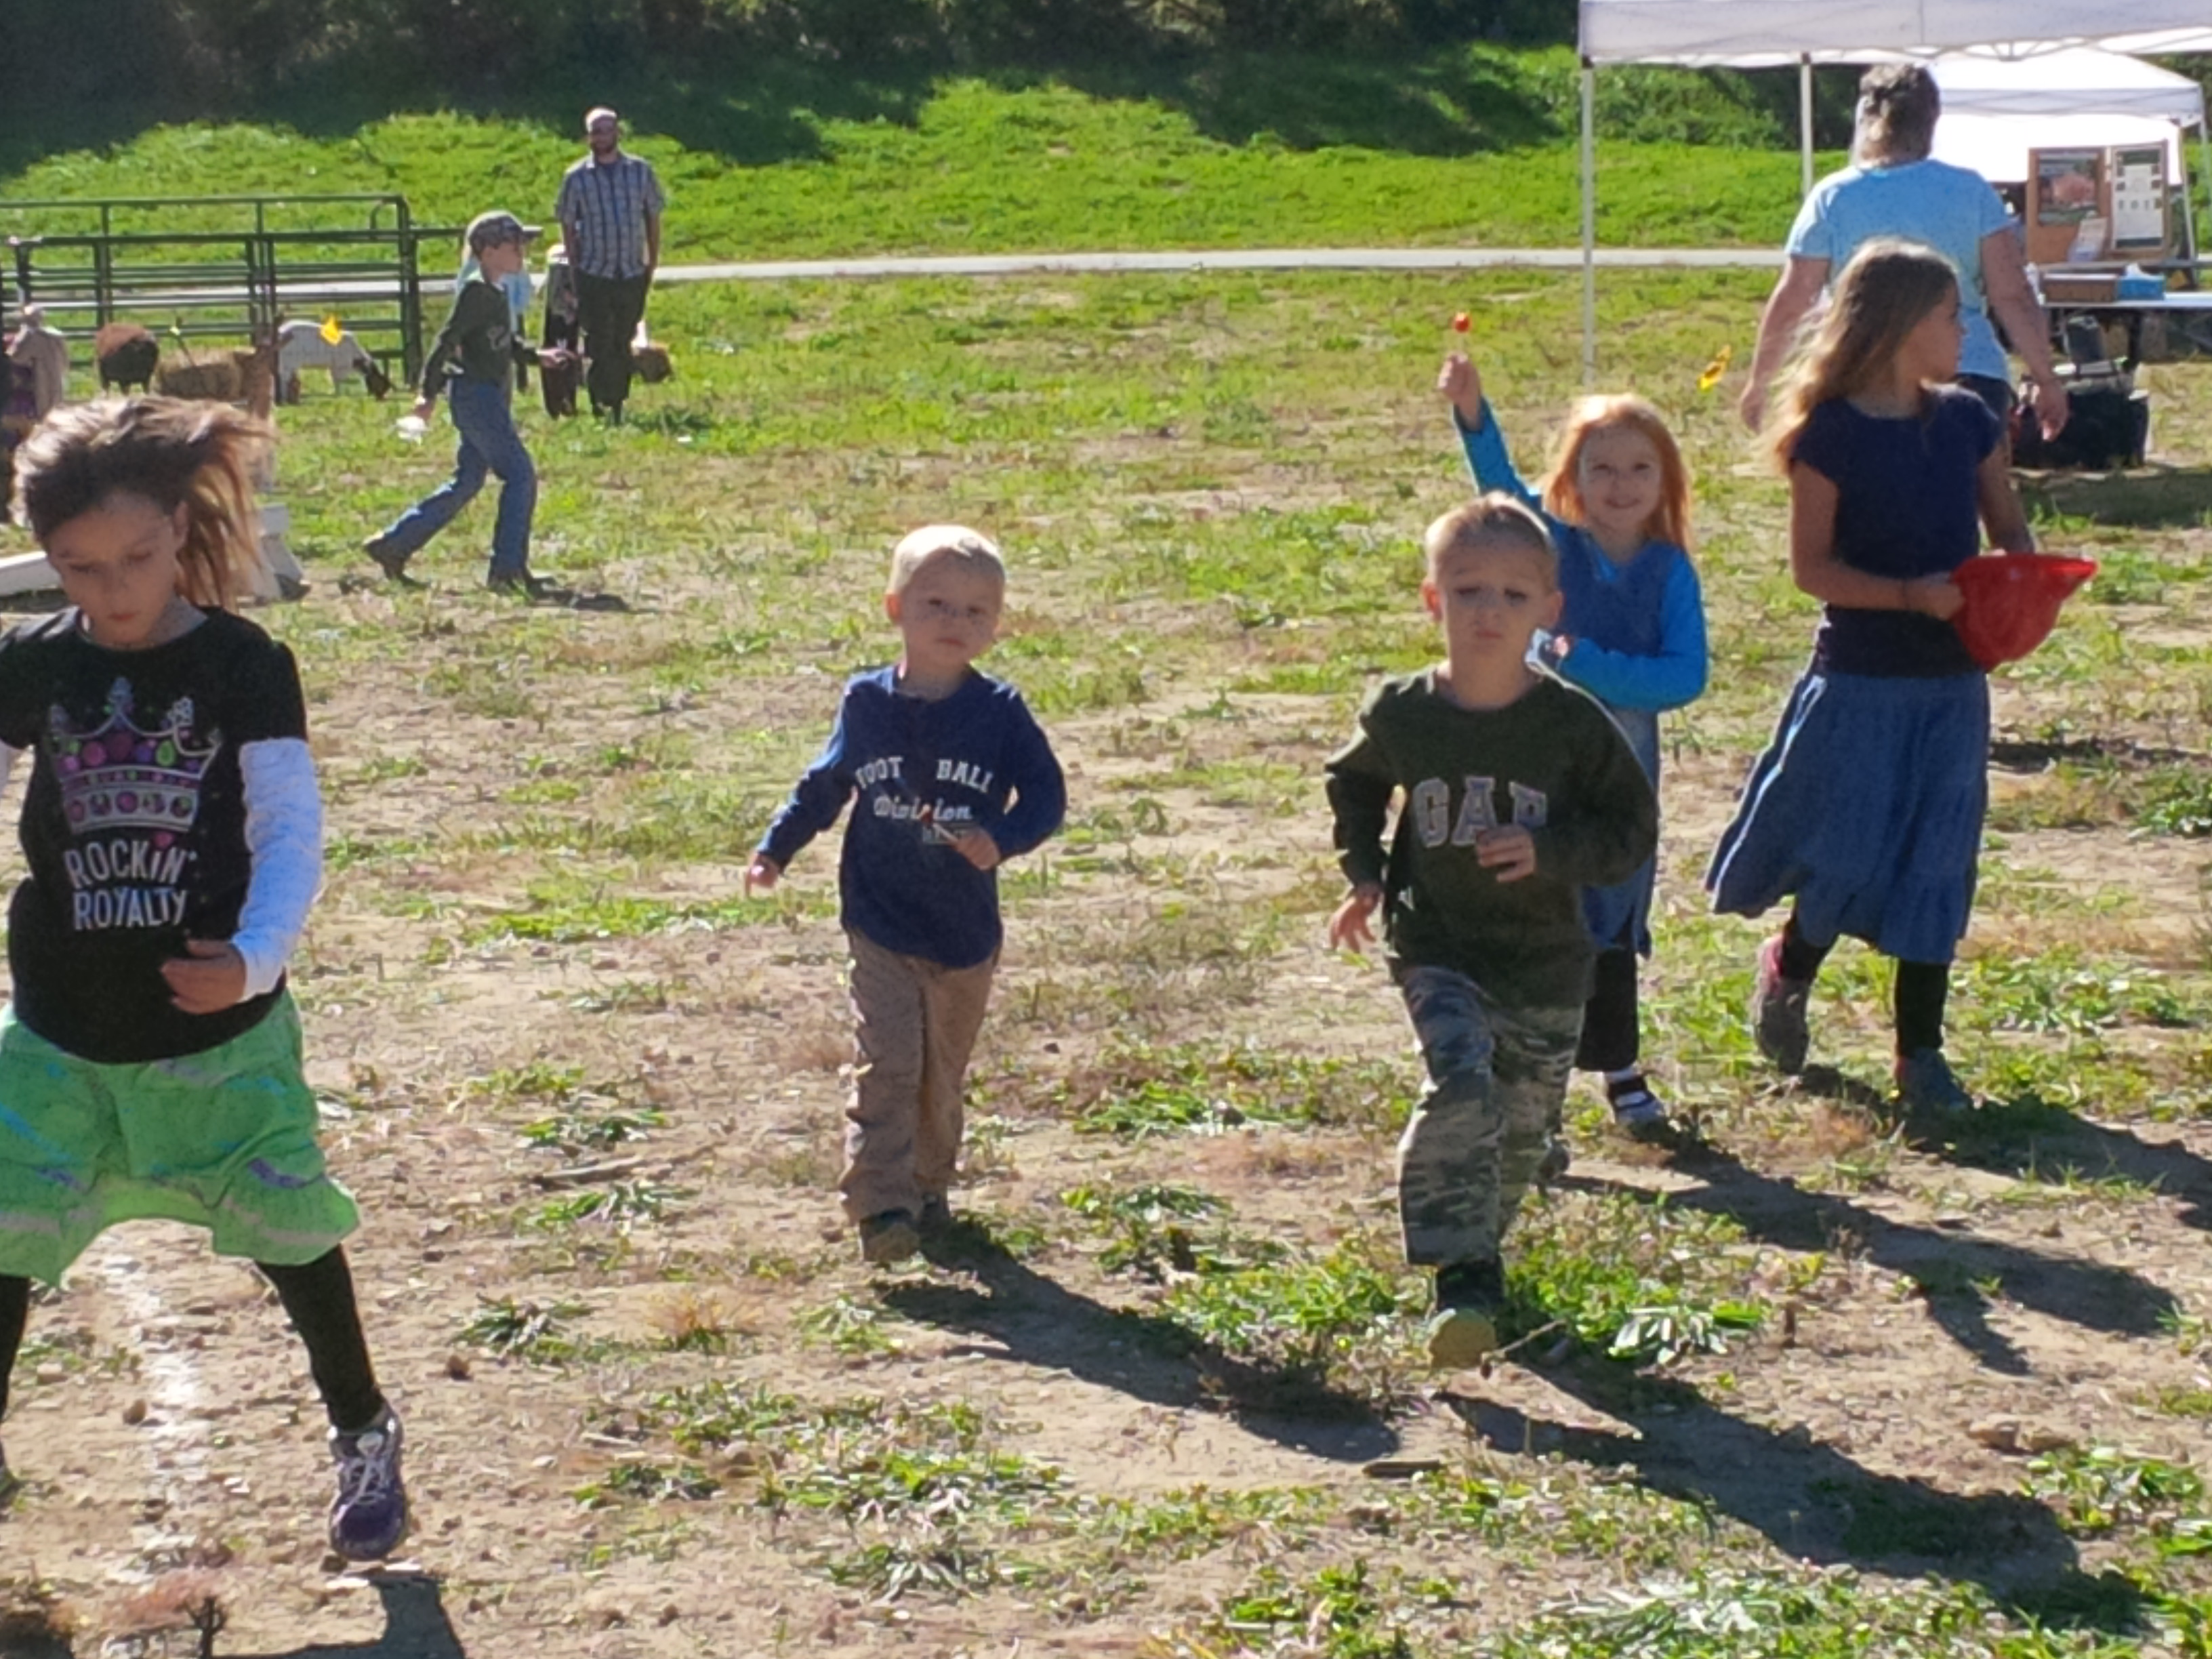
Here were my little ones, running having fun. From left to right…Autumn, Stephen, Jentzen, Madelyn, and Brooklyn. 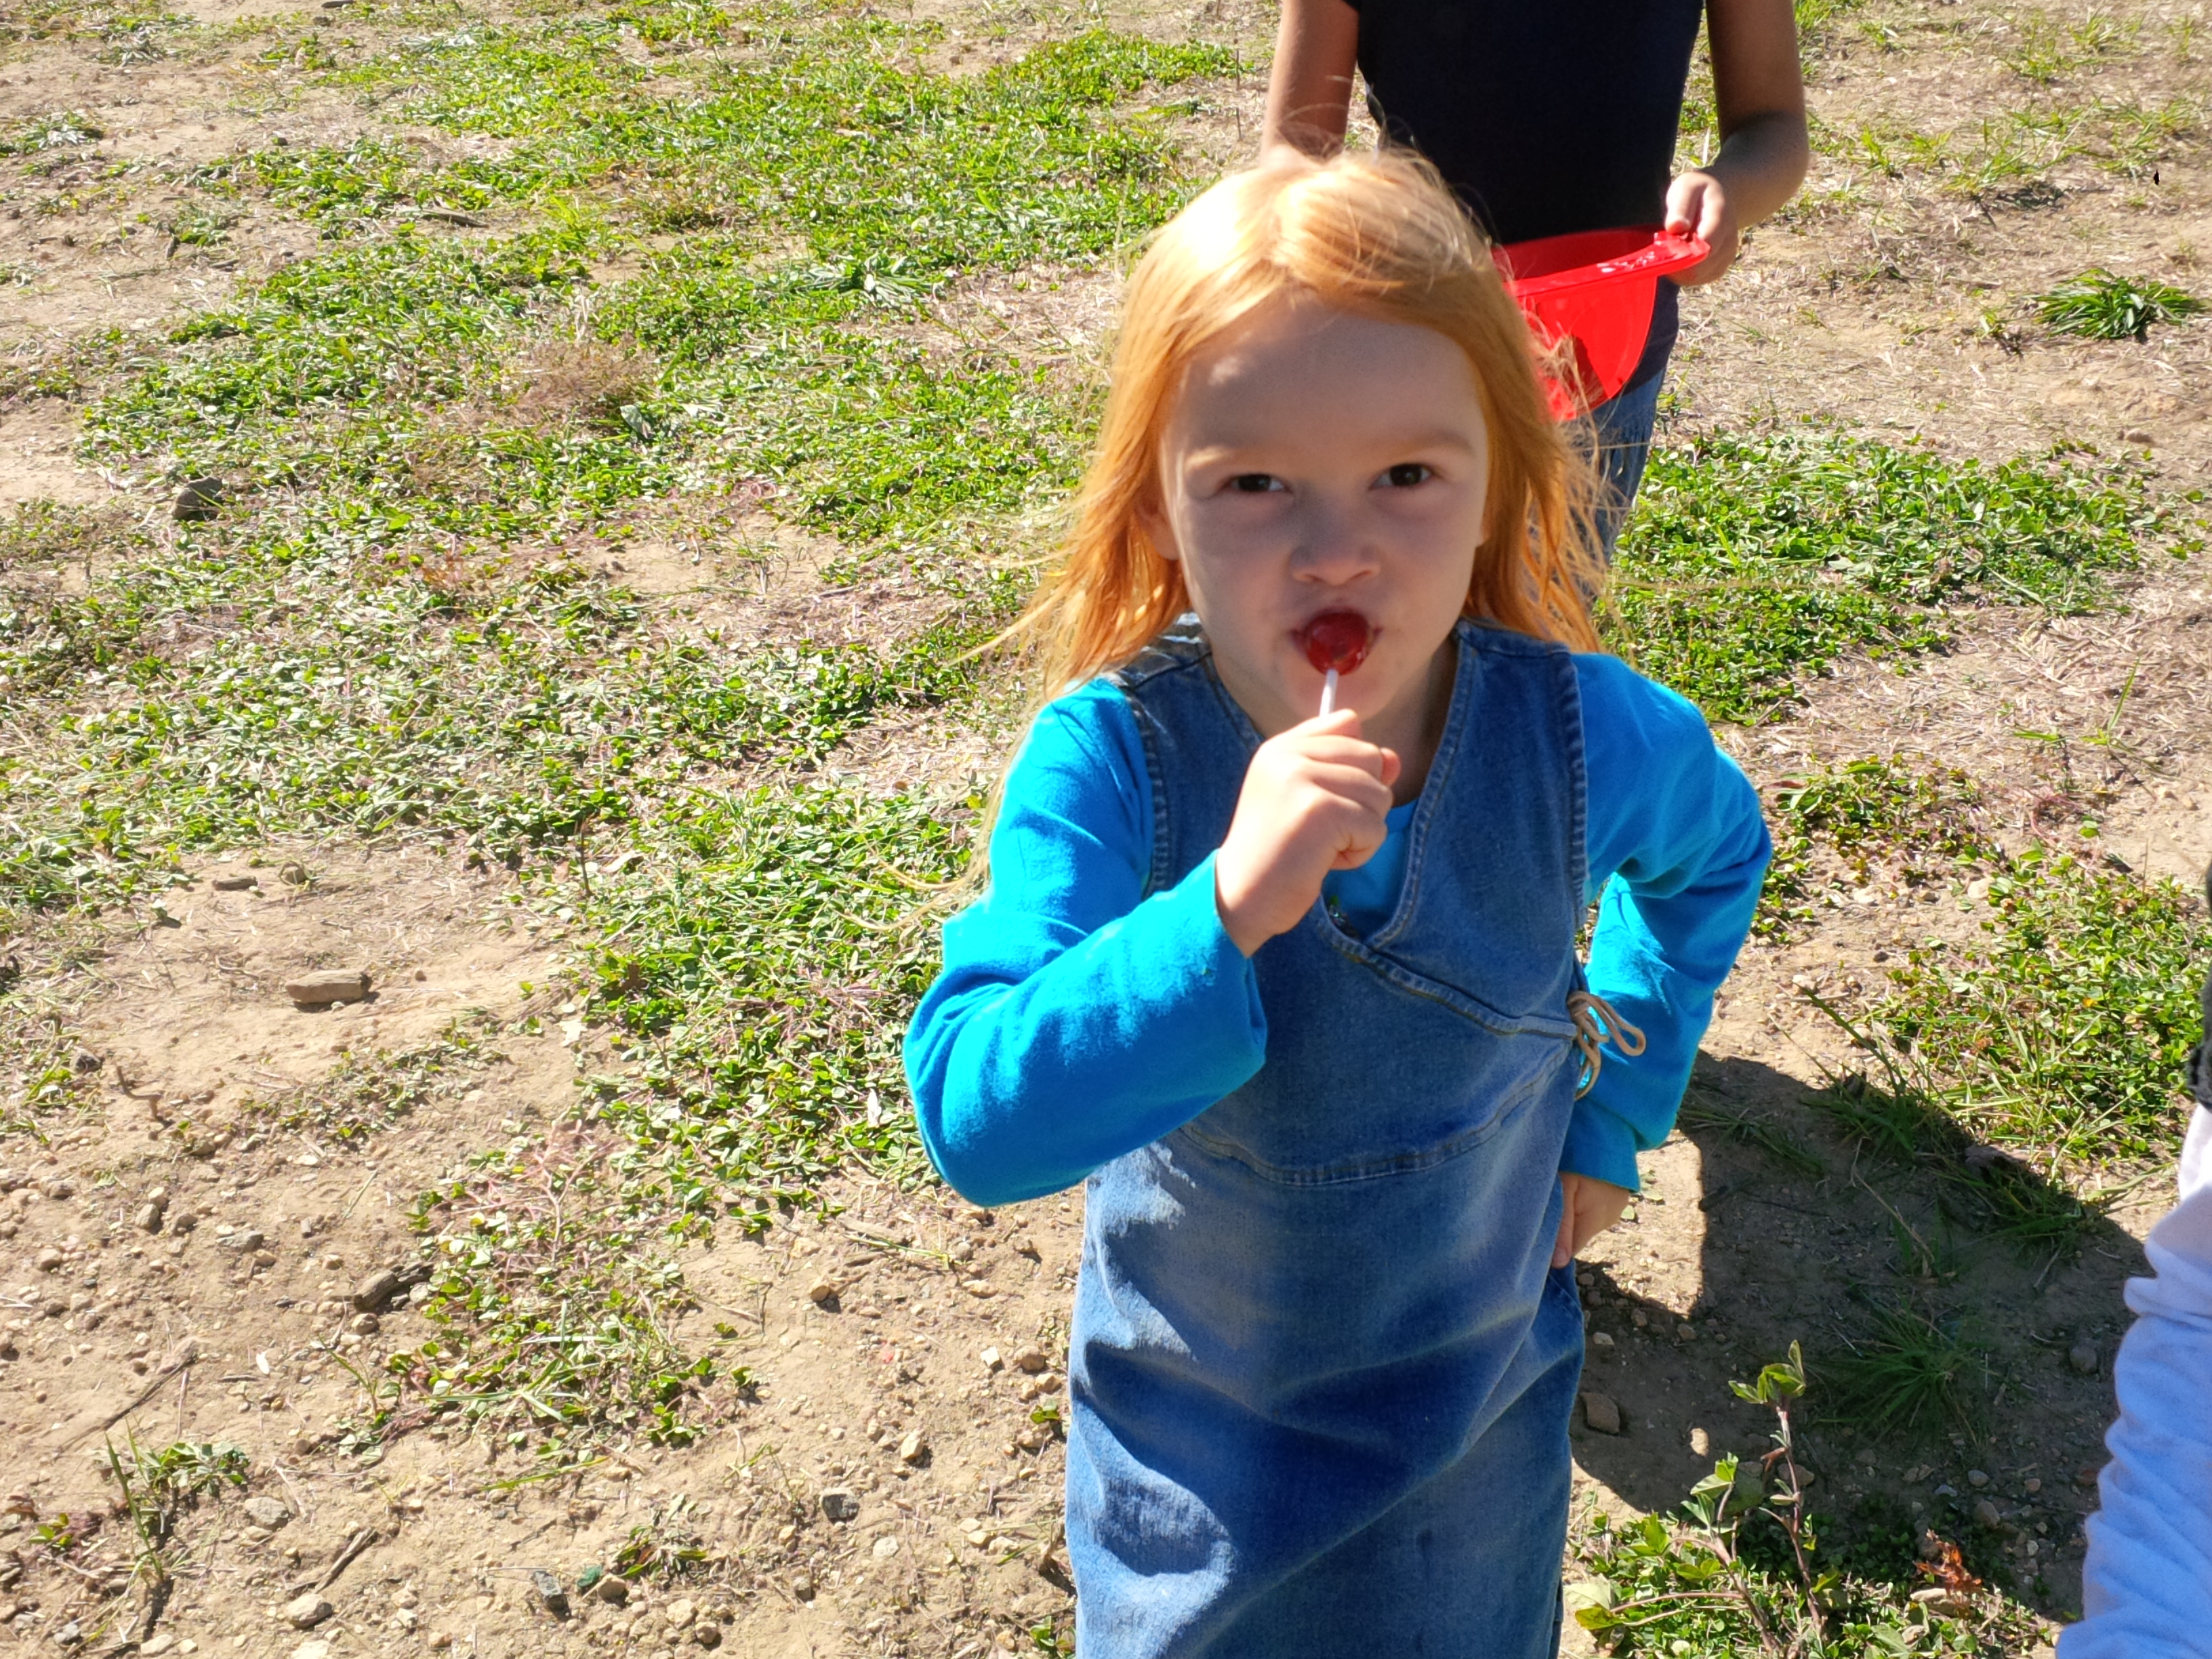
Madelyn loving her sucker.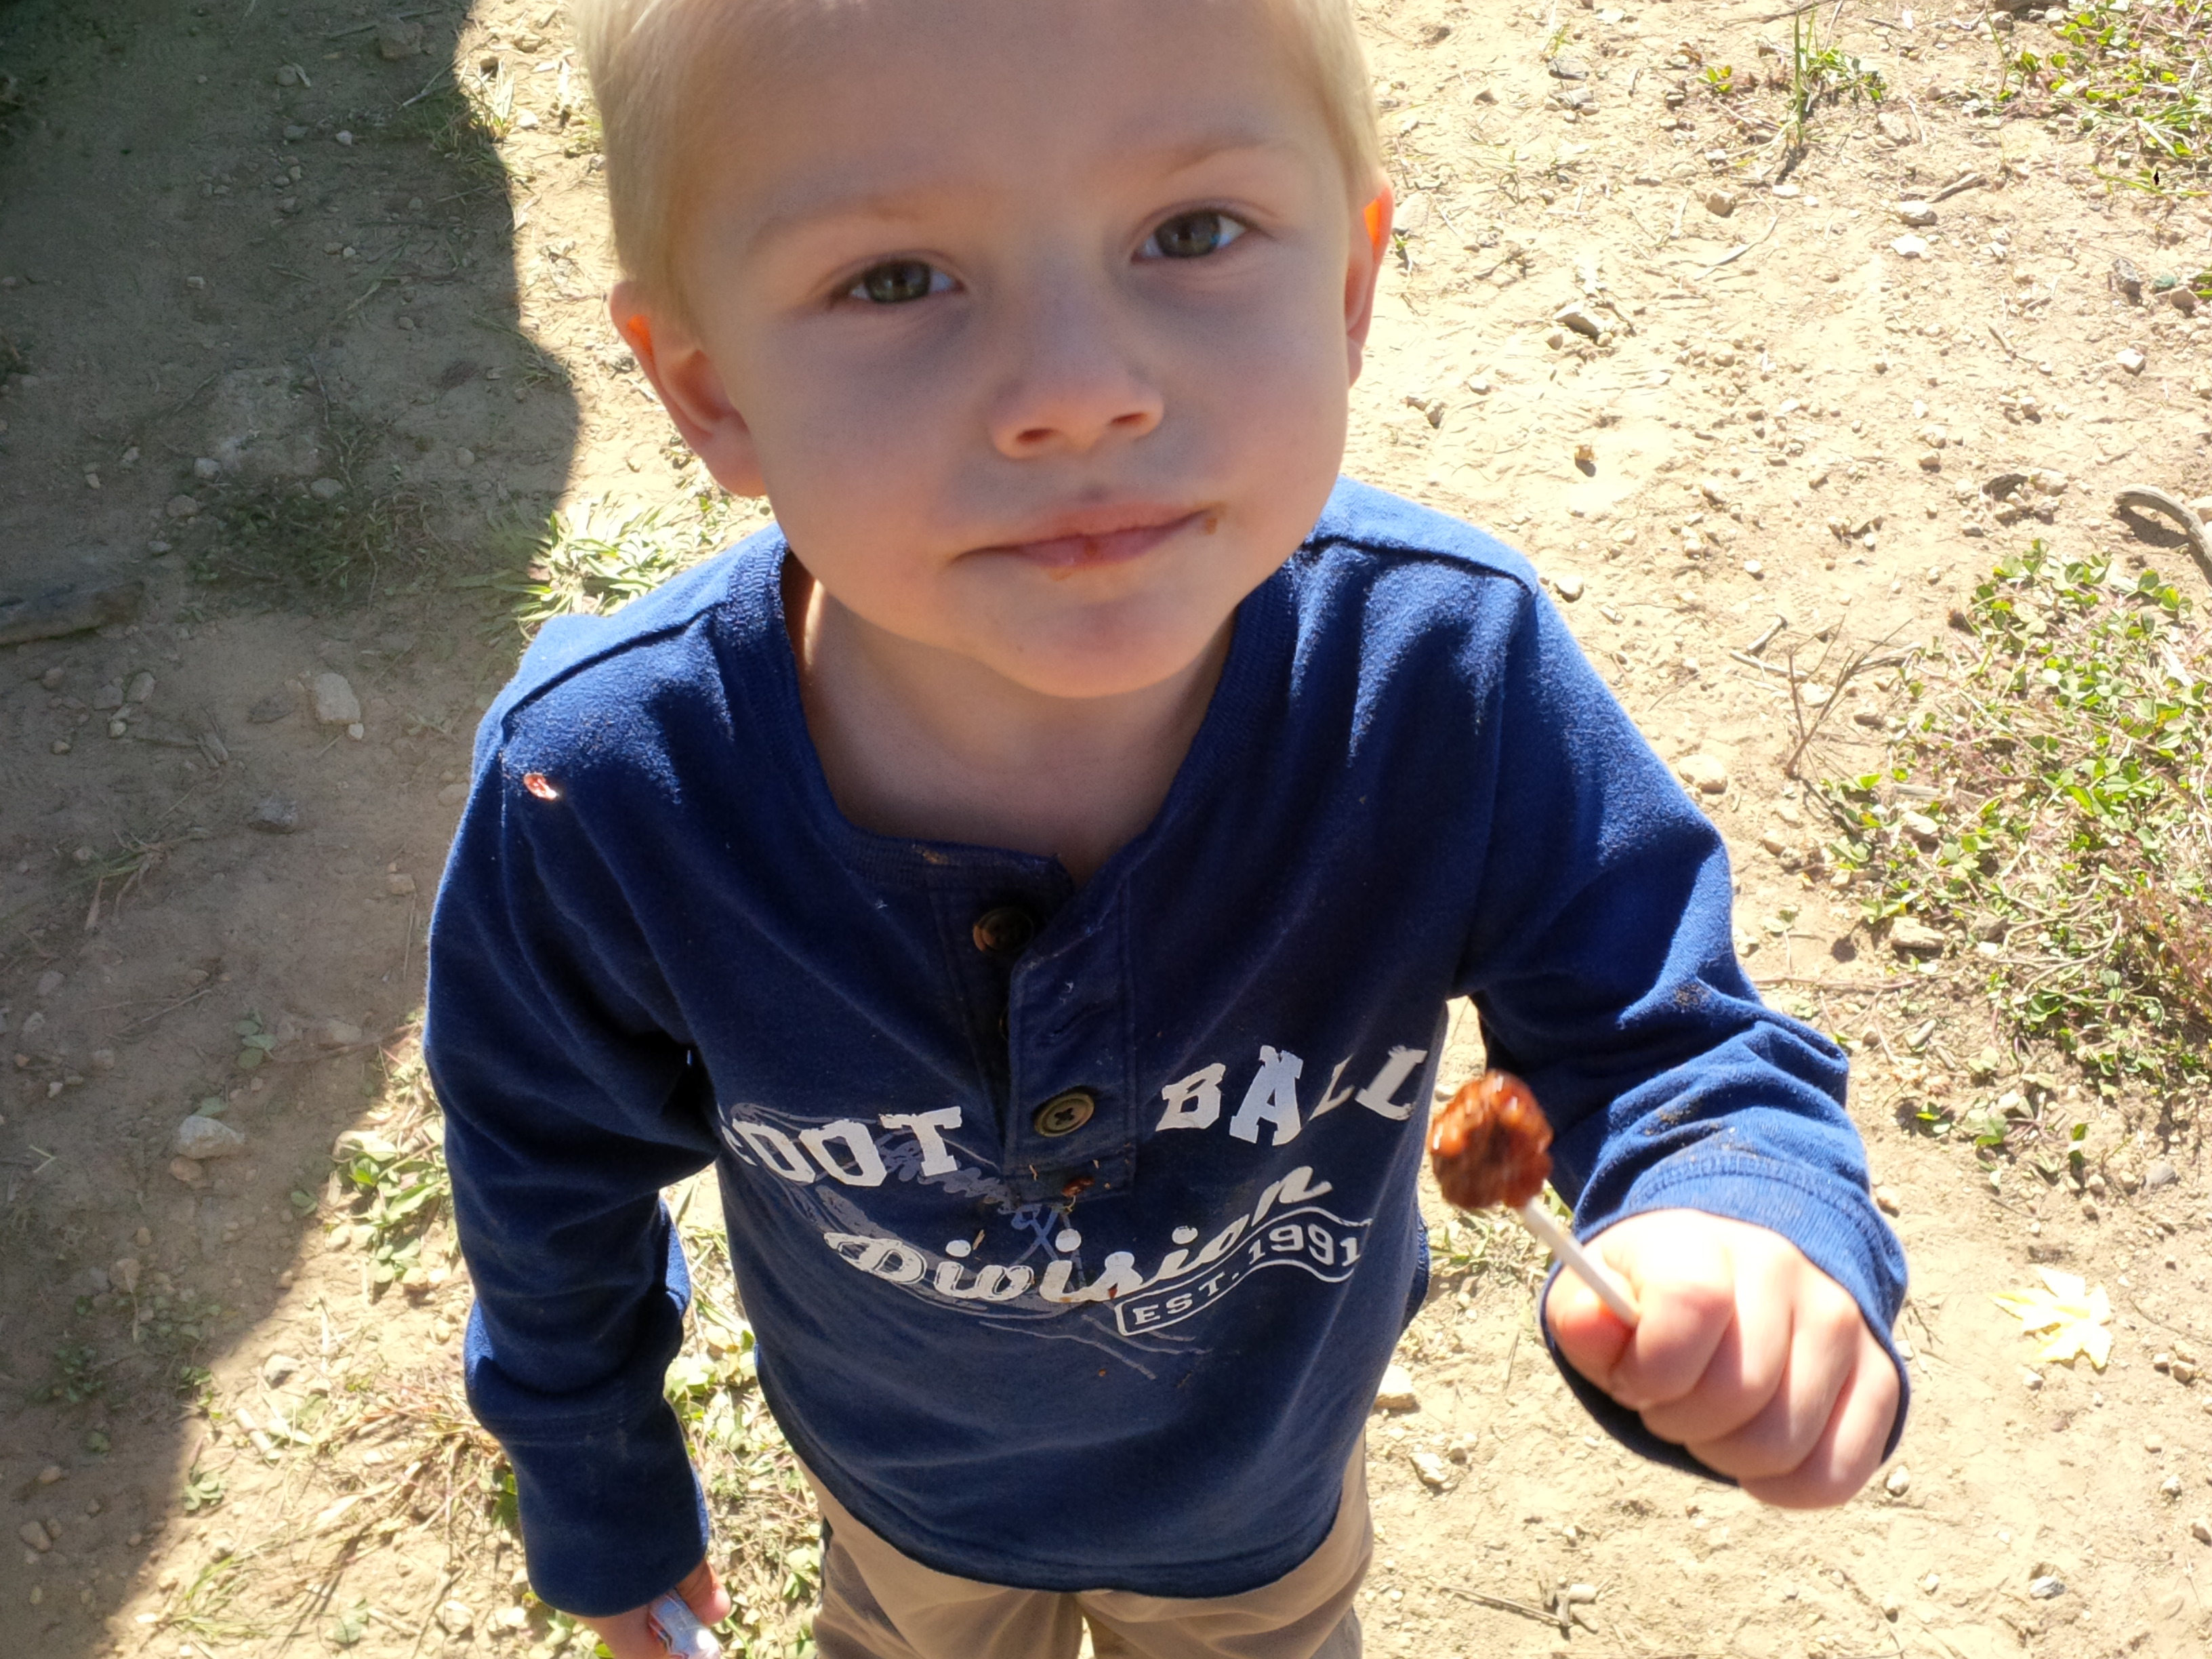
Stephen loving his.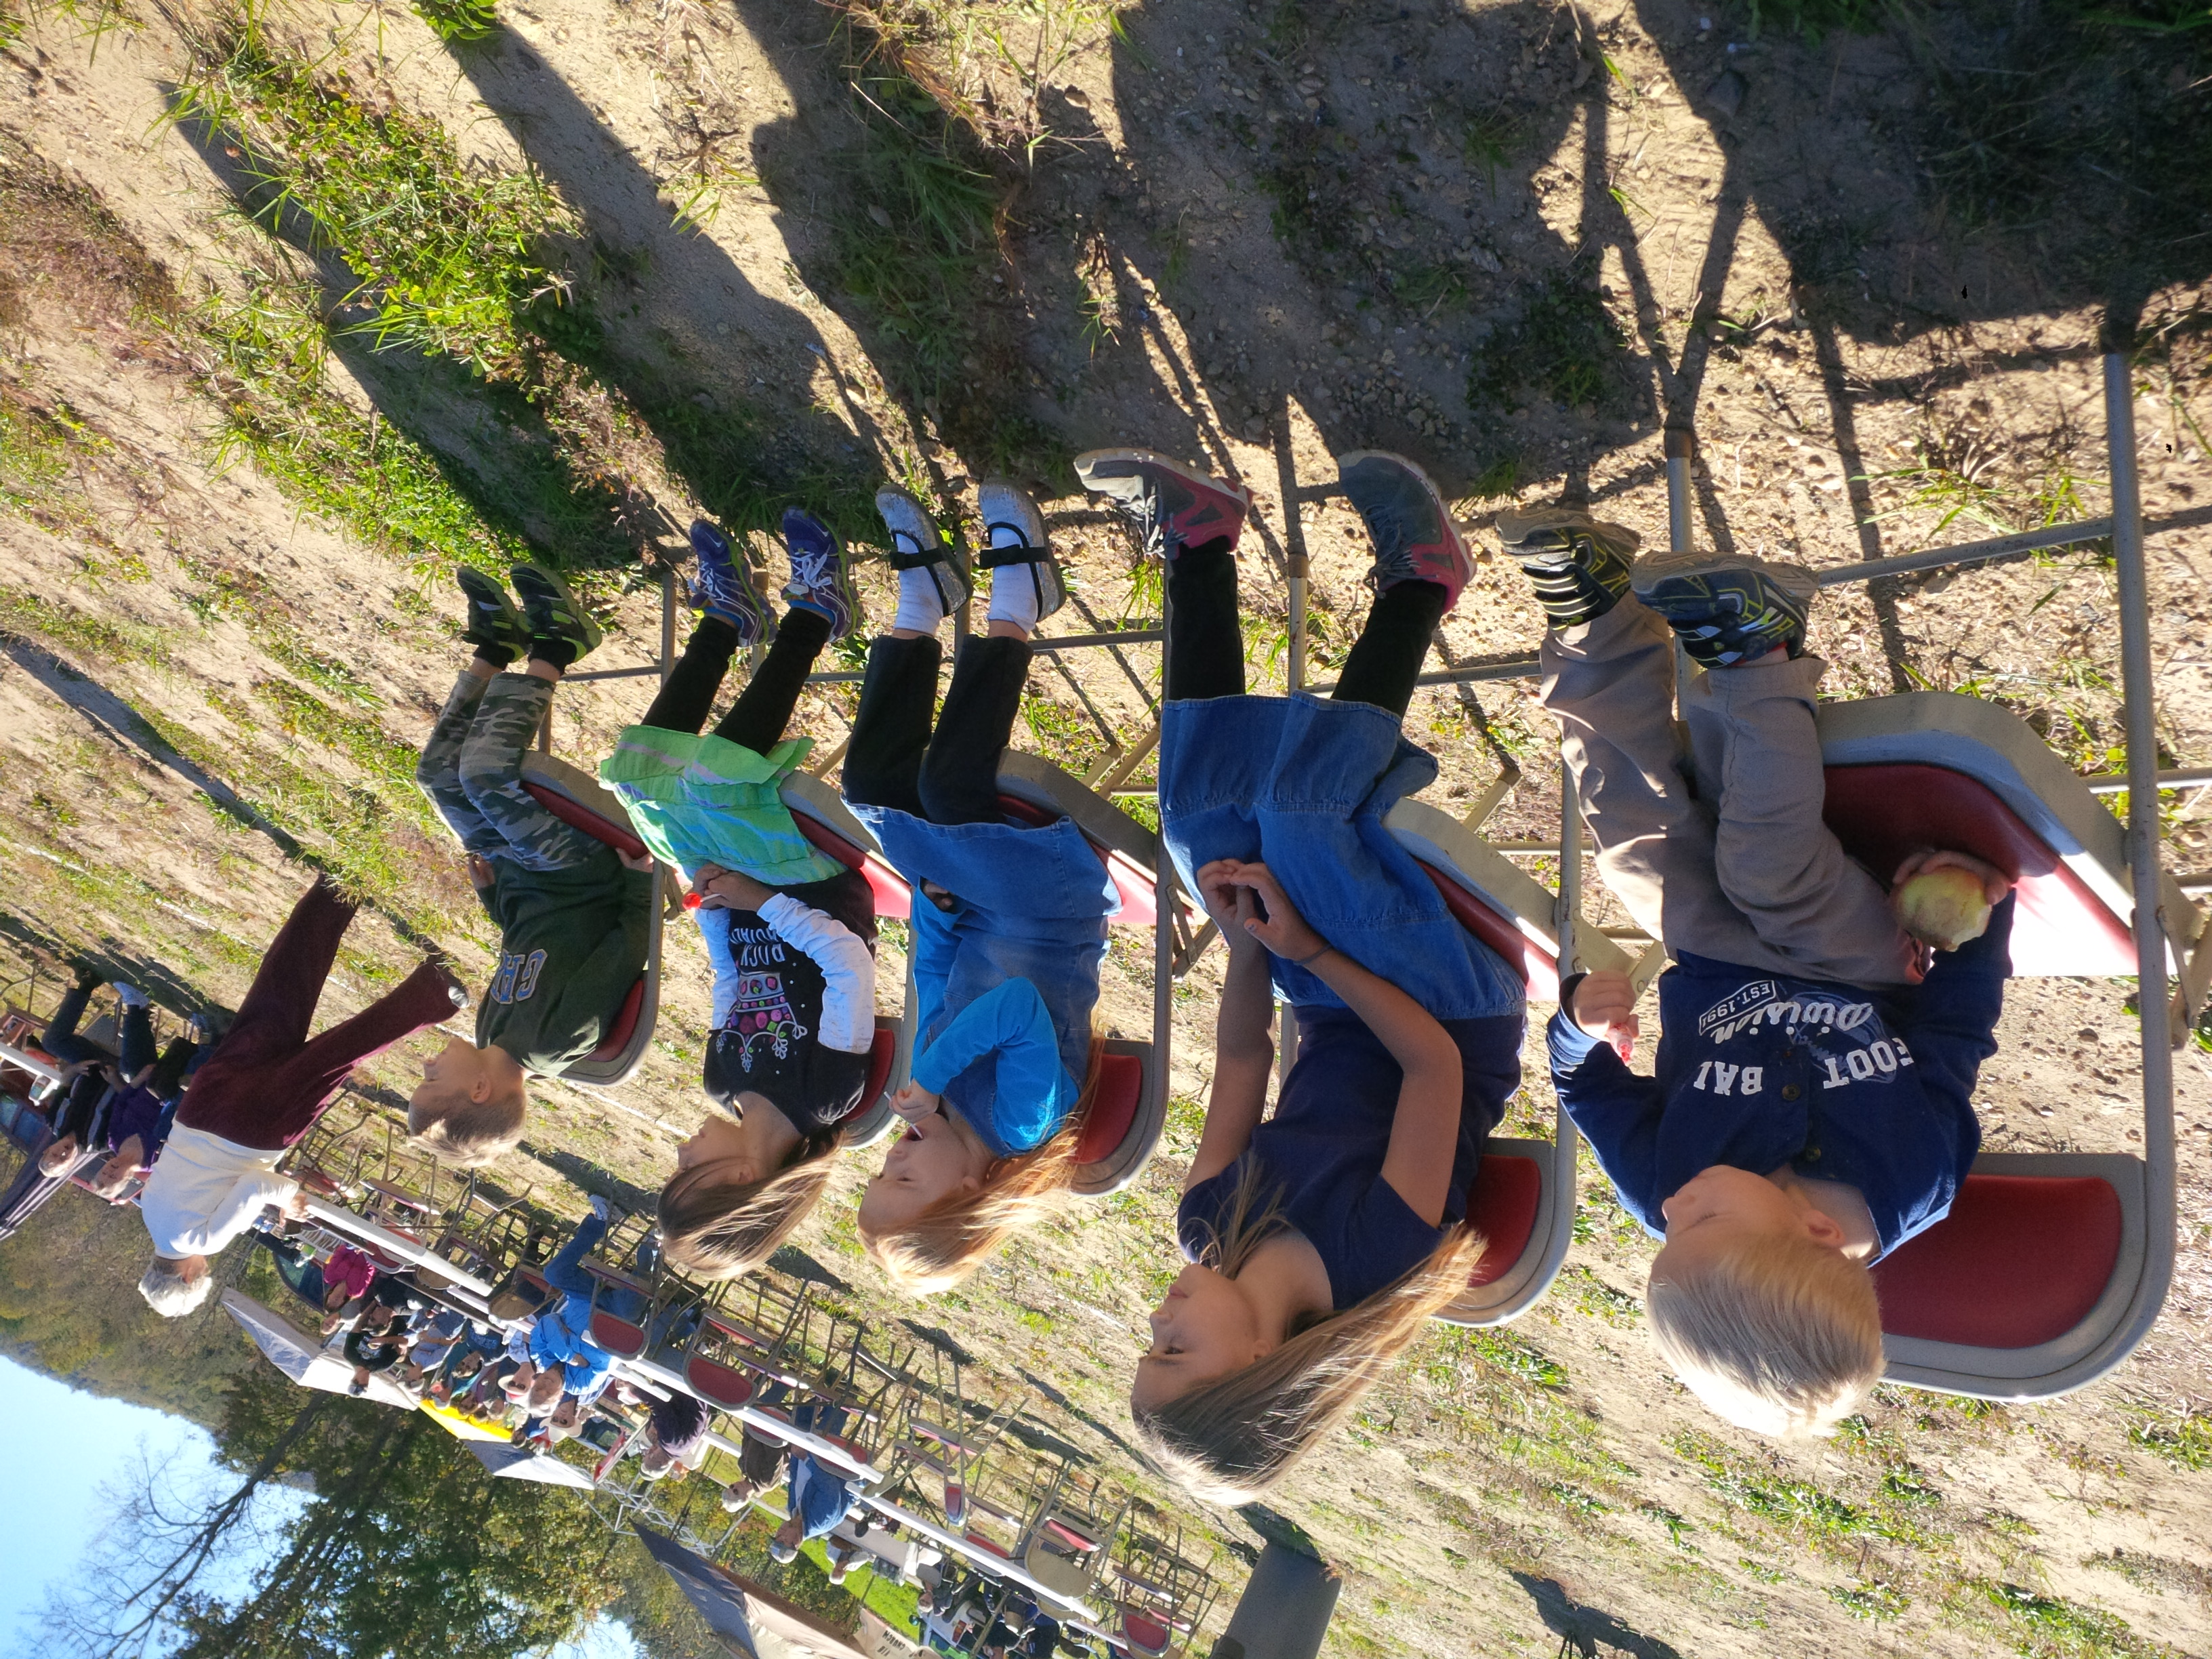 This was a neat photo because there were all these chairs lined up watching the entertainment which included pickers, singers, guitar players, hula hoop dancers, hula dancers and more. Then there was one older lady sitting watching, my children all lined up and sat down next to her watching the entertainment. It was a neat moment. Having the older with the younger generation—precious.
It was a beautiful day and we enjoyed it very much. We had raffles for baskets and Lauren won the one with two tickets to Dollywood!!! She was so excited to get that. Hmmmm wonder who is going to go with her…….?!?!?!?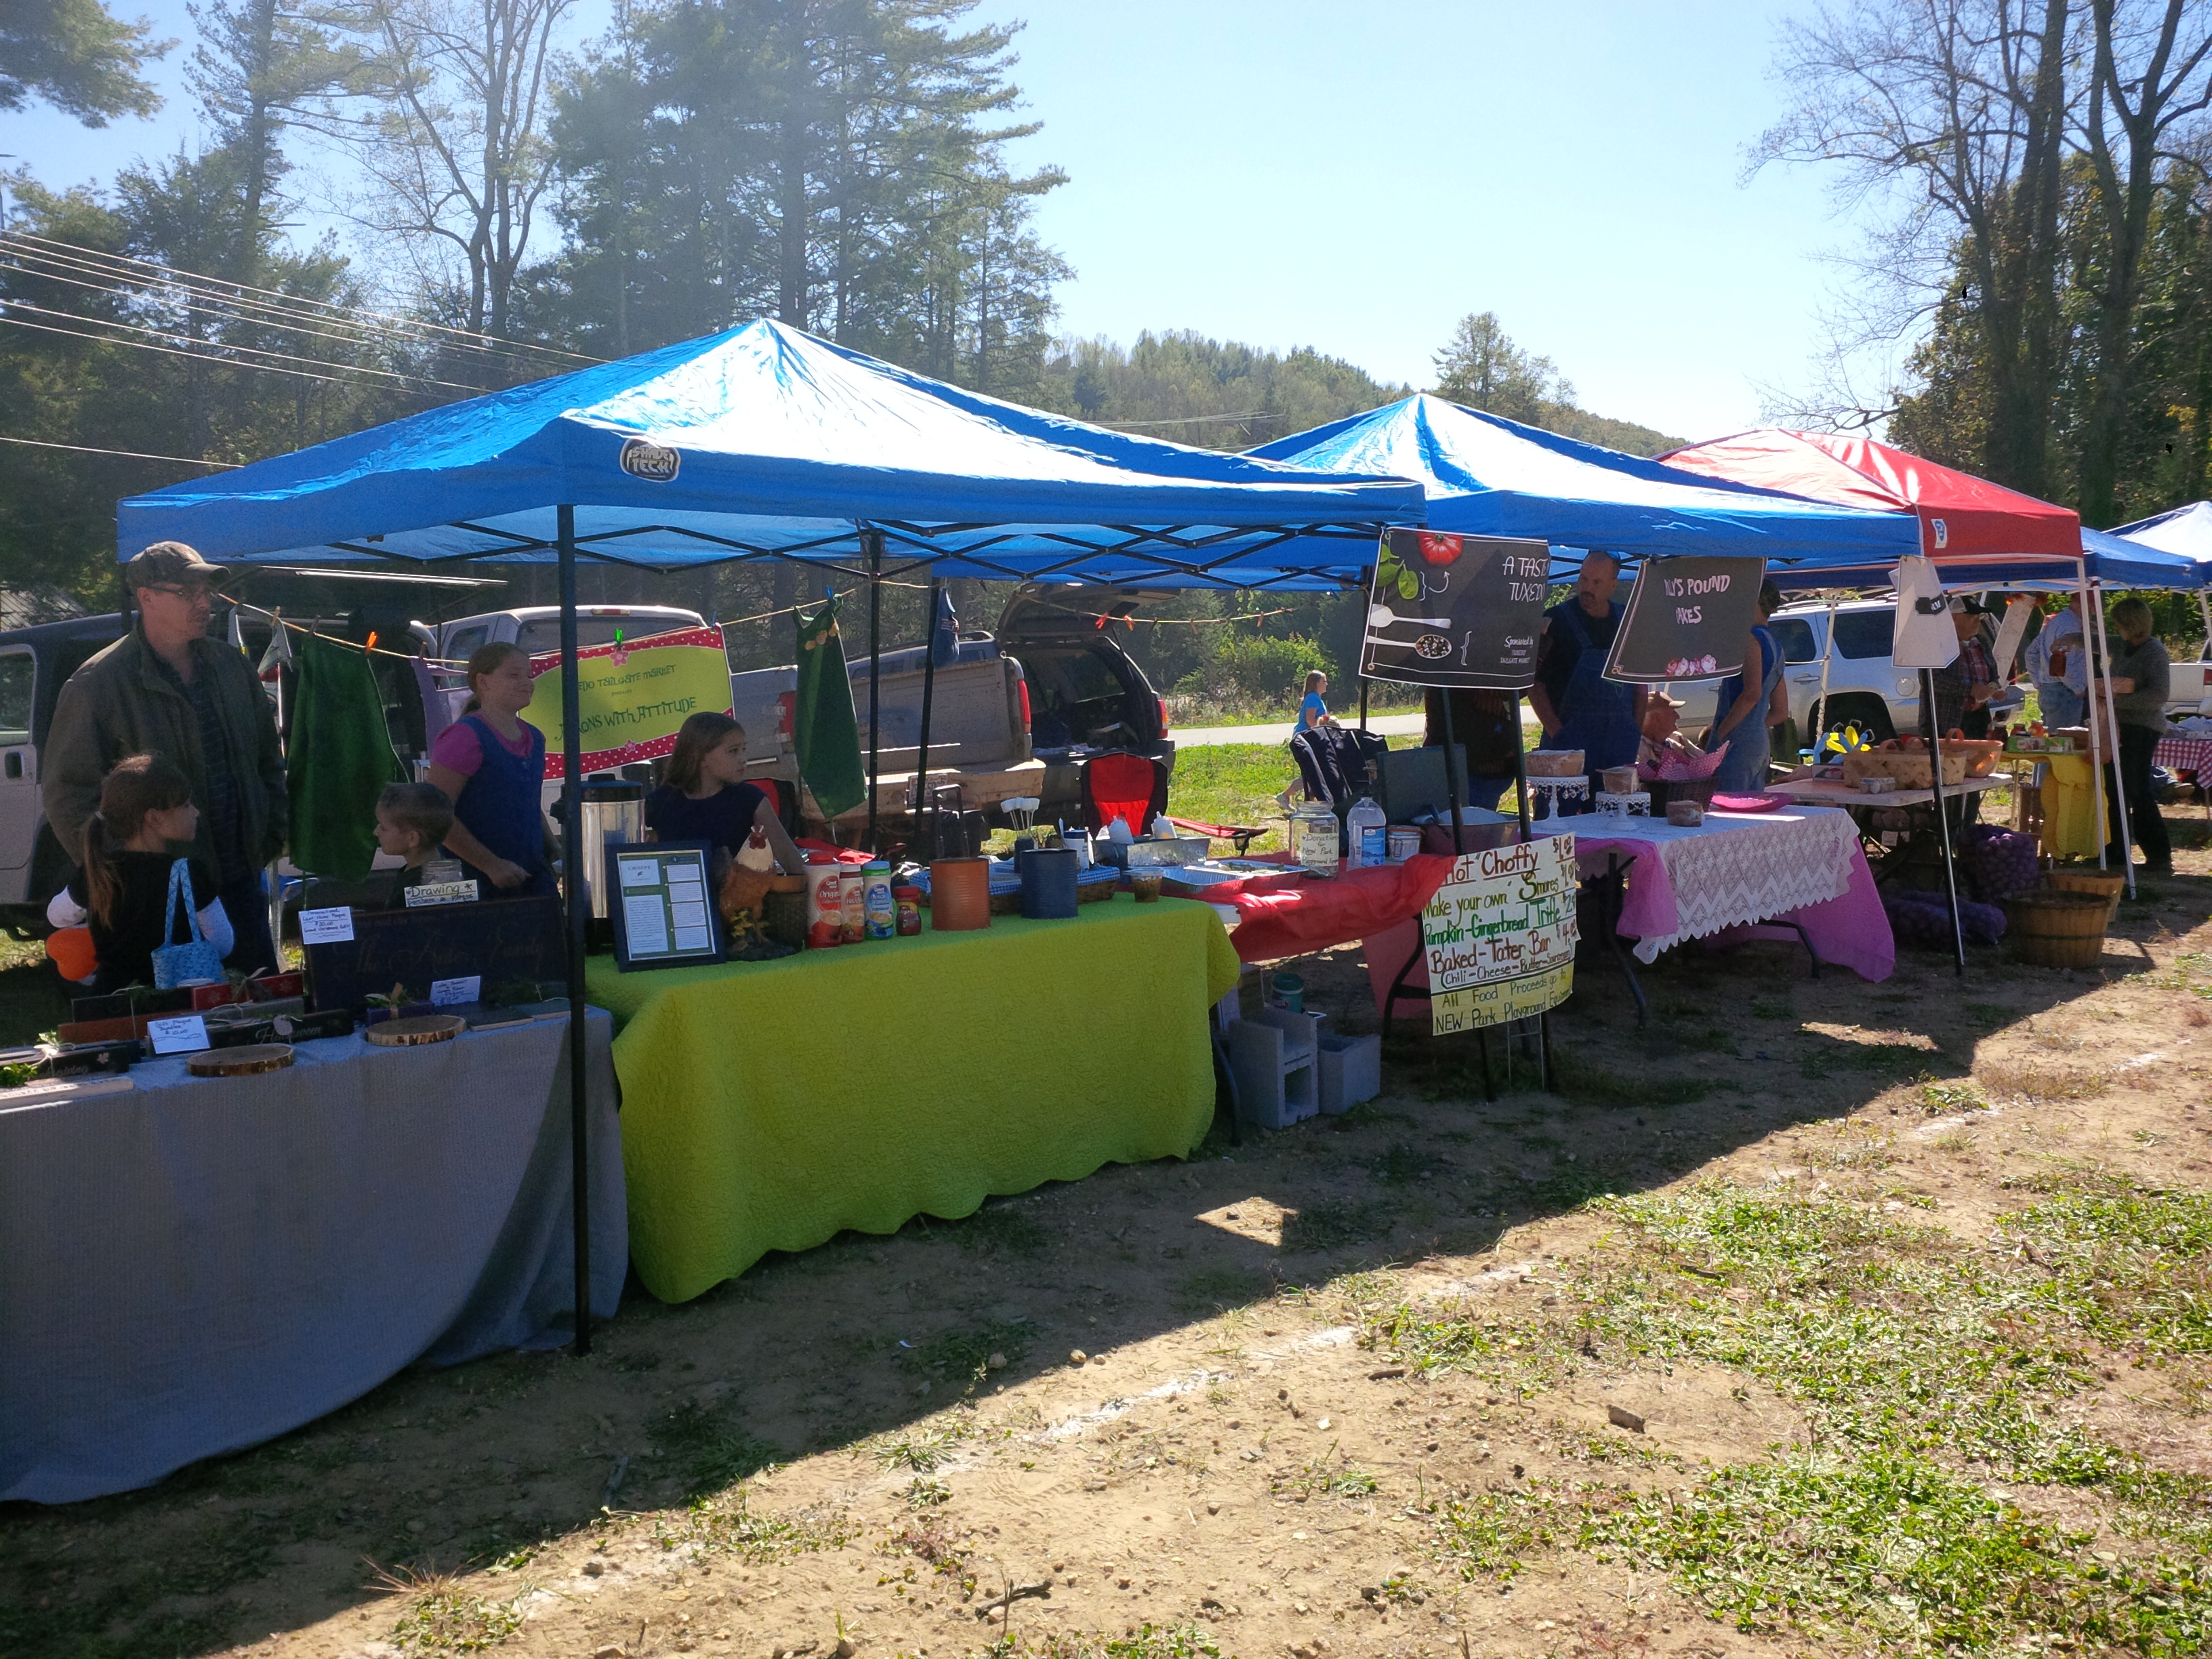 I am blessed to be able to be part of people who enjoy having a community of others as importance in their life. I look forward to many more opportunities to serve and help.
Have a great start to your week!