Homemade biscotti recipe……easy and delicious

We had a cookie exchange at our church and one of the ladies had brought biscotti to it.  The next morning when I woke up and grabbed my cup of coffee, I had taken out one of the biscotti’s and ate it.  It was so good.  It was the perfect mix of sweet and not too sweet to it. I ended up eating my entire portion given to me!  So good.  I knew I had to get the recipe.

This is my friend Tammy’s recipe, she came over while I made it and that way I was able to make sure I was doing it properly.  It is super easy to do and tastes great.  I have had biscotti from the store before and it was the hard-break-your-teeth kind of cookie.  You definitely had to soak it in coffee before you ate it.  This recipe is the perfect mix of chewy and crunchy in one.  If you want it crunchier you bake it longer, chewier bake less.

I made two kinds chocolate and vanilla-almond.

Chocolate biscotti—-makes two 12″ logs

1 1/2 c flour

1/2 c cocoa

1 1/2 t of baking powder

1/2 t of baking soda

2/3 c sugar

3 T butter

2 eggs

1/2 t vanilla or maple extract


Almond Biscotti

1-8 oz cream cheese

3/4 c butter

3/4 c of sugar

1 t almond extract

4 eggs

3 1/2 c flour

1 t baking powder

1/8 t salt

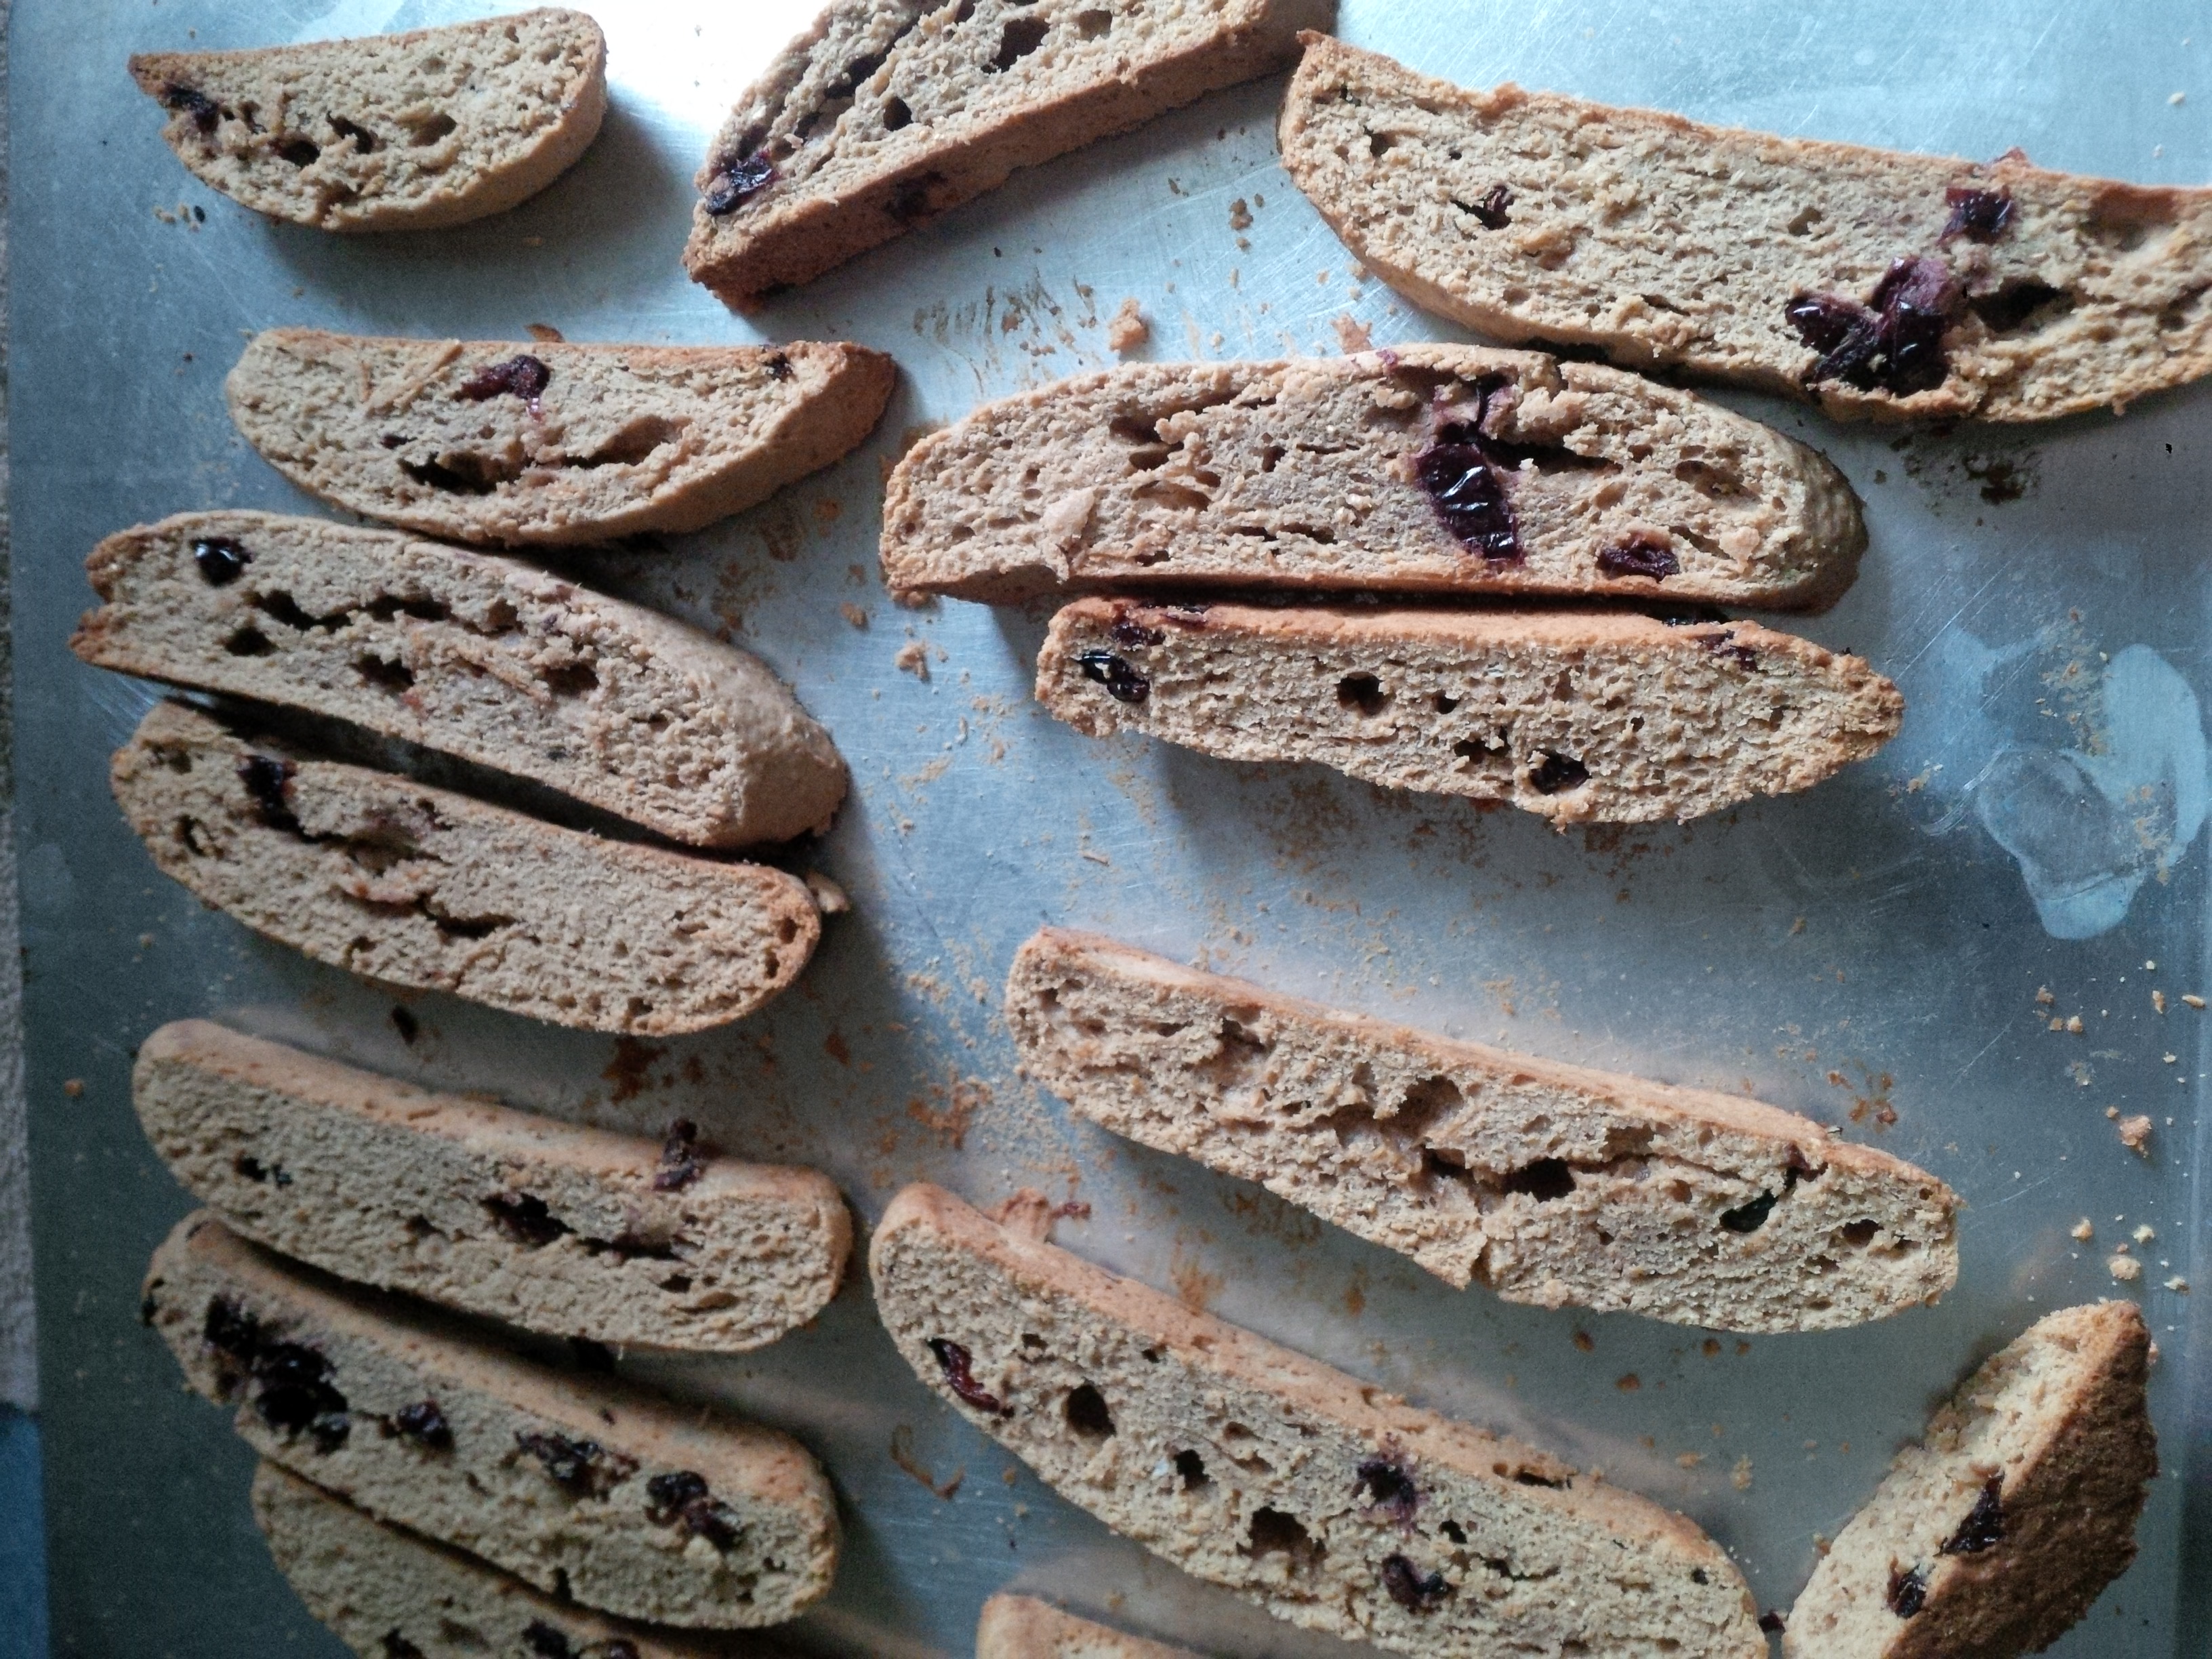
1/2 cup dried cranberries

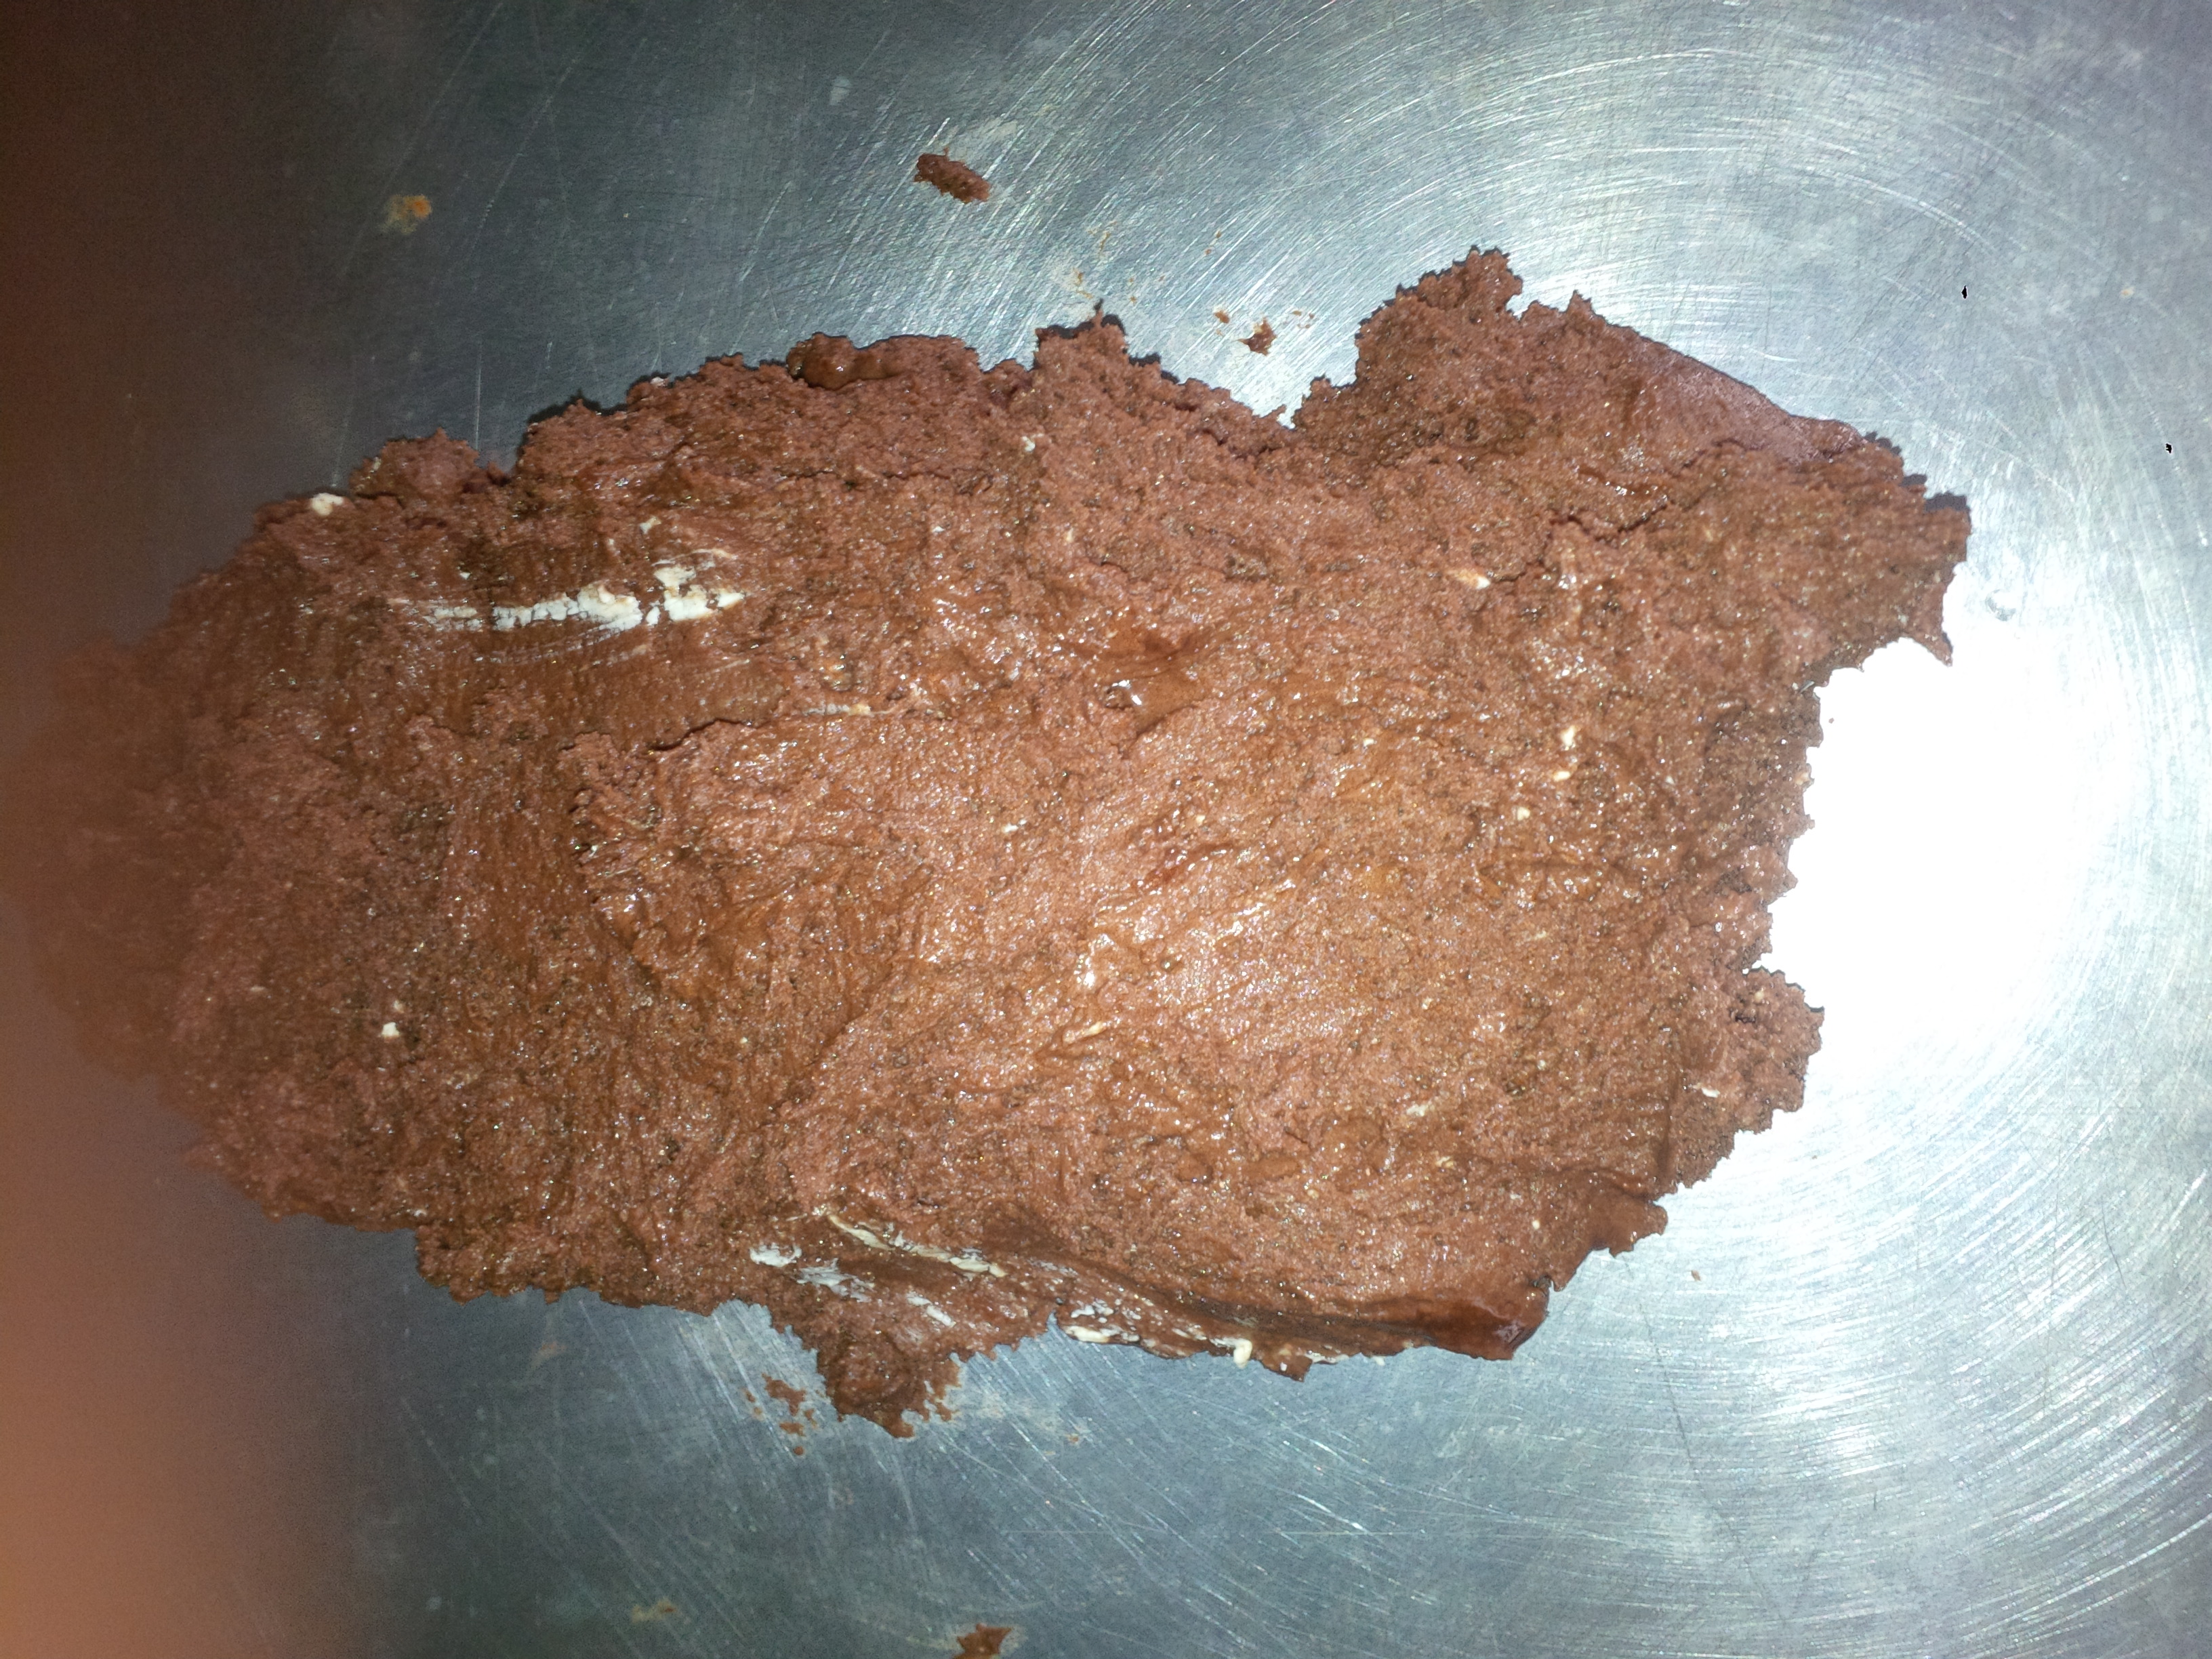
In both recipes, mix up your wet ingredients well.  Then add your dry ingredients and mix.  It will be like cookie dough.

IMG_20151222_133043

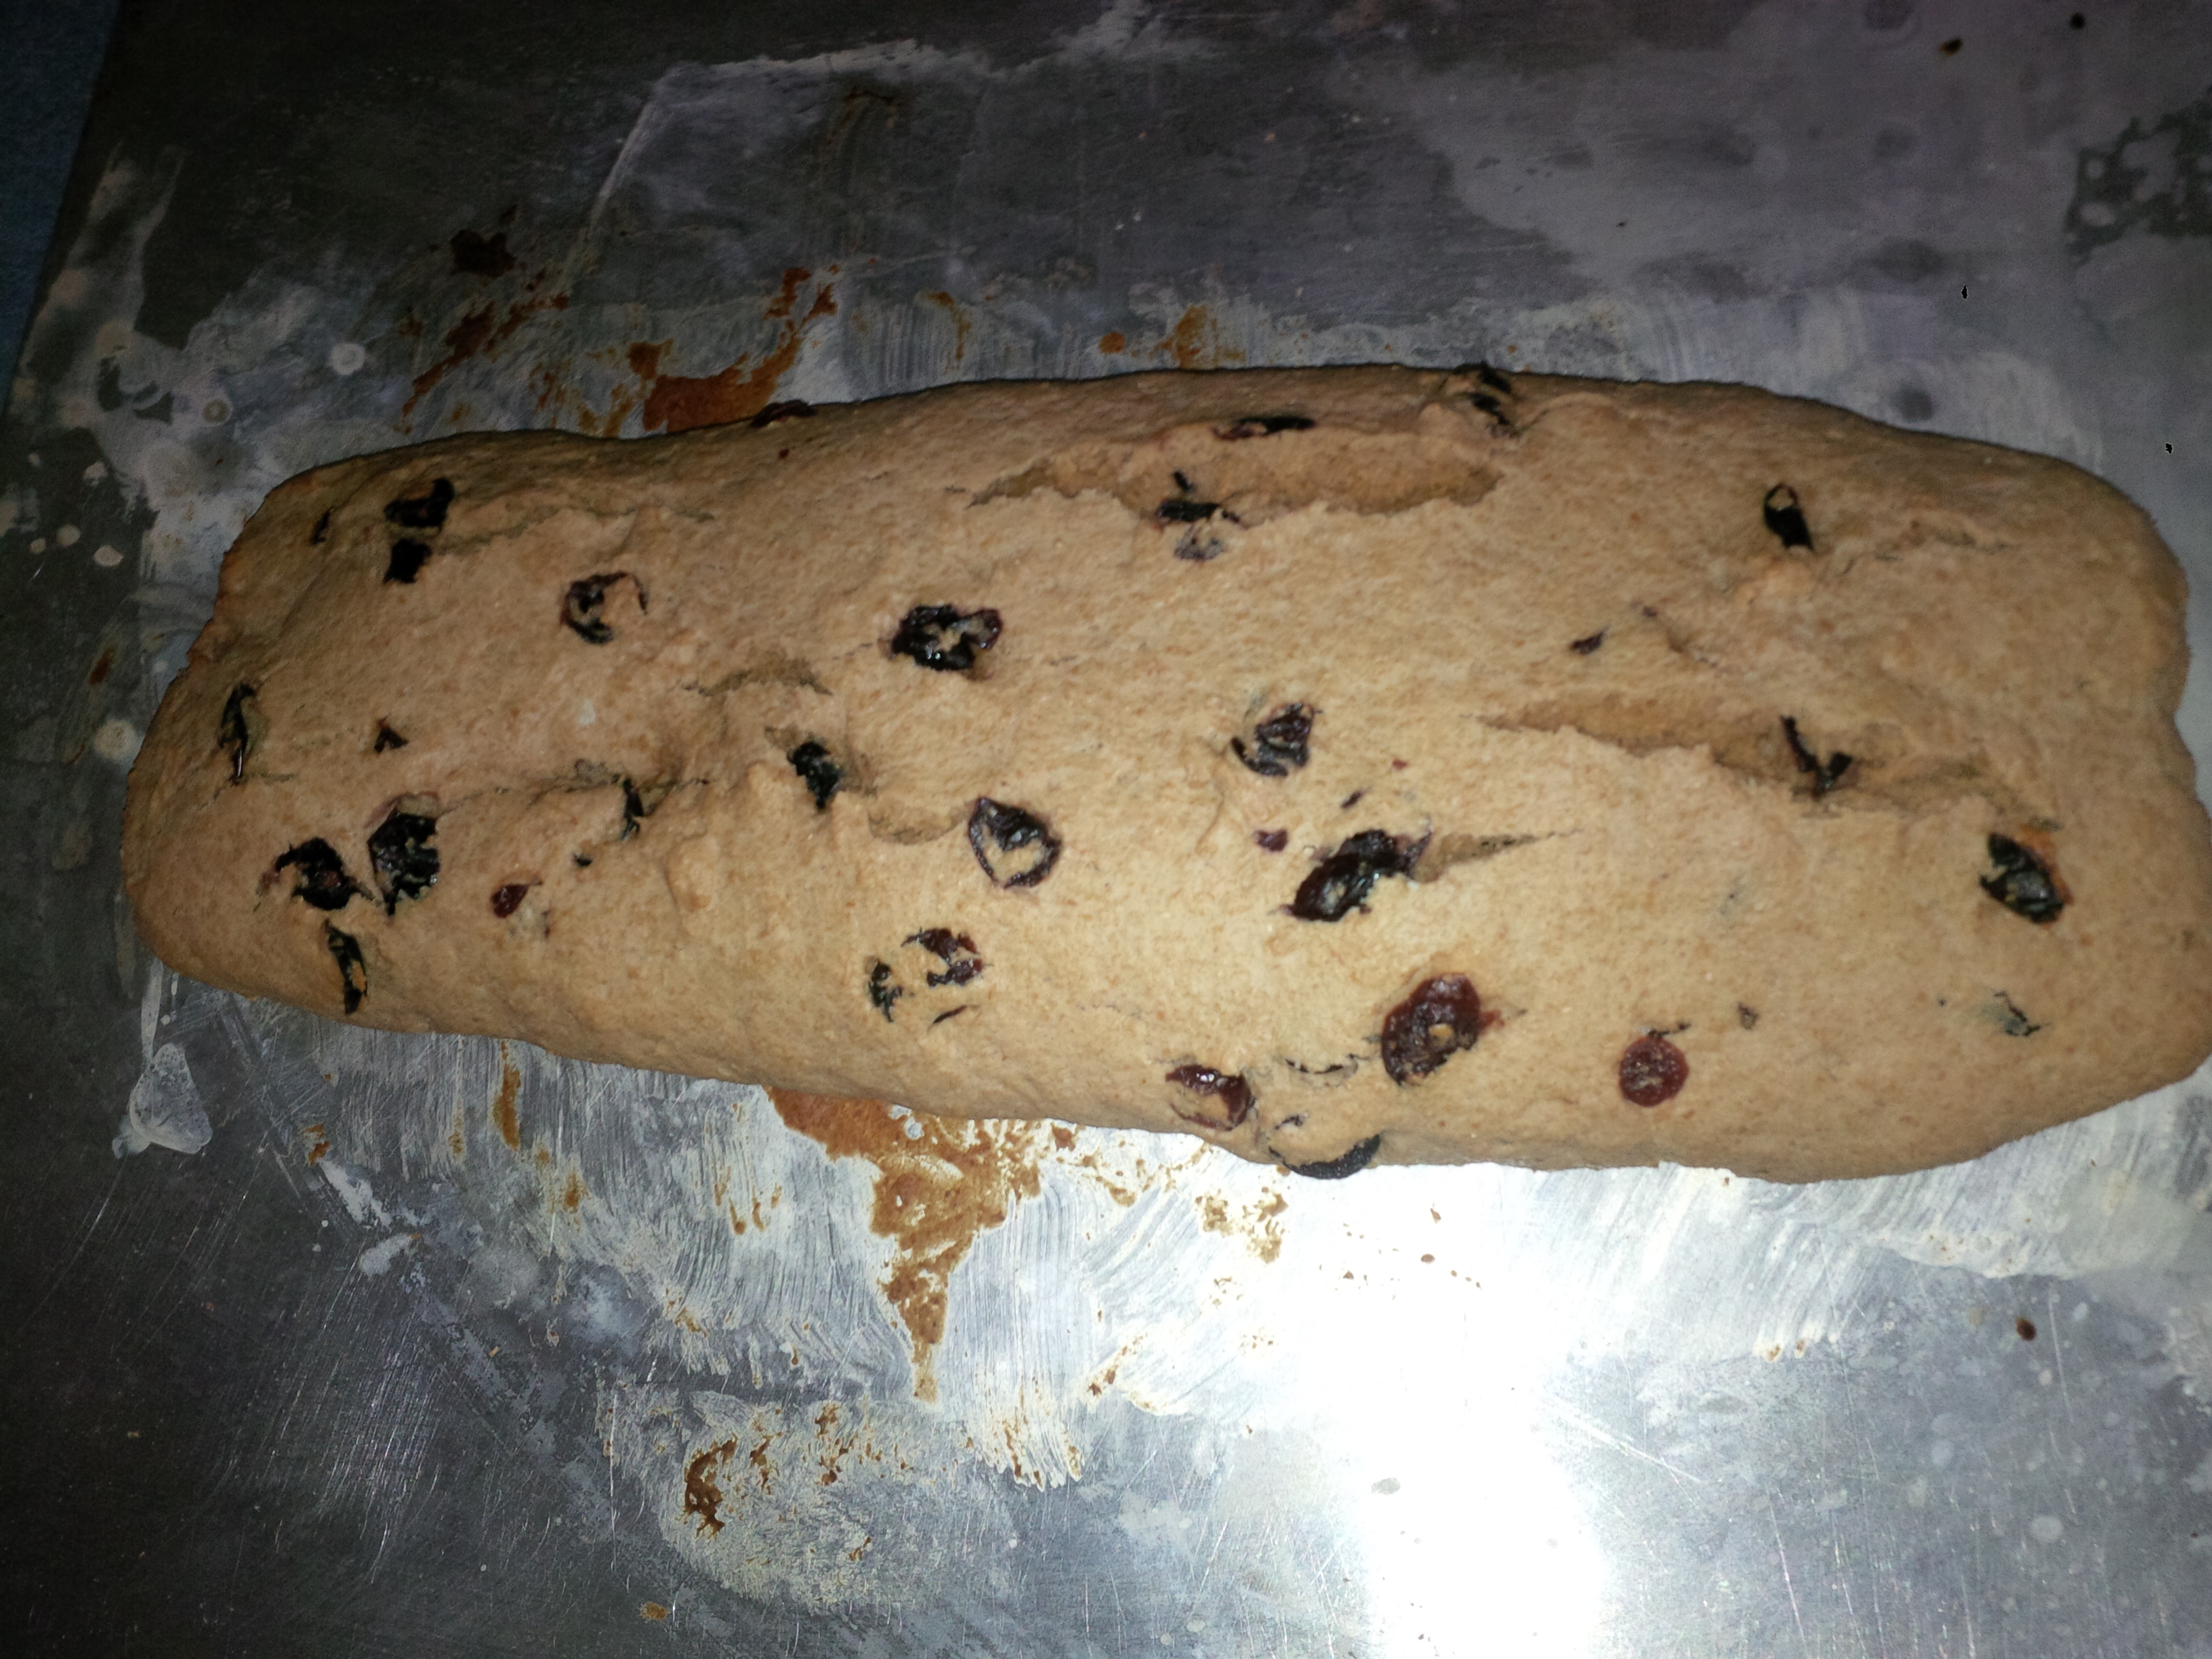
Drop your blob onto your cookie sheet and form it into a 12 inch long loaf.  This will spread out as it is baking so don’t put too close together or too close to the edge.IMG_20151222_141001

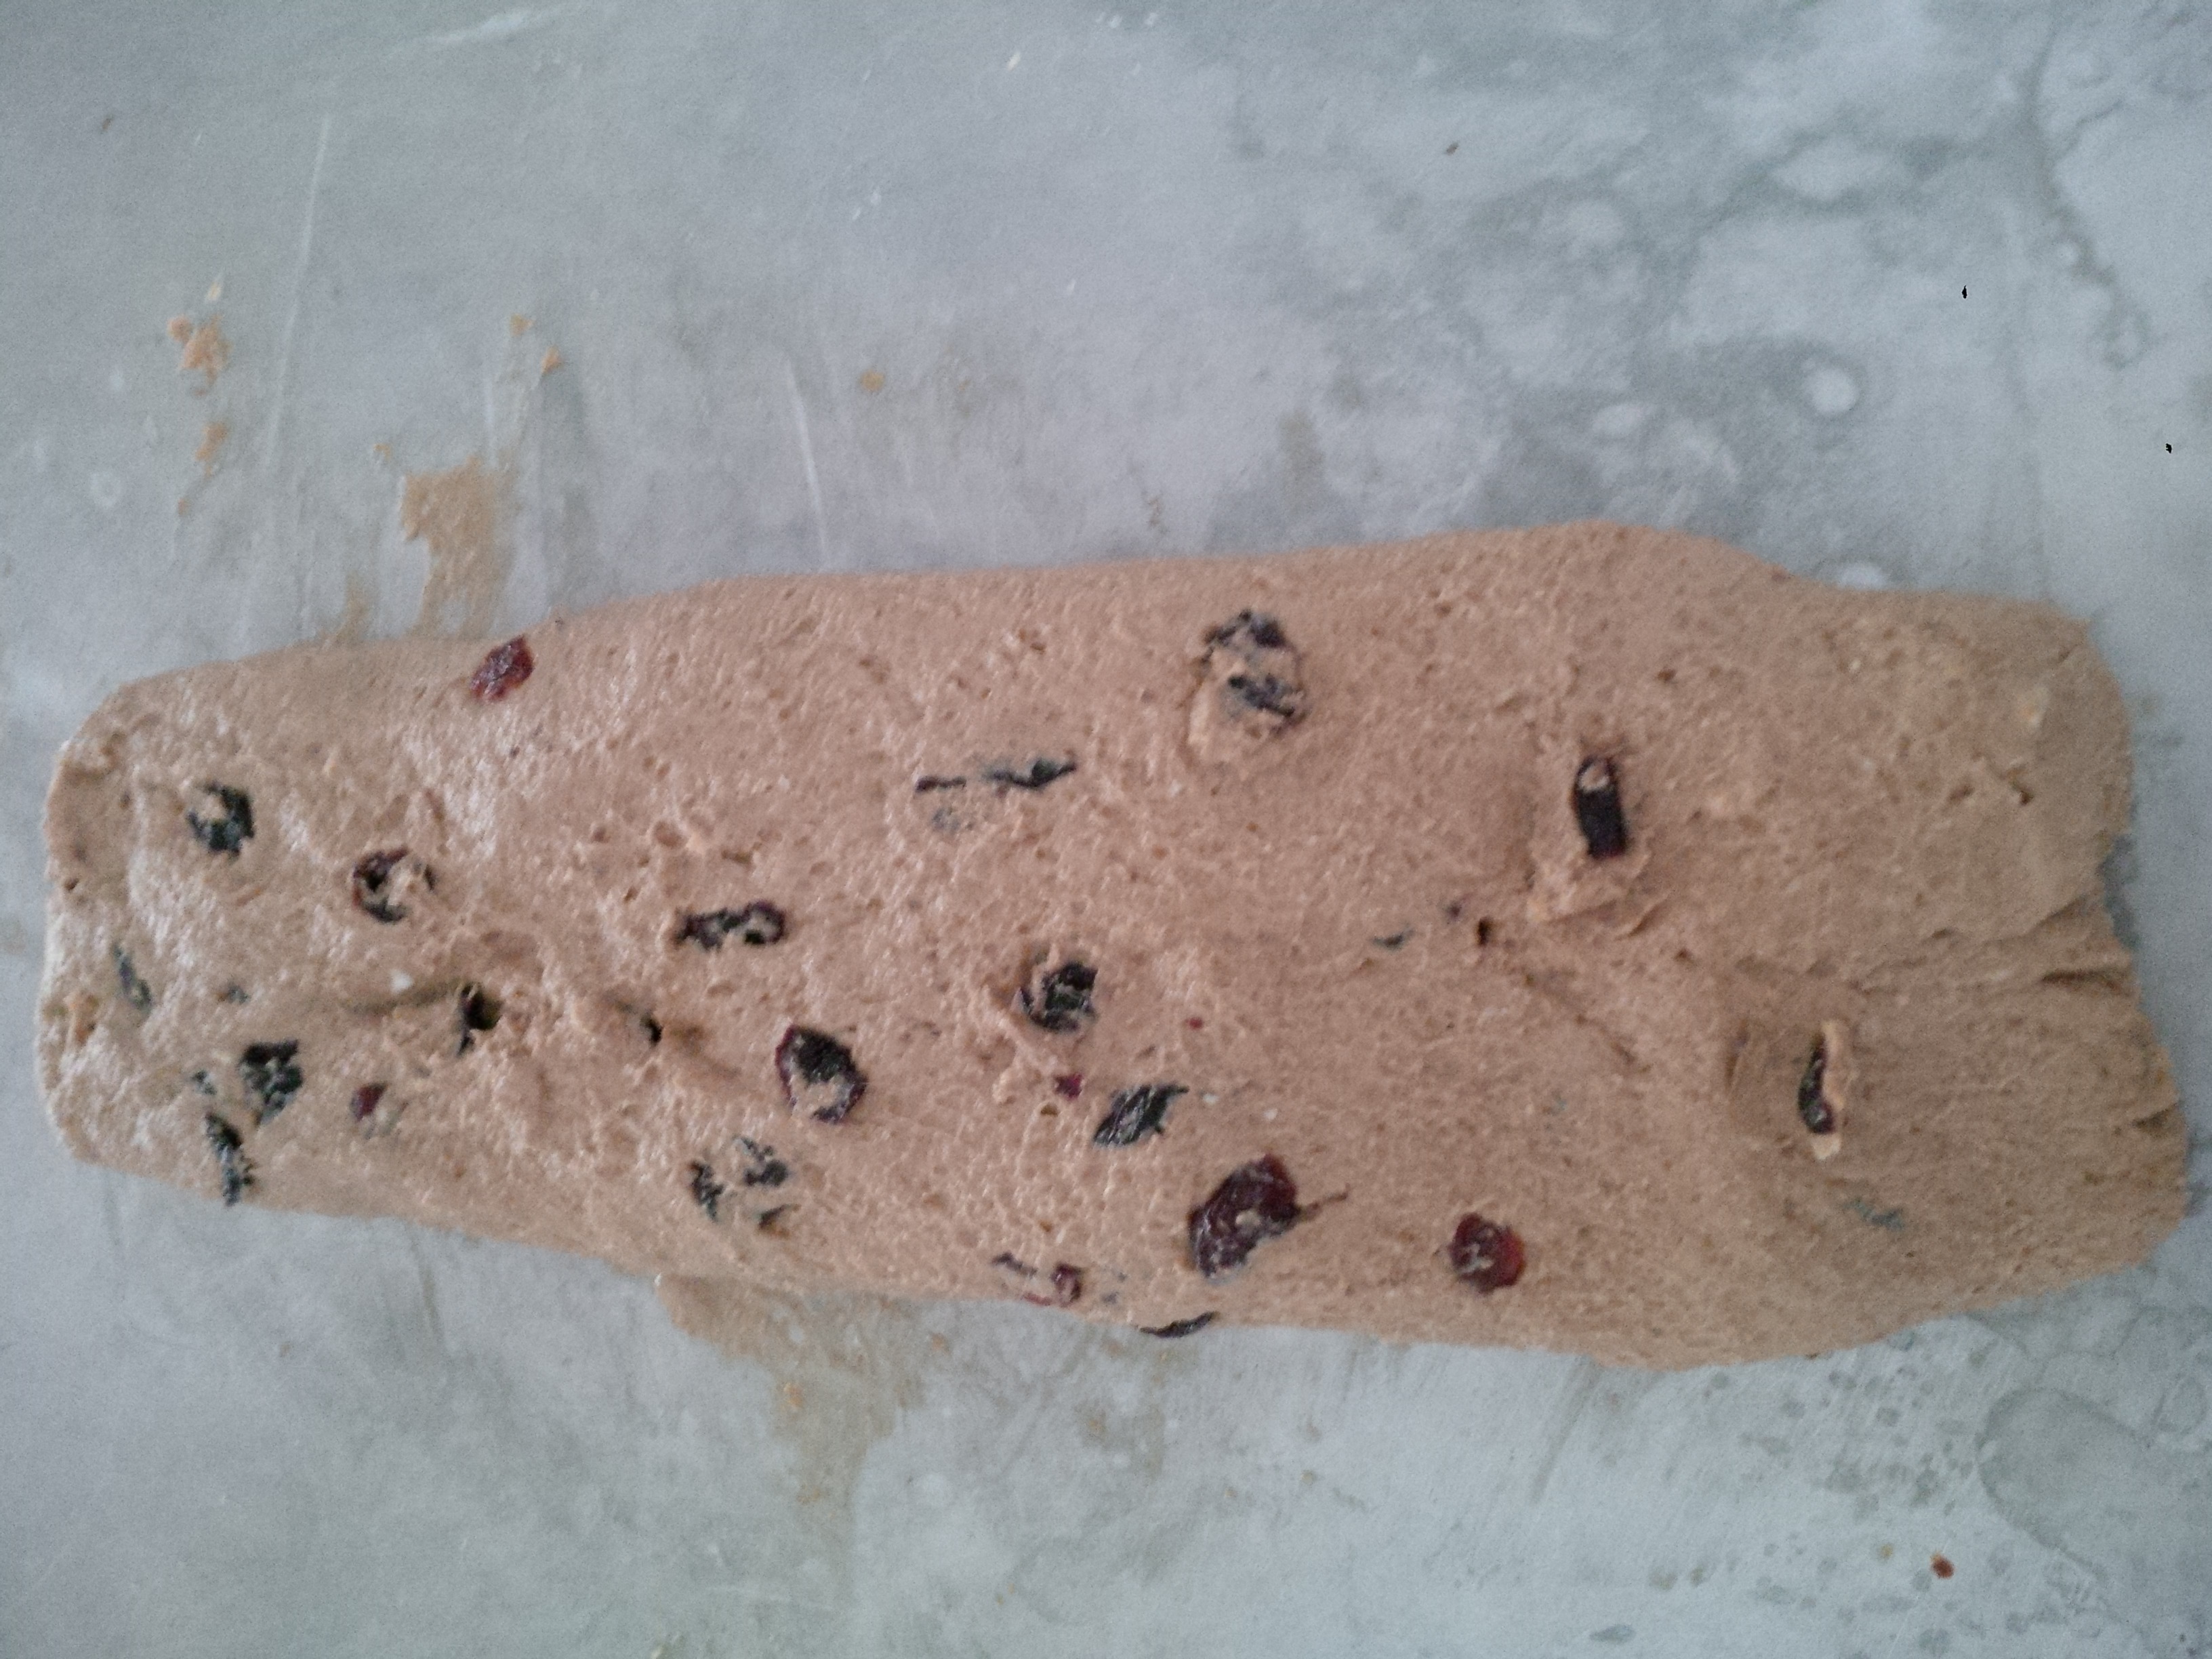
Once you have it shaped.  Place it in your preheated 375 oven.  Bake for about 20 minutes or until golden brown.  IMG_20151222_143502

IMG_20151222_145943

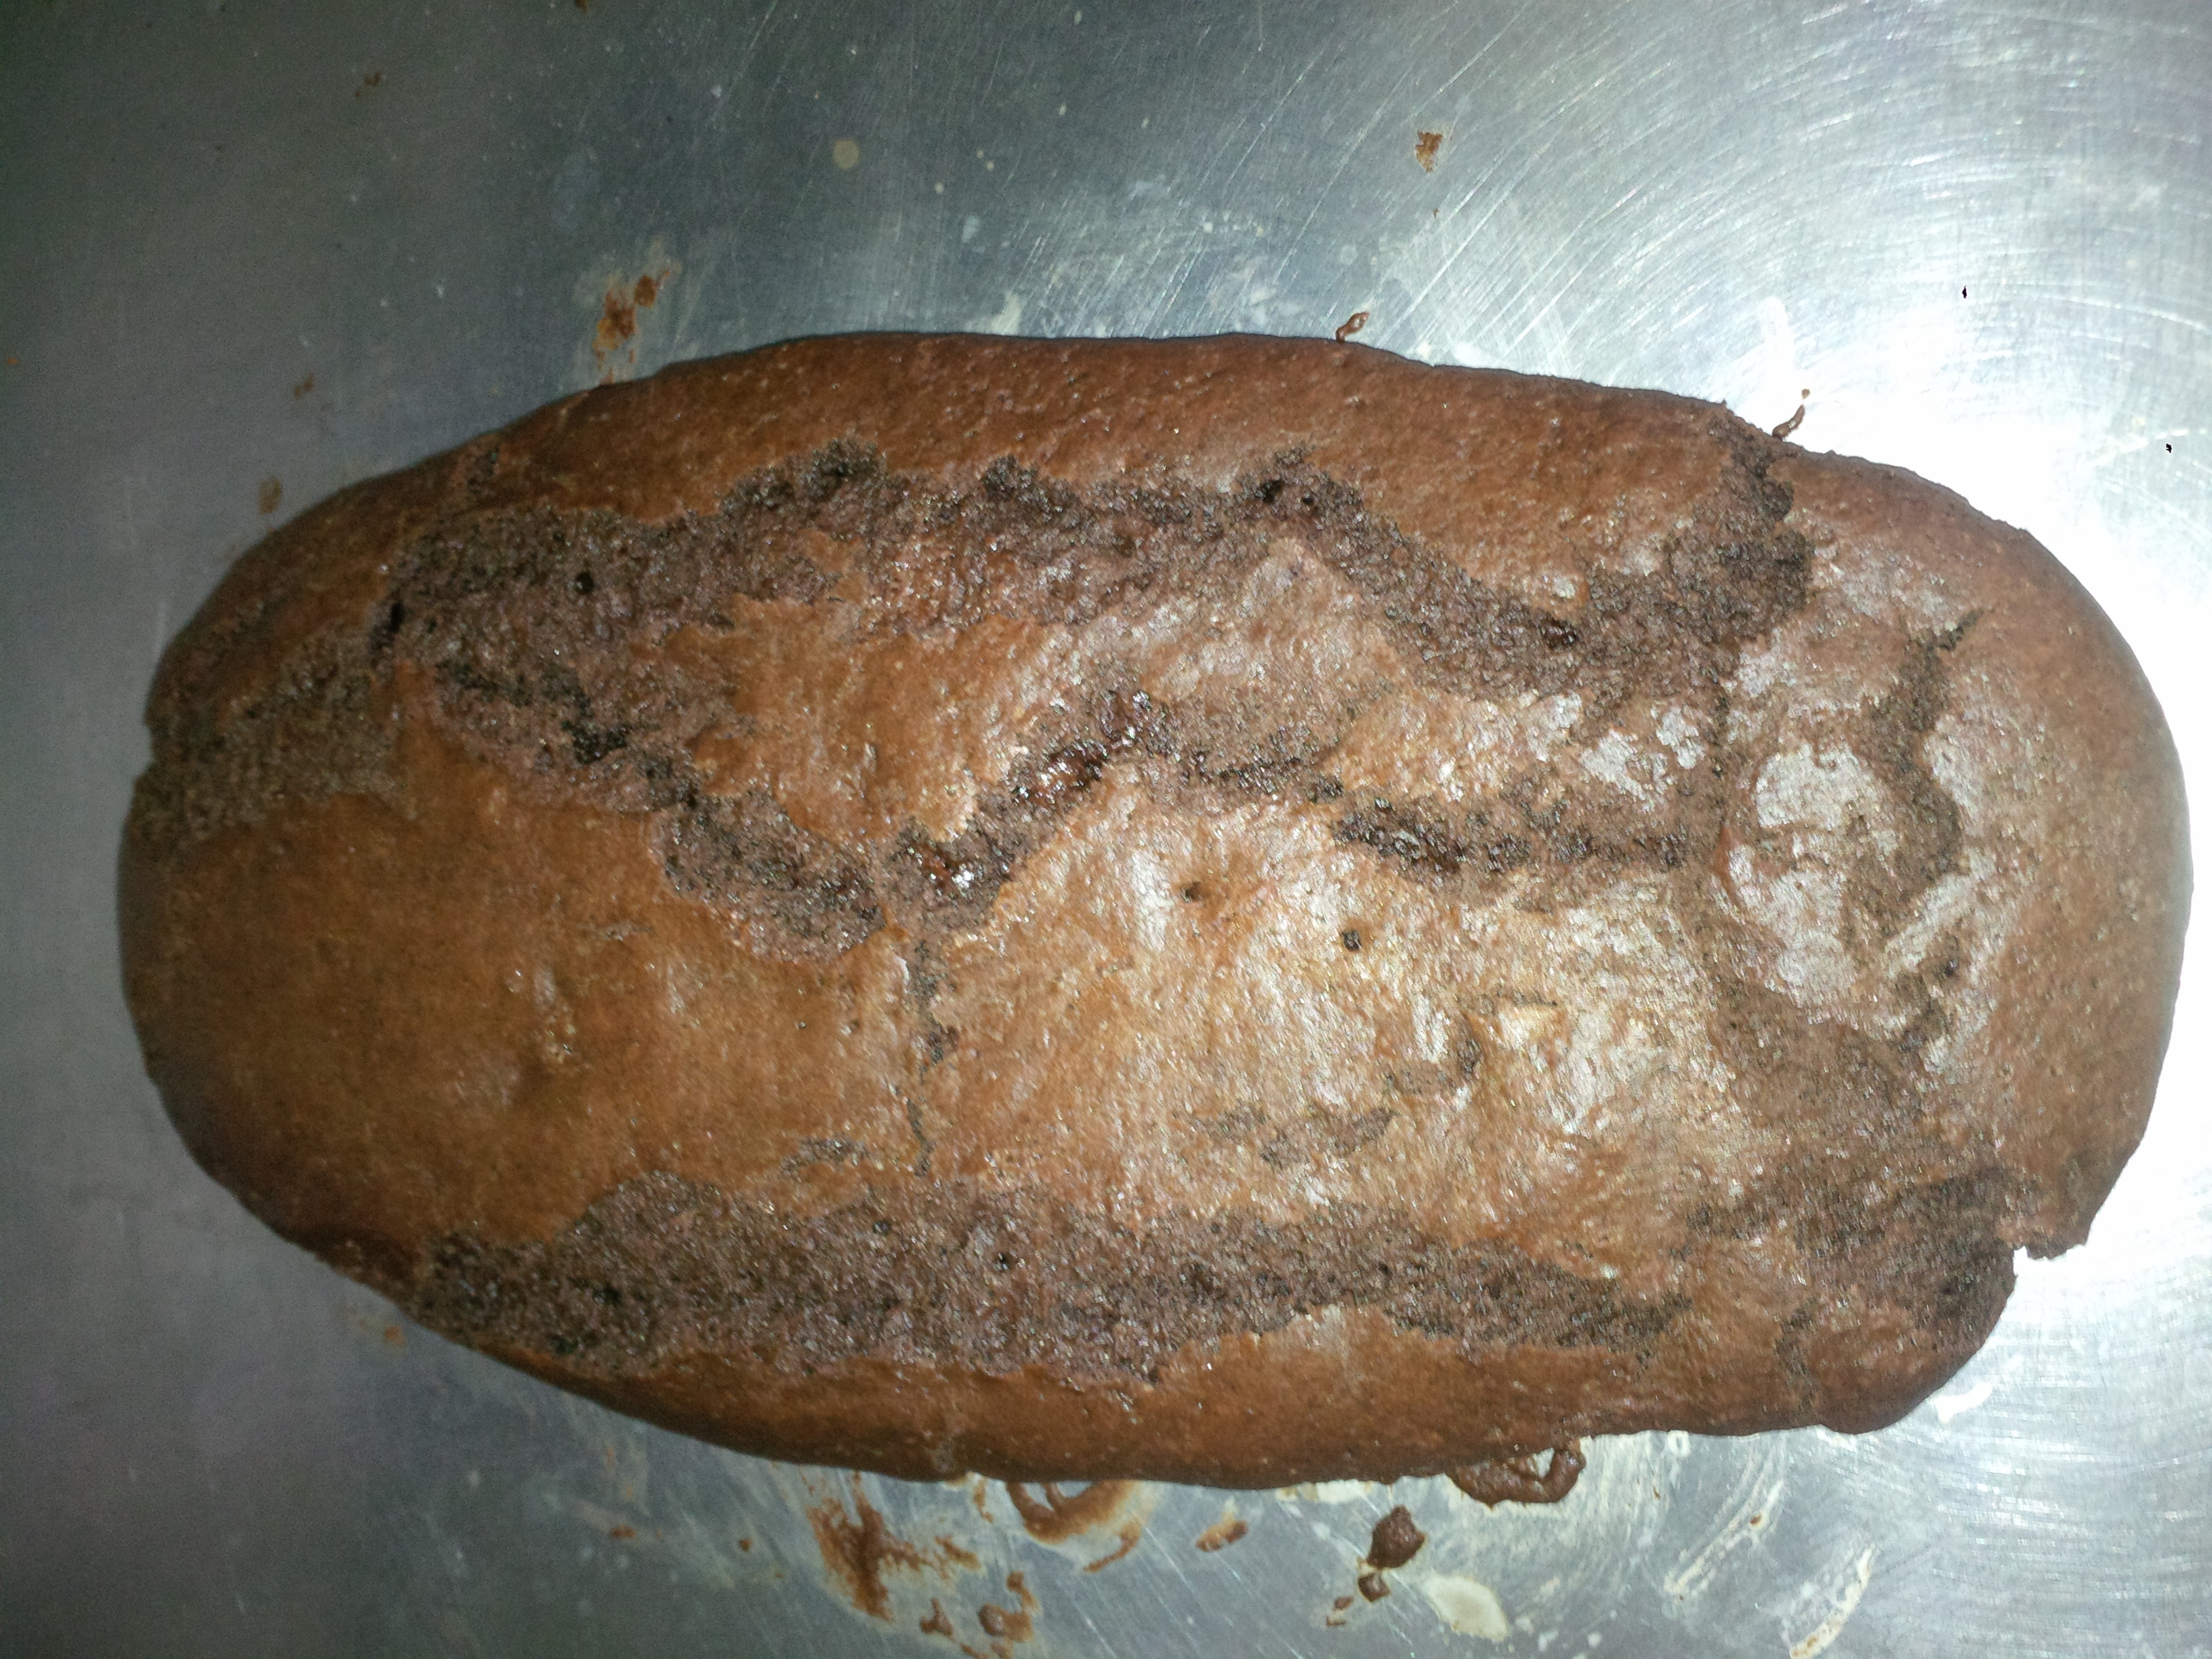
My cranberry one I should have baked a few minutes longer.  IMG_20151222_145733

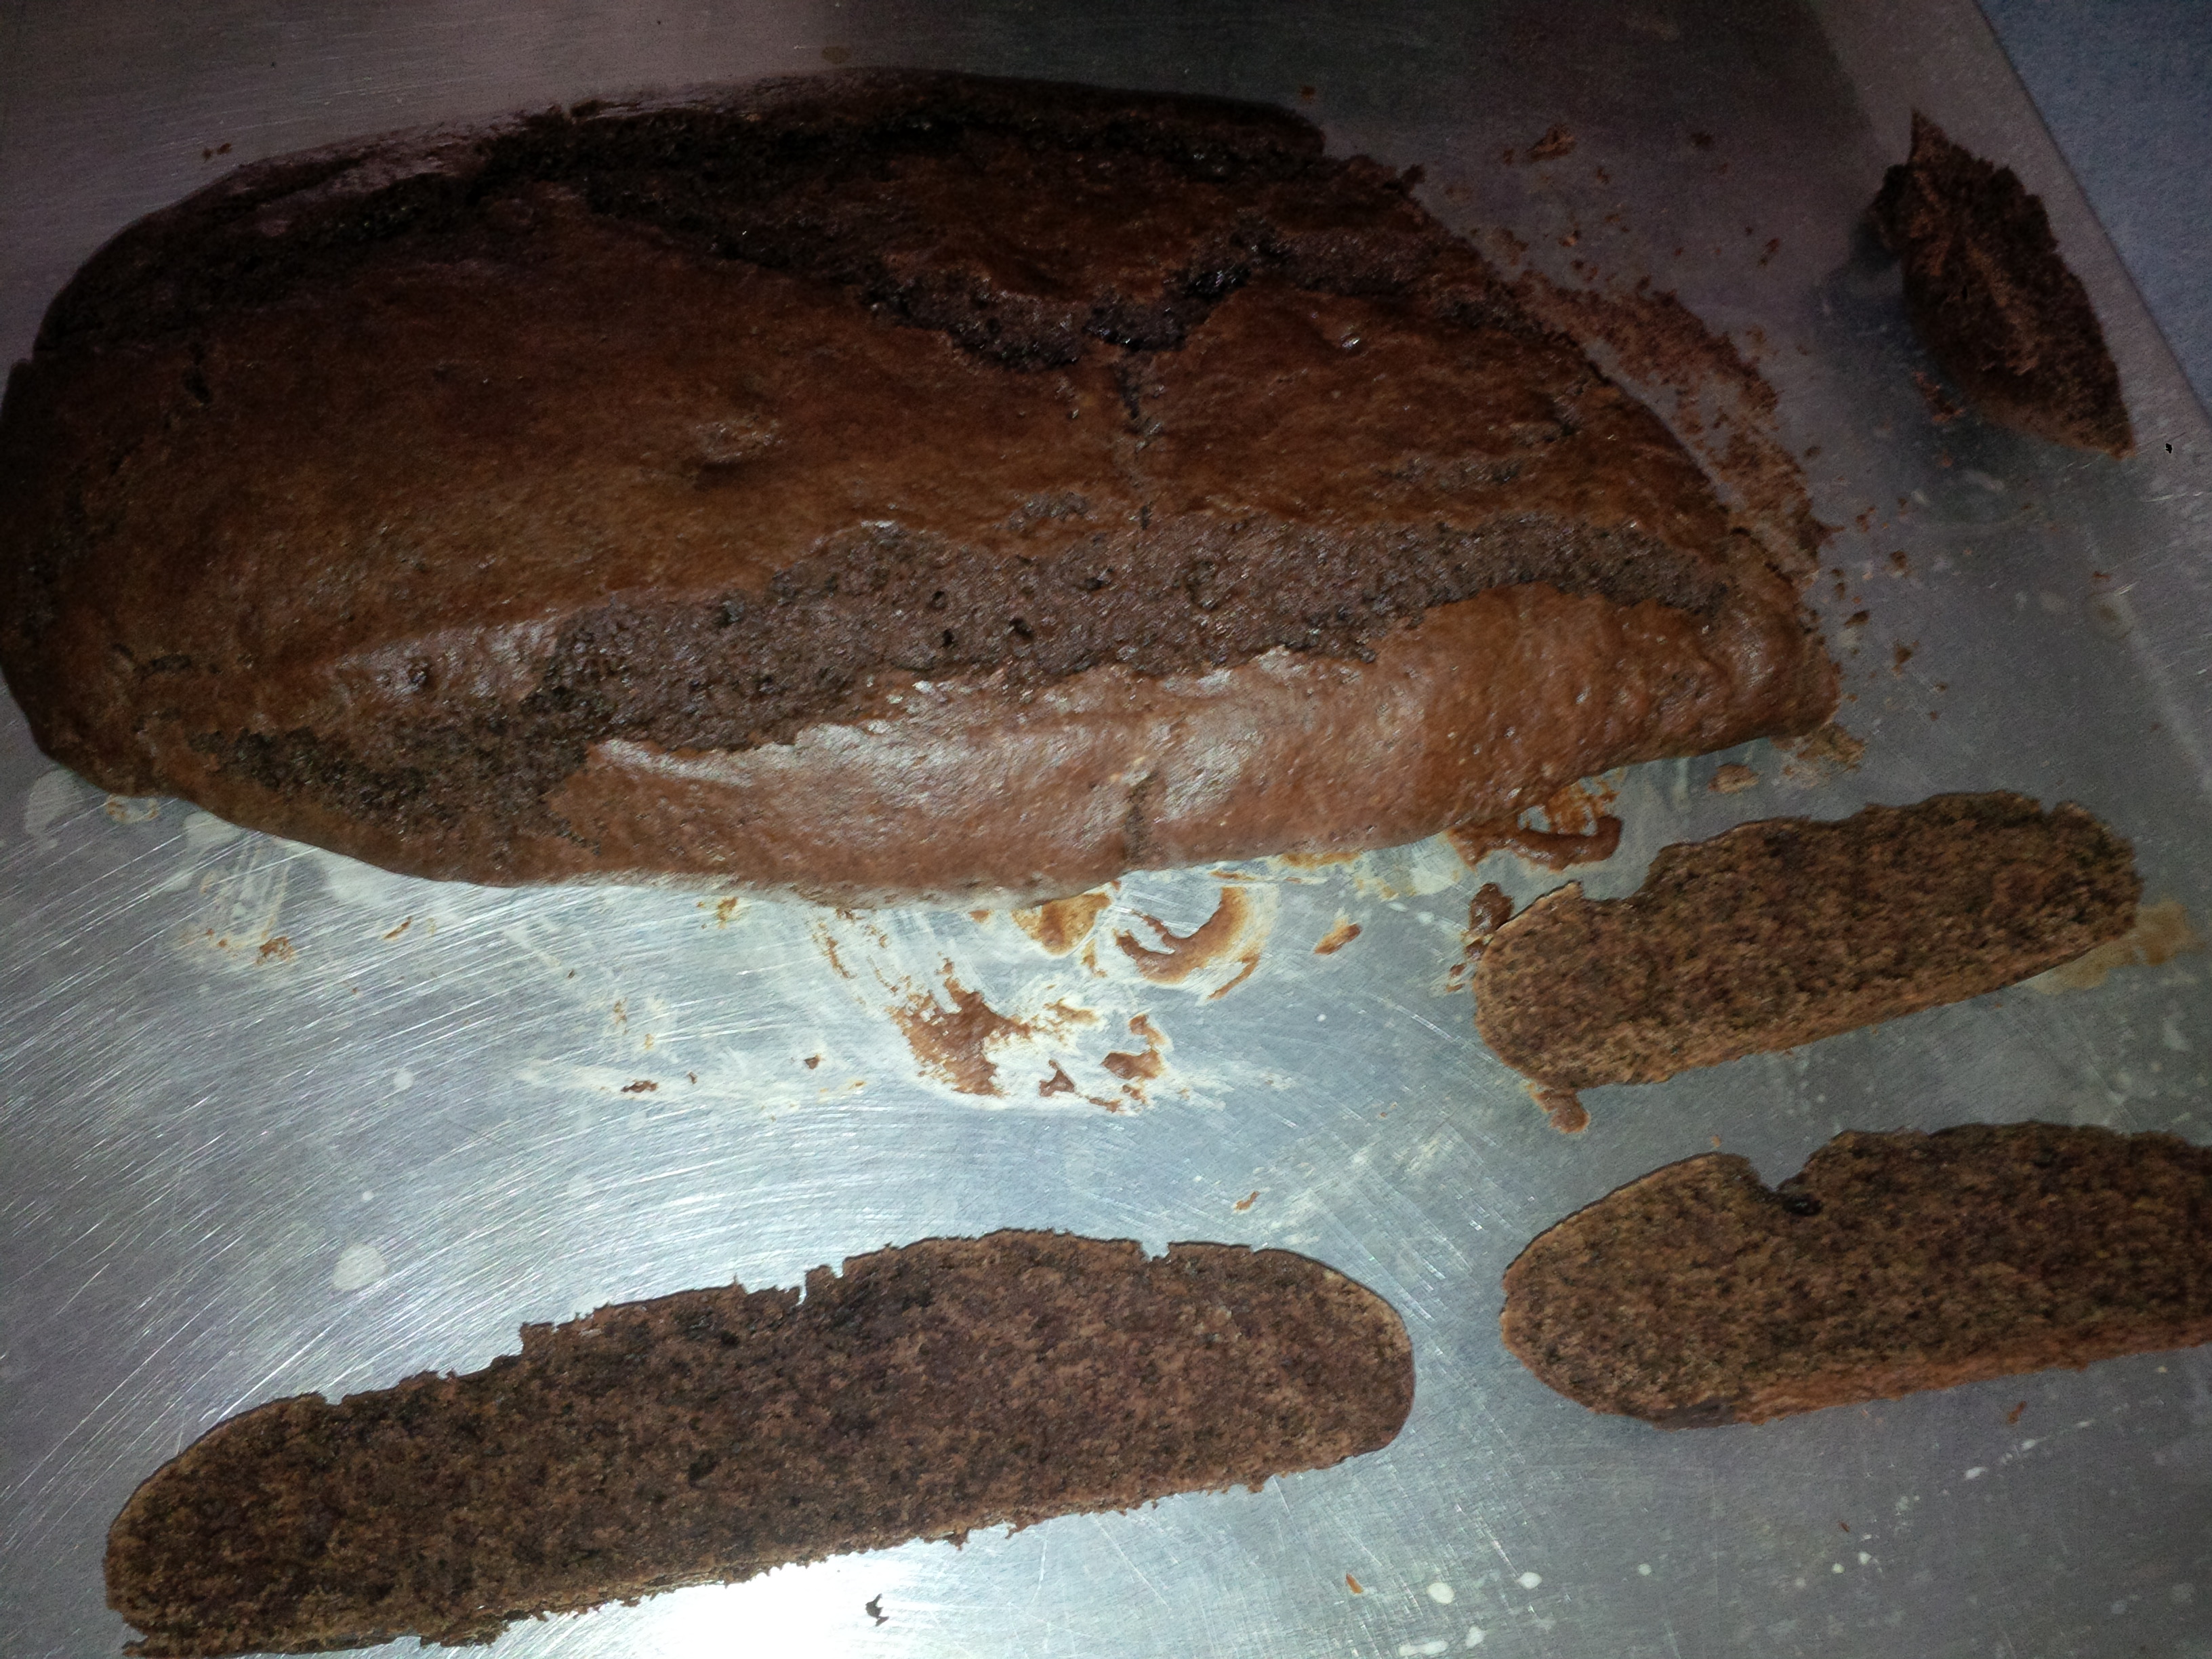
Then take it out and let it cool.  Once cooled you can slice it into 3/4 inch thick slices.    IMG_20151222_150934

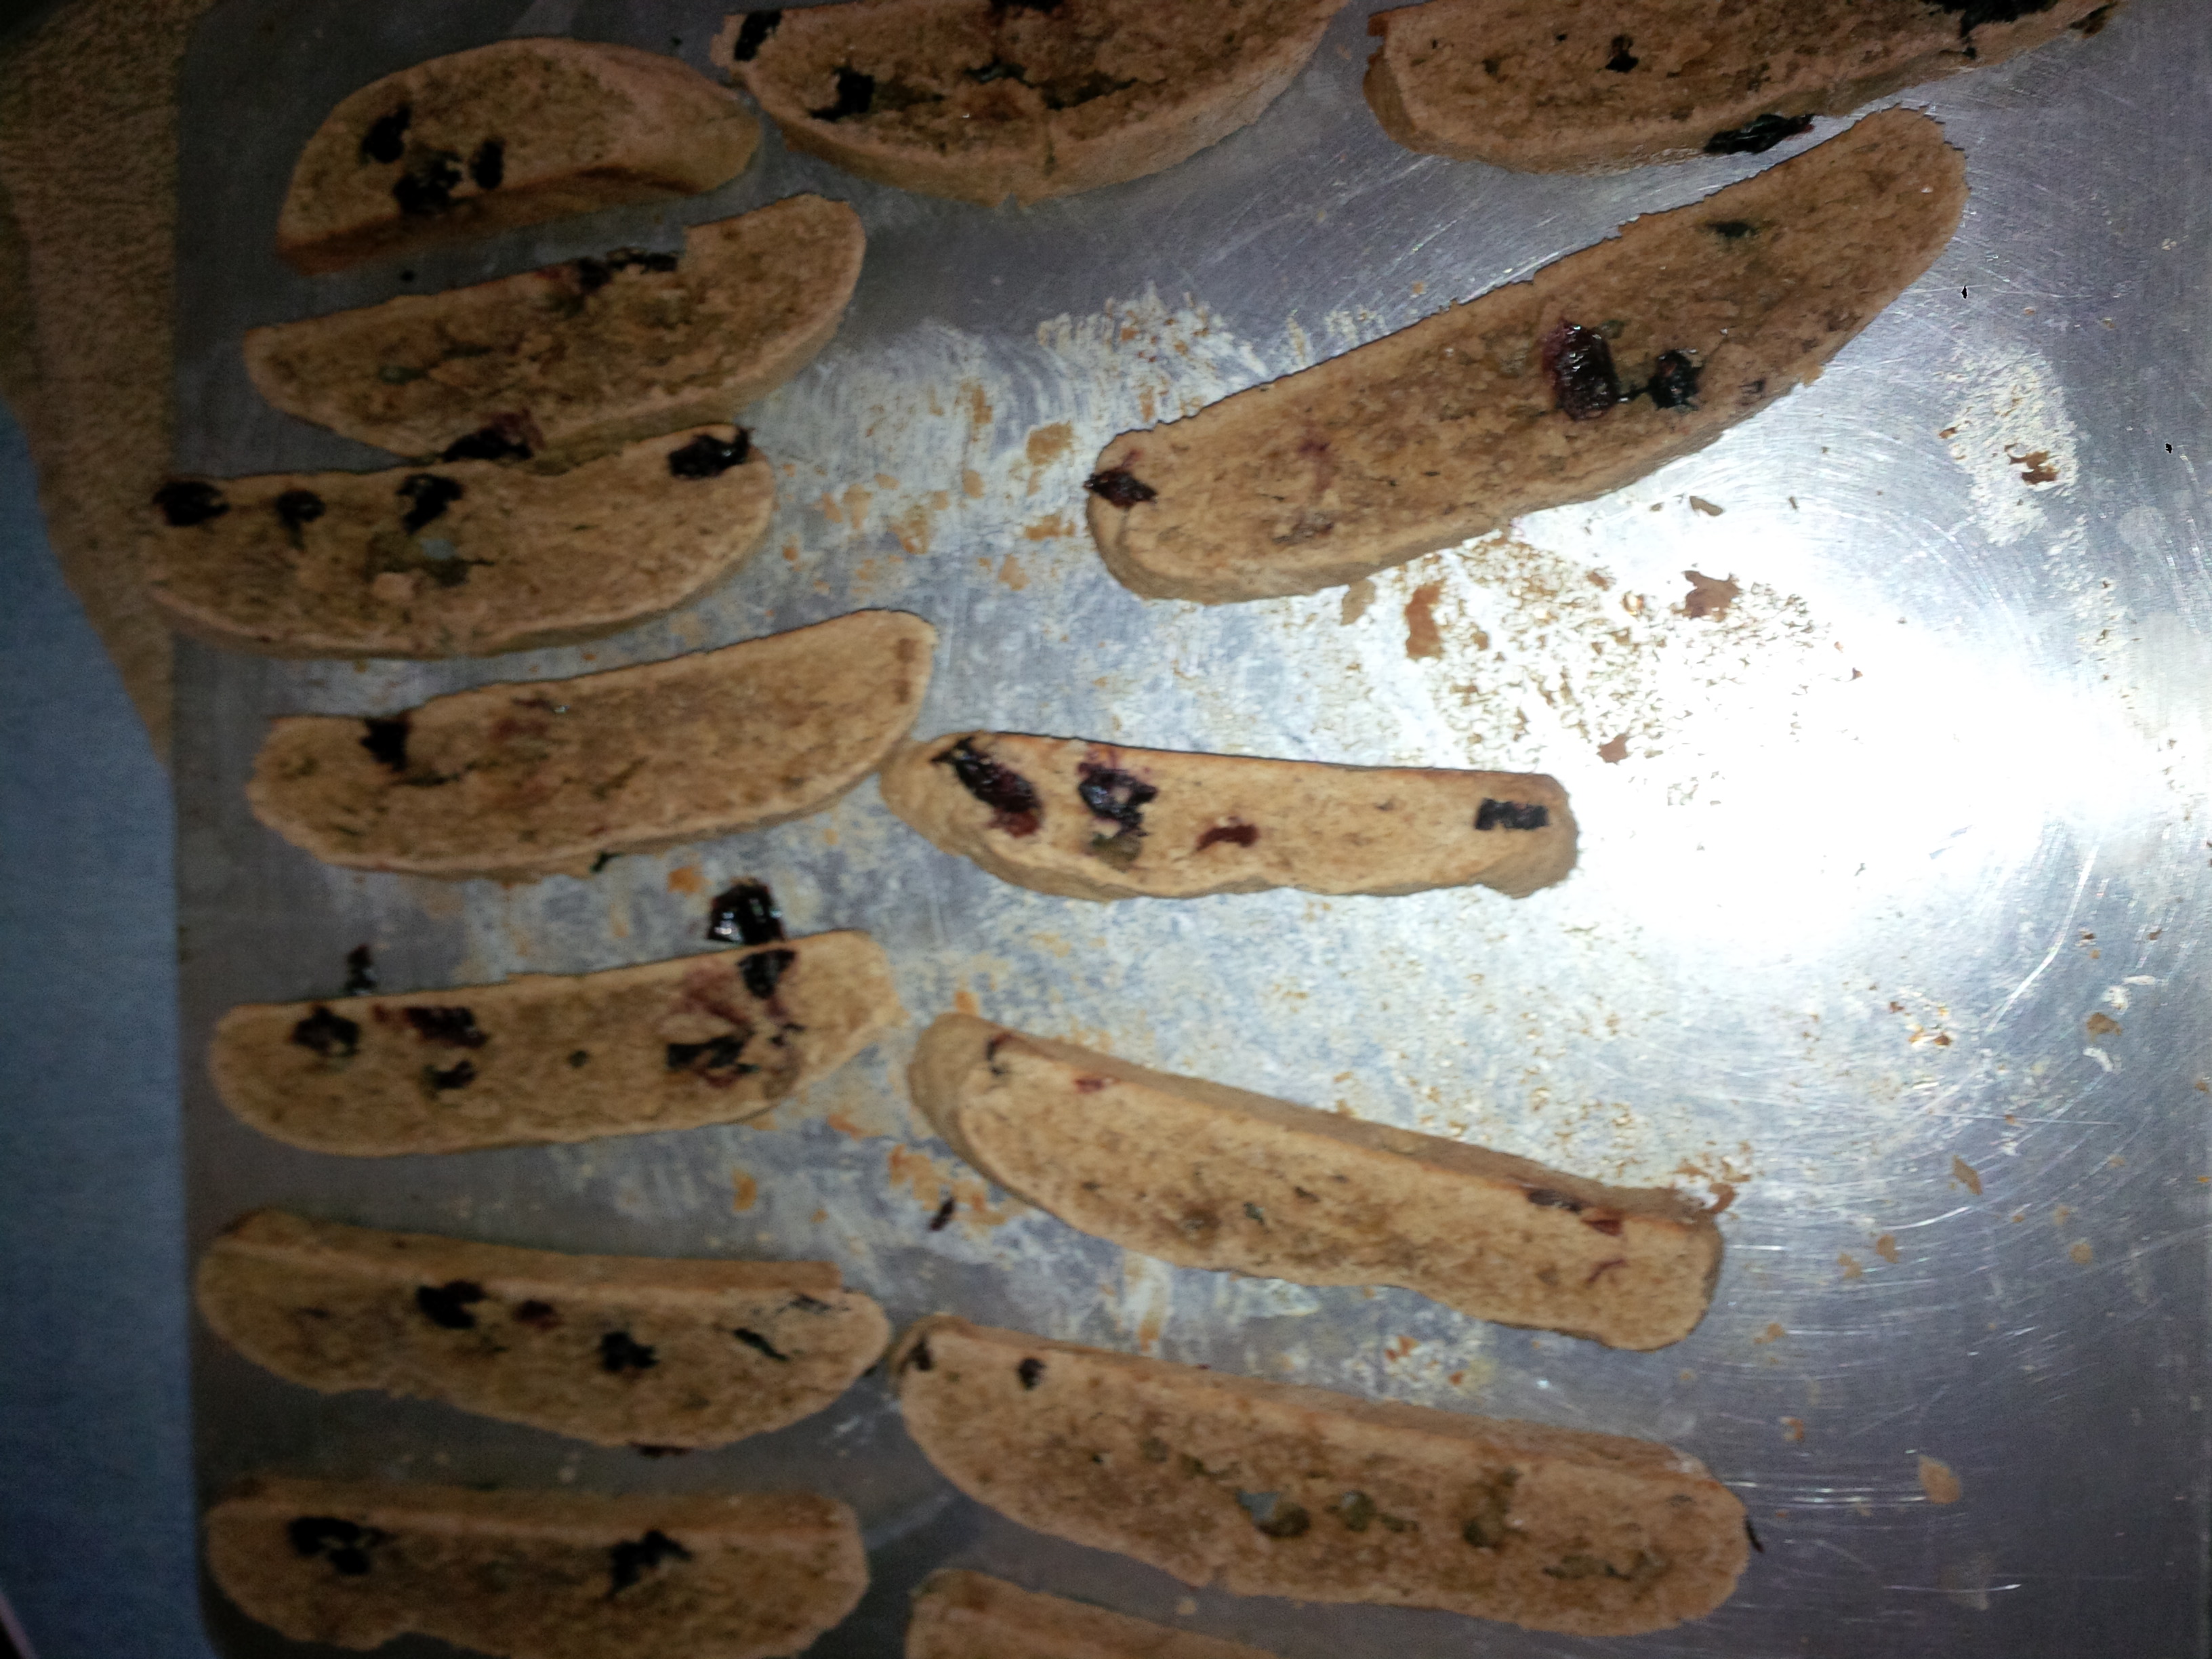
Set them on their sides and put back into the oven to bake for about 5-7 minutes.  IMG_20151222_153030
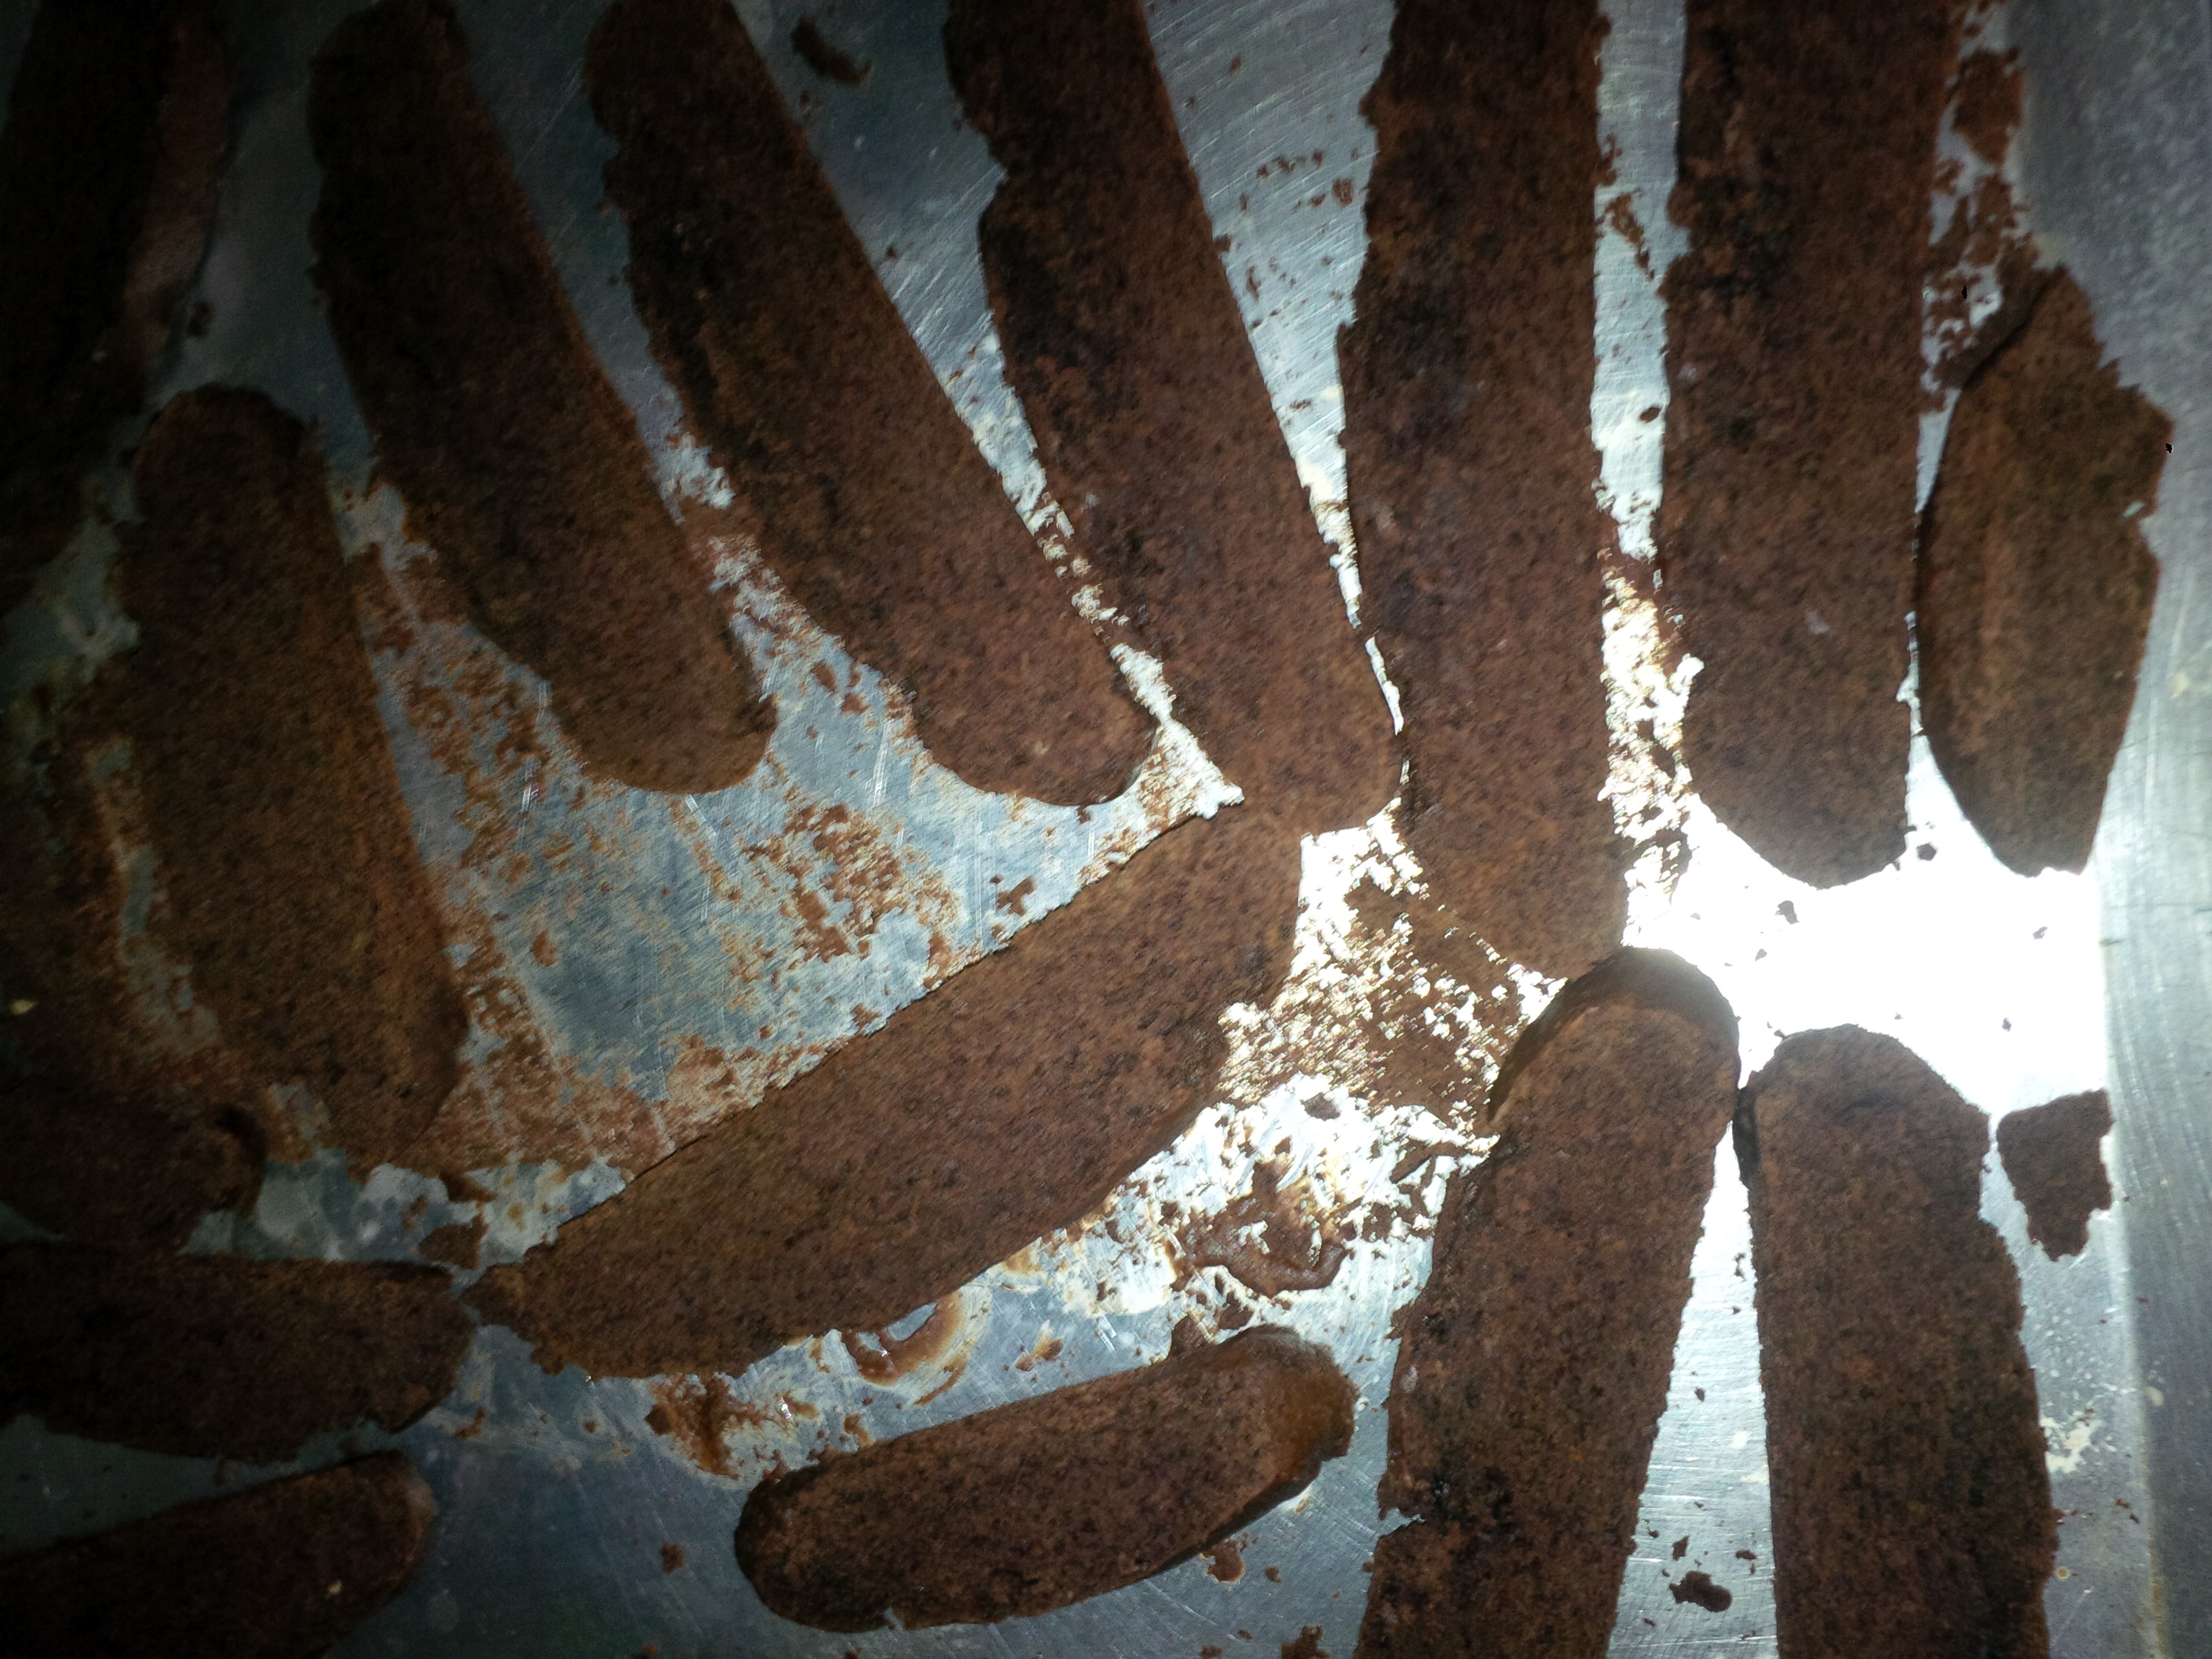
Flip them over and bake on the other side for 5-7 minutes.  You want crunchy cookies.  For less crunch you can just bake on one side.

IMG_20151222_153041

Let them cool on the cookie sheet and then you can place them into a container.IMG_20151222_160025

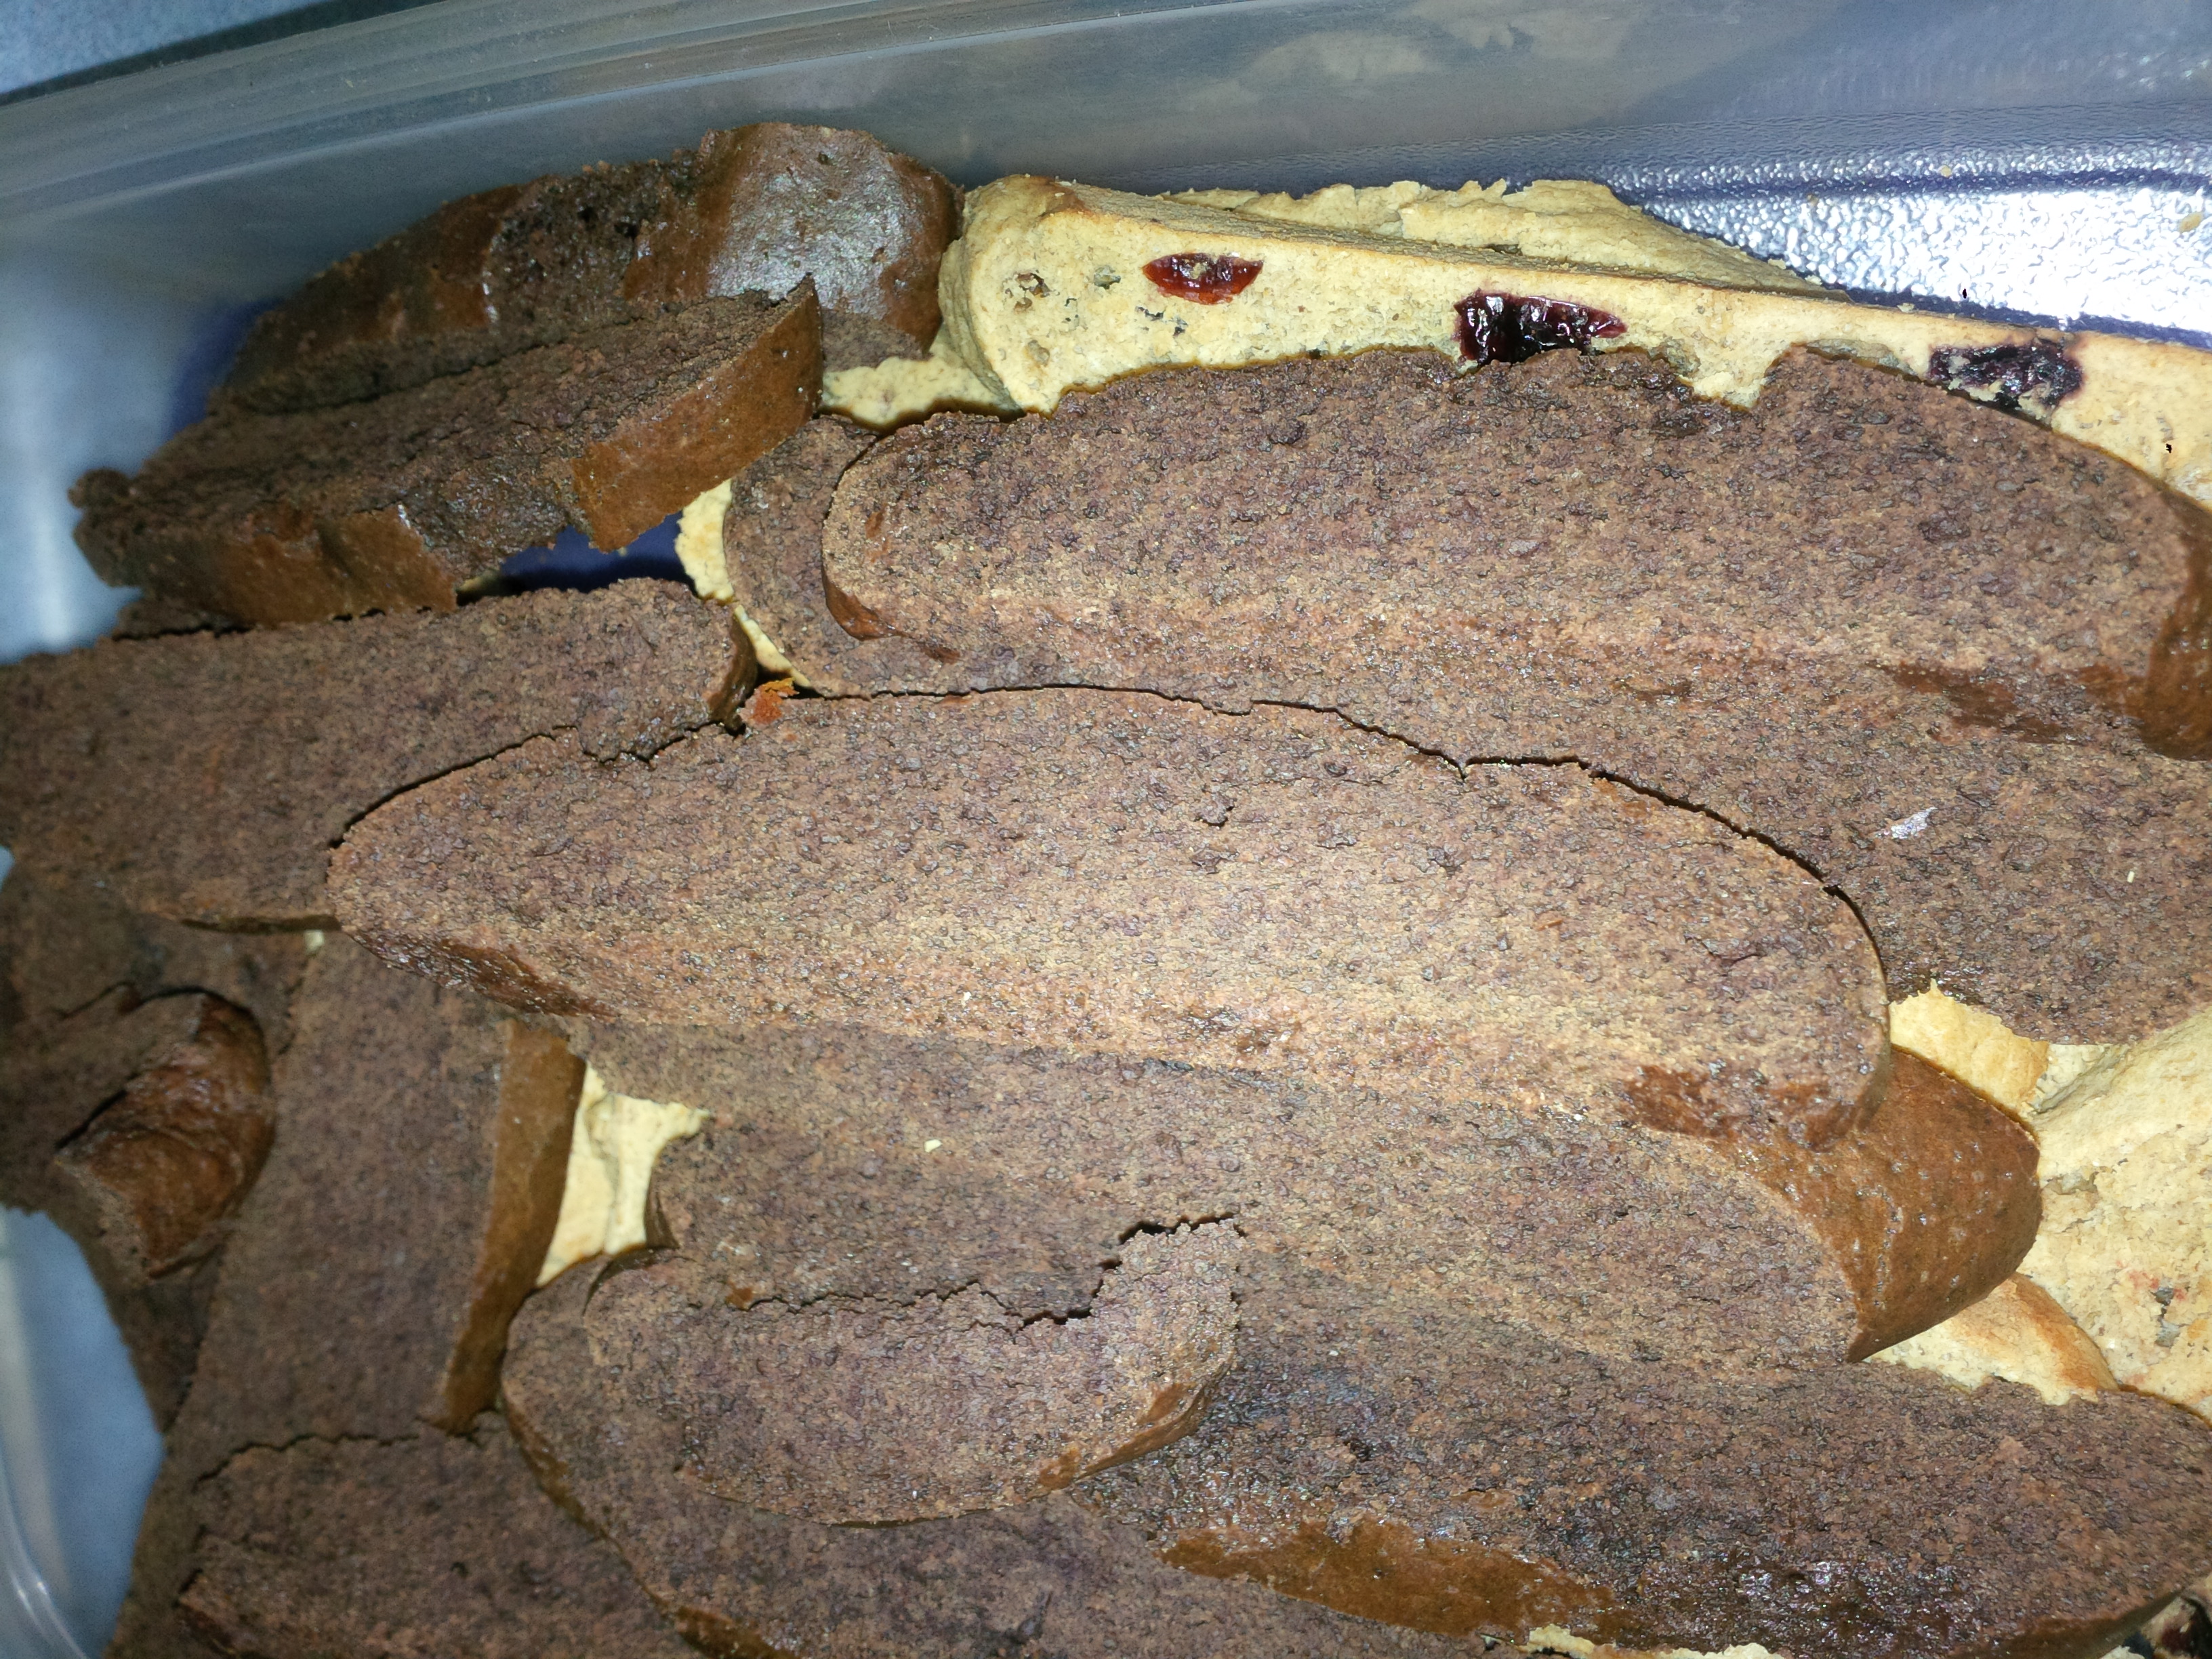
Melt some chocolate and dip the ends of the cookie into the chocolate.  If you want you can drizzle an opposite color over the entire cookie.  I then dipped the ends into chopped almond slices to give it a nice crunch.  For my chocolate ones, I added mini chocolate chips.IMG_20151222_173655These lasted 2 weeks sitting in a container on my counter.  You can also freeze them and they will thaw quickly when you take them out of the freezer.

So yummy!  Serve with a cup of coffee.

Easy way to do cut out cookie decorating with small children

I know its way past the holiday season and most parents are thinking about how they can detox their children from the sugar rush of Christmas, so why am I writing a blog post about sugar cookies?

Because I found that this year was the LEAST messiest year that we have ever done cut out cookies!  This is the one time a year when I will take the time and roll out all that white flour dough and reroll it out about a hundred times as my children cut out with cookie cutters our Christmas cookies.  They always seem to put the cutter in the middle of the rolled out dough, not being as efficient as Mom would be.  But that is okay, that is where we just smile and re roll it out over and over again.  We usually do the mixing one day.  Rolling out and baking another and decorating another day.  Keeps the mess down a bit I find.

I usually just set out all the cookies and put out bowls of frosting and containers of sprinkles and let my children decorate.  They usually make a big mess, the little ones find that they love to lick the frosting and put way too many sprinkles on to the cookie.  It is usually a dreaded sight.  I employ some of my older ones to make the “good cookies” that we will give away and that have a somewhat good appearance. You can see two years ago how decorating went by clicking here.

This year I was not looking forward to that mess again so I decided to cut back and let them do just a few.  Before any child was in the kitchen I set up my area.  I mixed up my frosting’s into small bowls.  I set out paper plates and popsicle sticks for each child.  Placed a bench in the area where they were going to be working and took out a few cookies for each child to decorate.  I sprinkled a few sprinkles into a small bowl for each child to have for their own and then I called the children.IMG_20151218_144631I gave each child a small blob of each color and let them decorate as they wished.  If one of them decided to mix and make a mess of their frosting’s then that was the color that they had.

IMG_20151218_144622

For the most part it made doing cookies—mess free.  I don’t know why for the past ten years that I have been making cut out cookies that I was not thinking to do something as simple as putting them on a paper plate!!  But after this year, I will never go back to my “free for all” cookie decorating. IMG_20151218_150123

As soon as they finished a cookie, I placed it on the cookie sheet to set up.  As you notice I was hurriedly decorating as many as I could with one color frosting.  I had another child put some sprinkles on for me.  I was all about getting them done as fast as I could.  IMG_20151218_150130As each child finished their three cookies, I said okay let’s go wash your hands and clean up.  They went into the bathroom and cleaned them pretty good on their own.  Life definitely gets easier as they get older.  The entire process took me about a half hour to complete.  Clean up was super easy and I will do this every year for as long as I live!!!

Any other advice for decorating cut out cookies and keeping the mess down?

Be blessed as you celebrate the New Year!

Scroll to Top