My ultimate favorite treat are dried coconut chips. I like the crispy ones but will take a chewy dried one any day. The only thing that I don’t like doing is paying$3 a bag for a tiny serving amount. Can you make these yourself and save some money? I decided to try.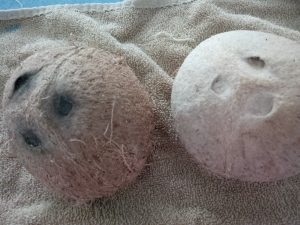
I ventured out to Walmart and selected two coconuts. They were under $2 a piece. I got a darker one and a lighter one. Didn’t really notice a difference in anything except that the lighter one was a little harder to crack open. 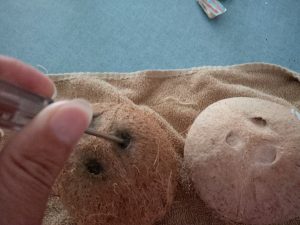
I took a screwdriver and pierced a hole in the eye of the coconut. Only one of them will allow you to penetrate through. I hit the screwdriver with a hammer. I originally used a metal skewer but the hole was not big enough for the liquid to come out. 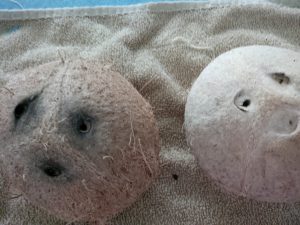
Here are my pierced coconuts. I was thinking this is going to be a fun thing to make. I was excited!
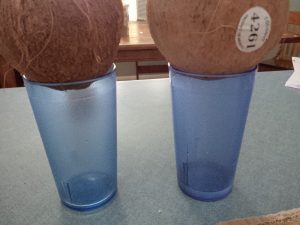 I then set them on top of cups to drain the juice into. I got about a 1/4 cup out of each one.
  I didn’t enjoy the taste very much, but it was okay.
 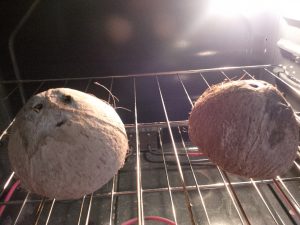 After my liquid was out, I put them on my oven rack and baked them for 30 minutes in a 350 degree oven.
 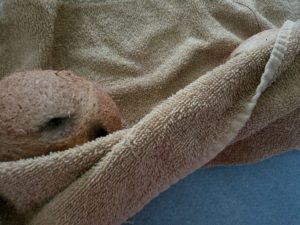 I laid them on a towel to protect my countertop while I cracked them open. I used a hammer to hit the coconut. You have to hit it pretty hard to even crack the shell.
This was the lighter one. It didn’t crack off as easily and I was left to peel off the outer shell.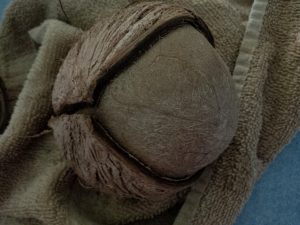
Here is the darker one . The outside shell came off fairly easy on this one. Well almost fairly easy:)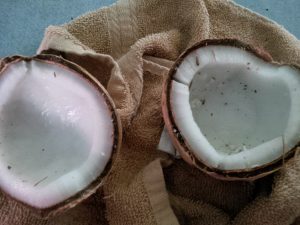
After tugging and pulling on the outer shell for them, it split apart and looked like this. Pretty neat.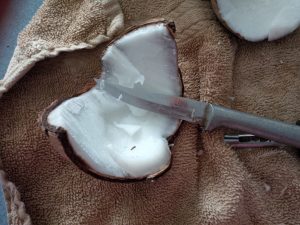
Then the fun began. Since the outer shell did not come off in it’s entirety, I had to try and scrape the coconut with a vegetable peeler and paring knife. It was okay for a bit but then this grew tiresome. I was thinking my $3 a bag was WELL WORTH the cost instead of spending my time doing this. 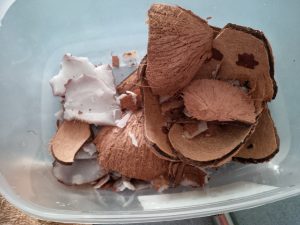
Here was my scrap bowl when I was finished. Which took me a long time to do.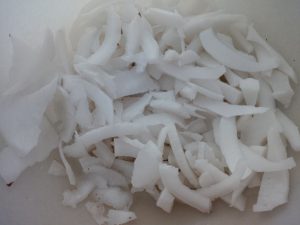
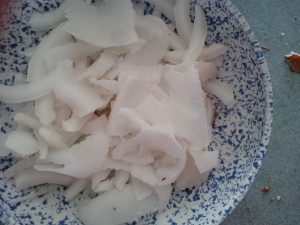
I had a small bowl of coconut strips after I peeled them off. Maybe about 2 cups worth.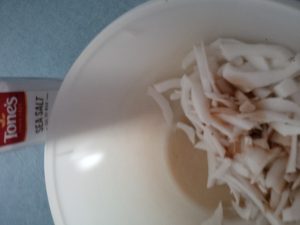
I added maple syrup and some sea salt to use as a flavoring for my chips. Without it, it would taste very bland not at all like the yummy crispy treats in a bag from the store. 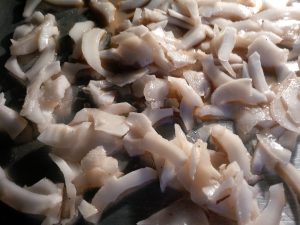
I tossed them together and set them on a cookie sheet. I put them in my oven on a lower temperature. I started out at 250 degrees. I was turning them and enjoying the smell in my kitchen immensely. Then after a couple of hours, I grew tired and wanted to speed up the process. I then put my oven on 325 degrees and had walked away to tend to a child who needed me. This my friend, was my mistake!!! I came back into the kitchen after “forgetting” about my wonderful smelling chips. I ran to the oven and opened the door———GASP!!! Only to discover my chips had burned!!!! 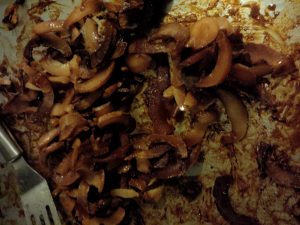
No!!!!! All that hard work and for nothing!!!! I of course ate the edge pieces so that I could sample the yummy taste. Oh it tasted very yummy and I knew that the whole thing would taste exactly like the bagged kind. Such disappointment.
So after throwing this pan out to my chickens?!?!?! I decided that the $3 I spend on a bag of coconut, to ME is well worth the price. Should you try this? Yes if you have the patience to do it and the ability to stay near your oven!!
Hope your day was good. Even with the burned coconut—I still got to taste the yummy flavor of these would-be-delicious treats:)




4 responses to “How to make dried coconut chips—is it worth it?”