
Give them something to do!!
Do you ever have days where your children are bored and quarrelsome? I know I have had my times of letting the little ones just free range doing whatever it is they want to do and it results in arguments, too much tv, and boredom. So what should we do?
I think back to when I had my first few children, I never had them do many chores at a young age. Actually, I think they MAYBE had to pick up their rooms with the help of me of course when they were school aged. Not a whole lot of expectations coming from my side.
Well, I got smarter over the years….I realized that children NEED work for a sense of accomplishment especially at a young age. That is why, I have even the youngest of our children, help with tasks around the house.
Do I require them? No, not with the littlest ones, but my school aged children know what is expected of them and if they don’t they look at their charts. They are pretty good to follow what it is they need to do and then they know that once they complete their tasks they are free to do as they please. This has helped with attitudes and whines. They know that they have a set thing to do before it is free time. This allows them to set the bar for happiness for themselves. “If you want to have free time, then you had better get working, otherwise you will still be doing this all day.”
Sometimes, I have days where there is A LOT Of things to get done. I will then write them on our marker board, under the appropriate child names and they know what else needs to be done. I usually save these miscellaneous tasks for after school. That way we can get our school done without having to wait for the other children to complete extra work.
Having a list let’s them see what it is they need to do and they know what they have to do to get it done. The other approach is basically giving them jobs to do when they come to my mind. That never goes over well. Can you imagine having to wait for your boss to decide what else he would want you to do each day? It might be fine for a day or so, but for regular work, wouldn’t you be better off if he gave you a list and you knew what you had to complete. It takes off the stress and the strain of wondering when they will be done.
If I notice that my children are squabbling, I take note and see what they are up to. Does someone need a break, maybe some food, or maybe they just need something to do. I take care of important needs like food and comfort and then if they are still squabbling, I give them a time away.
Sometimes that might mean that they are overwhelmed with life, as I get too and just need a hug and a short talk. Sometimes it is just complete rebellion and then they need a discipline. Currently in our home, copying works well for that. We are doing a book called Wisdom and the Millers and it has a short chapter read that we do each day with a lesson connected with the book of Proverbs. 
We relate it, as the book does, to our life and how we can do better. We make a simple drawing and put it on the wall with the corresponding bible verse. If anyone needs “correction” it has been helpful to direct them to the lesson we talked about and then have them copy the verse one piece of paper full.
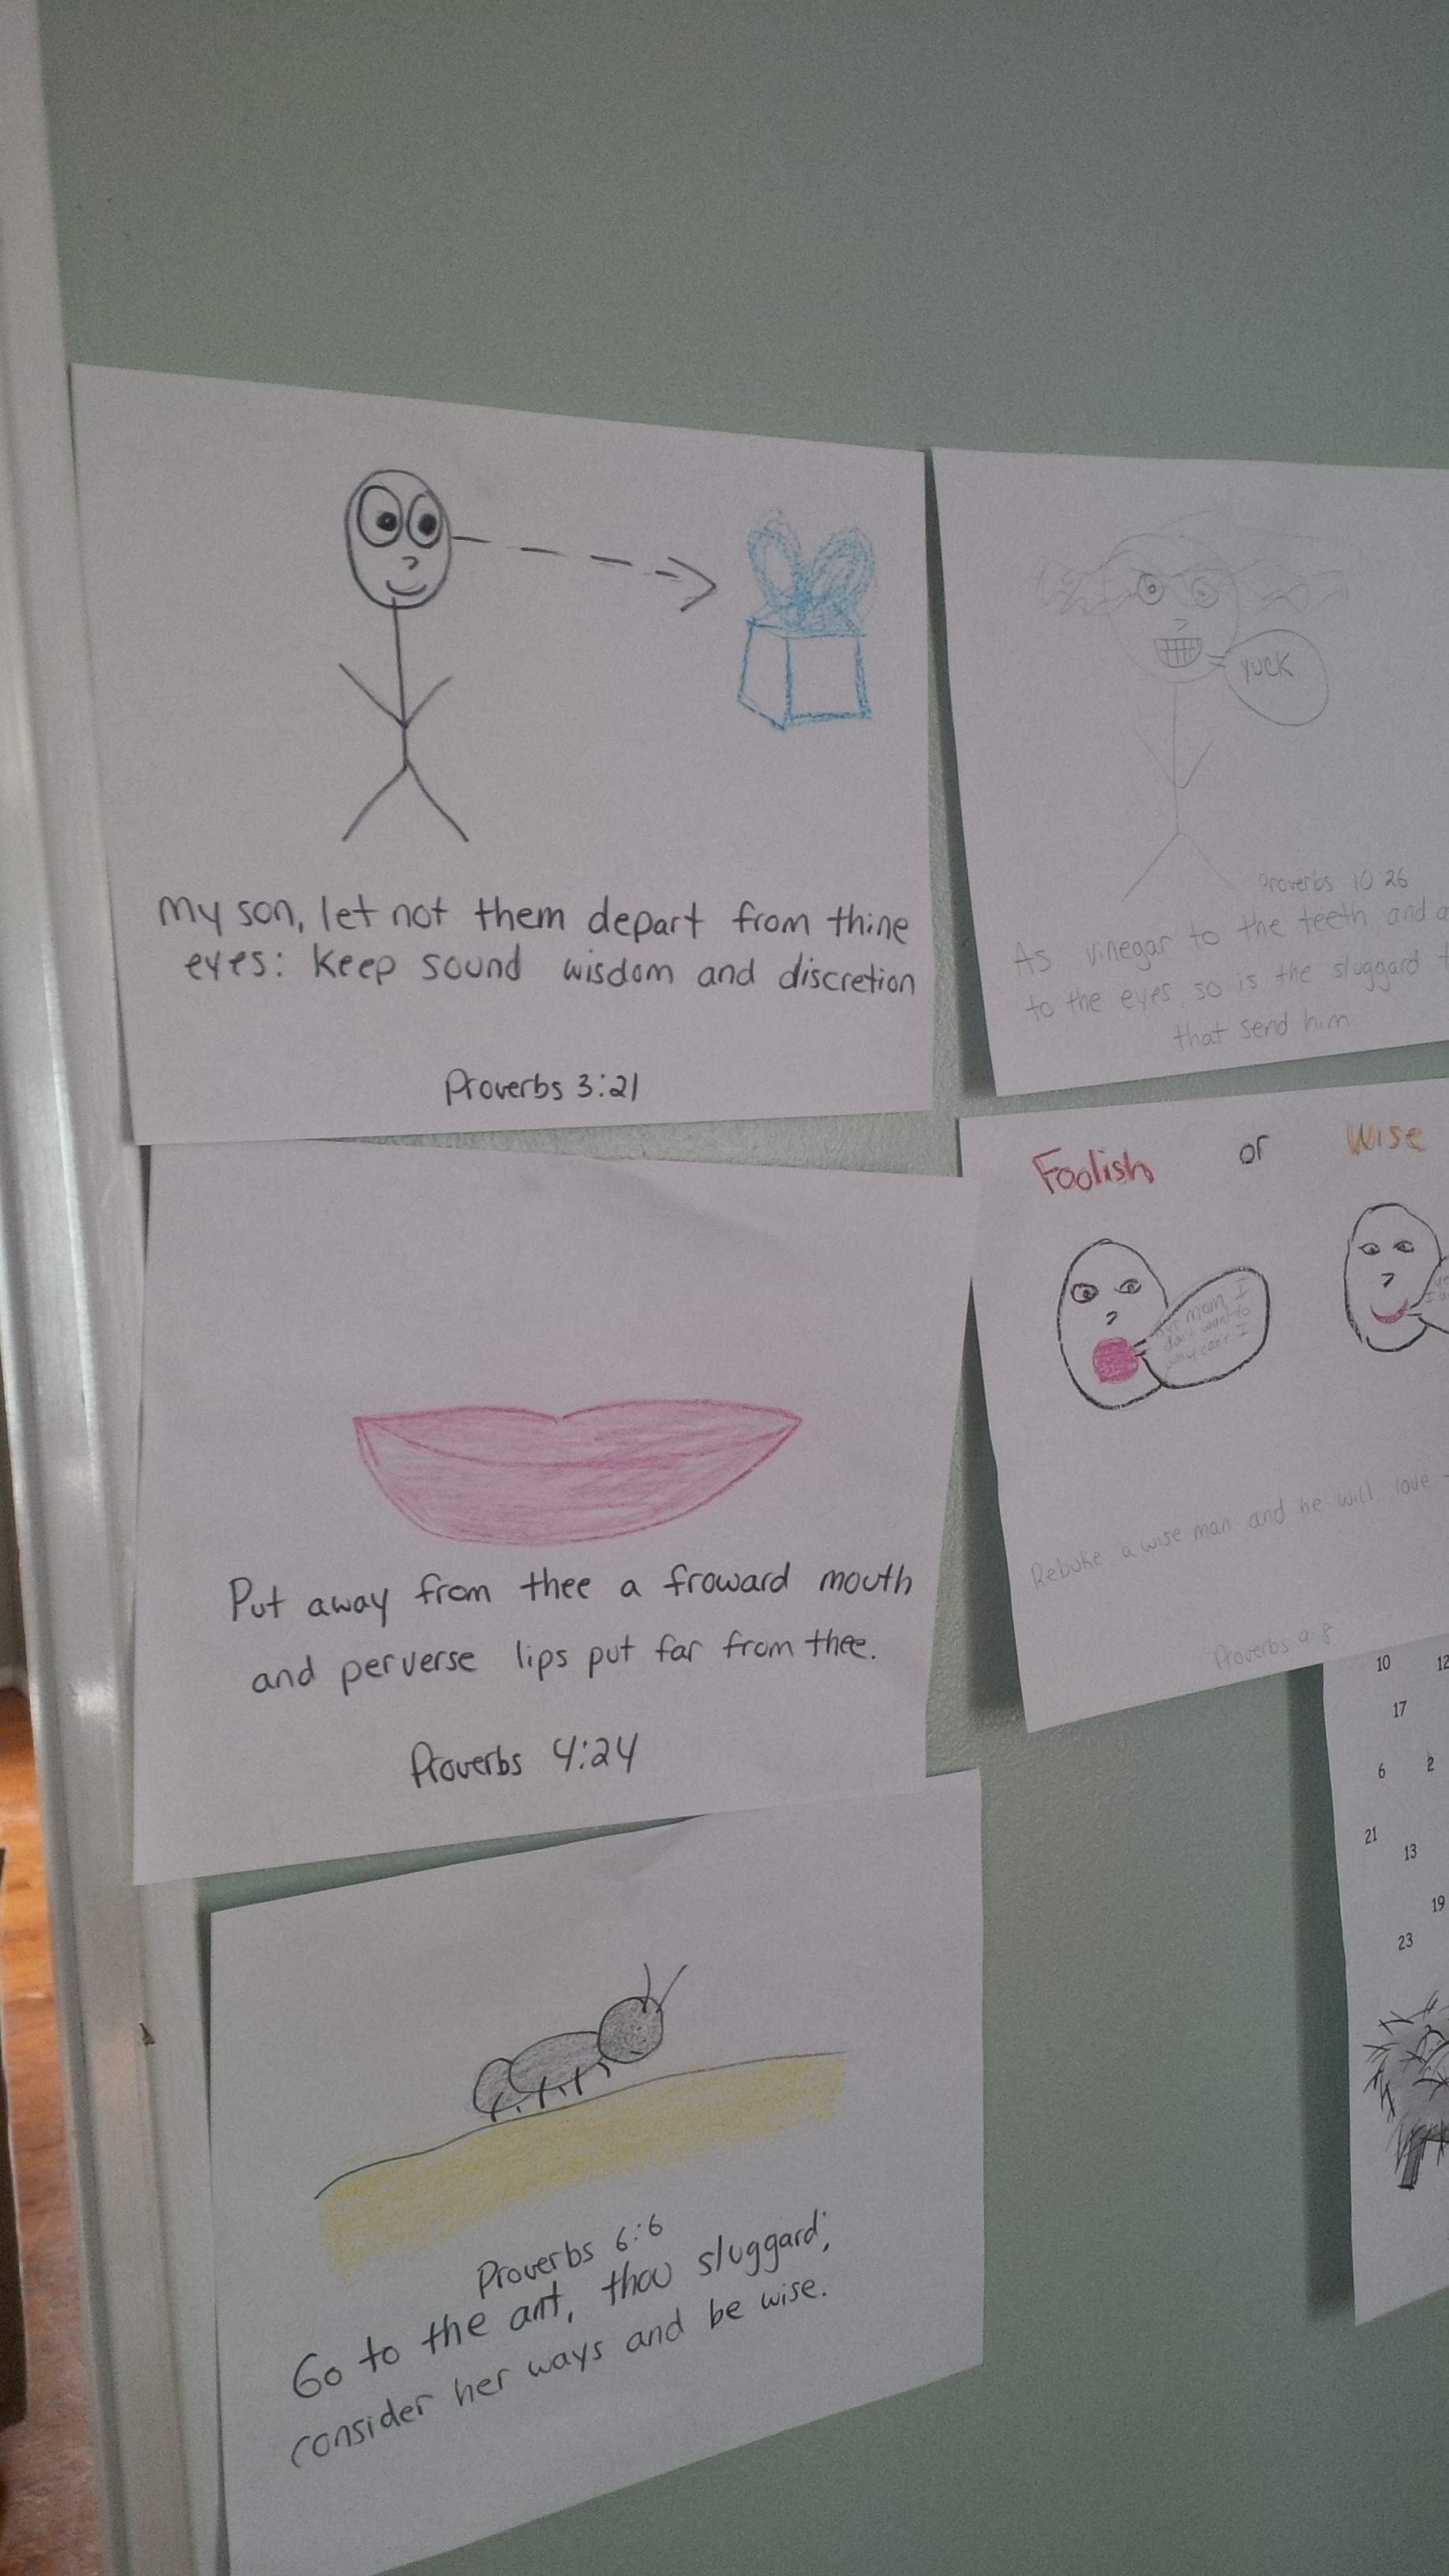
I used to have a discipline chart on the wall, when I had the older children. It had the offense on one side and the bible verse as to why they should not do it and then the punishment on the right. That was good as a “quick reference” but for now, it helps to use the lessons we are currently learning for school.
For the toddler, he has been ‘testing” his boundaries and learning to cope with life without a pacifier. When he begins to scream in defiance , we tell him “no” and then if he continues we take him to his room and let him sit on his bed. He doesn’t come out until he is ready to calm down. This works much better than letting him lay on the floor in a fit. Which I have done in the past by the way. There have been MANY times, I have been lapsed in my disciplining, just didn’t put it as a priority, but you do what you can do.
I don’t have a cookie cutter approach to disciplining my children. My children are not of the cookie cutter kind. Each one has been different and we have dealt with them differently. There have been times, when I had many little ones that I let them do whatever, then as it wore on me and got me frazzled, I knew I needed to change. I started training them and correcting them as best as I could. Now I don’t have as many little ones that take up all of my time and I can focus more on training and correcting them.
Did my older children grow up all bad? No, not horrible, but I can see where I never “nipped in the bud” some of the attitudes that they have carried into their older years. Not impossible to fix, just more of a heart issue and growing up issue to correct. So what does that motivate me to do? To help correct and train heart issues at a young age with the other children. When I see them get angry with each other or snippy, I realize most of the time they just need something to do. As a Mom, I like to do most things myself, but I realize that they need something to do as well. Start rationing out the work, let them feel a sense of worth as they go about their day. You will benefit from their help, their hearts will be molded, and you have just helped them deal with and correct an issue in their life. You did kingdom work—and that is the best out there.