
Merry Christmas

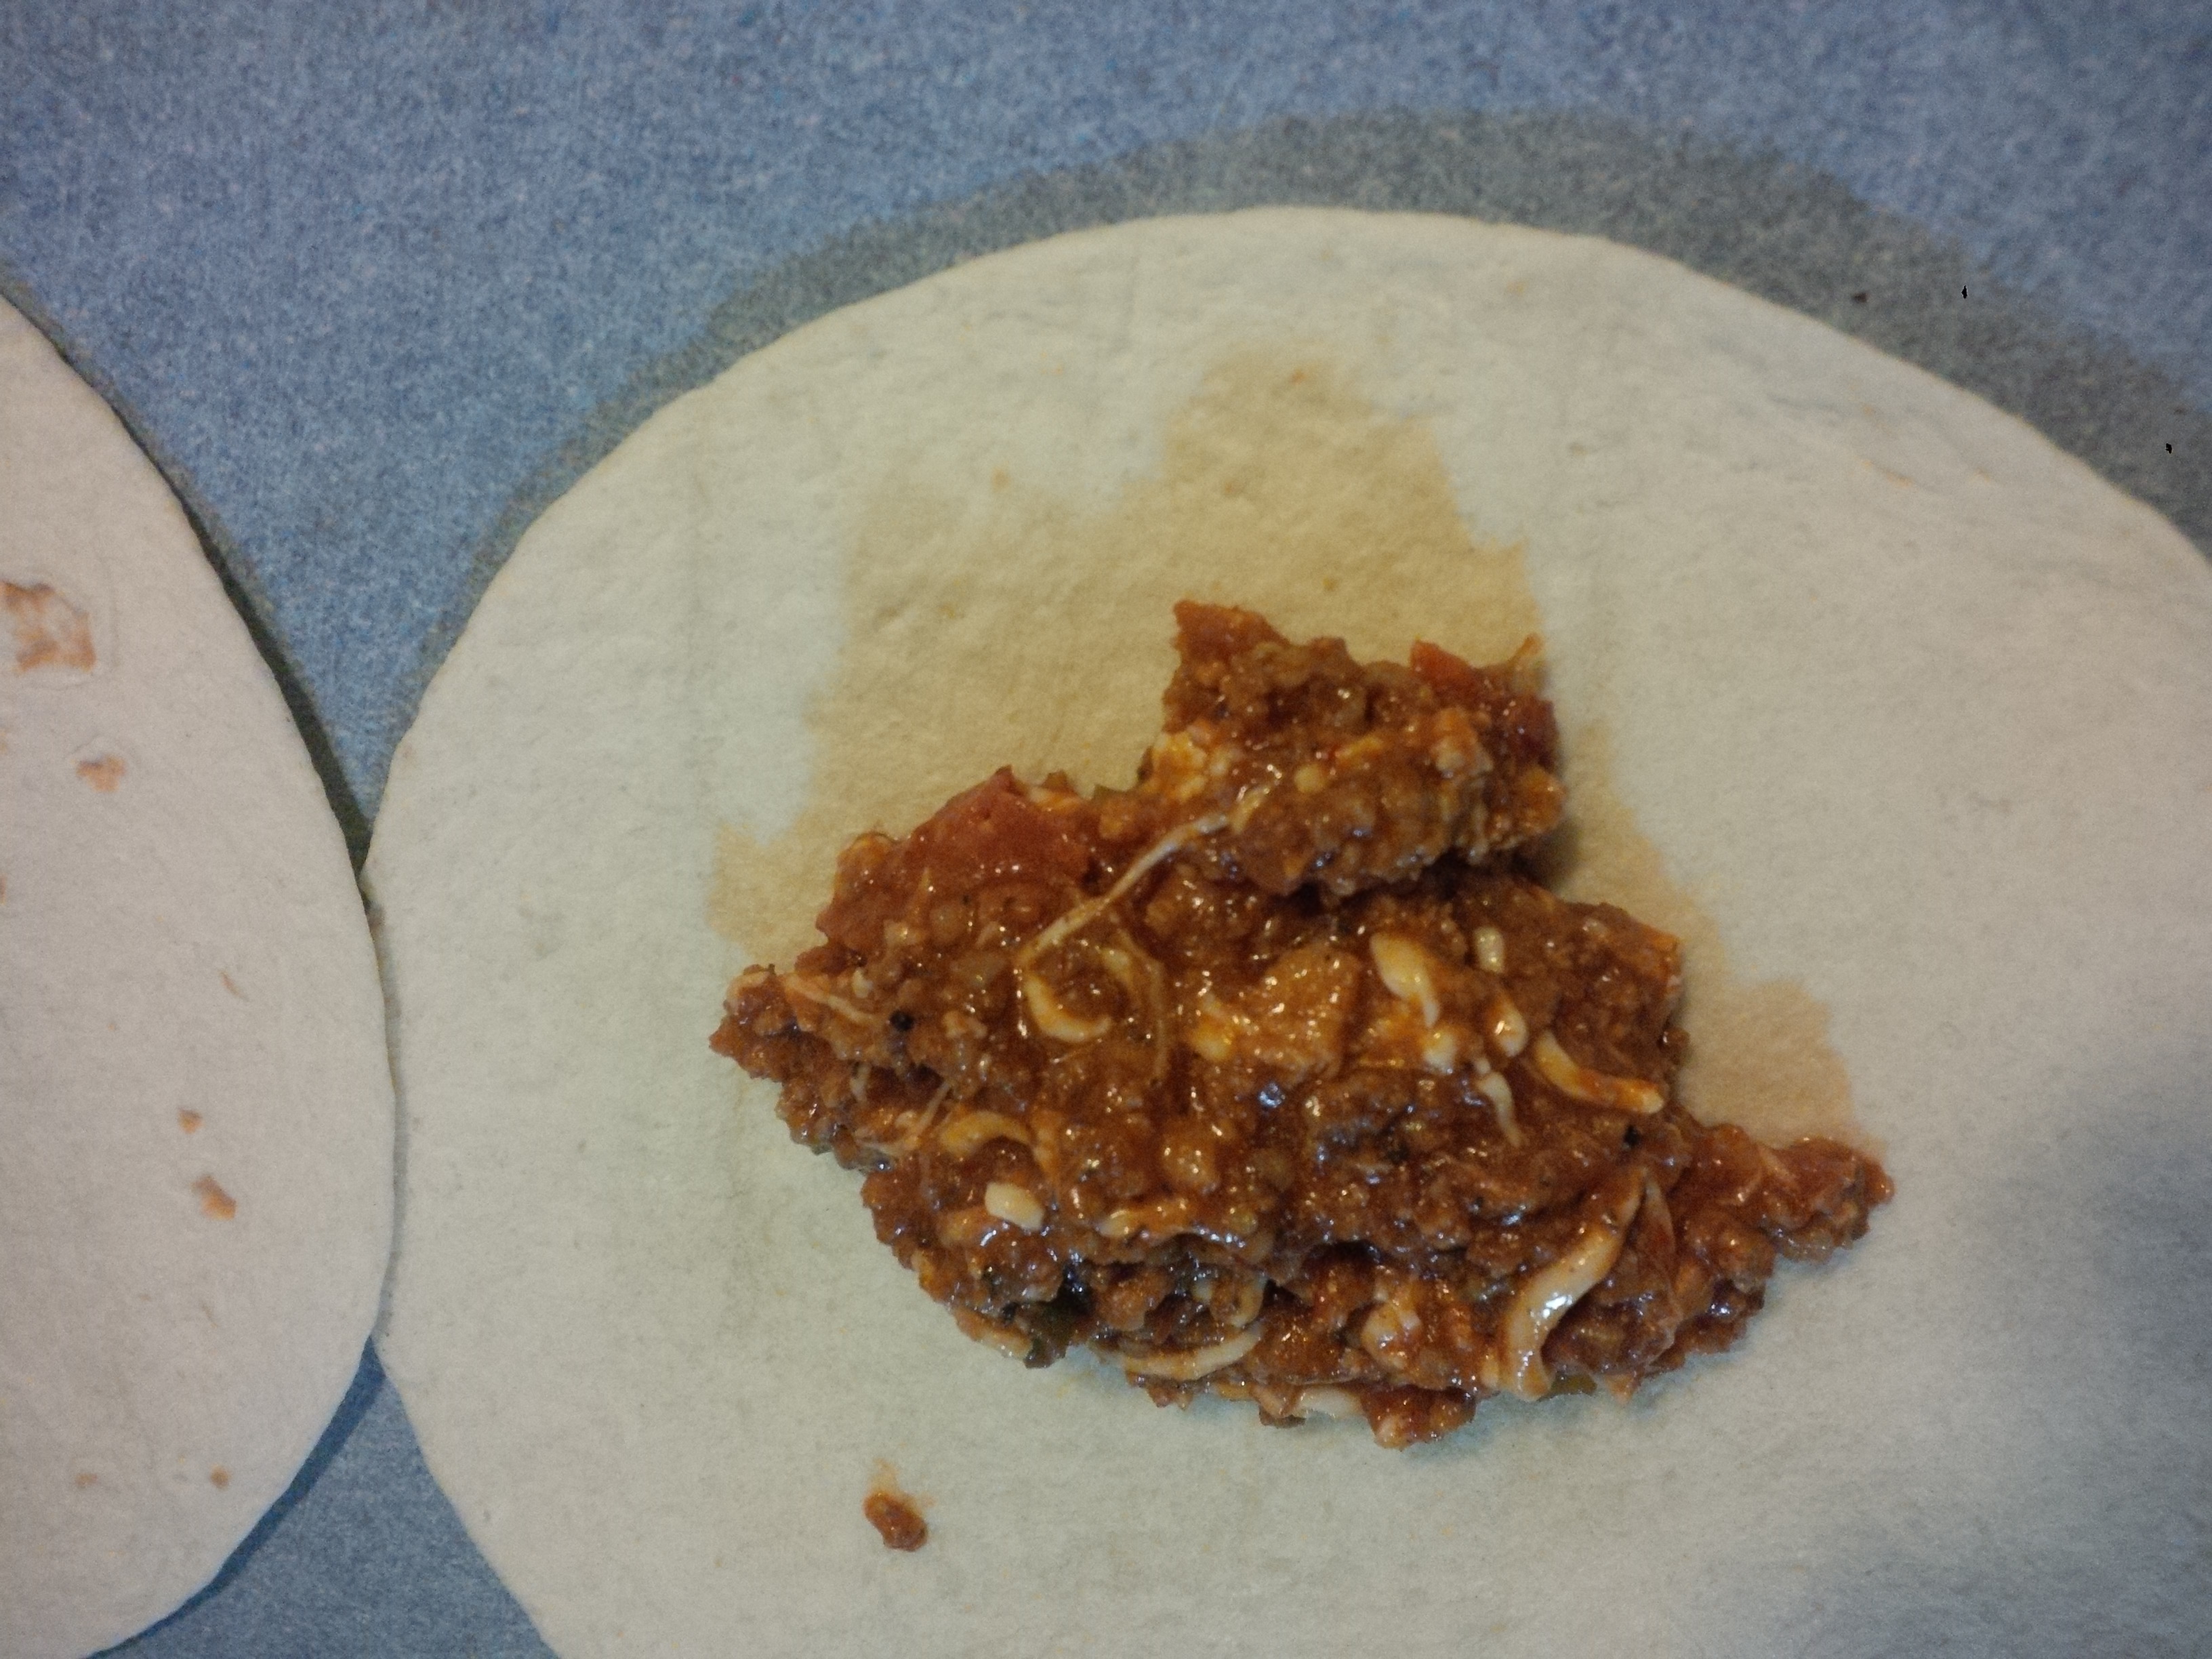 I recently was given a few cases of soft flour tortillas. Hmmmm what was I going to make with all of those? I didn’t want to just put them in my refrigerator to take up space, so I decided to make a bunch of burritos and freeze them for quick breakfast and lunches. This is what I came up with.
Egg,bacon, and cheese burrito
I started out by doing egg, bacon, and cheese ones. Thought that would be a good easy breakfast, especially when we were headed out the door early. I bought a big box of eggs, I believe it is 5 dozen, got a package of bacon bits, and a bag of shredded cheese. We cracked eggs and did about 2 dozen at a time. Mixed all the ingredients into a bowl: eggs, milk, bacon, and cheese, and then put into our pan. Cooked until the eggs were set and then went about filling our tortillas with them and placing them on a cookie sheet to freeze.
Pizza burrito
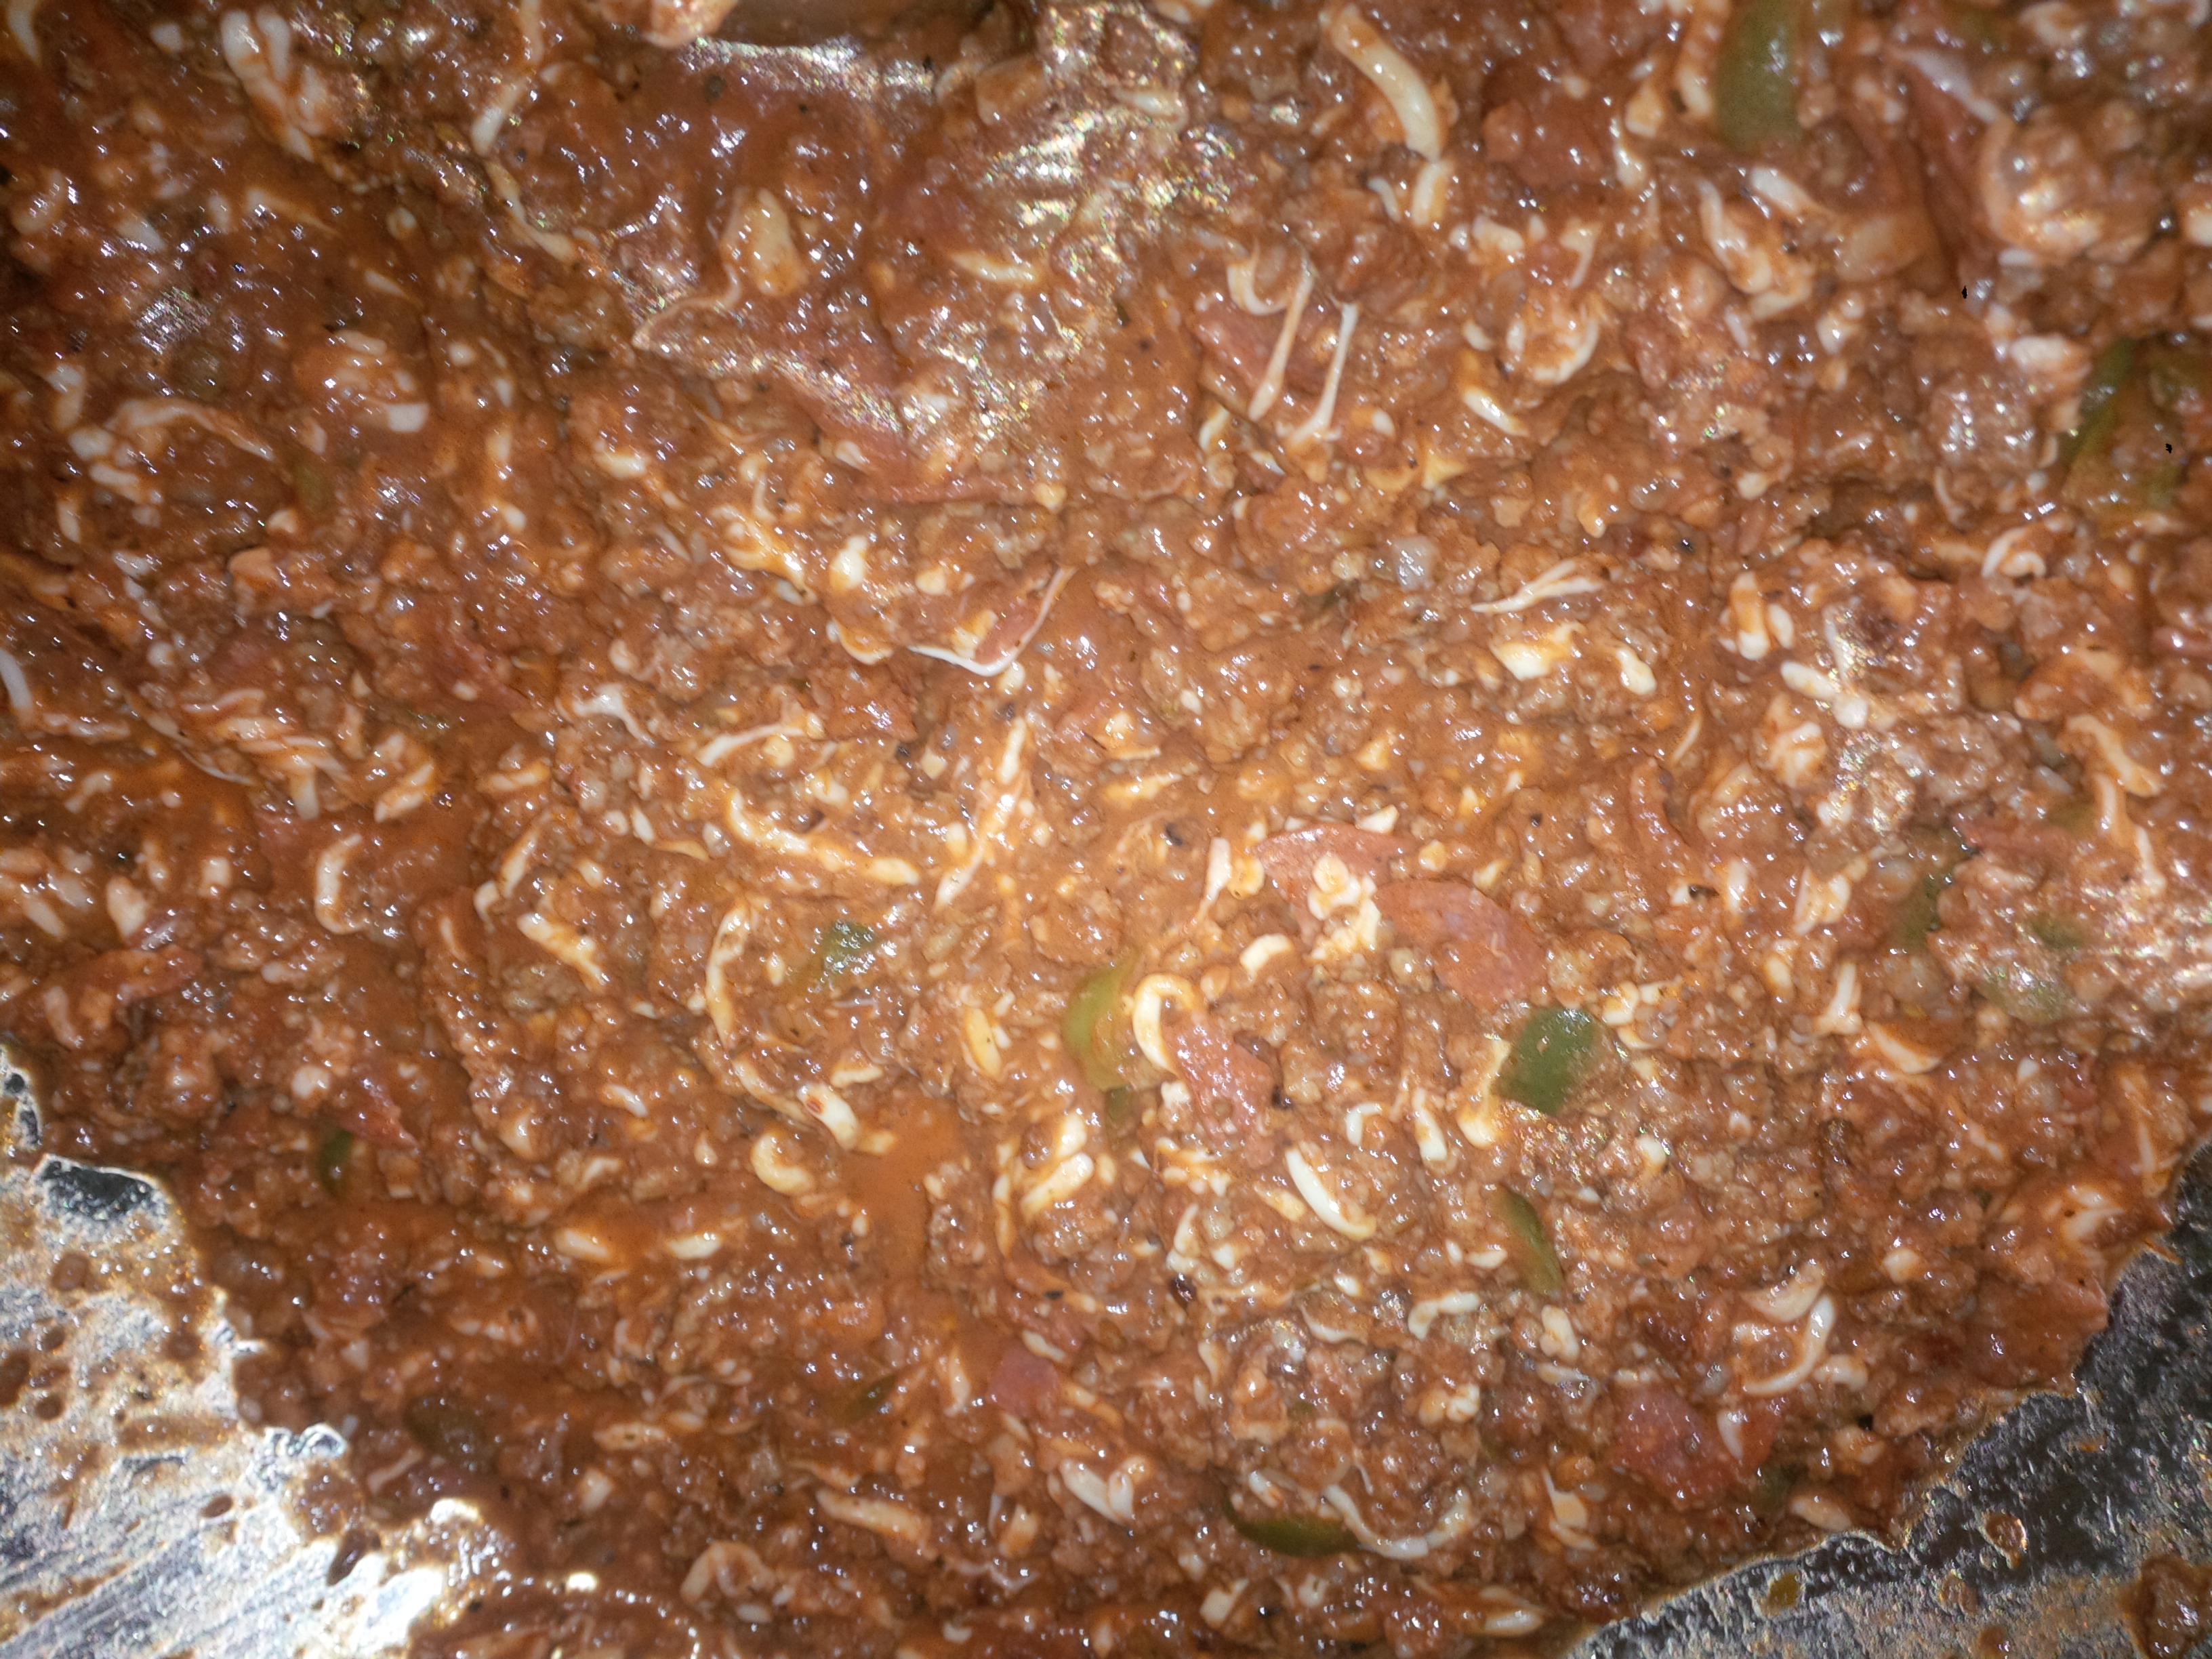 I took a pound of ground chuck, a pound of breakfast sausage, a package of pepperoni cut up into four pieces each, a bag of bacon bits, some green peppers, chopped onions, and container of pizza sauce. A bag of mozzarella cheese was added after it was all cooked. I then filled tortillas with this mixture and placed it on a cookie sheet to freeze.
Beef and bean burrito
I mixed up refried beans, hamburger, package of taco seasoning, salsa, and some shredded cheese. I placed a small scoop onto tortillas and rolled them up and froze them.
Chicken bacon ranch tortilla
I mixed up shredded chicken (actually used some leftover Thanksgiving turkey for some of this), bag of bacon bits, shredded cheddar cheese, and then added some ranch dressing and miracle whip to mix into a nice spreadable mixture. It looked like sandwich spread to me. Put some on tortillas and then rolled them up. Froze on cookie sheets.
Thanksgiving leftover tortillas.
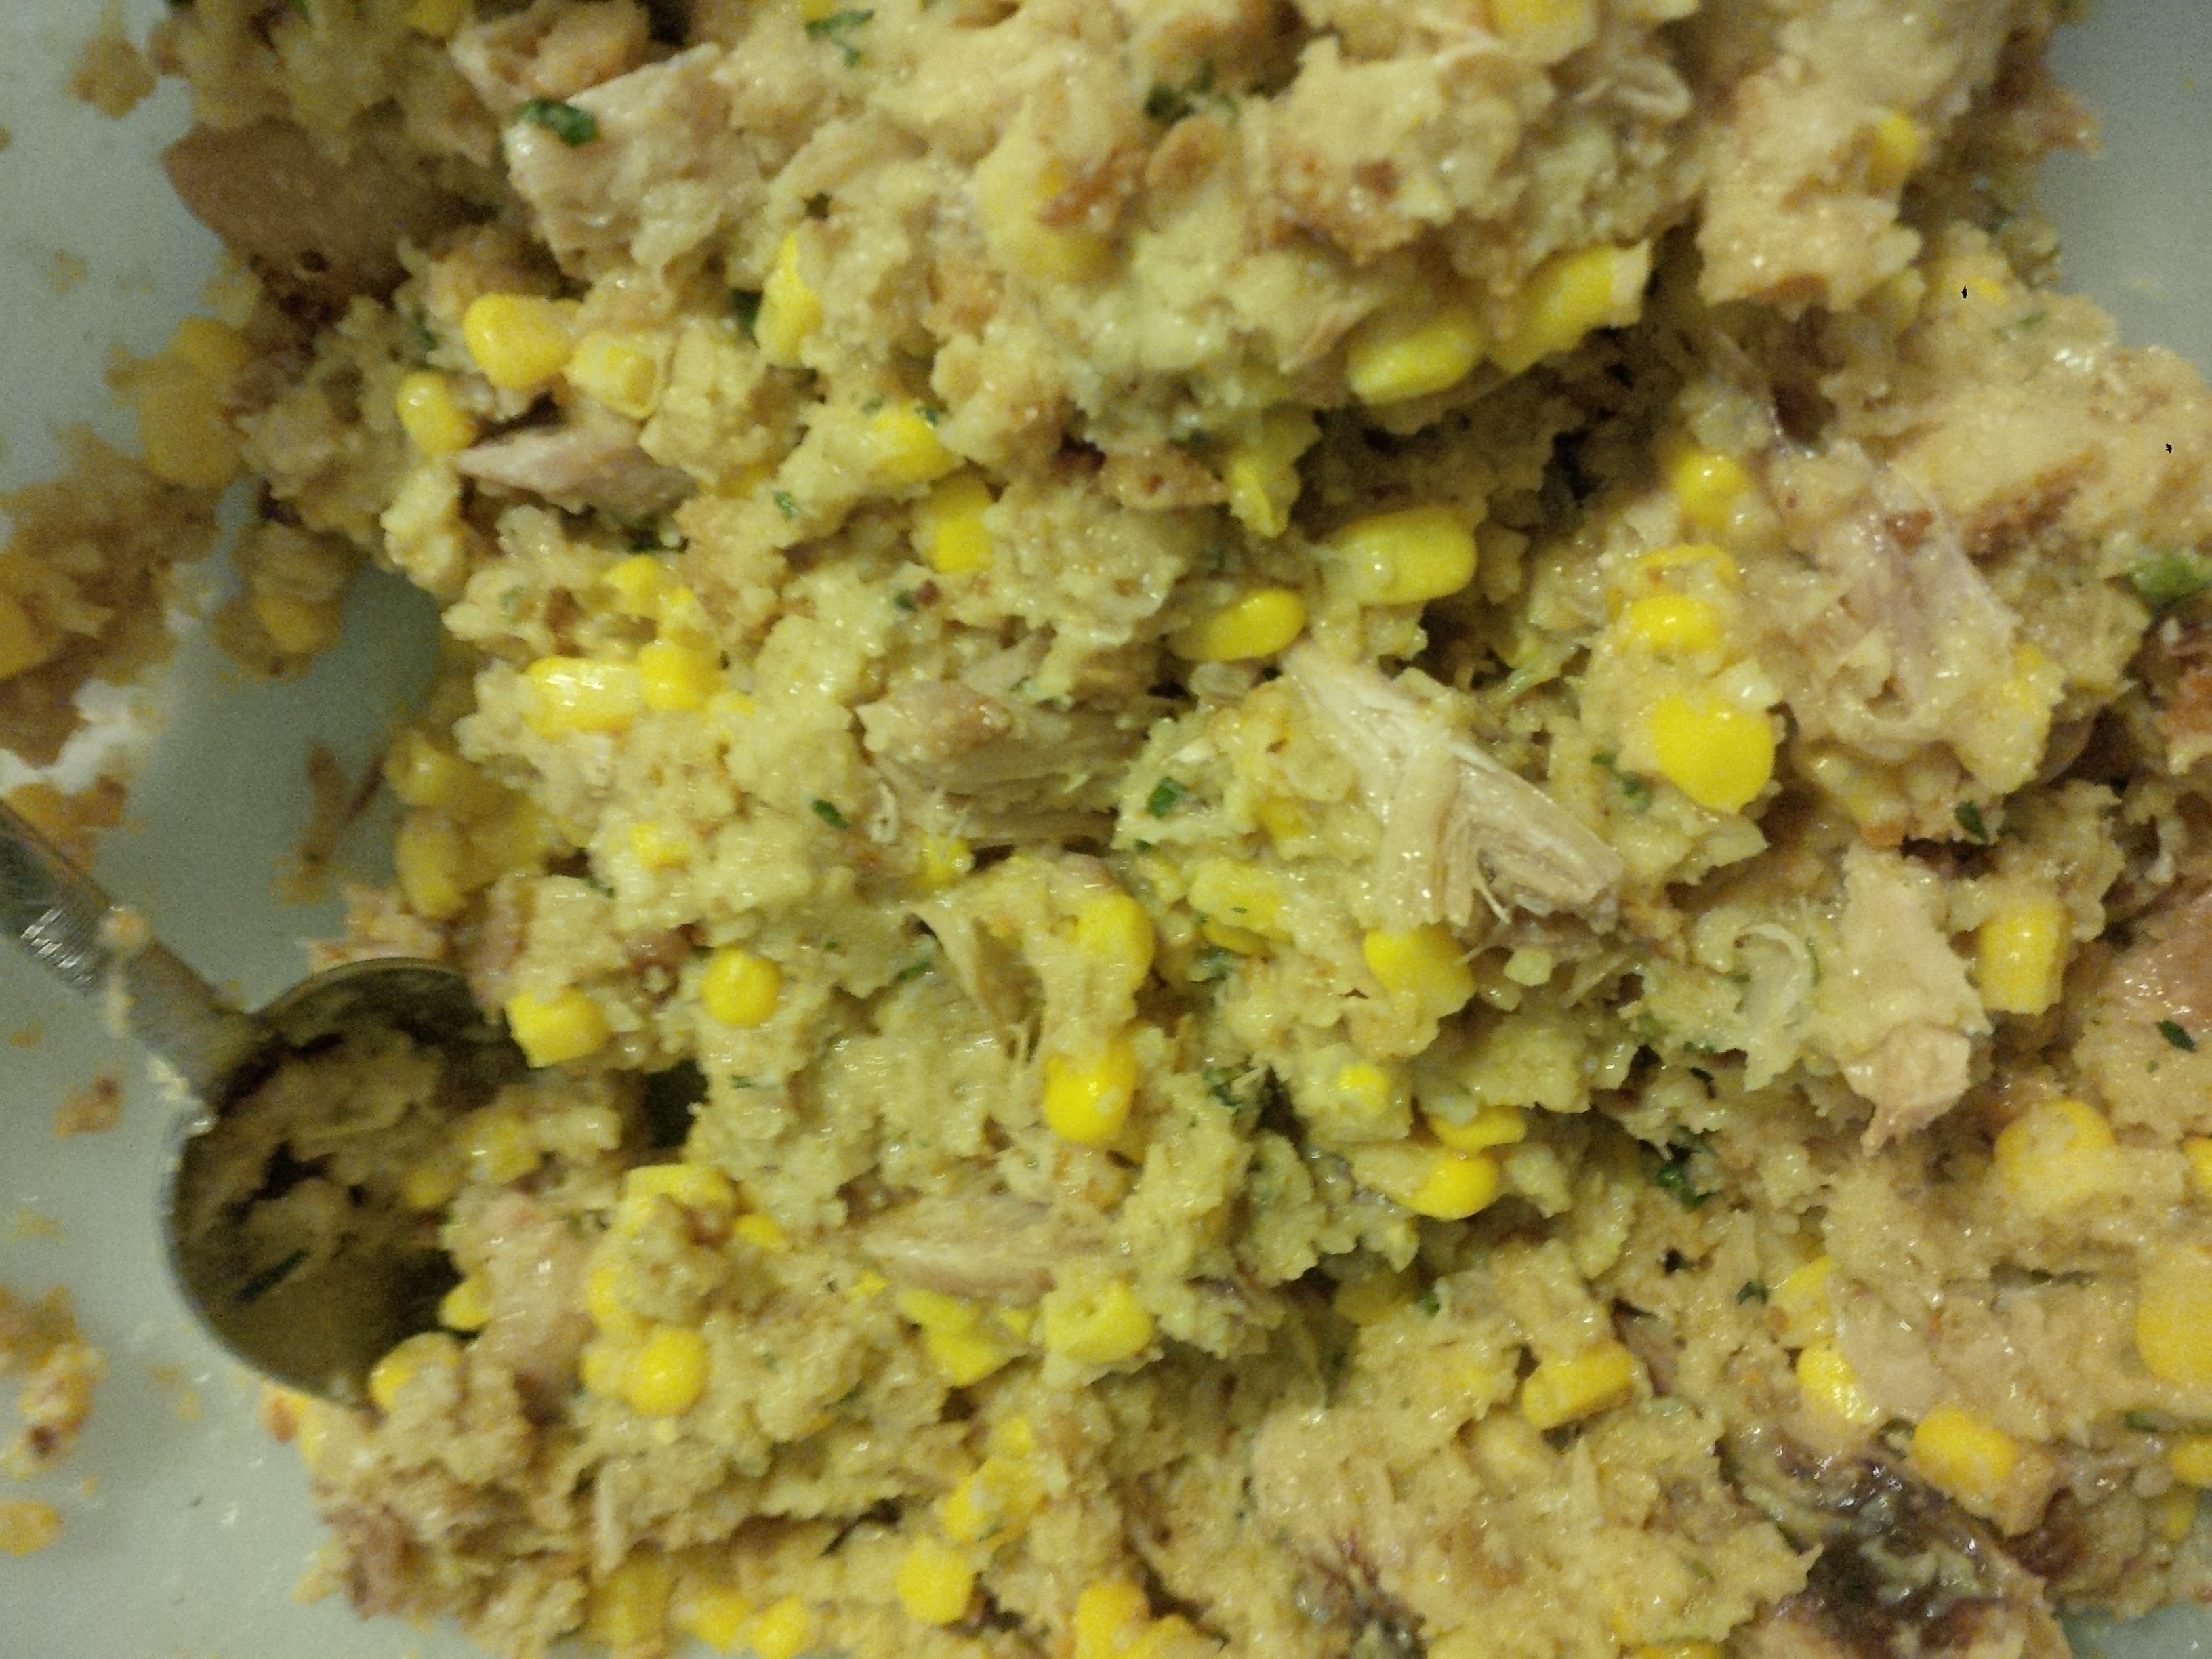
For this we used a box of stuffing–all made up, can of corn, shredded turkey, and a can of cream of chicken soup. We mixed this all together and put a blob on a tortilla and rolled it up. Froze these as well.
After these were frozen, I put them into plastic resealable bags and then labeled them. For breakfast, I usually get them out of the freezer the night before and place in the refrigerator. I put them in the oven on 350 for about 40 minutes and we have a nice and hot breakfast, with no fuss. Even when they are frozen solid, they take about an hour to cook all the way through.
My freezer is pretty full of tortilla sandwiches right now, but it is nice to be able to grab a bag out and heat up and easy breakfast or lunch especially during this busy time of year.
The next time life hands you a bunch of tortillas, you can try out some of these recipes for easy breakfast and lunches.