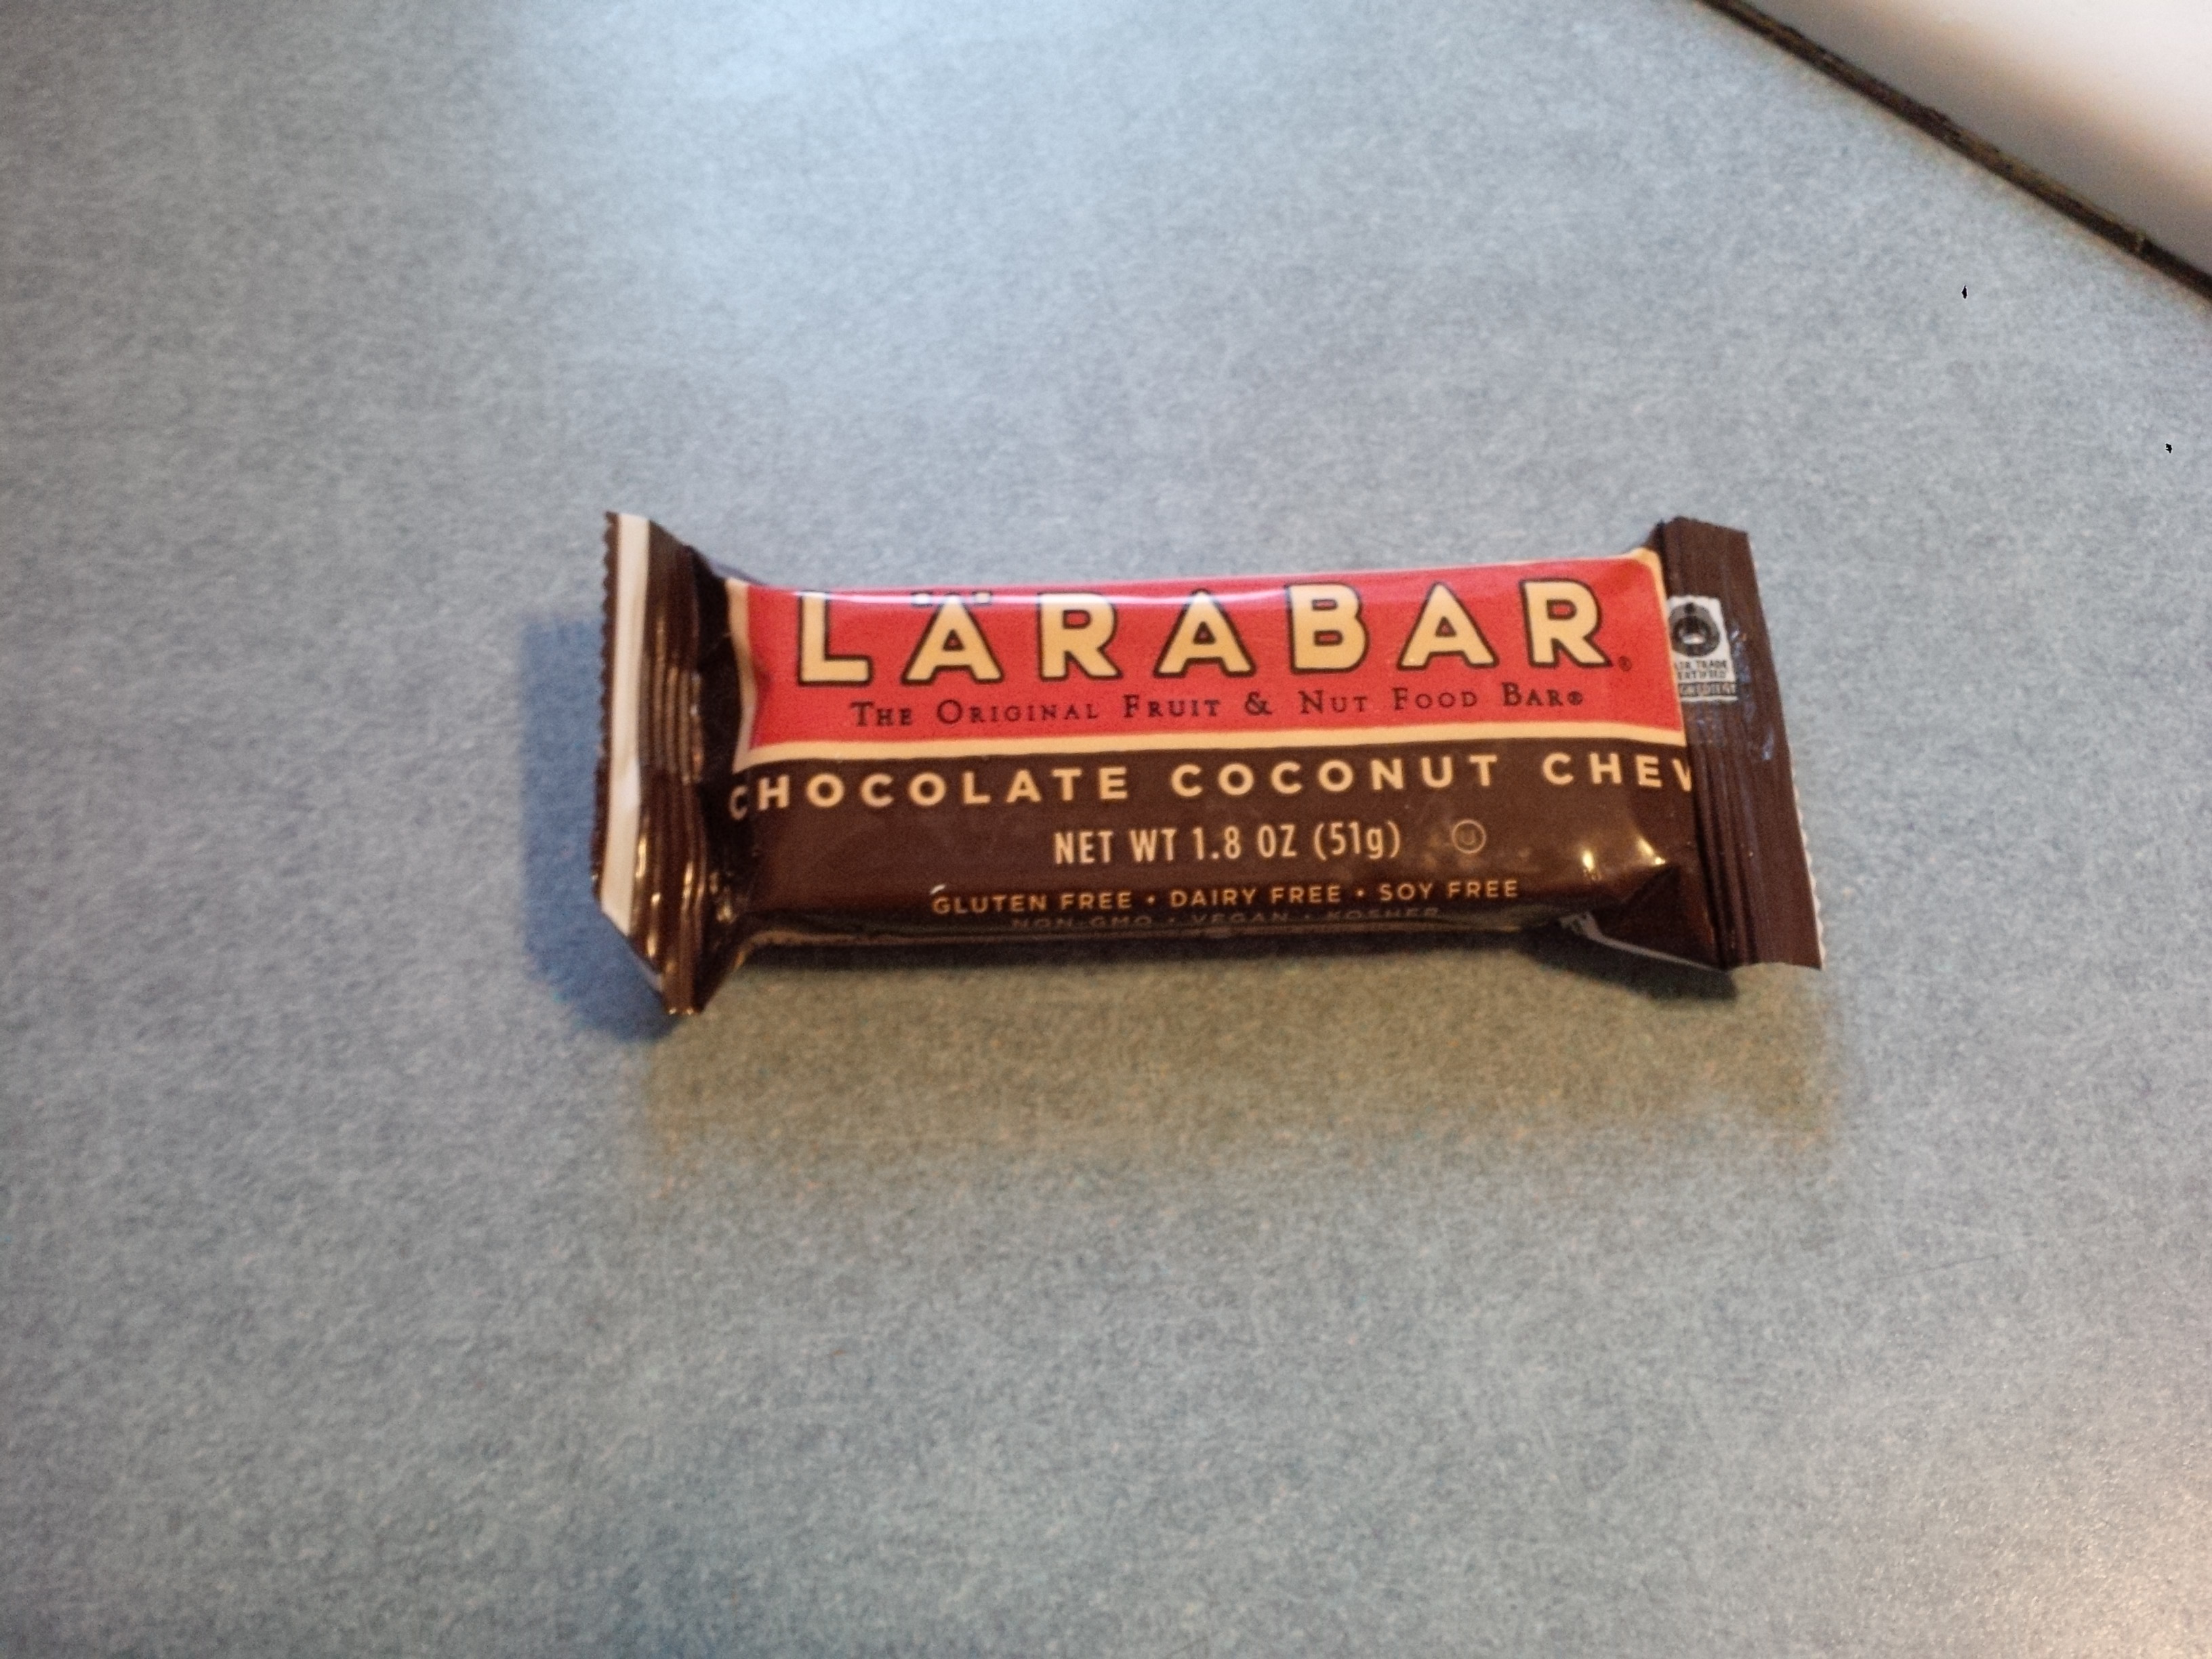
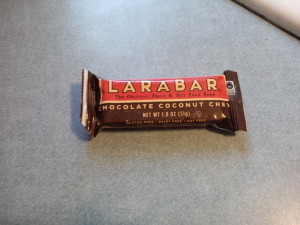
 I bought a case of these bars at a Discount Store in our area and I loved them! They were great to have on hand for something quick to eat. Well, after they were gone, I decided to make my own version of them.
I like having these types of bars to grab when I need a quick bite to eat. We have made these other types and I keep them in the freezer to grab when we need to run out the door :
My husband calls them my bird seed bars:) They do get tiny seeds stuck in your teeth, be sure to check them after eating them:)
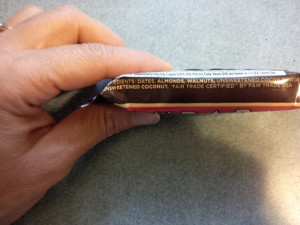
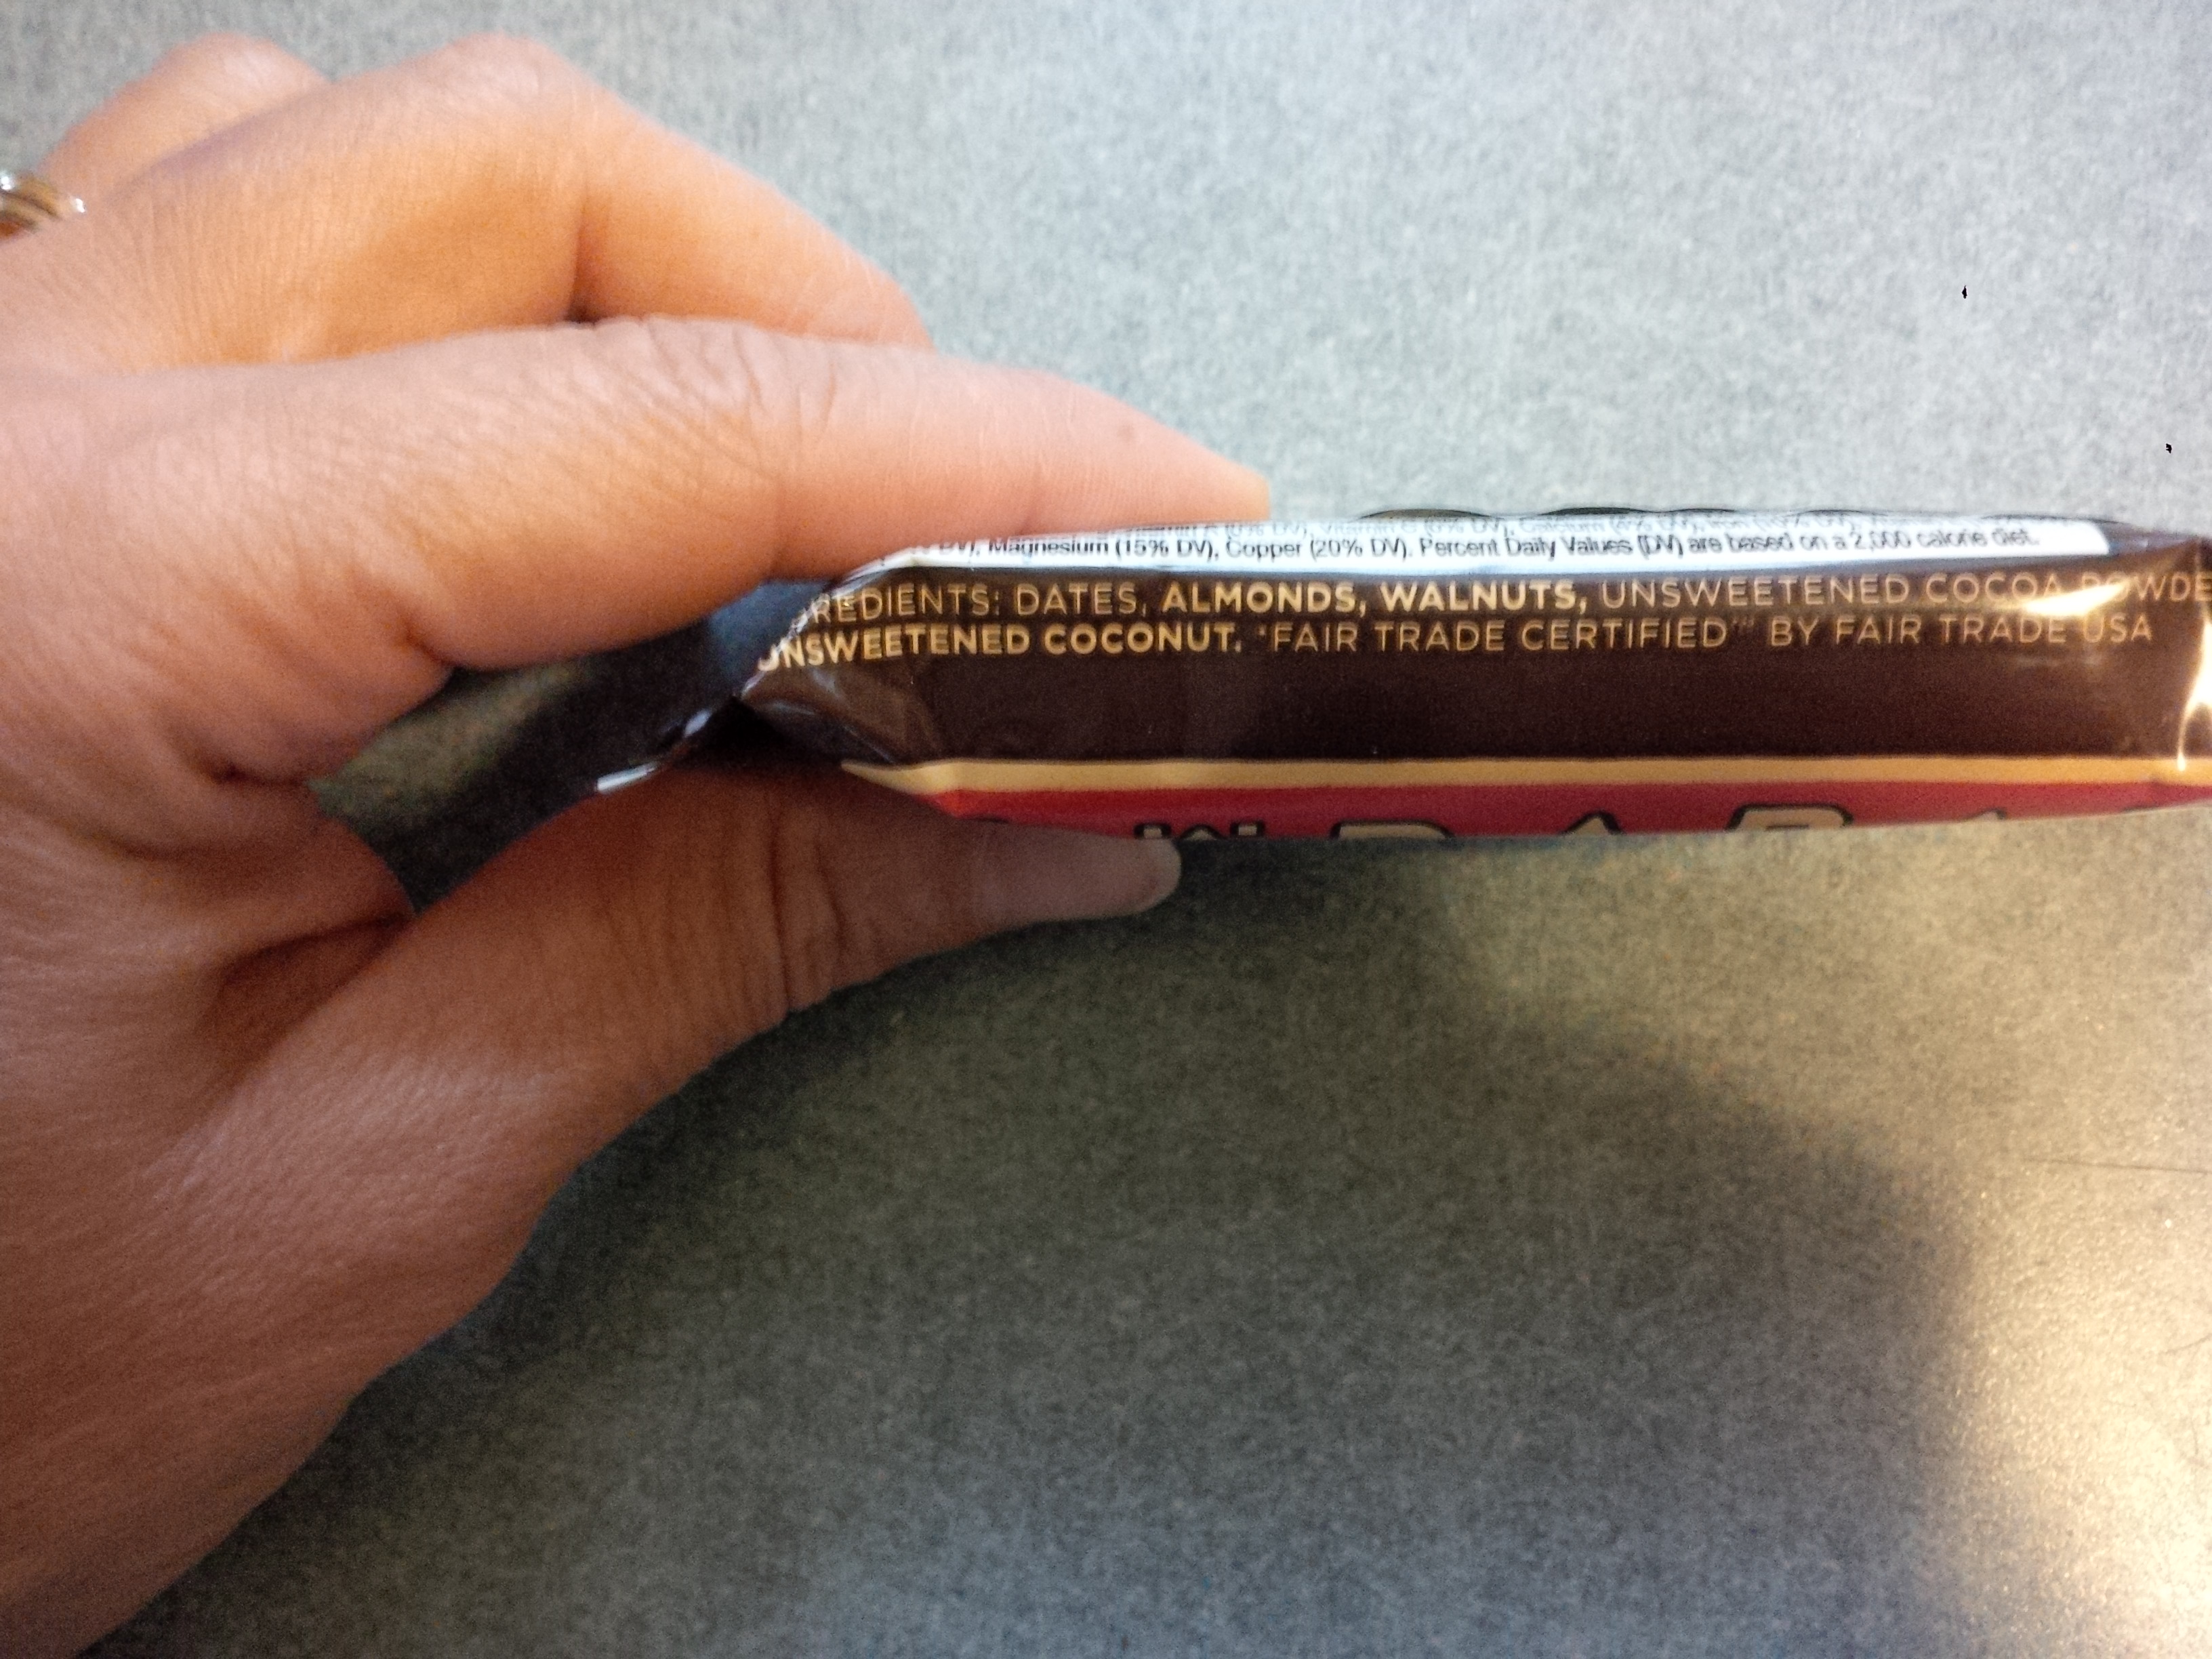
The ingredients on the bar say: dates, almonds, walnuts, unsweetened coconut, and cocoa powder.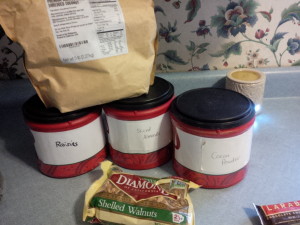
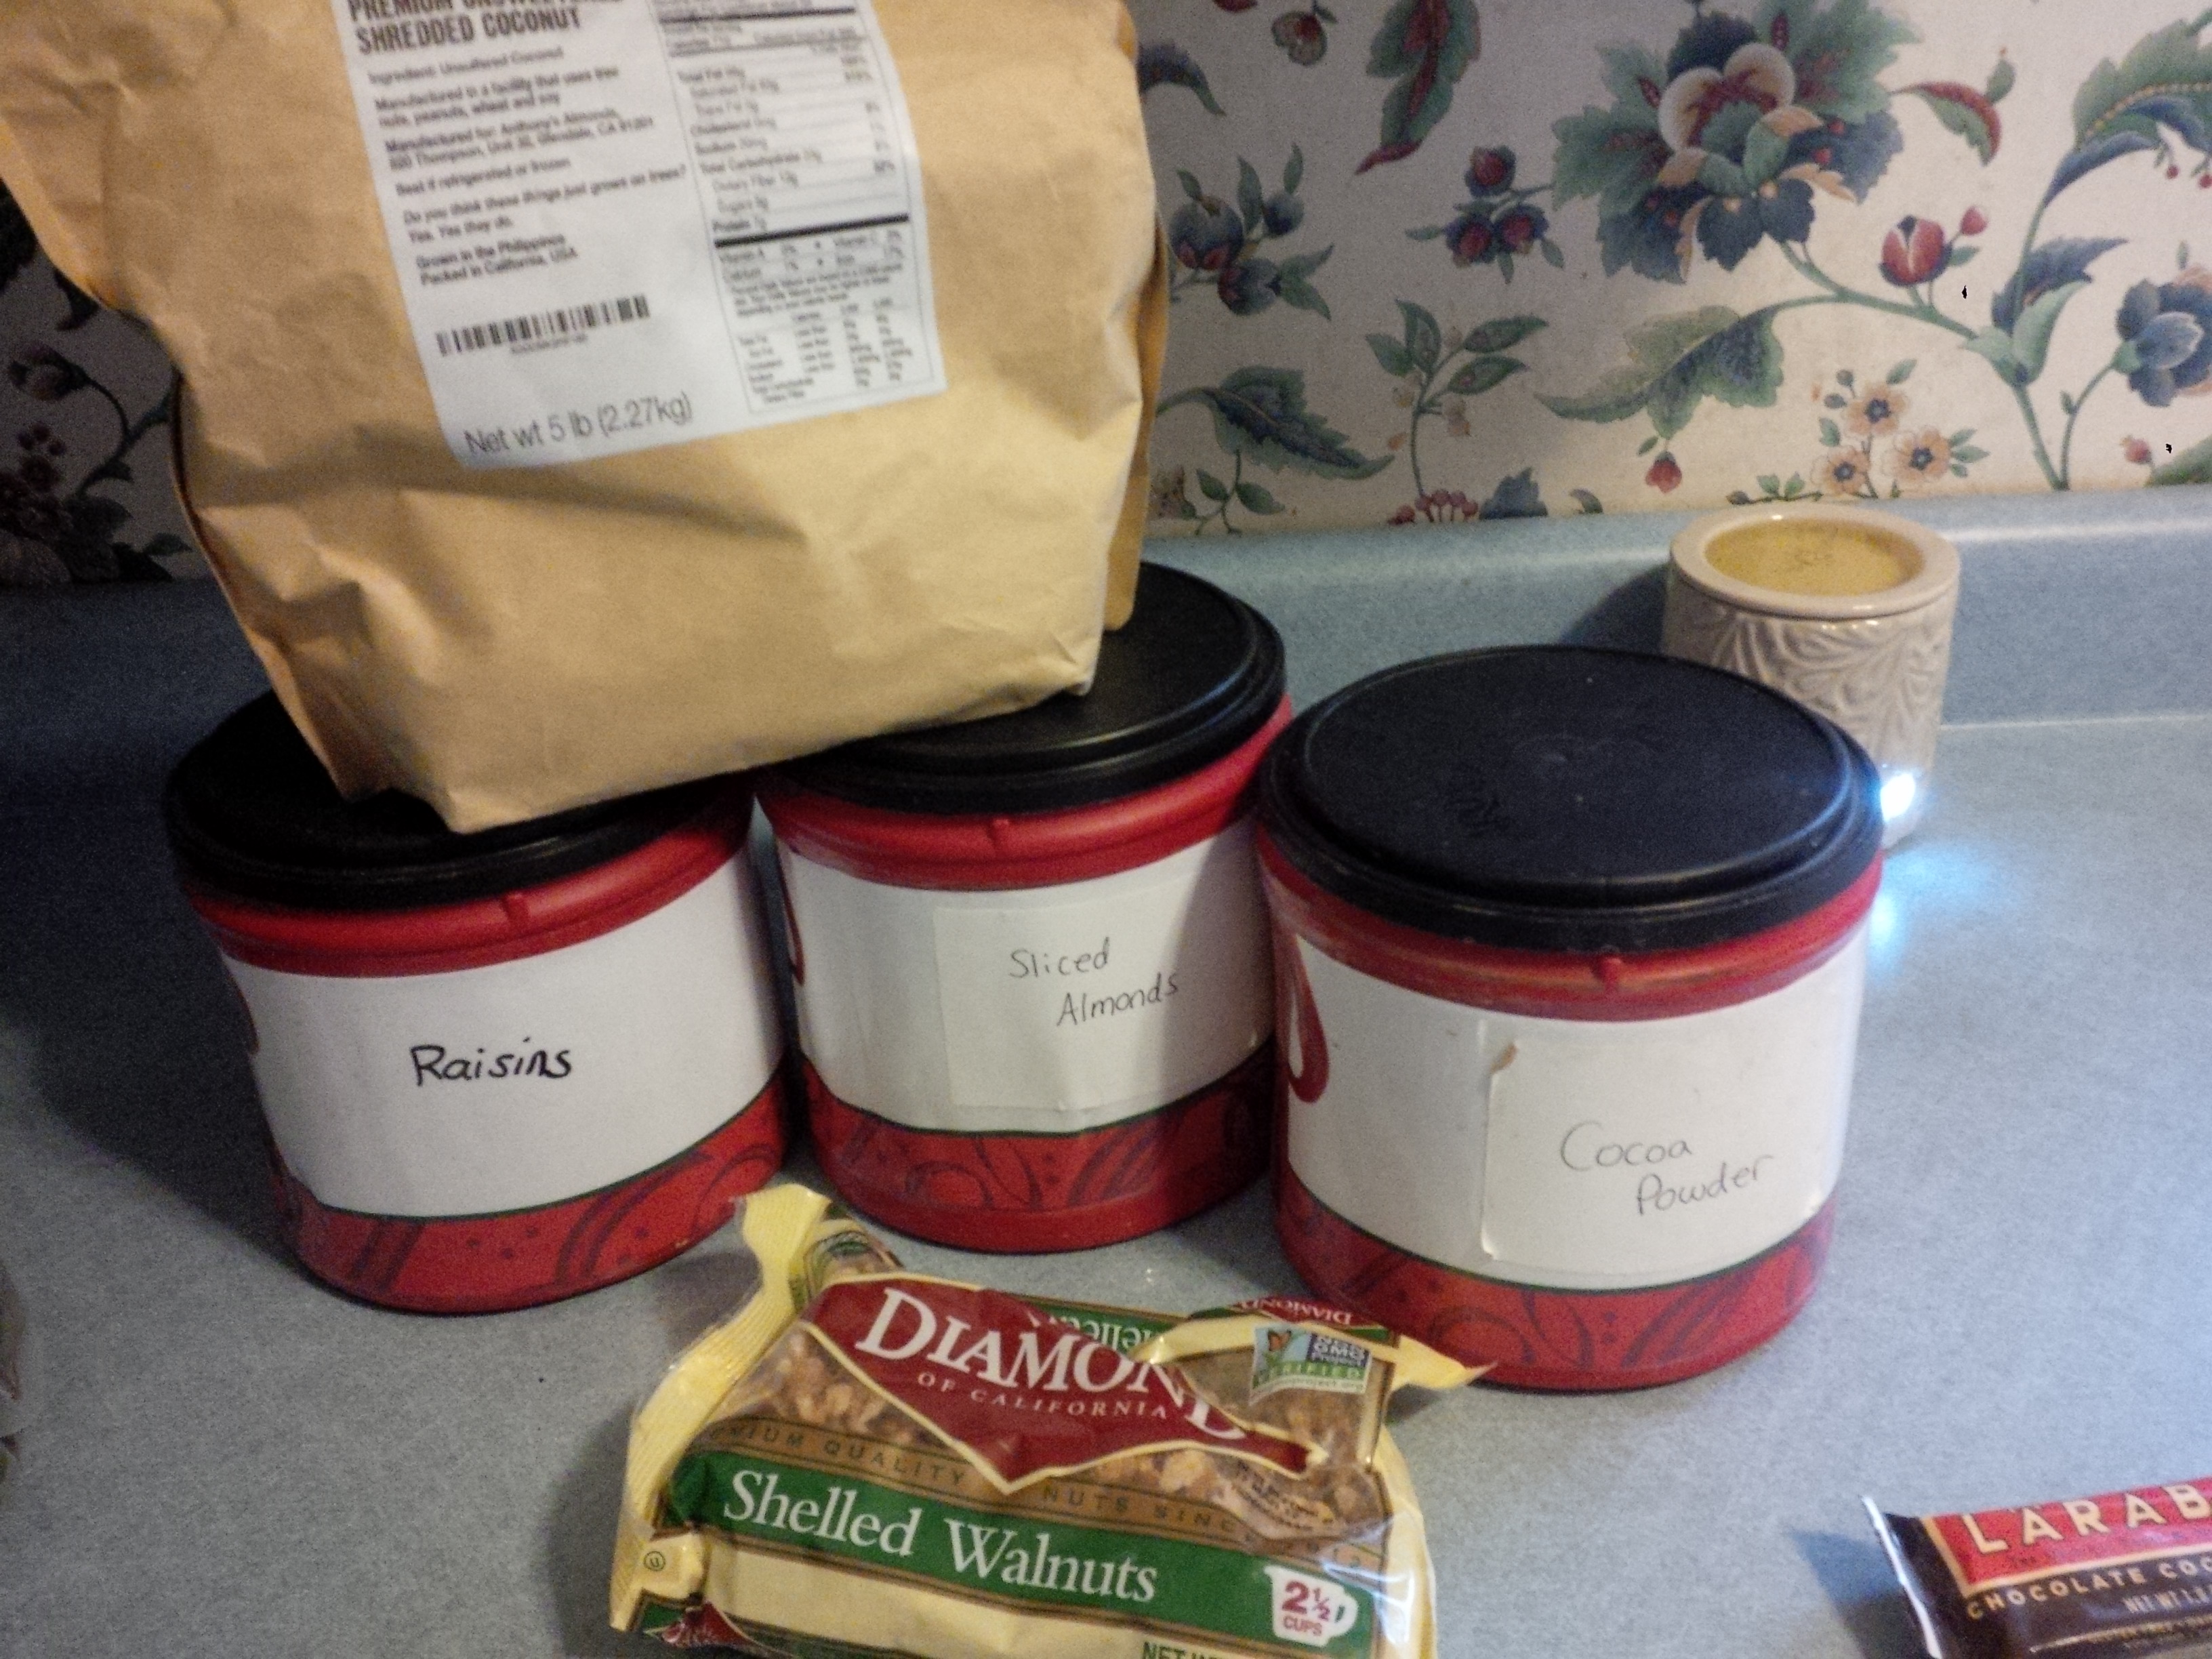
Yes we had all those ingredients—but I did something different. I had an abundance of big plump raisins that no one will eat around here, so I decided to substitute that for the dates. The raisins give it a more sweeter taste. If I didn’t already have the raisins I would have used the dates, but I am using what fragments I had. 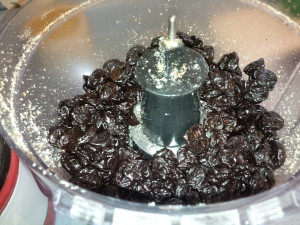
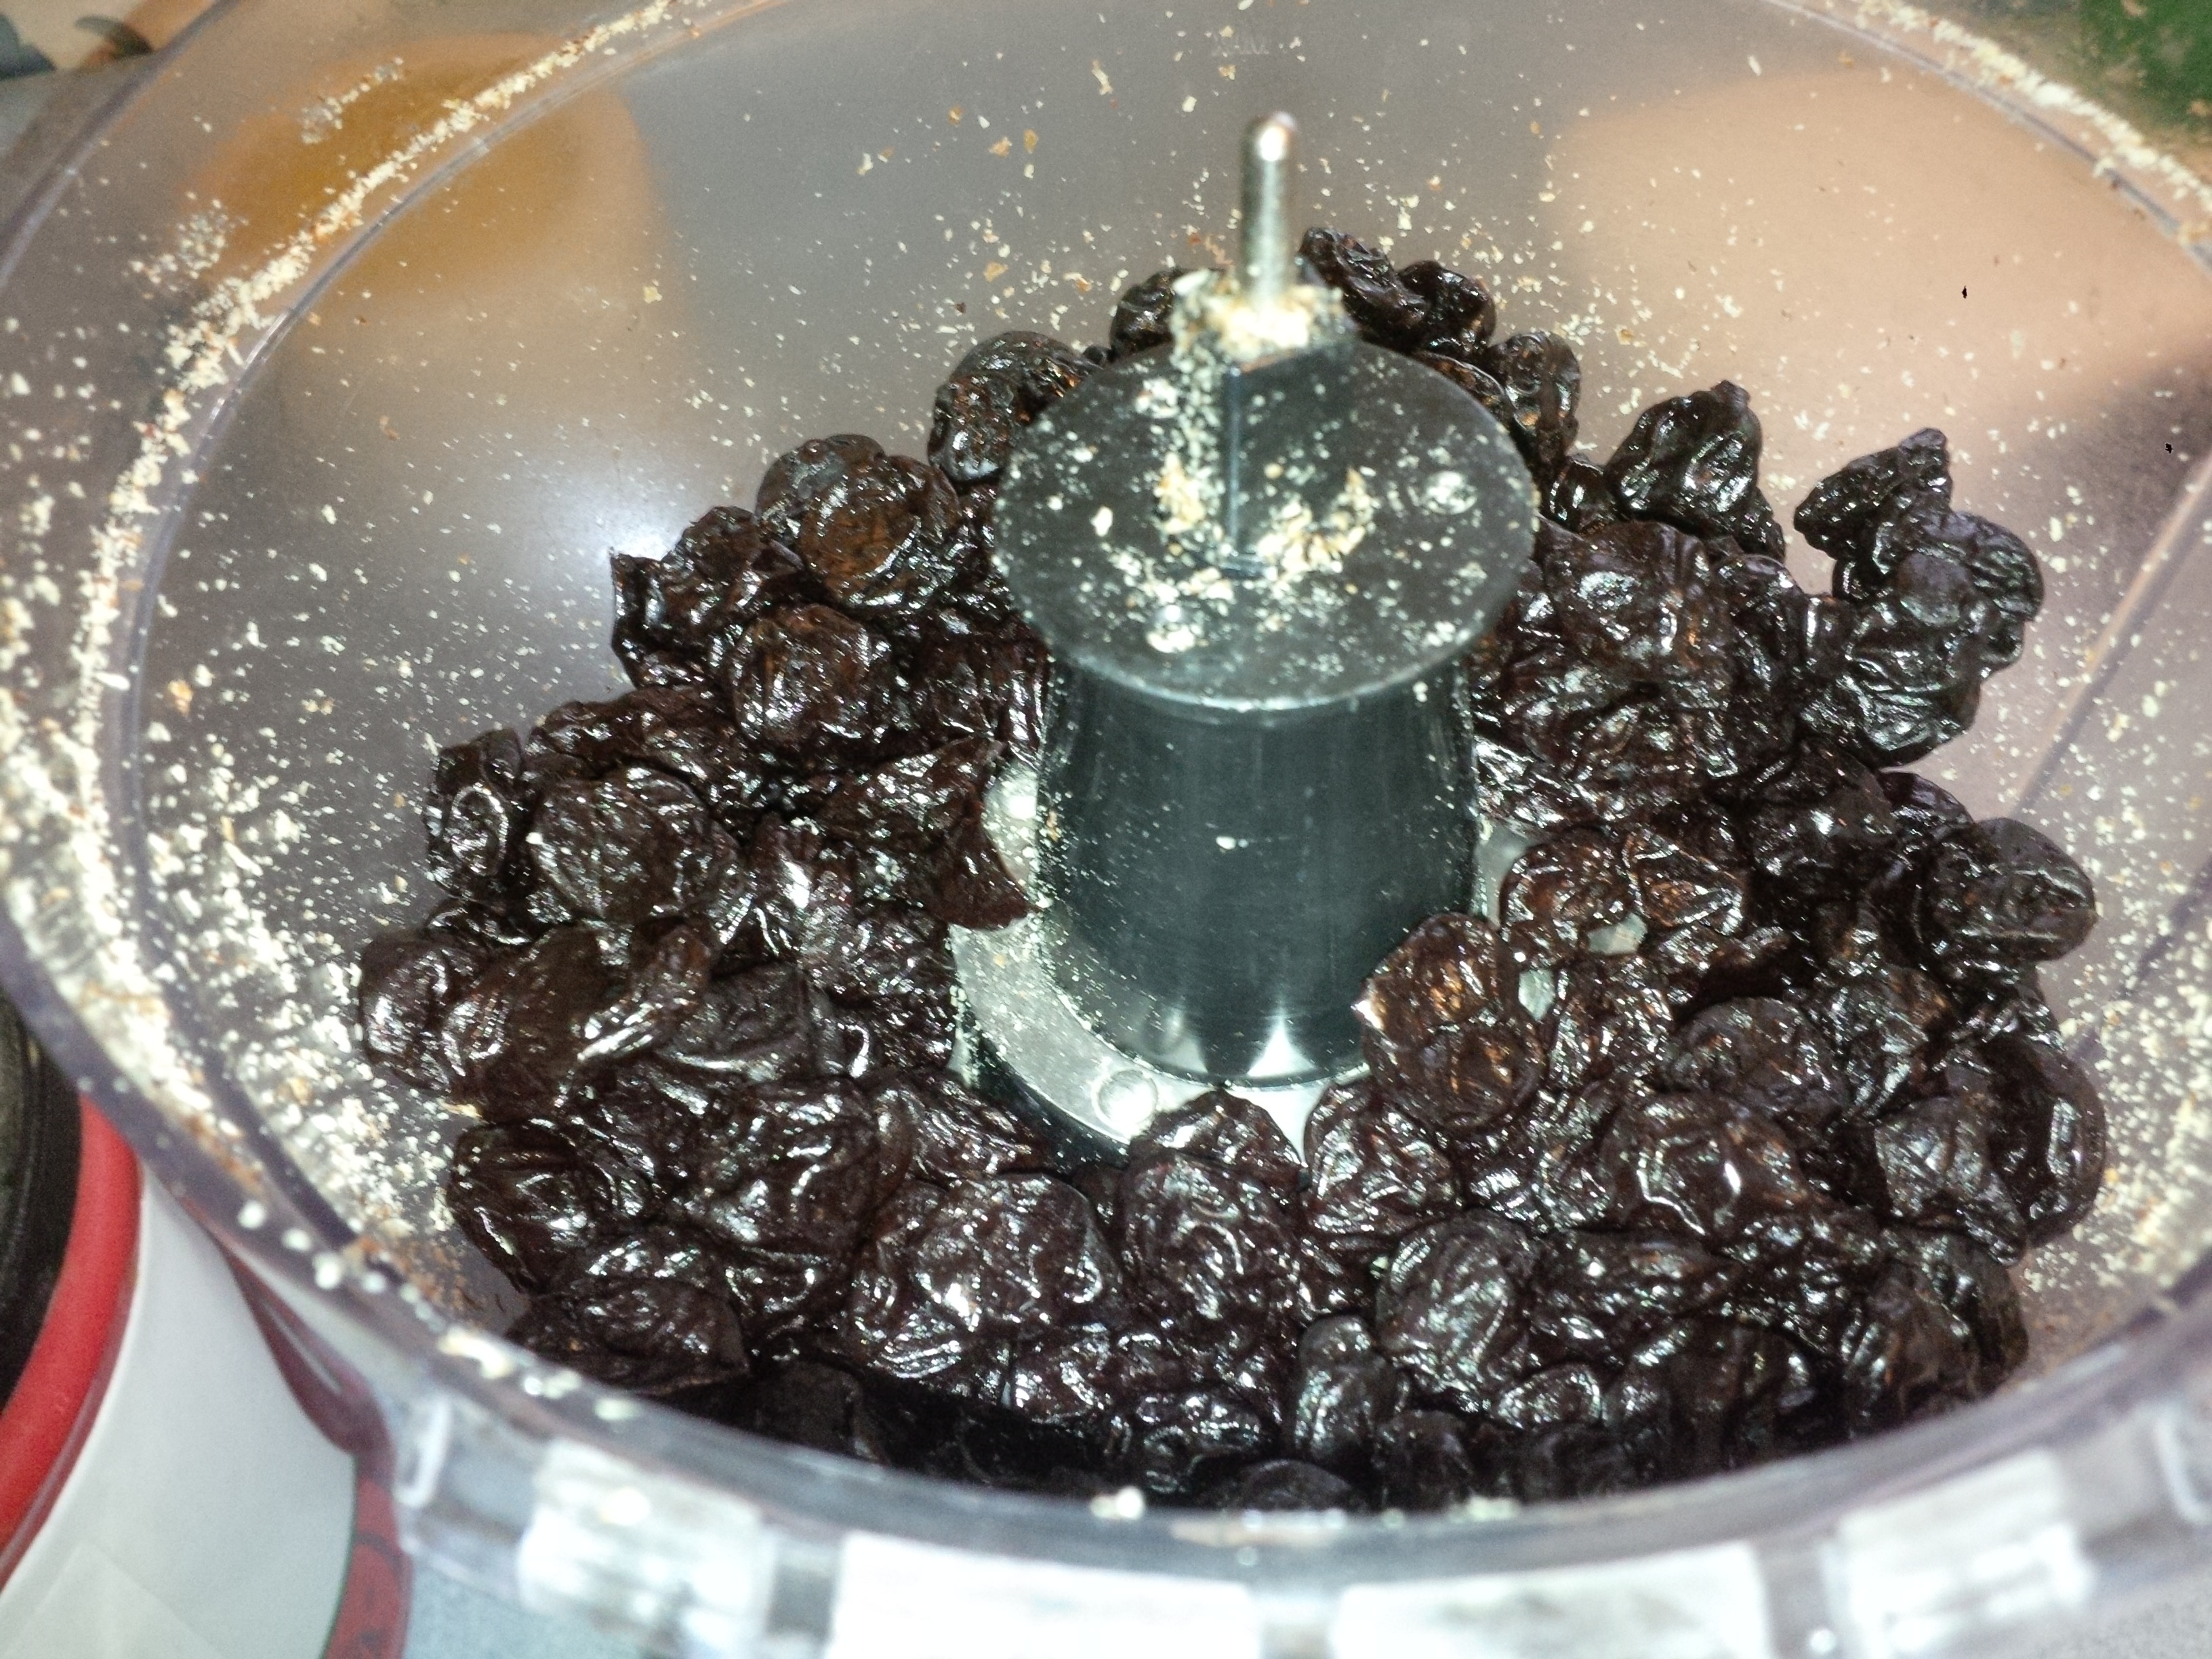
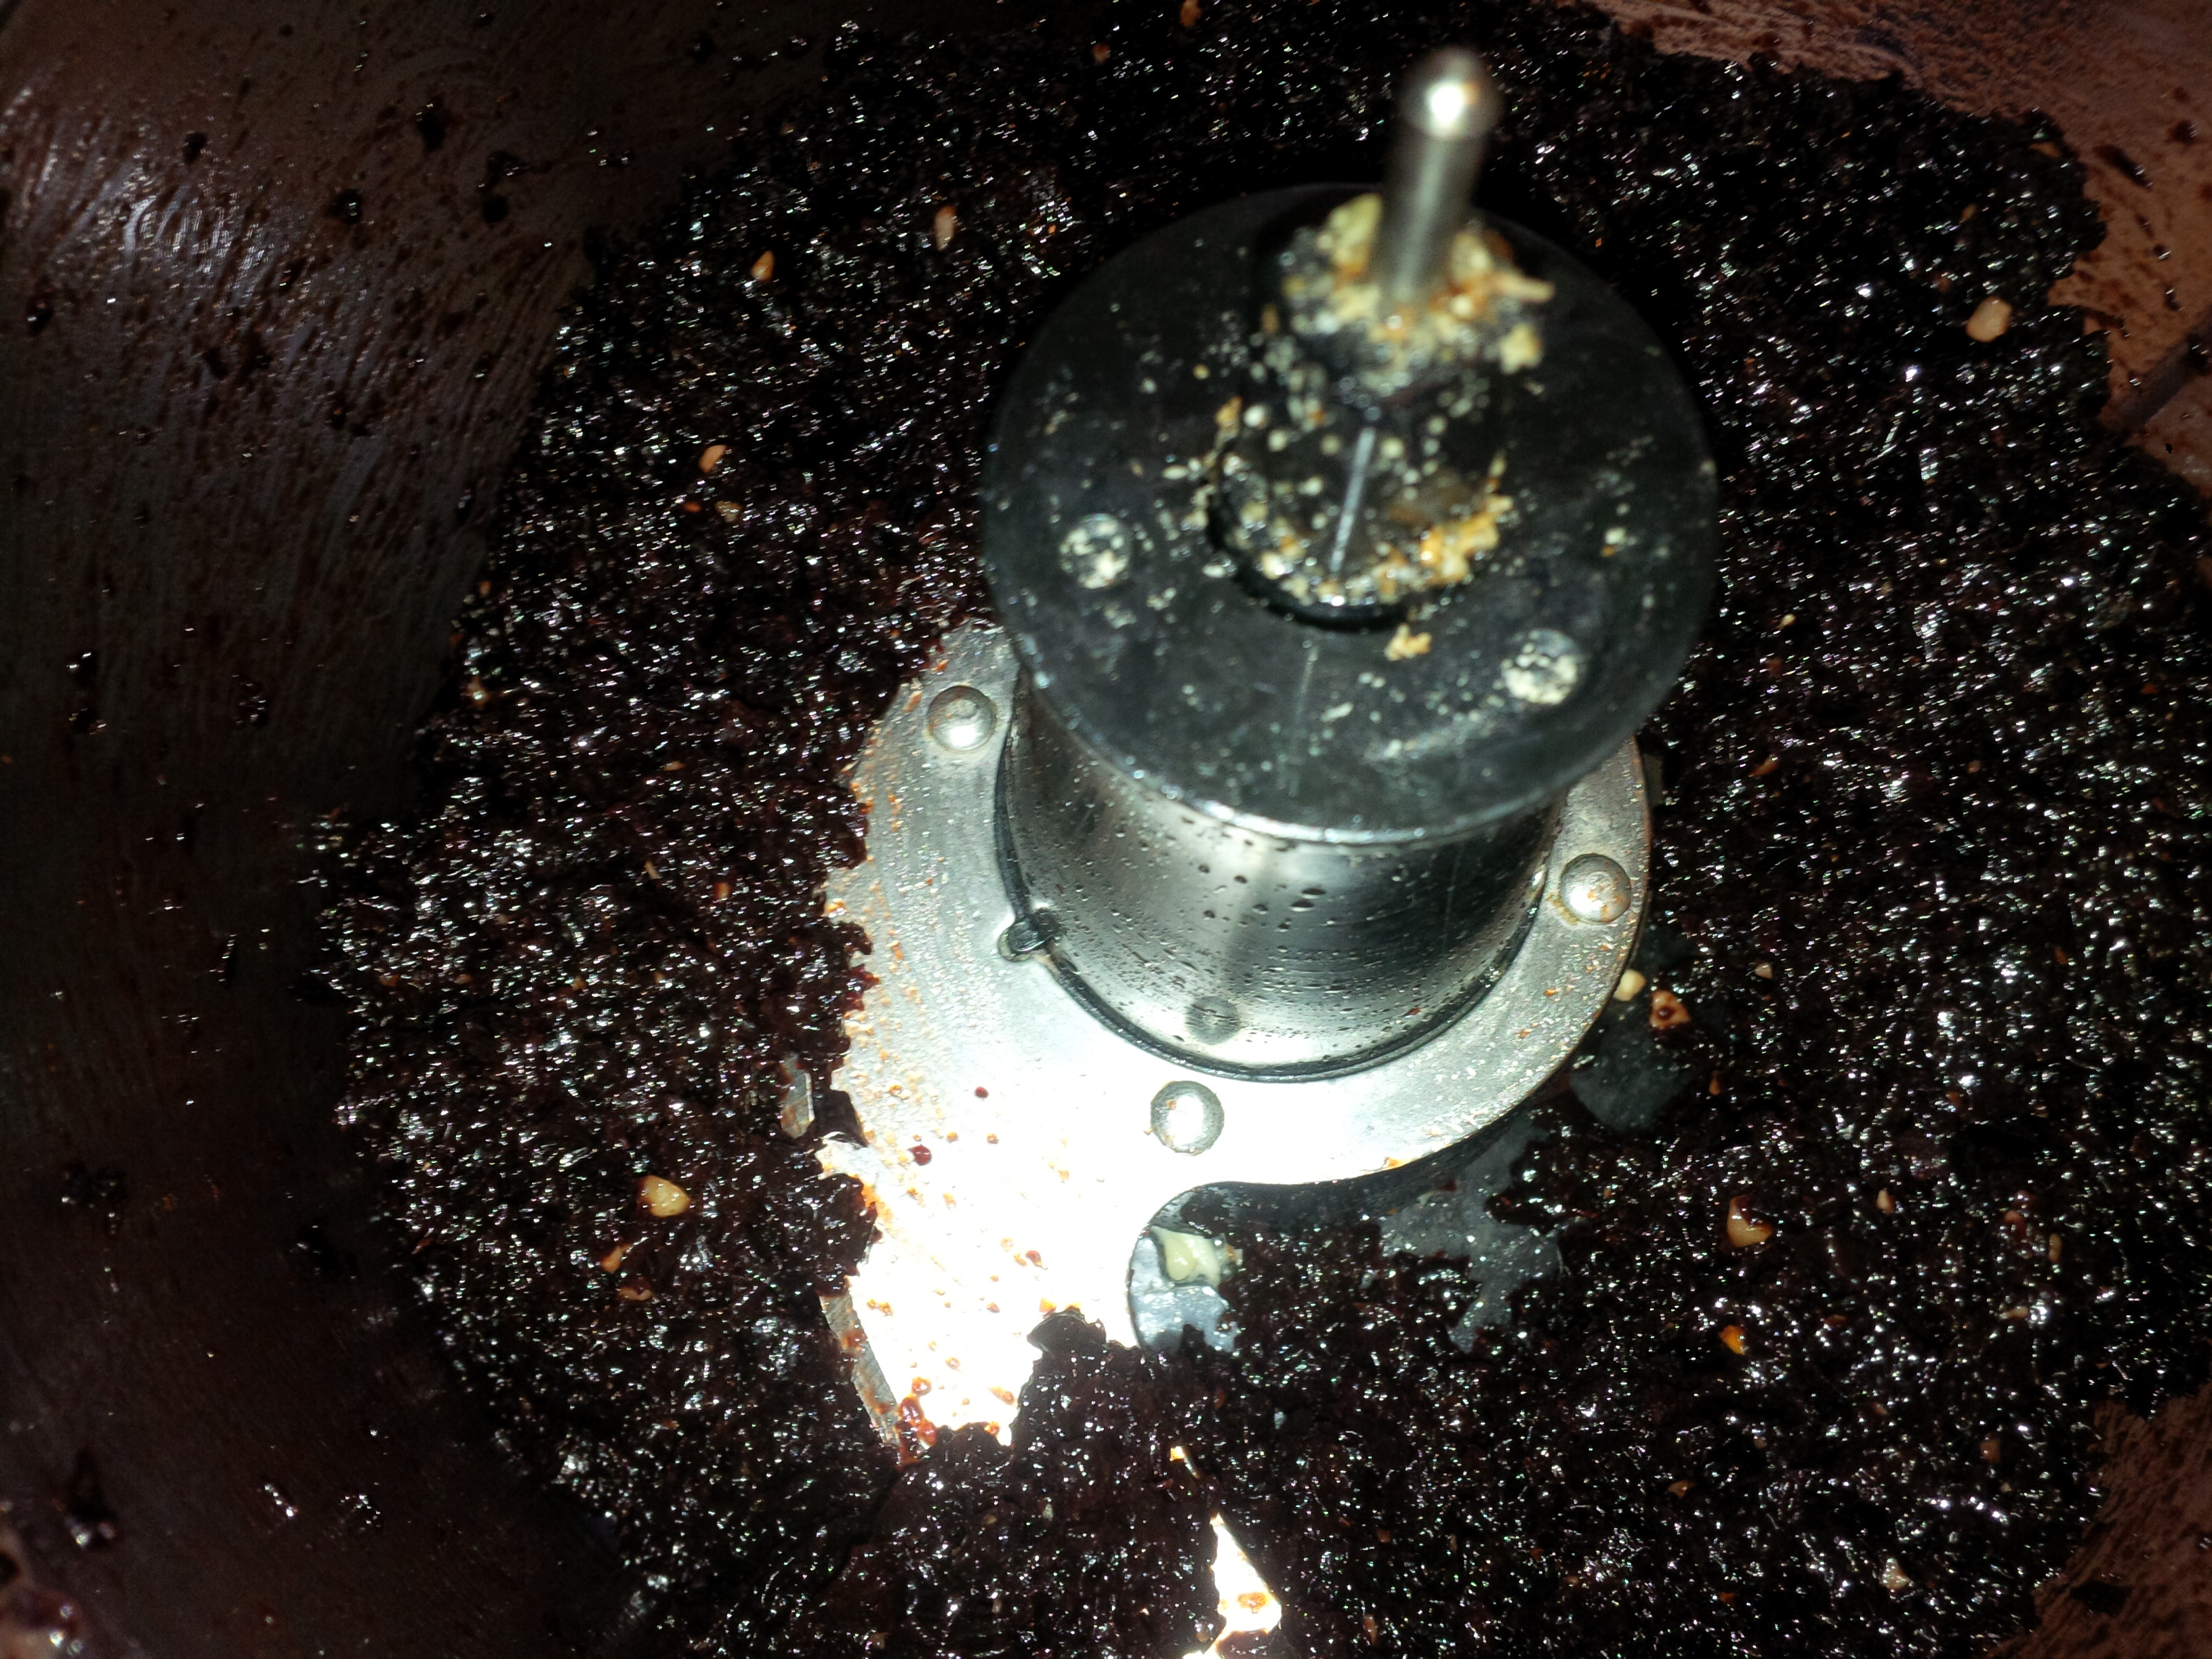
I put the raisins into my food processor. Dates grind up really quickly, but the raisins had to go for a bit longer. I decided to add like a spoonful of water to help the mass separate.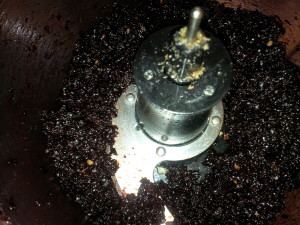
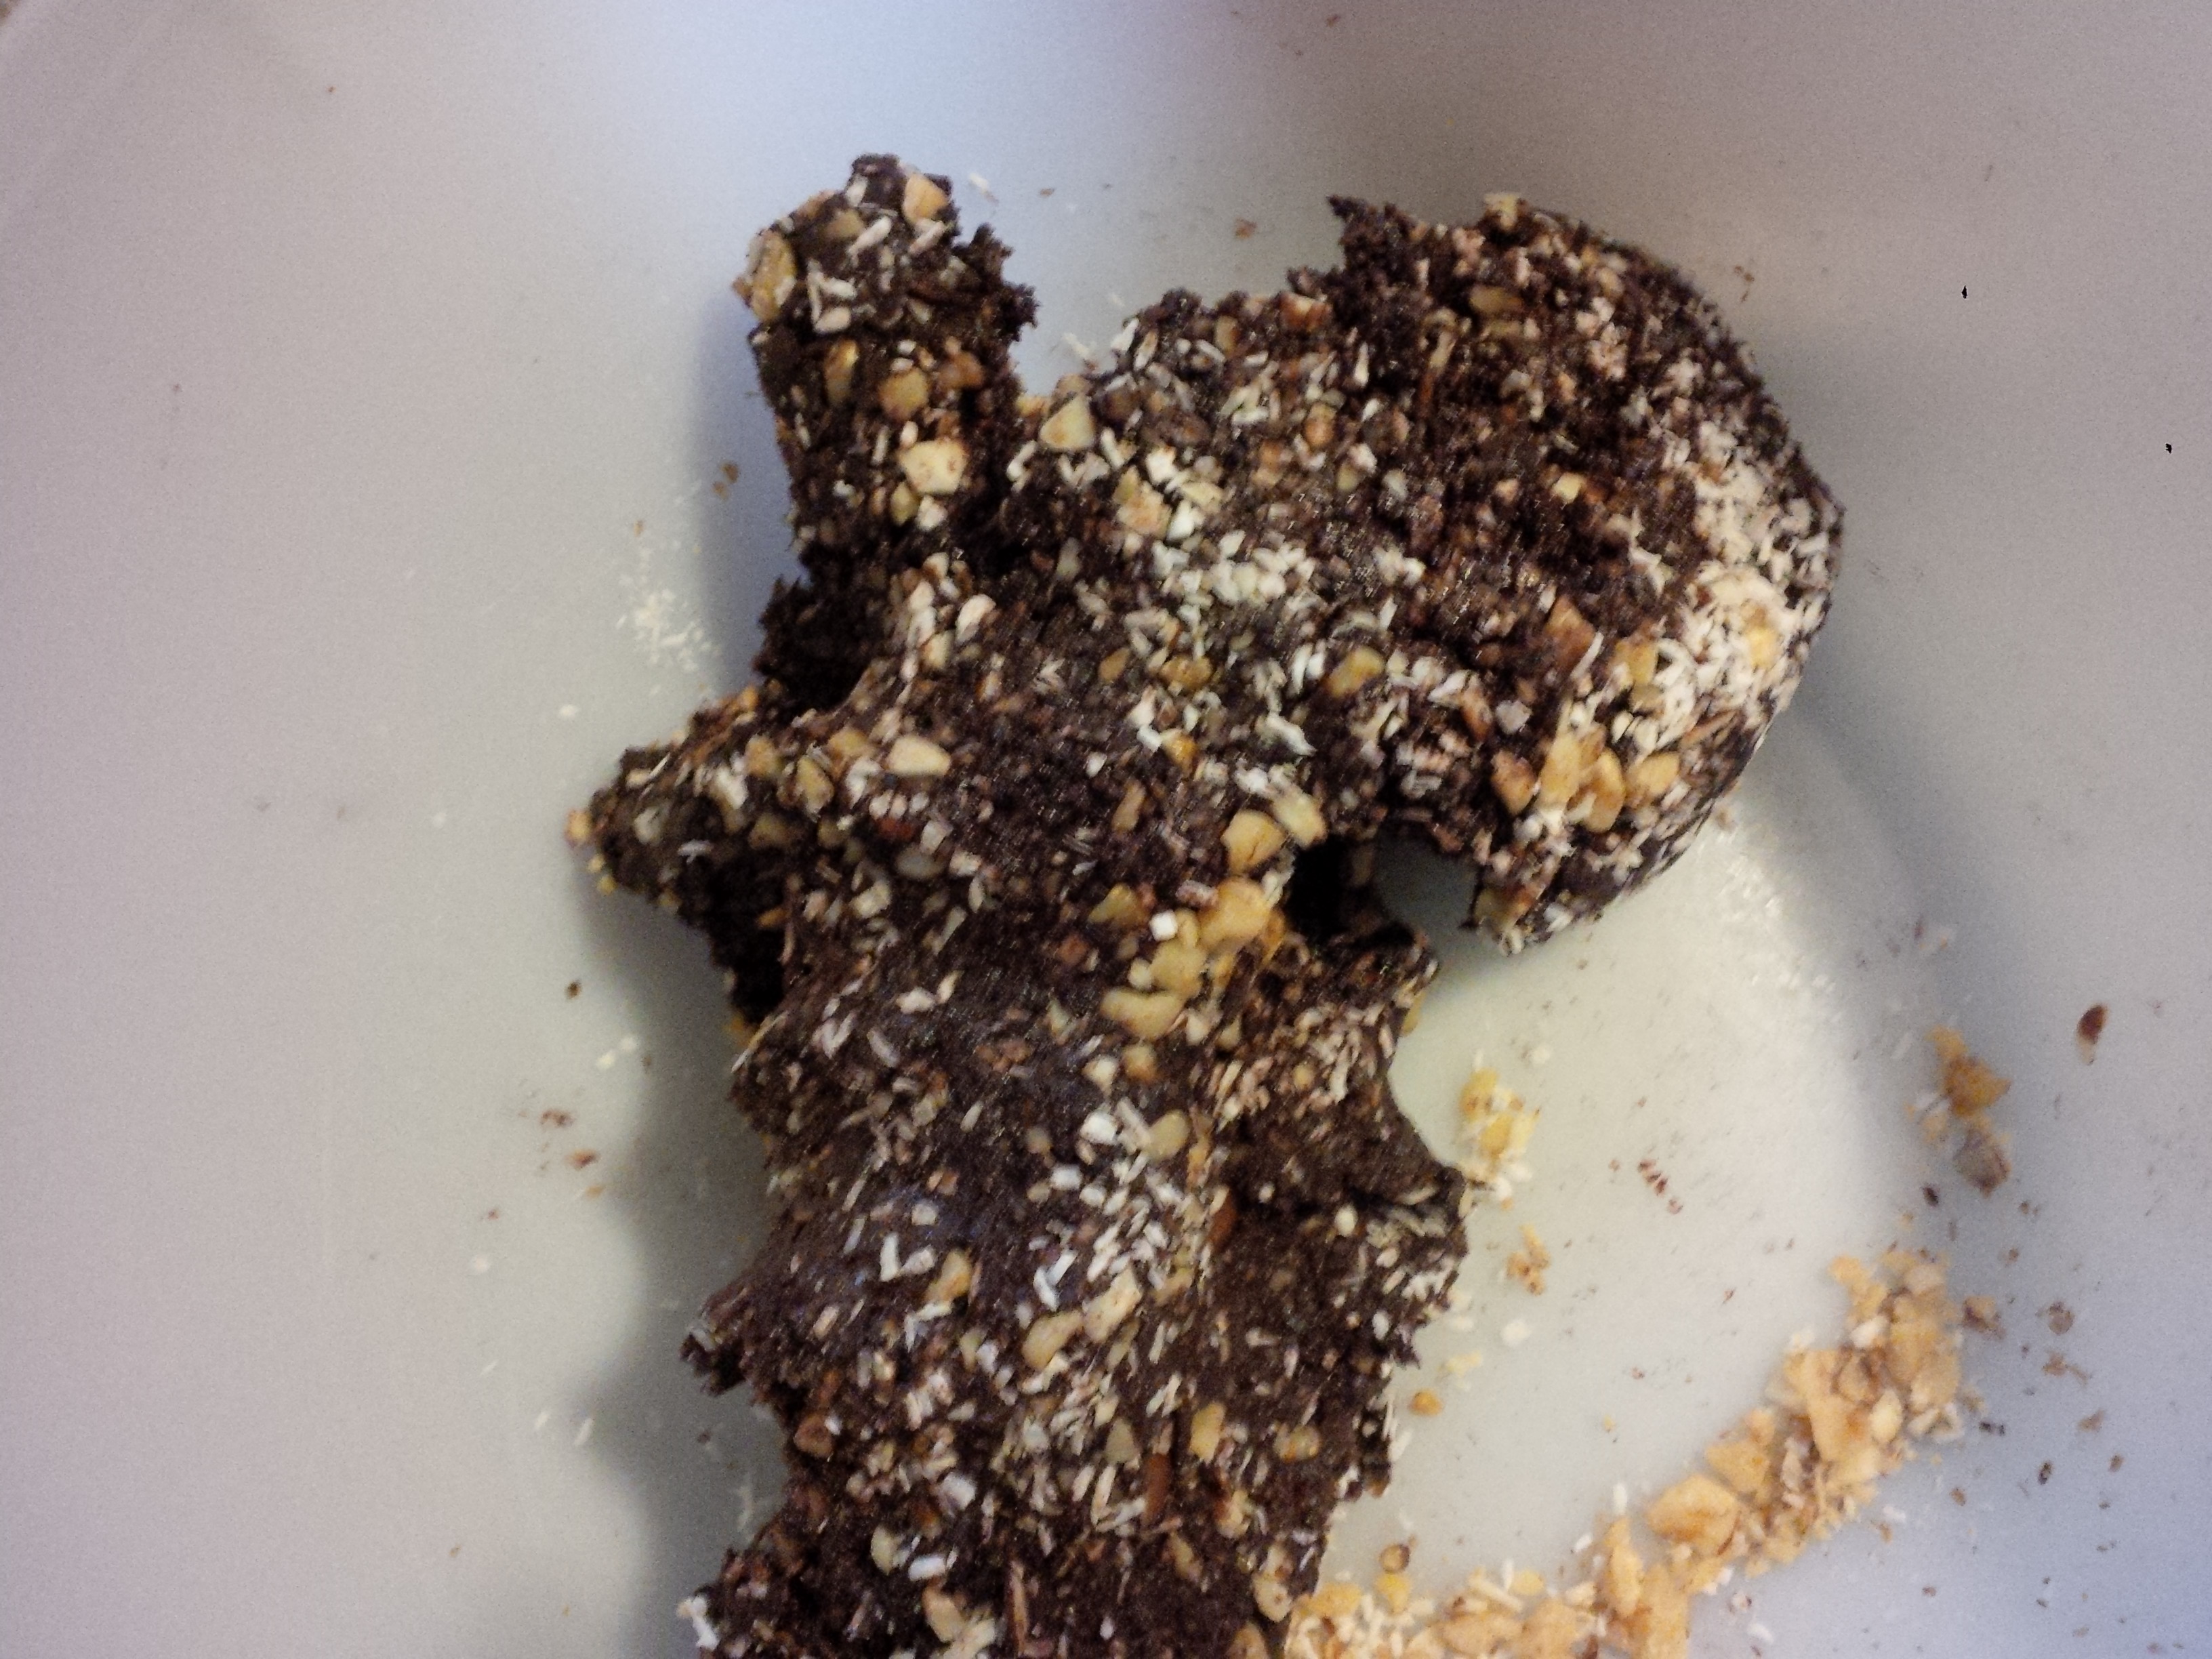
Then it looked like this. Much better.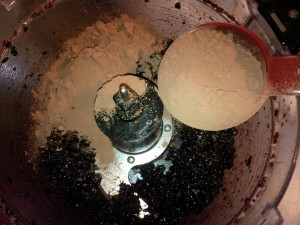
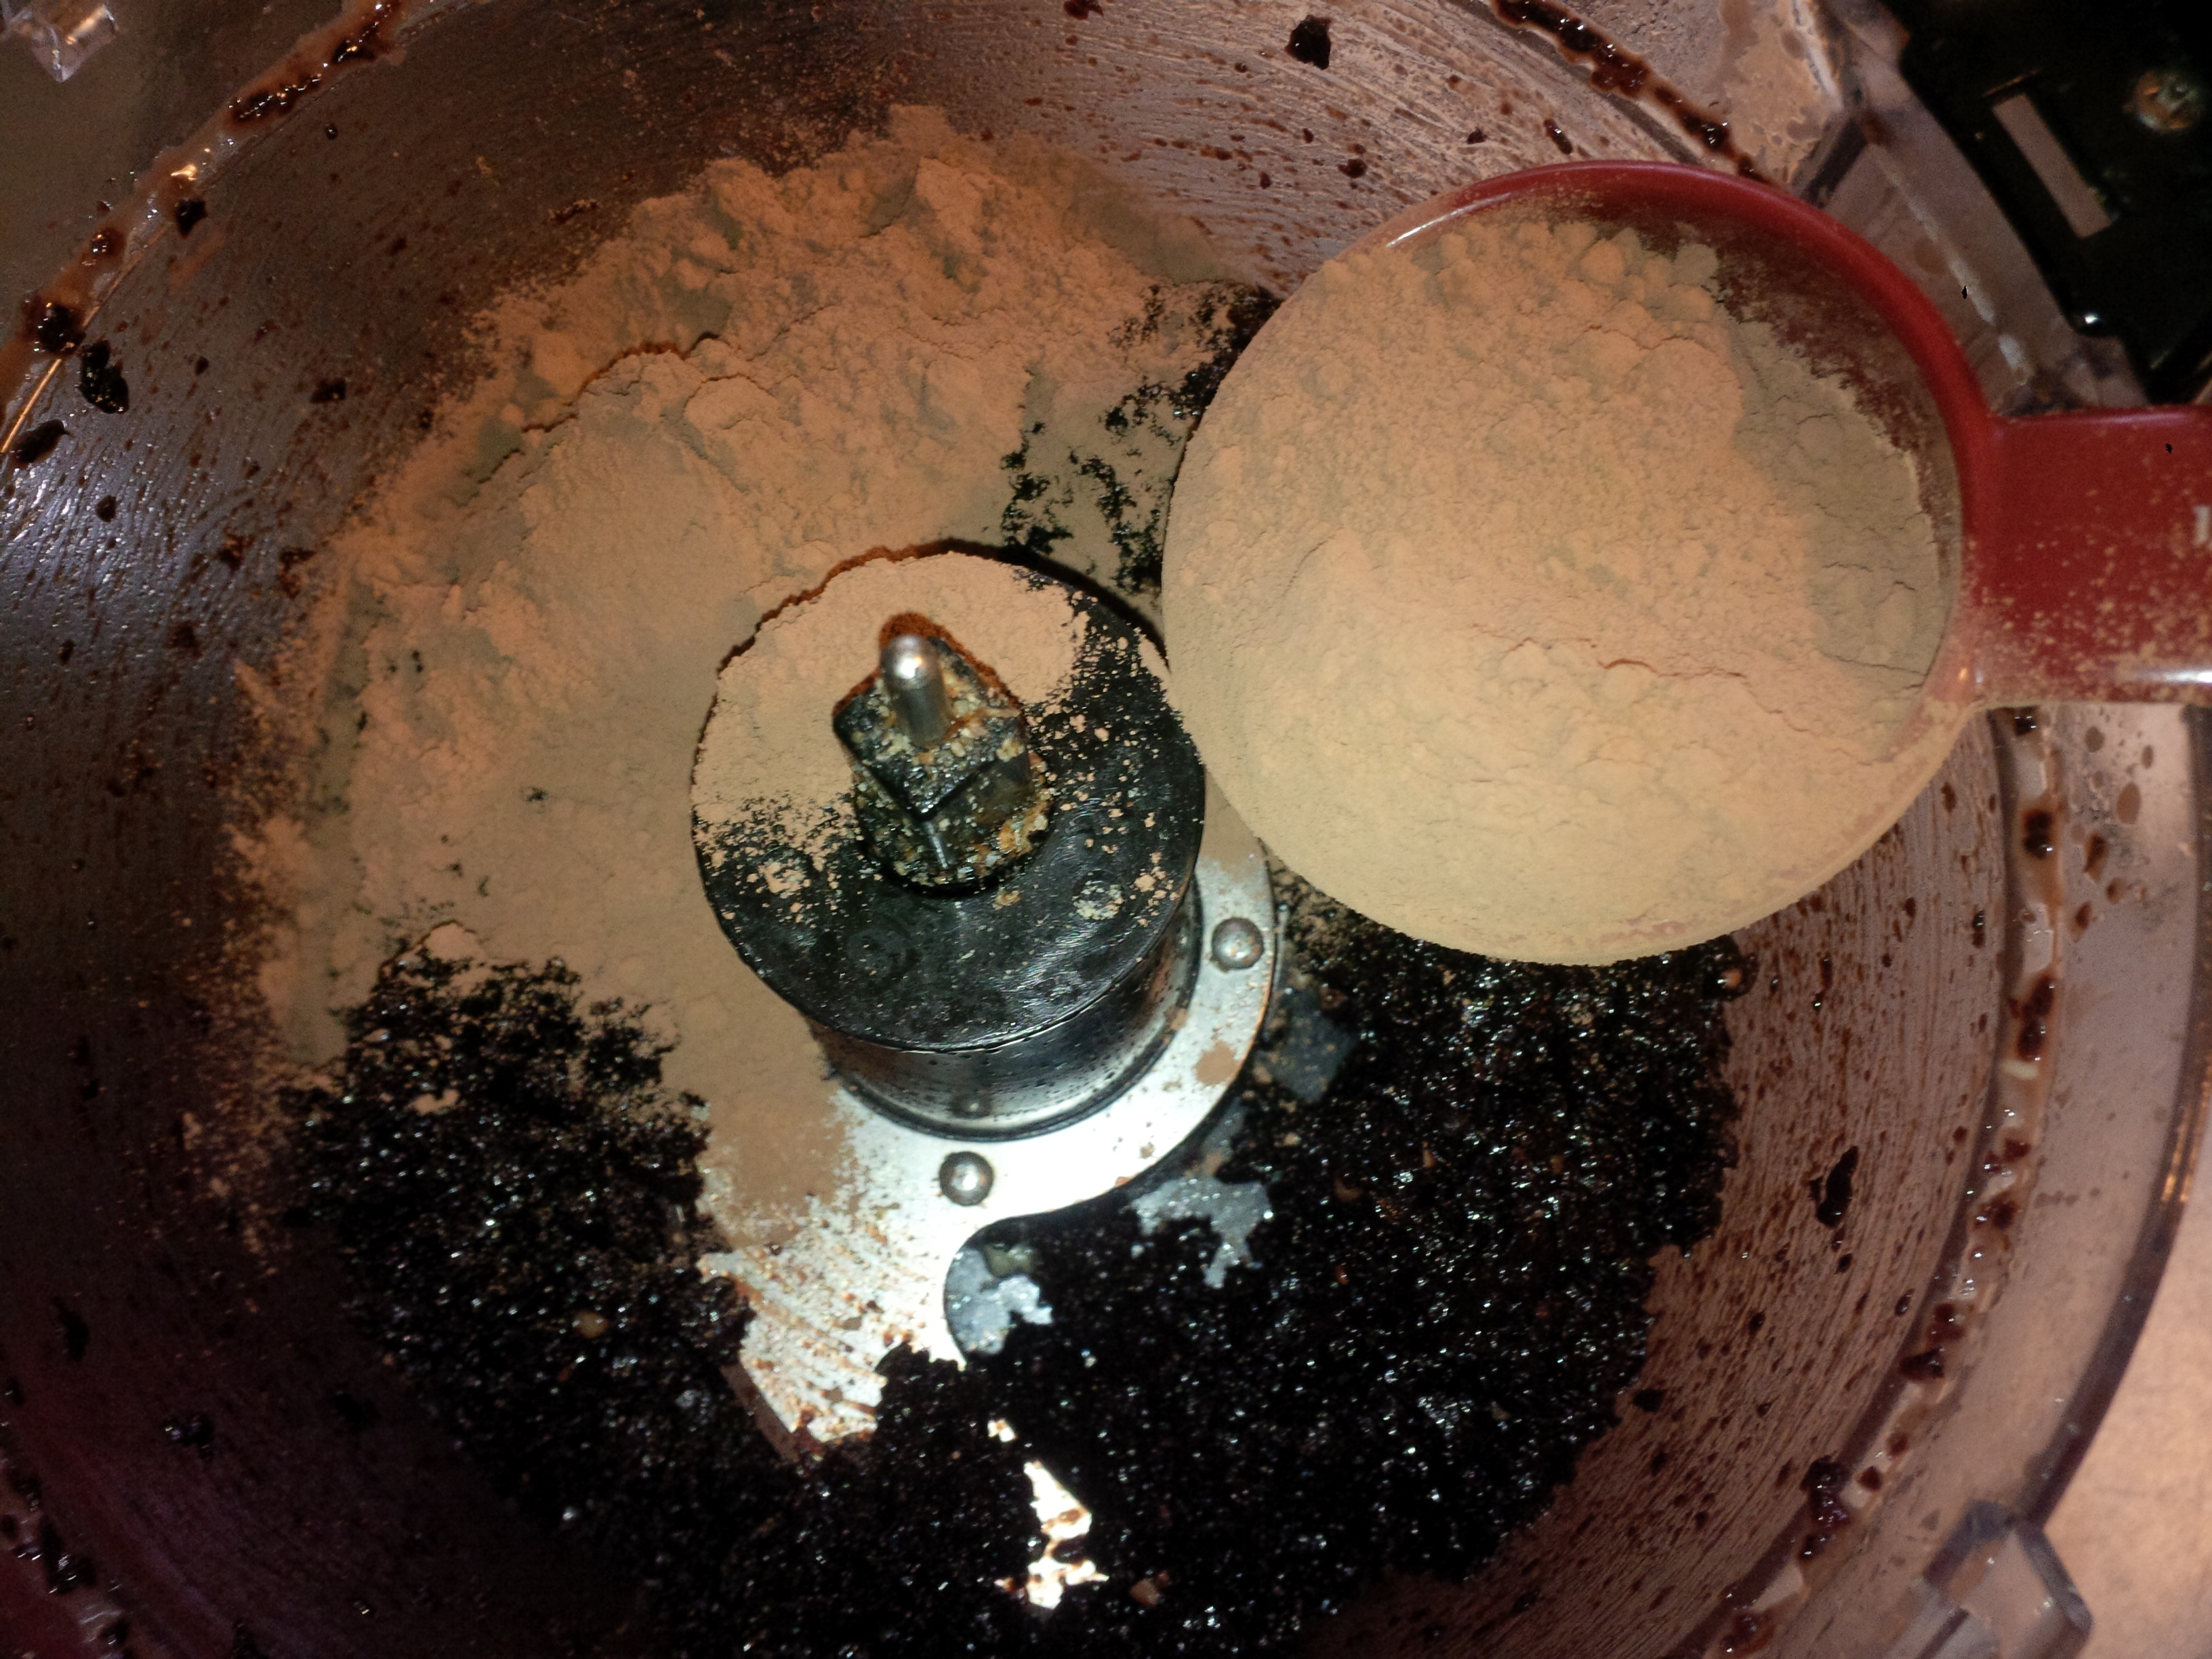
I added my cocoa powder—I bought 25 lbs of this at a bulk food store in this area. We will be having cocoa powder for a really long time:)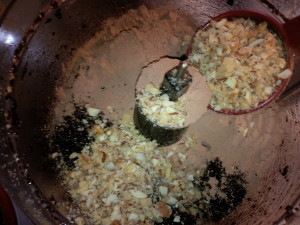
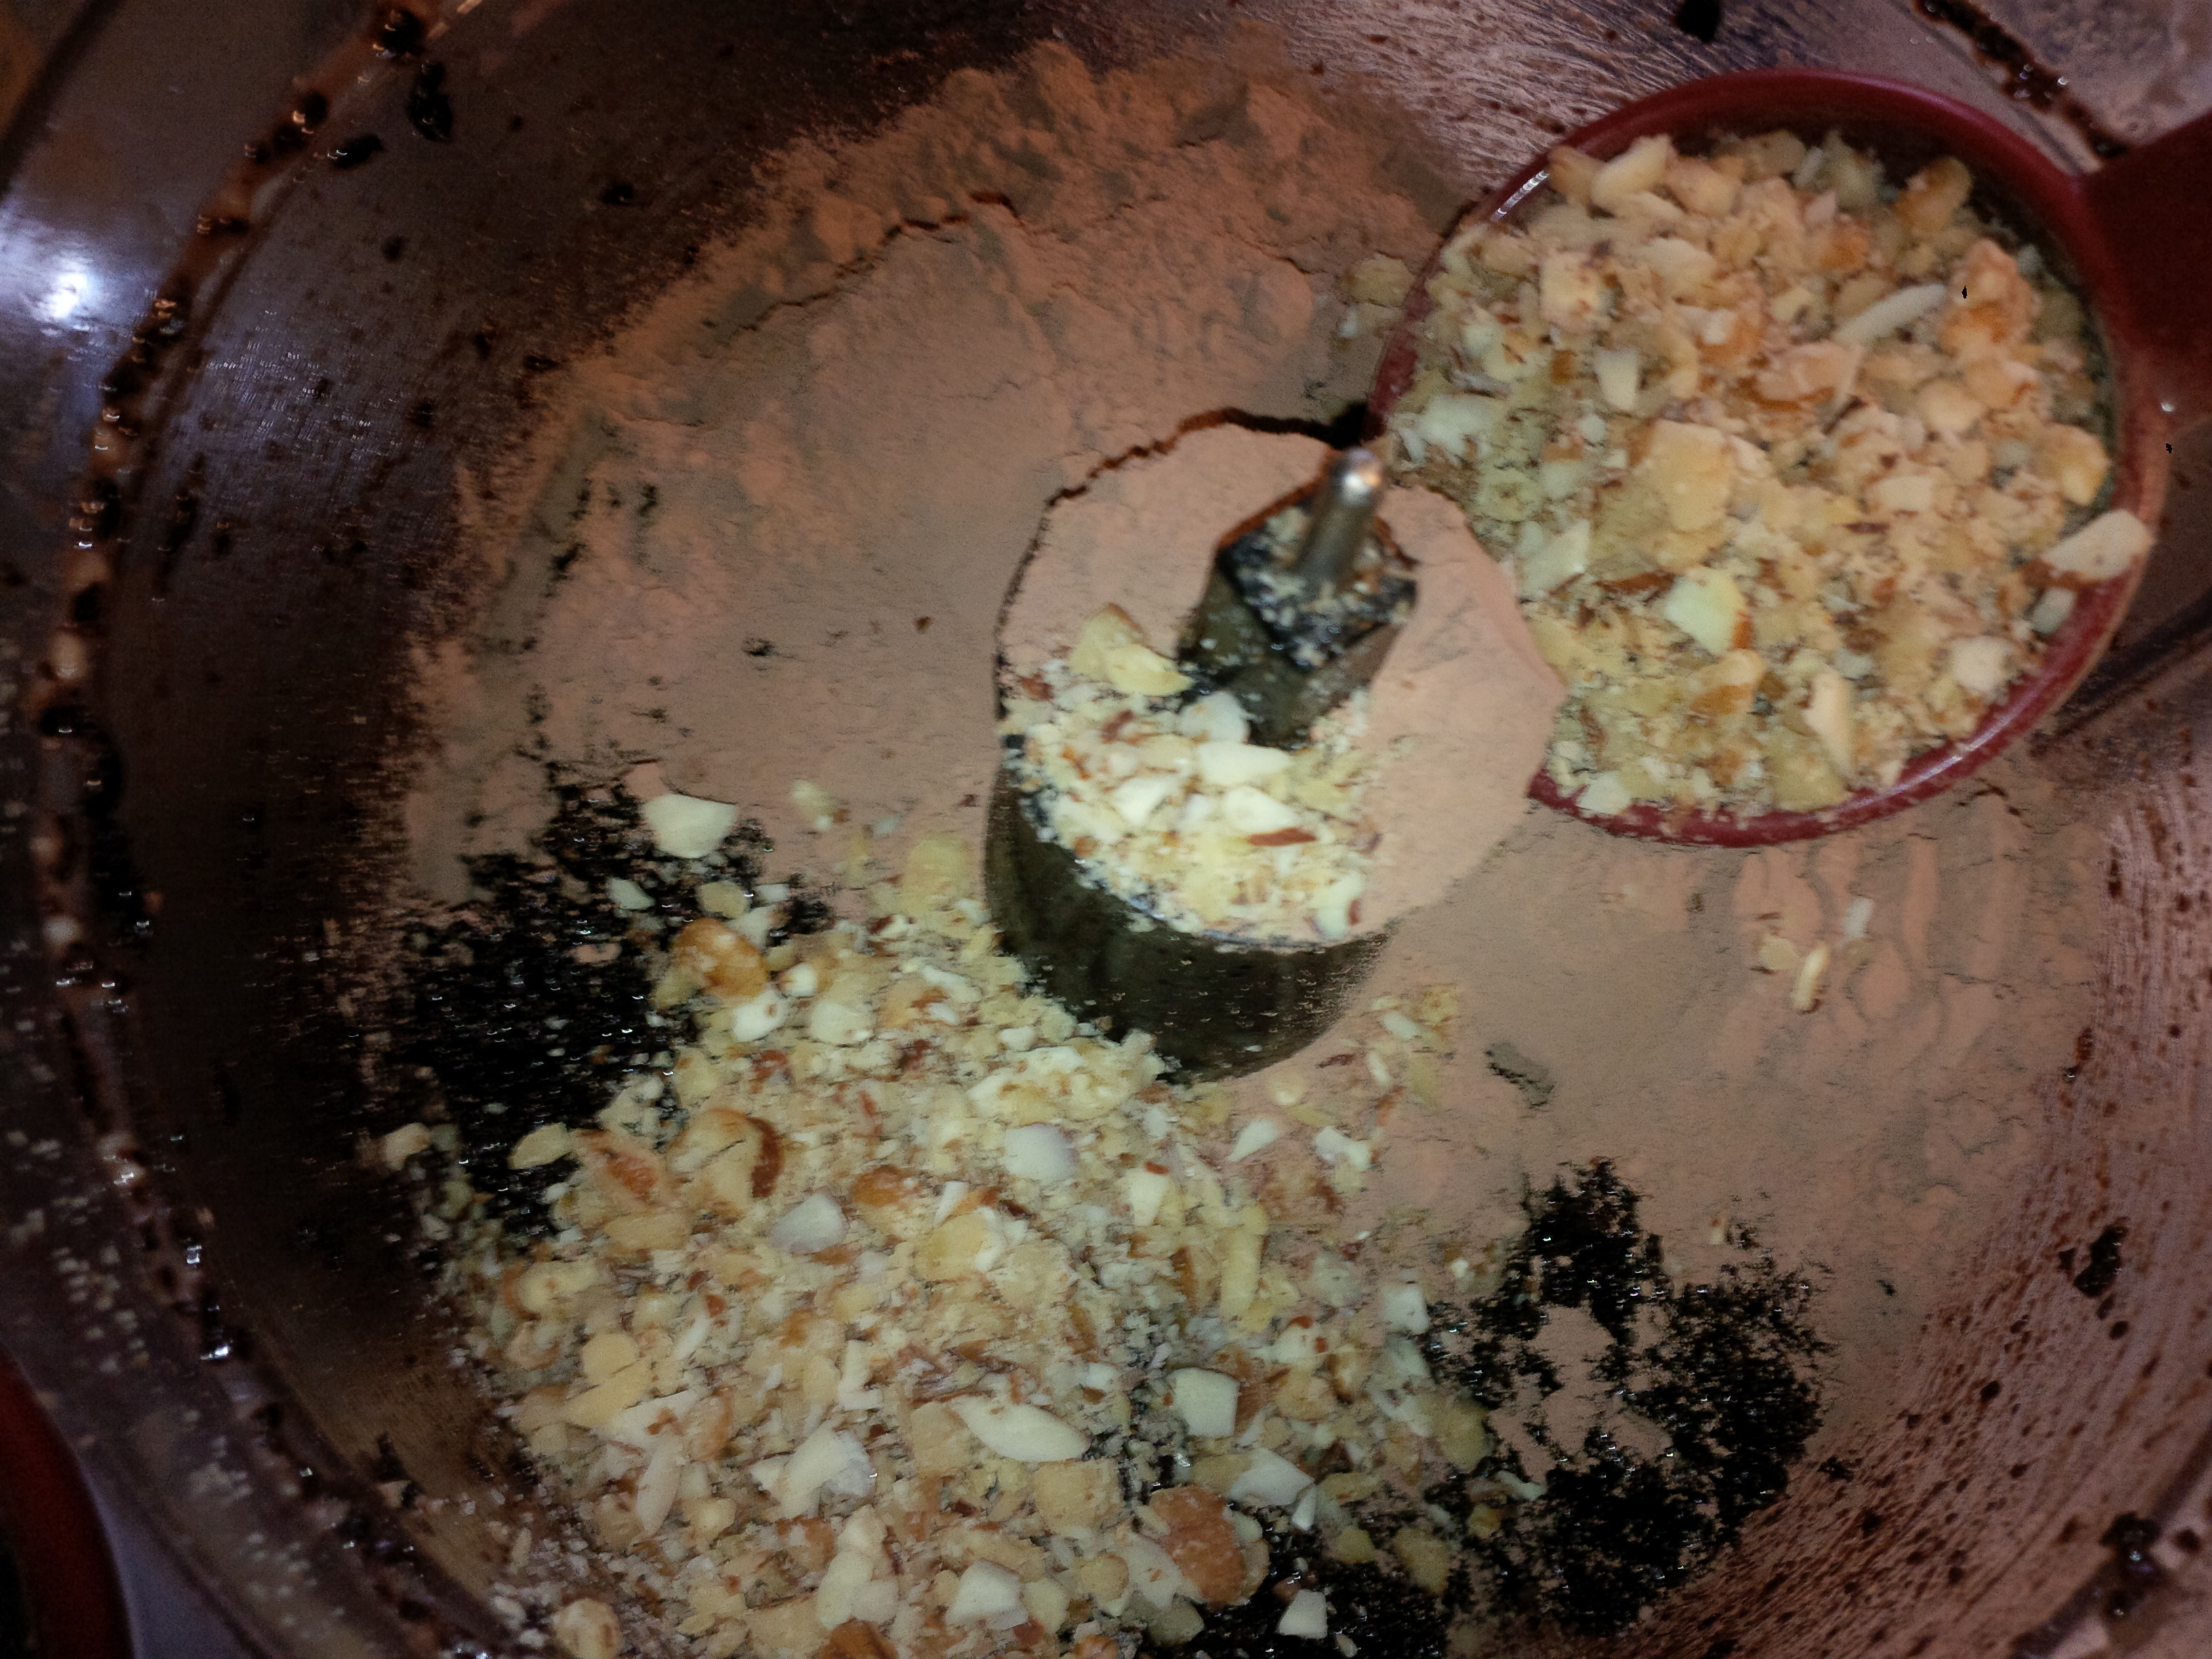
I then beforehand chopped up almonds and walnuts in the food processor, I added them next.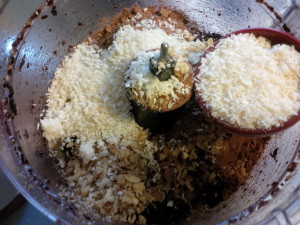
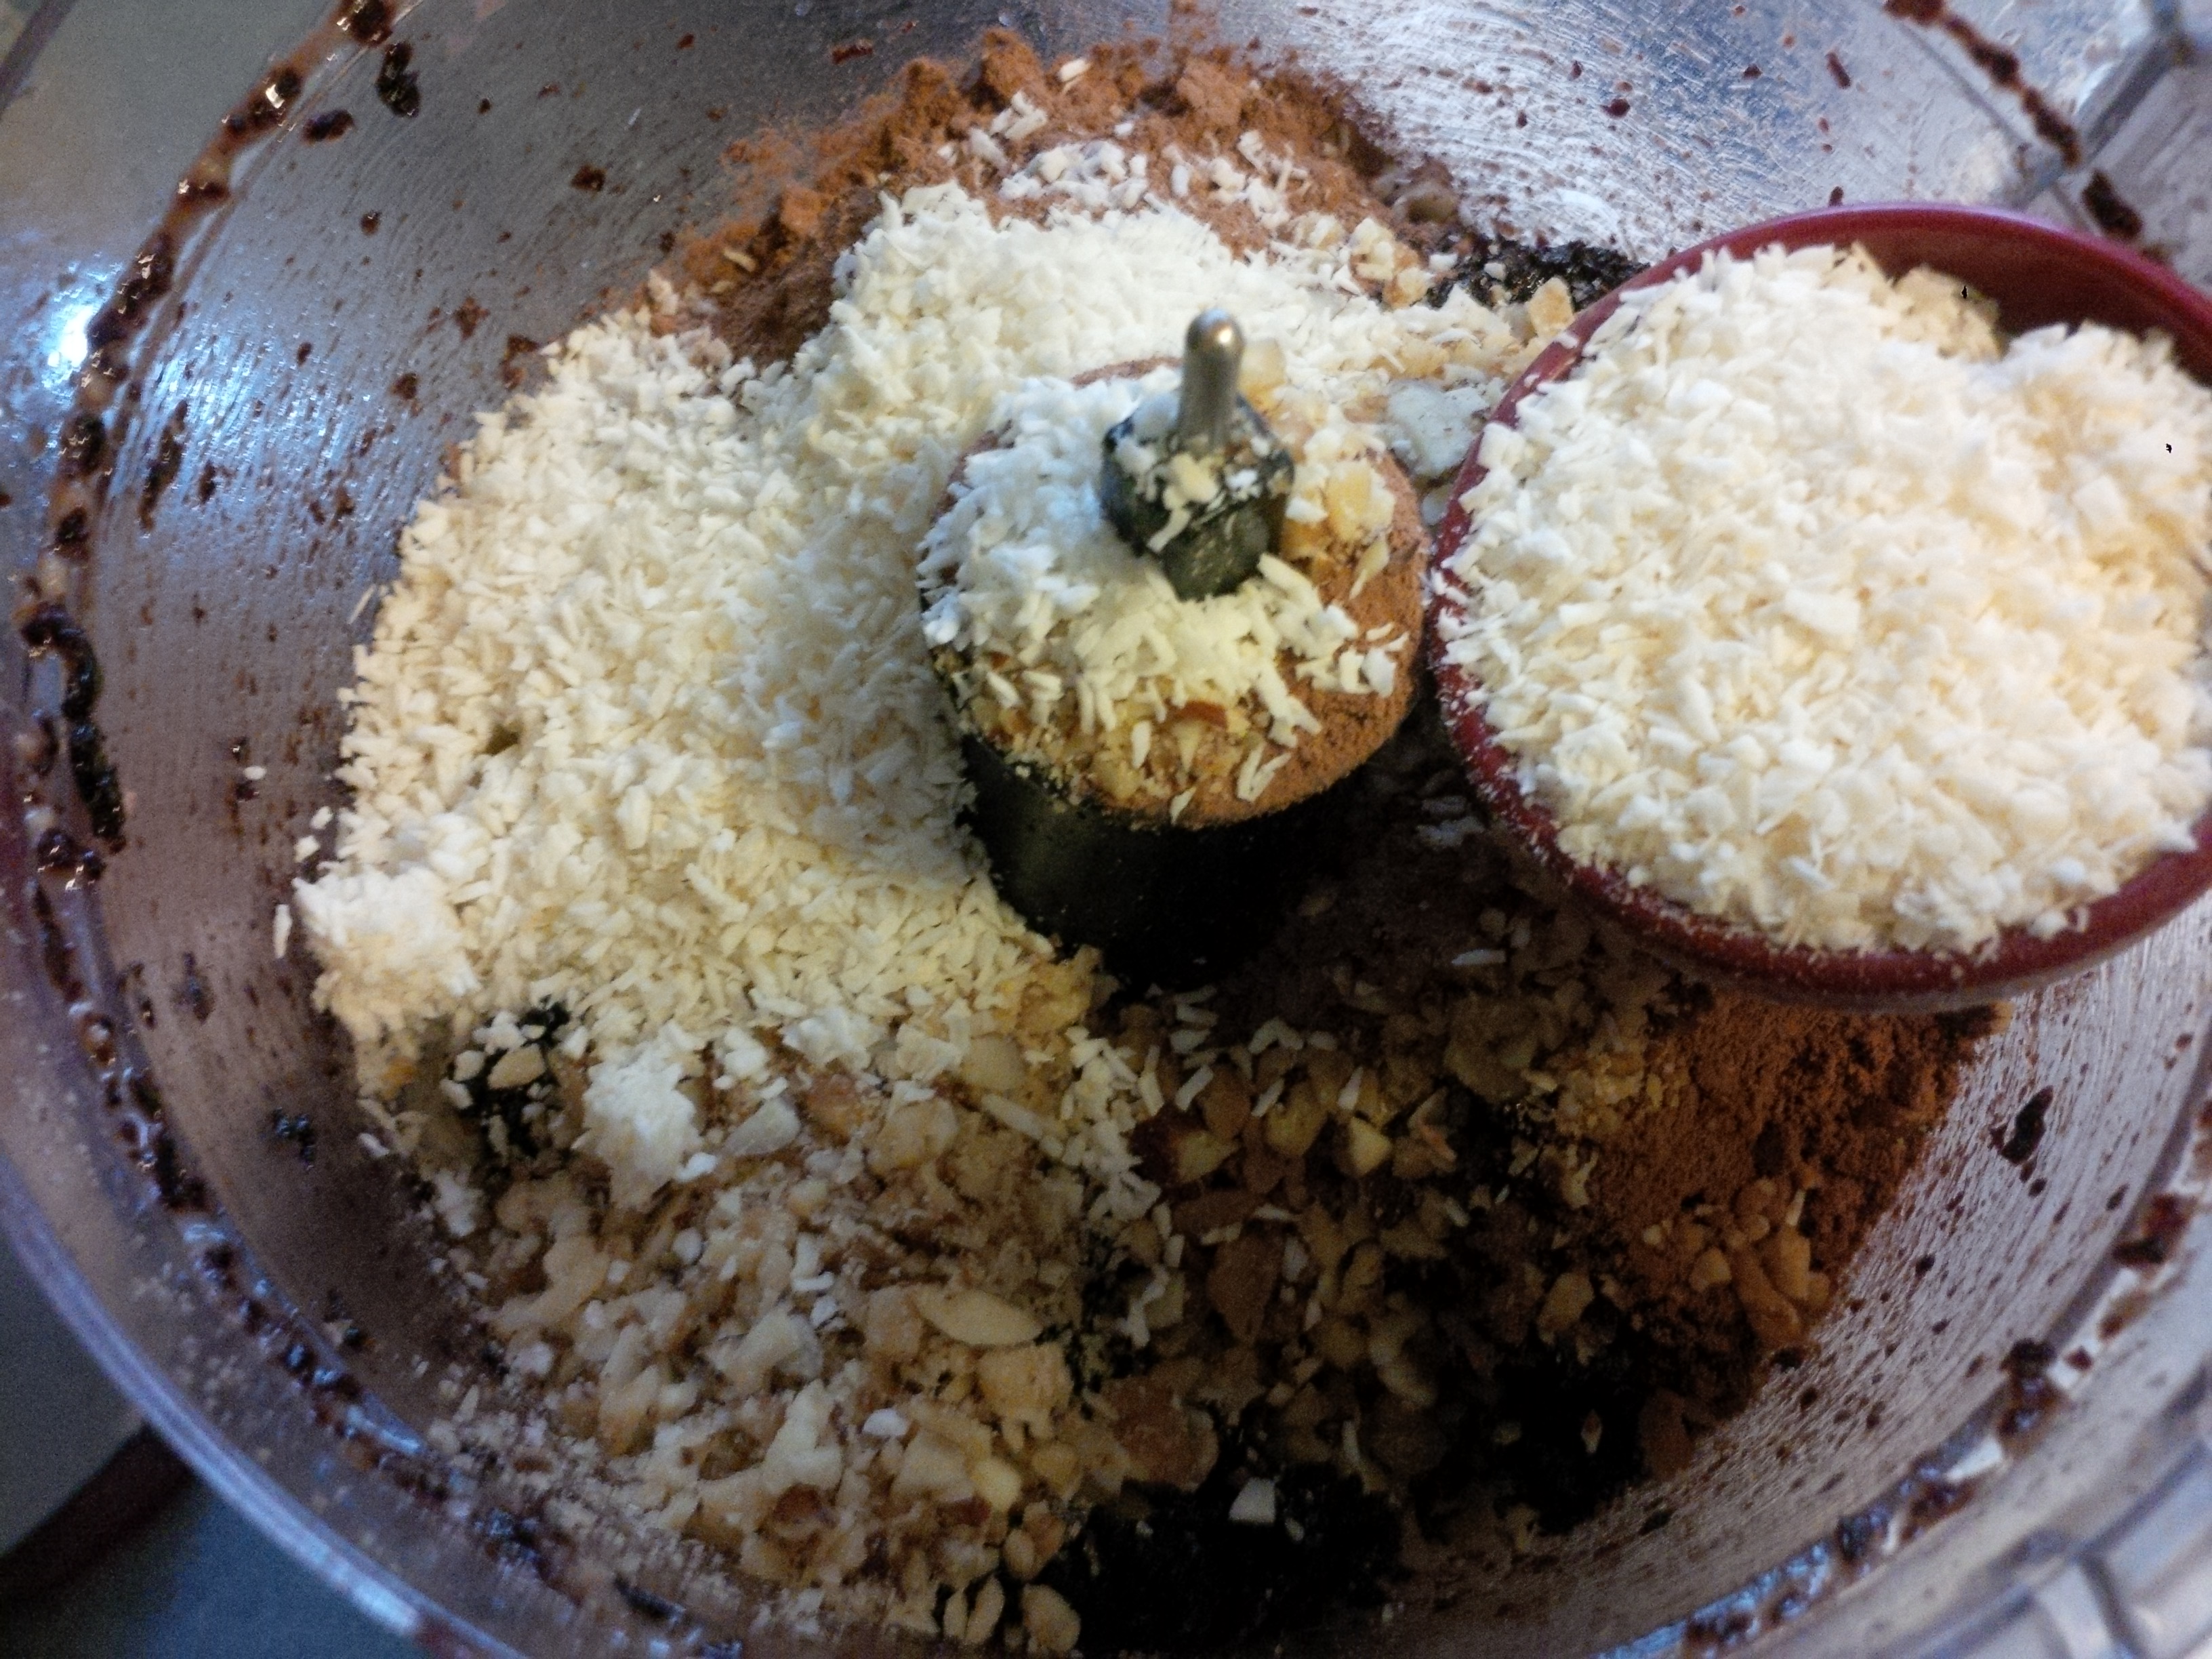
Some unsweetened coconut, bought my online from Amazon a 15 lb bag.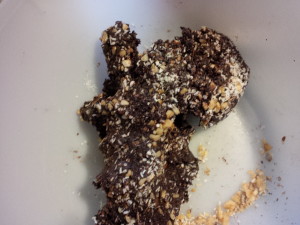
It then got too hard for the processor so I put it into a bowl and started kneading it by hand.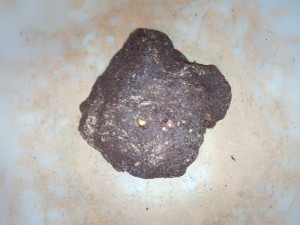
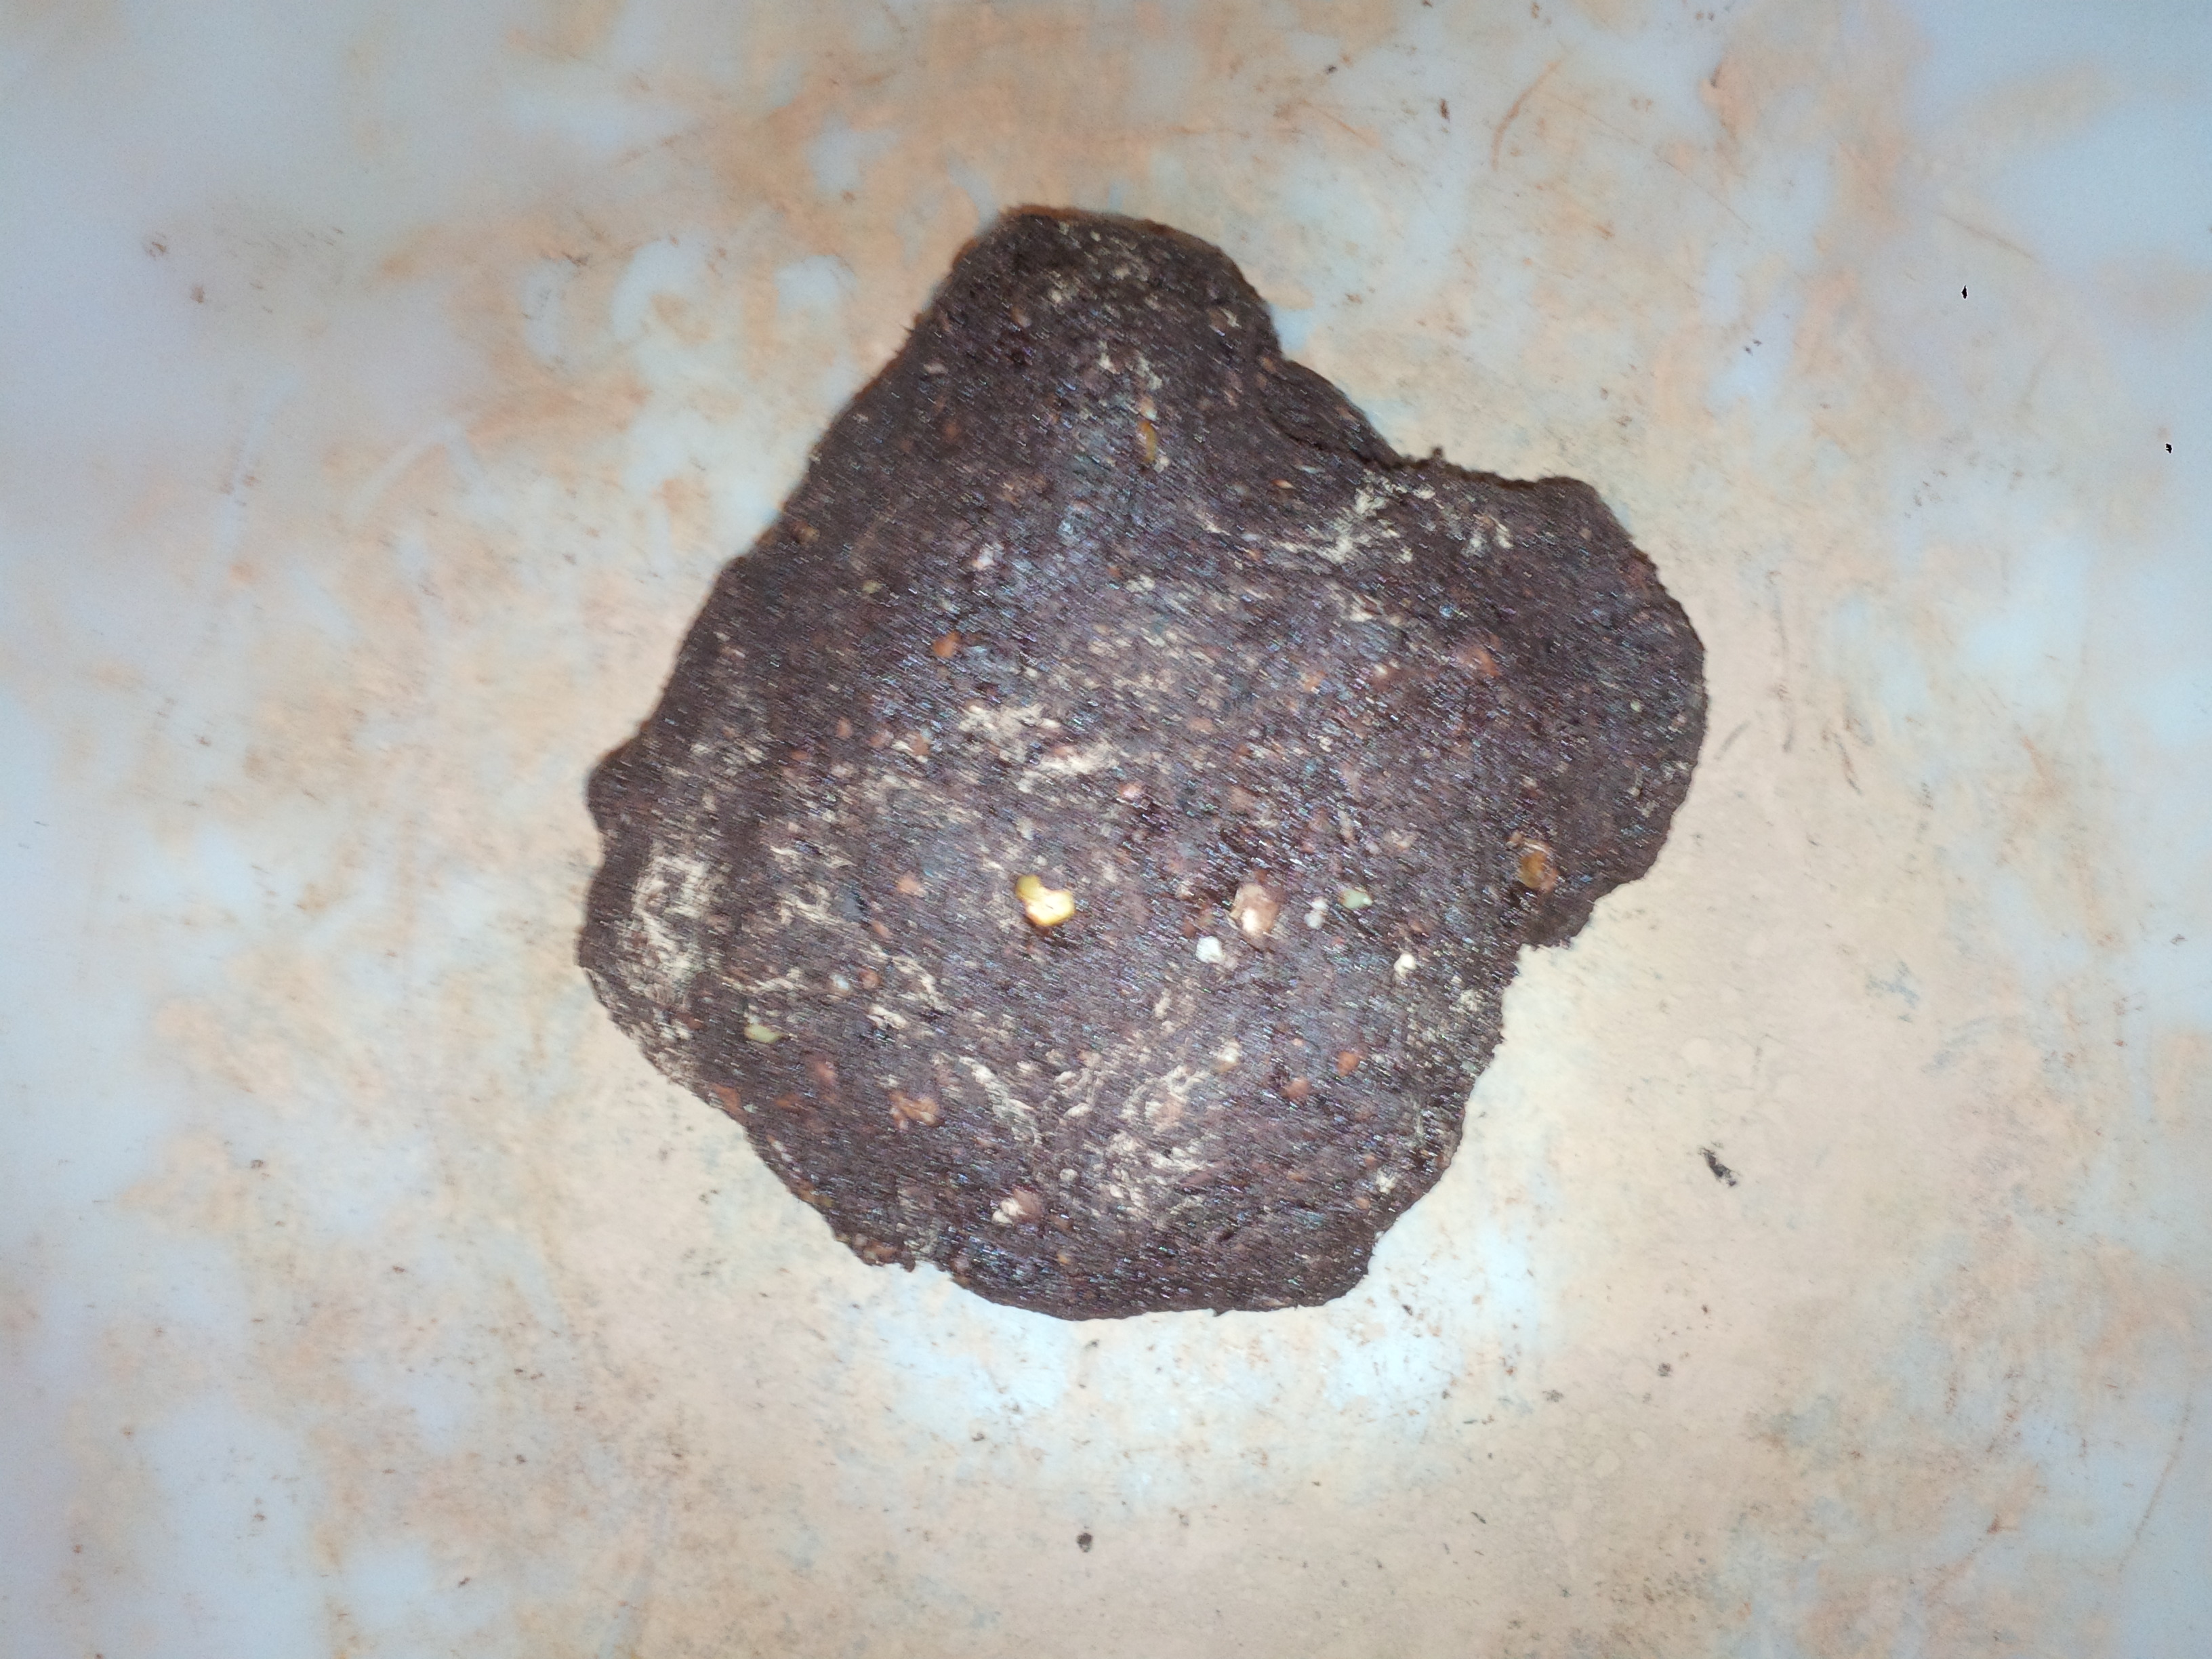
I tasted it and knew it needed more cocoa powder, so I kneaded that into the bar. 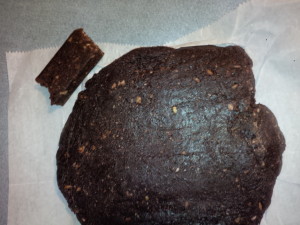
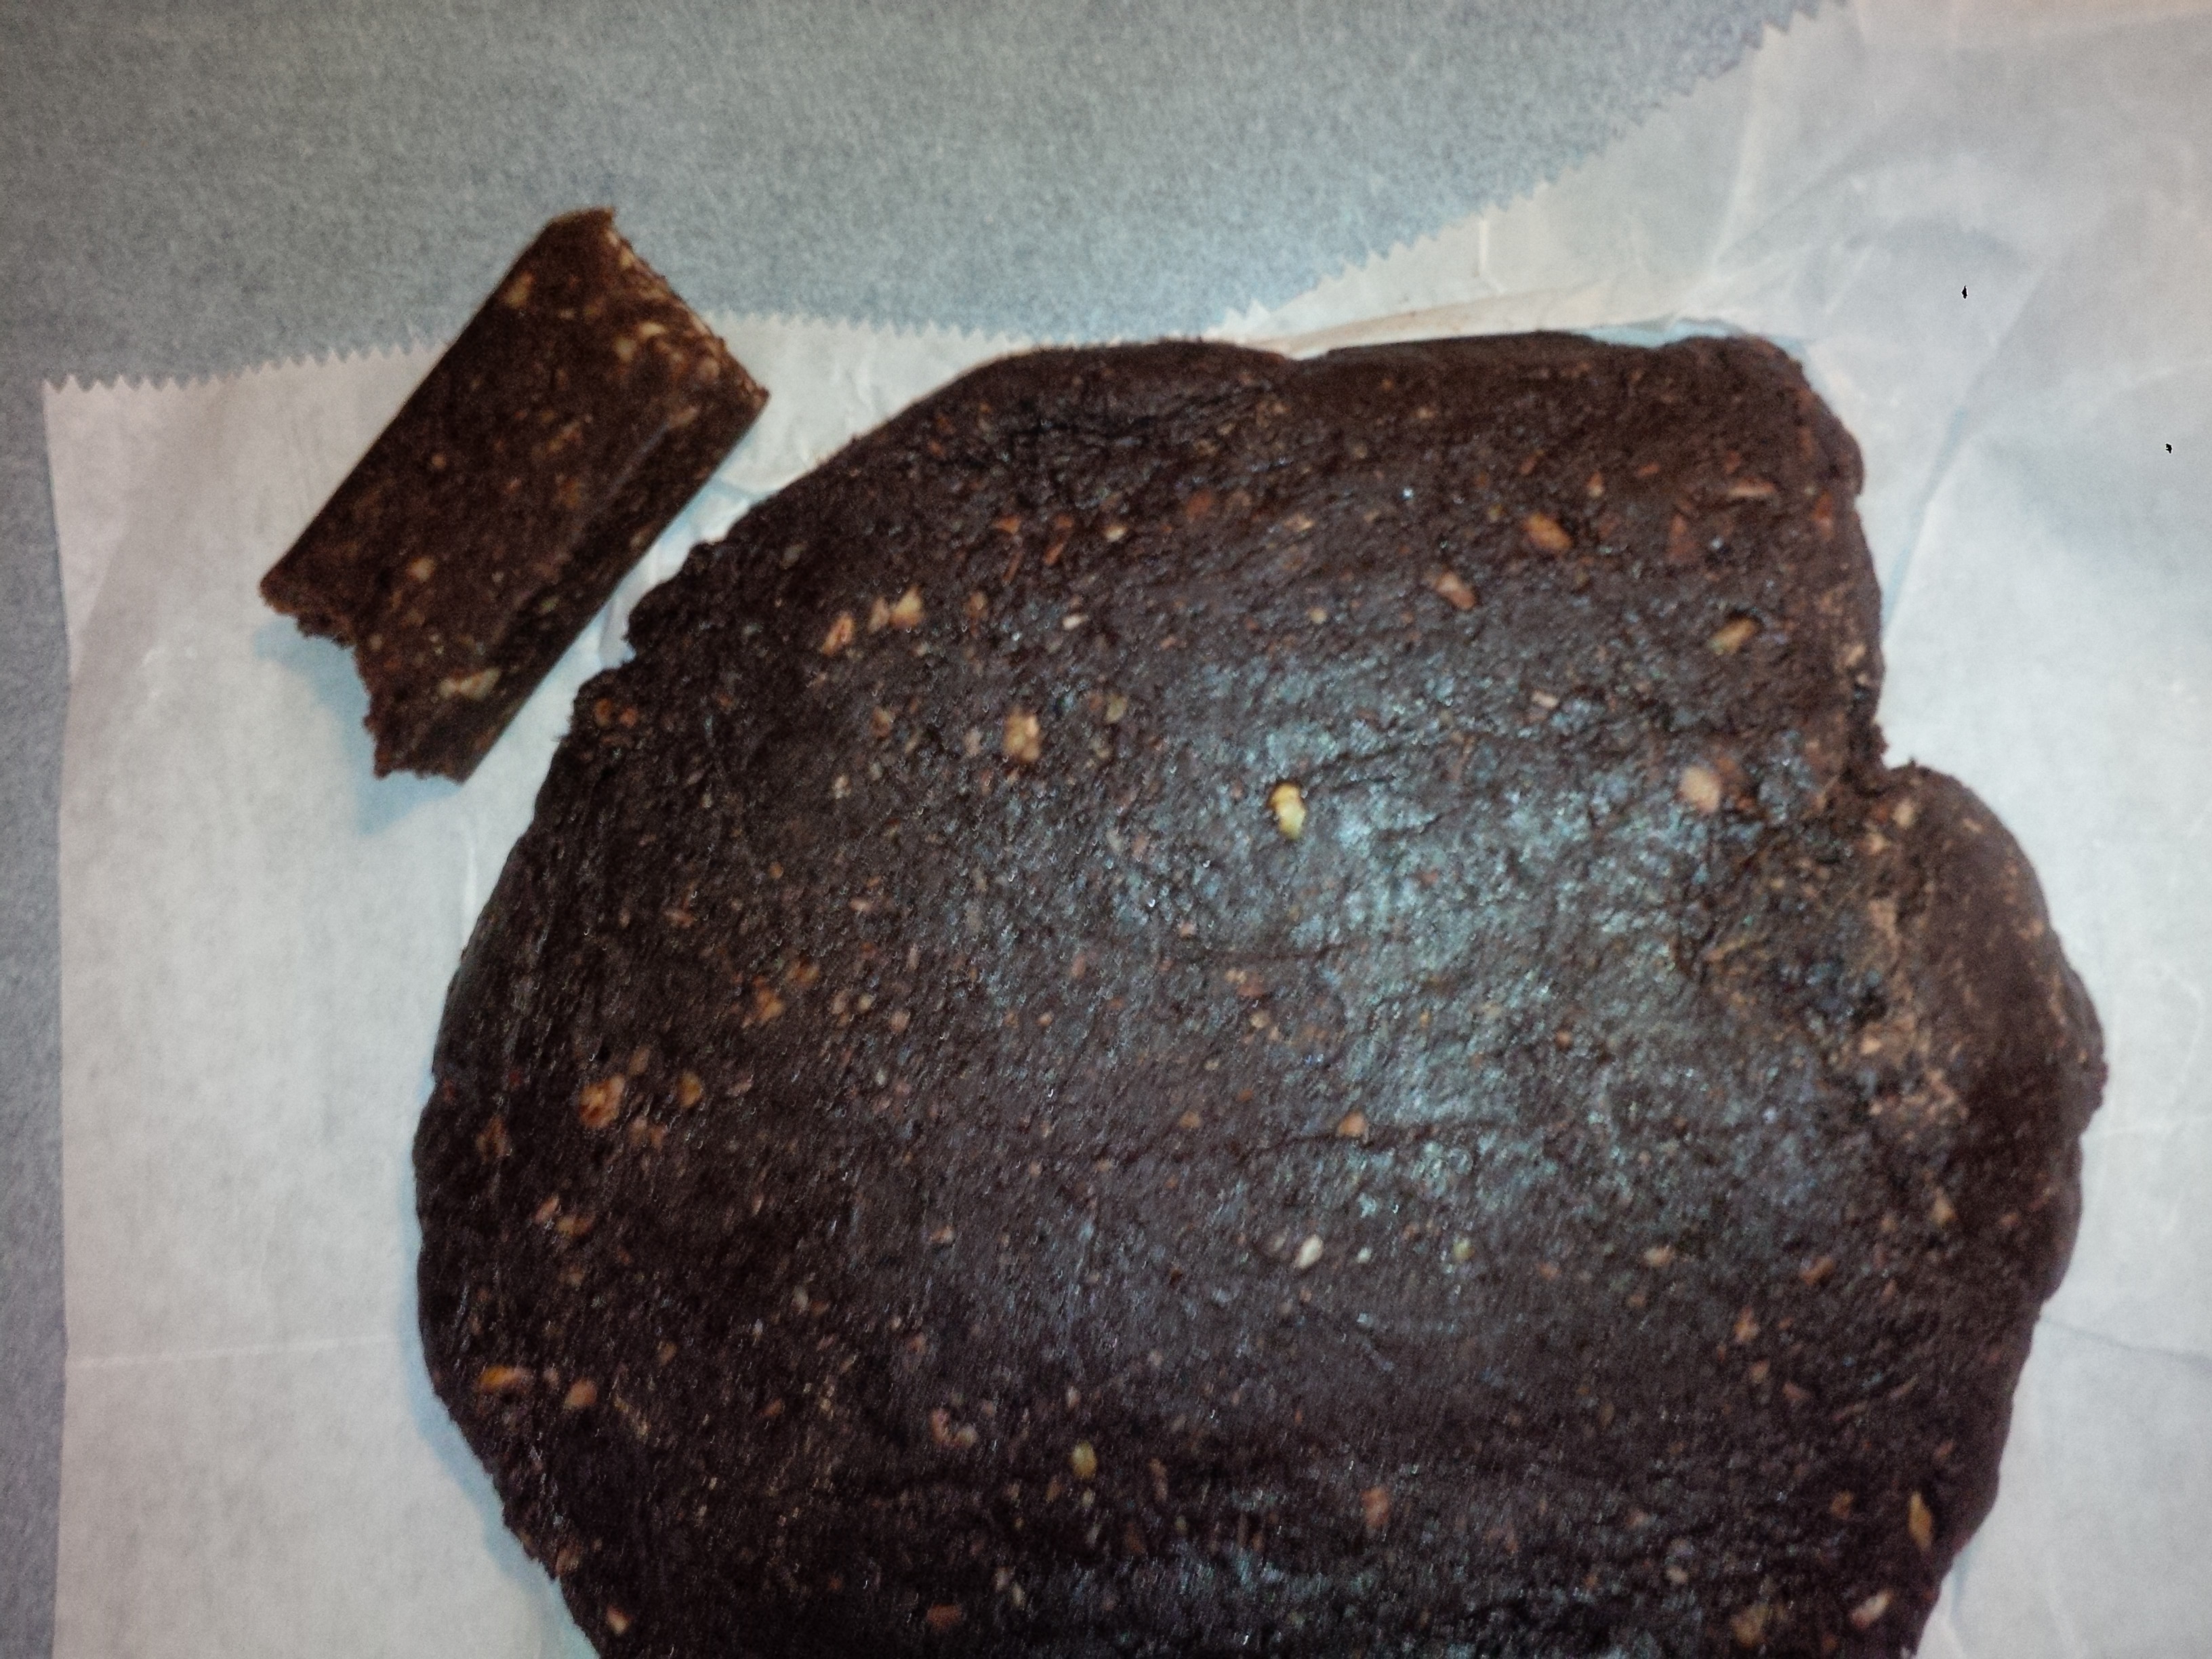
Here is my bar mixture and the Lara Bar piece at the top. I had to keep going back and forth until I knew that the flavors were exact. Like I said the raisins gave it a sweeter taste, but for the most part they tasted exactly the same.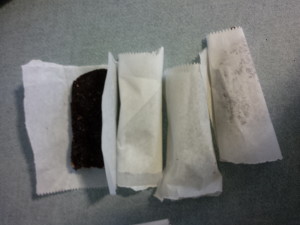
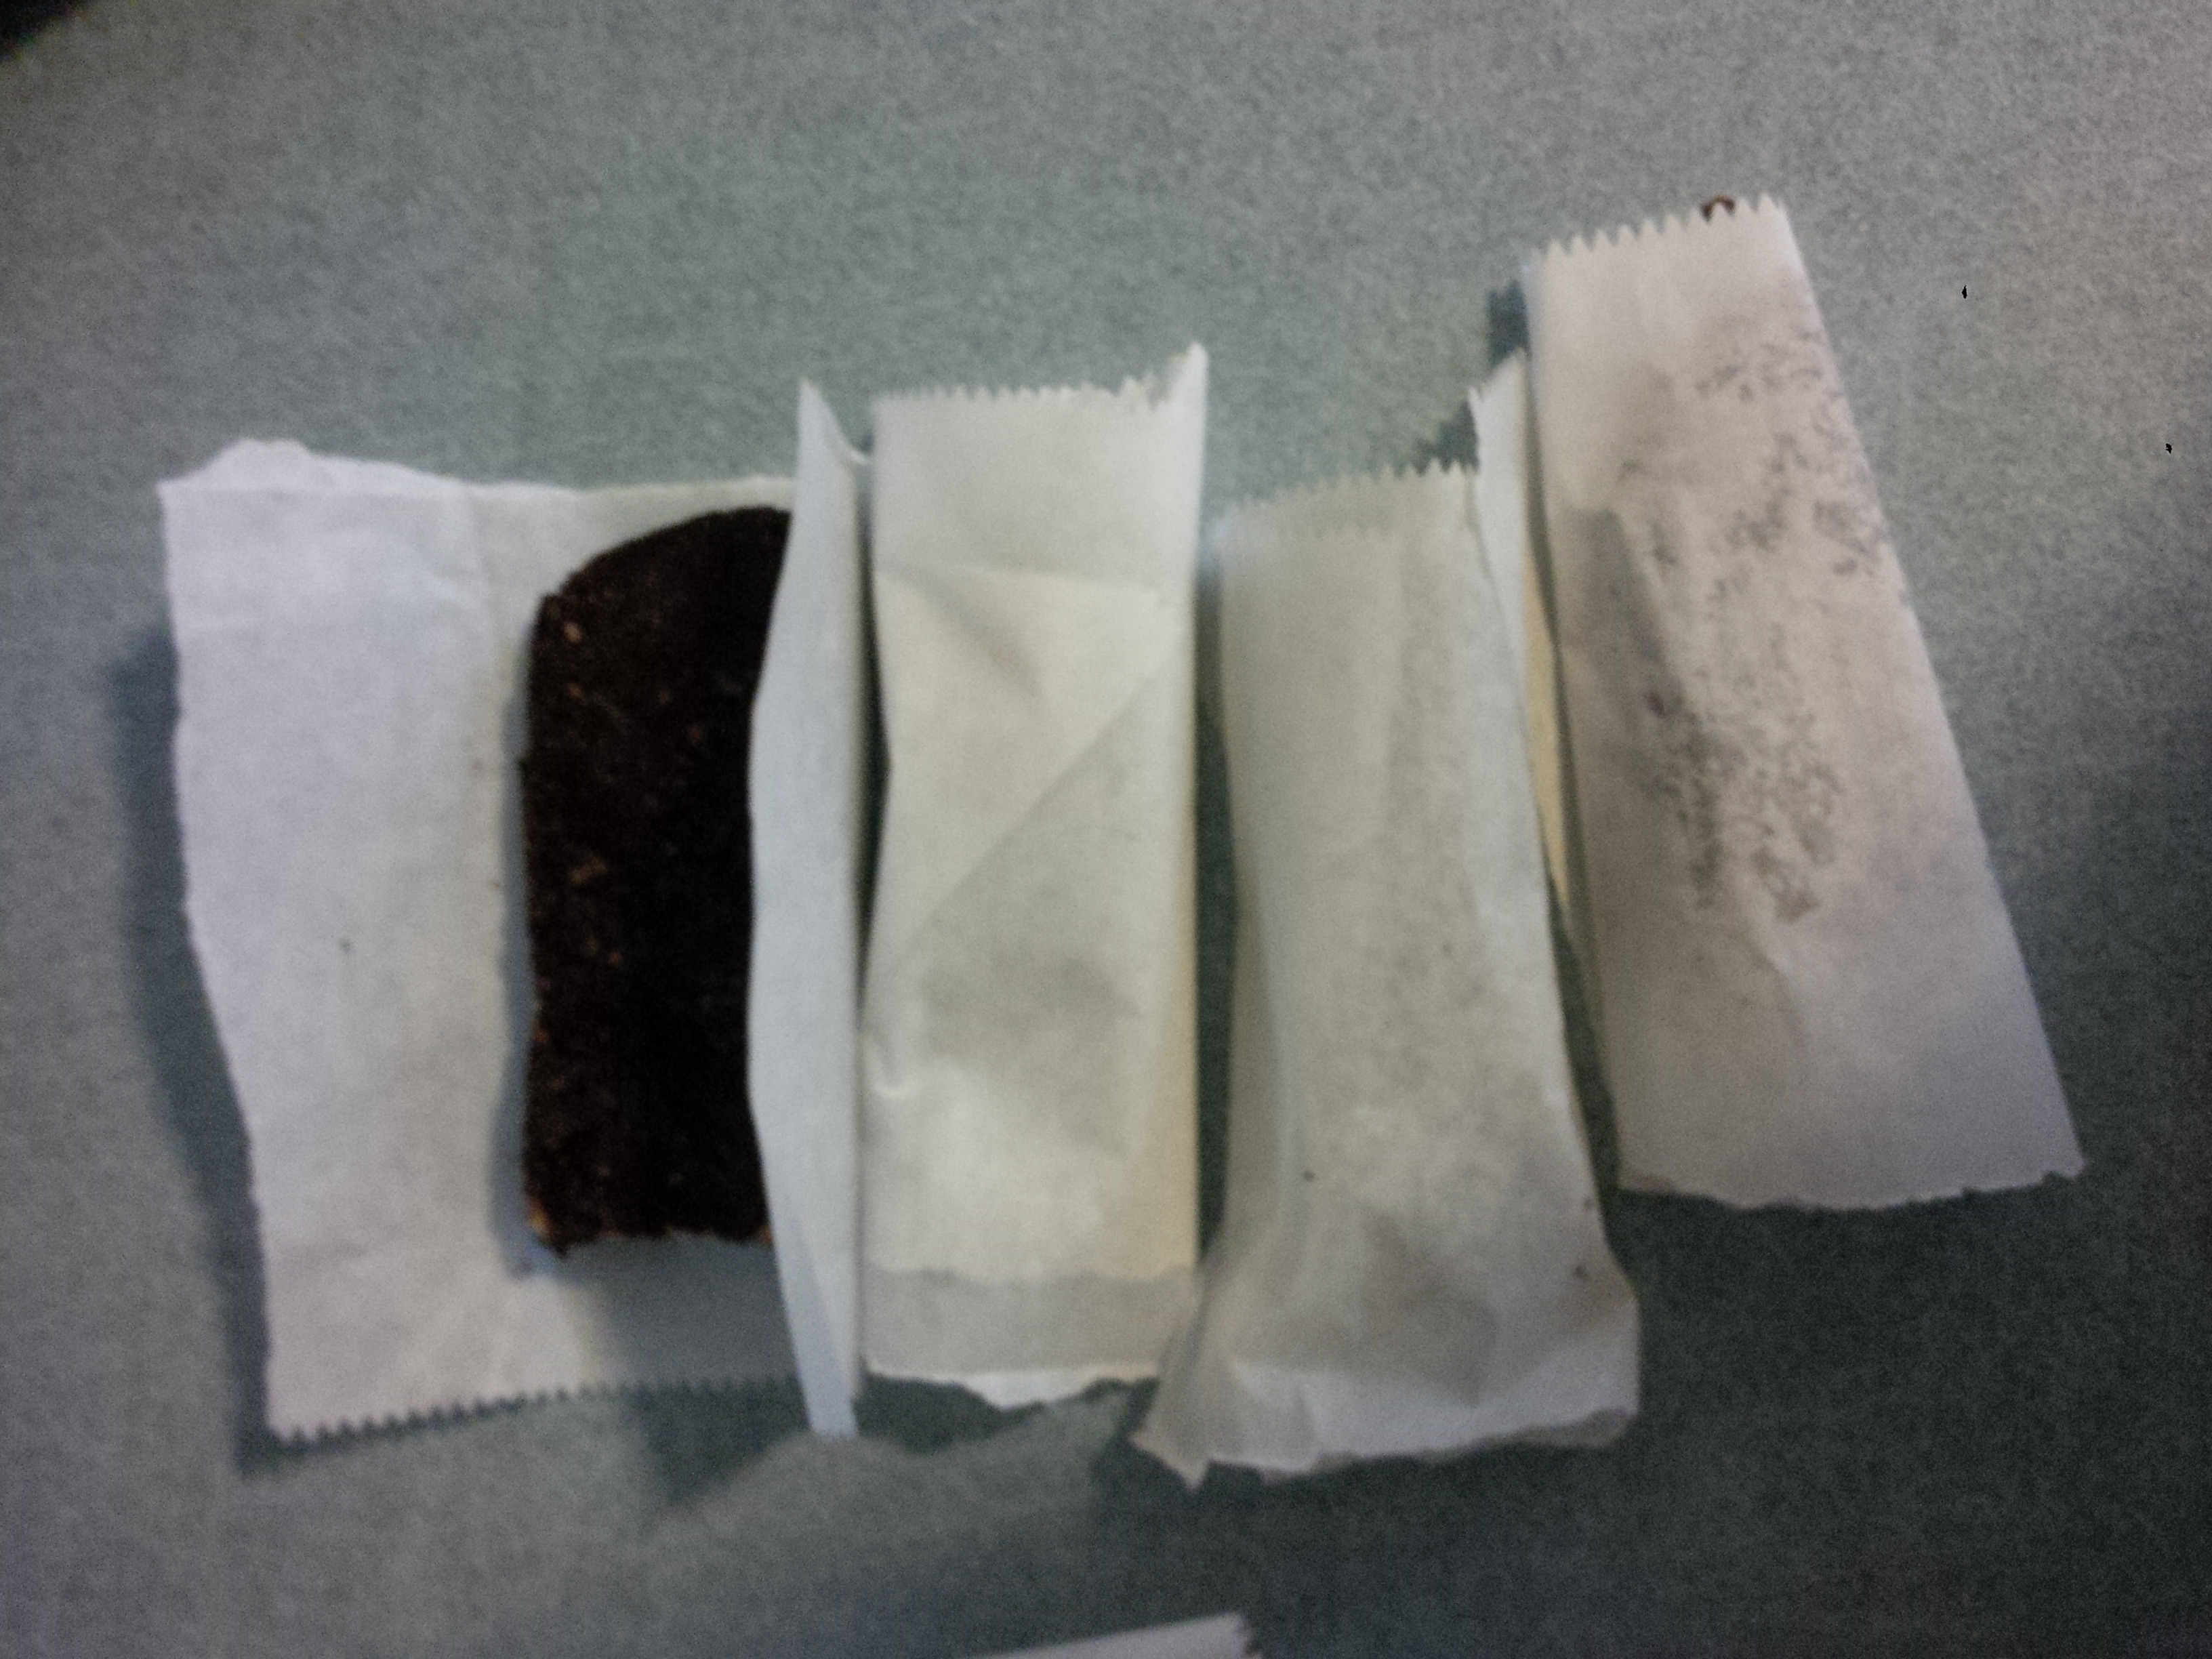
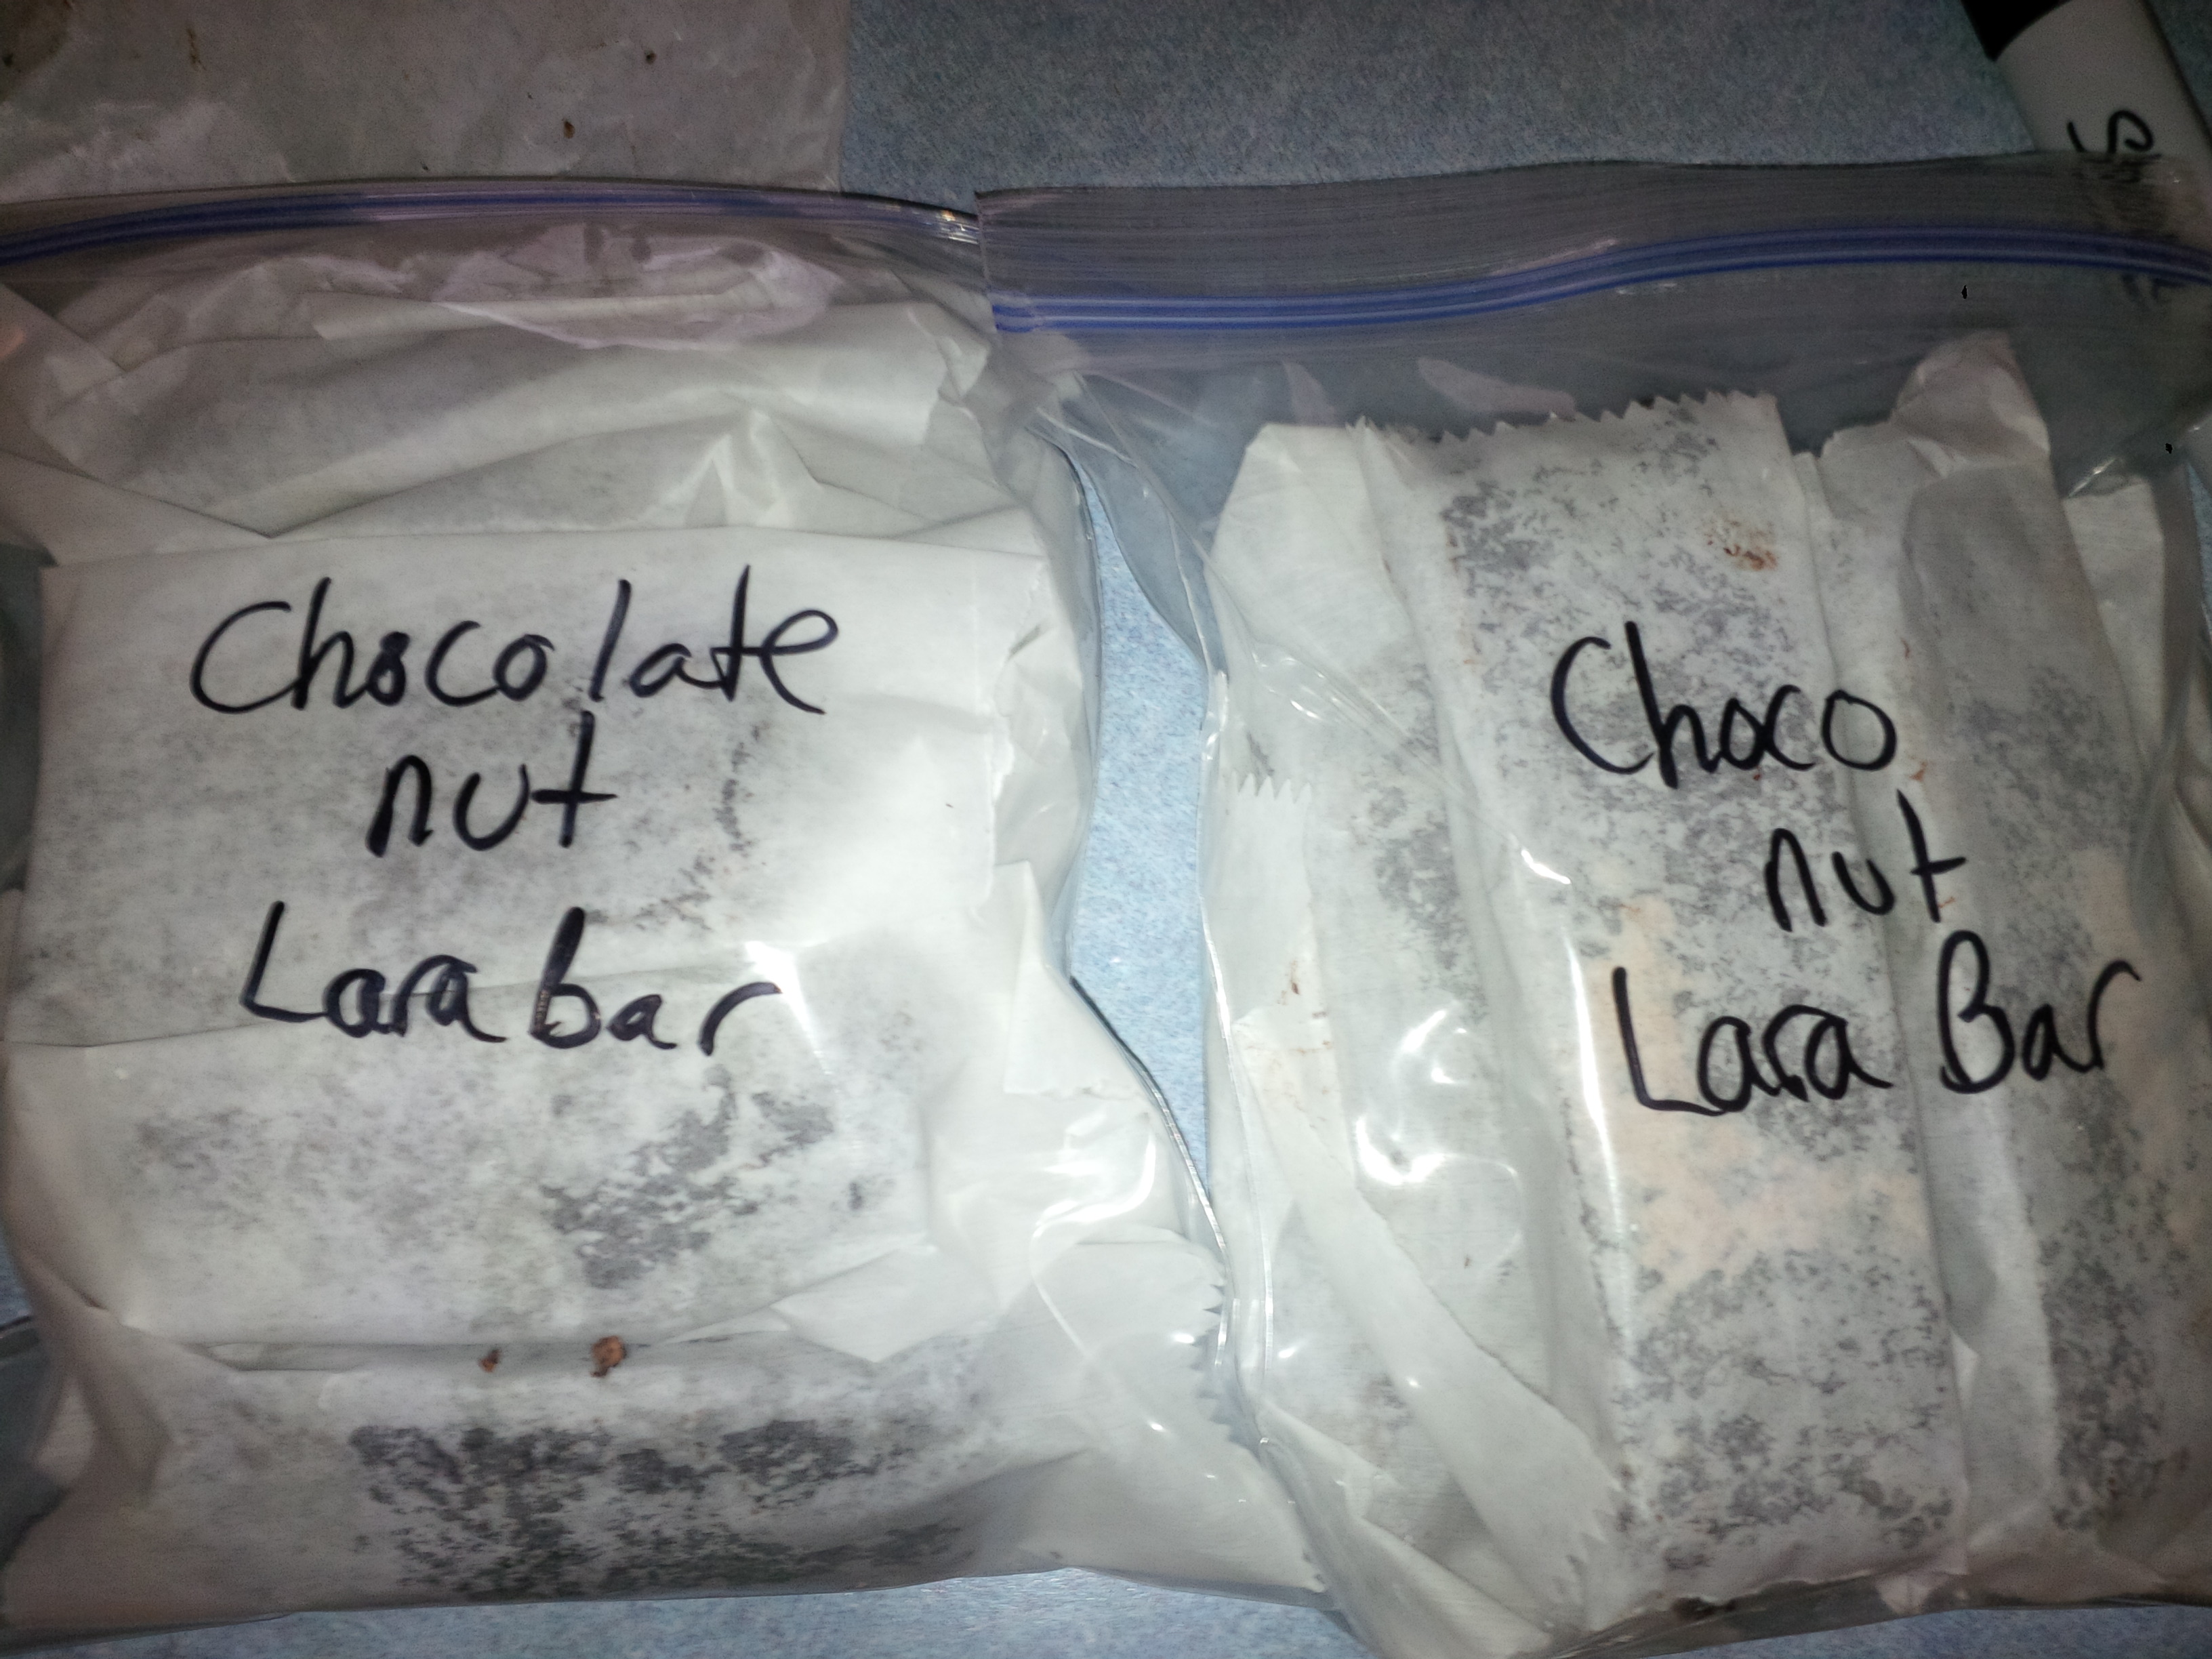
I rolled them out and cut into bar shapes. I rolled each one up in waxed paper sheets and put them into bags to freeze.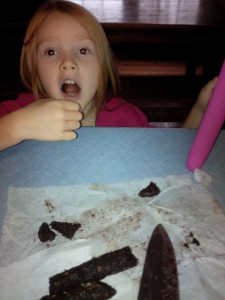
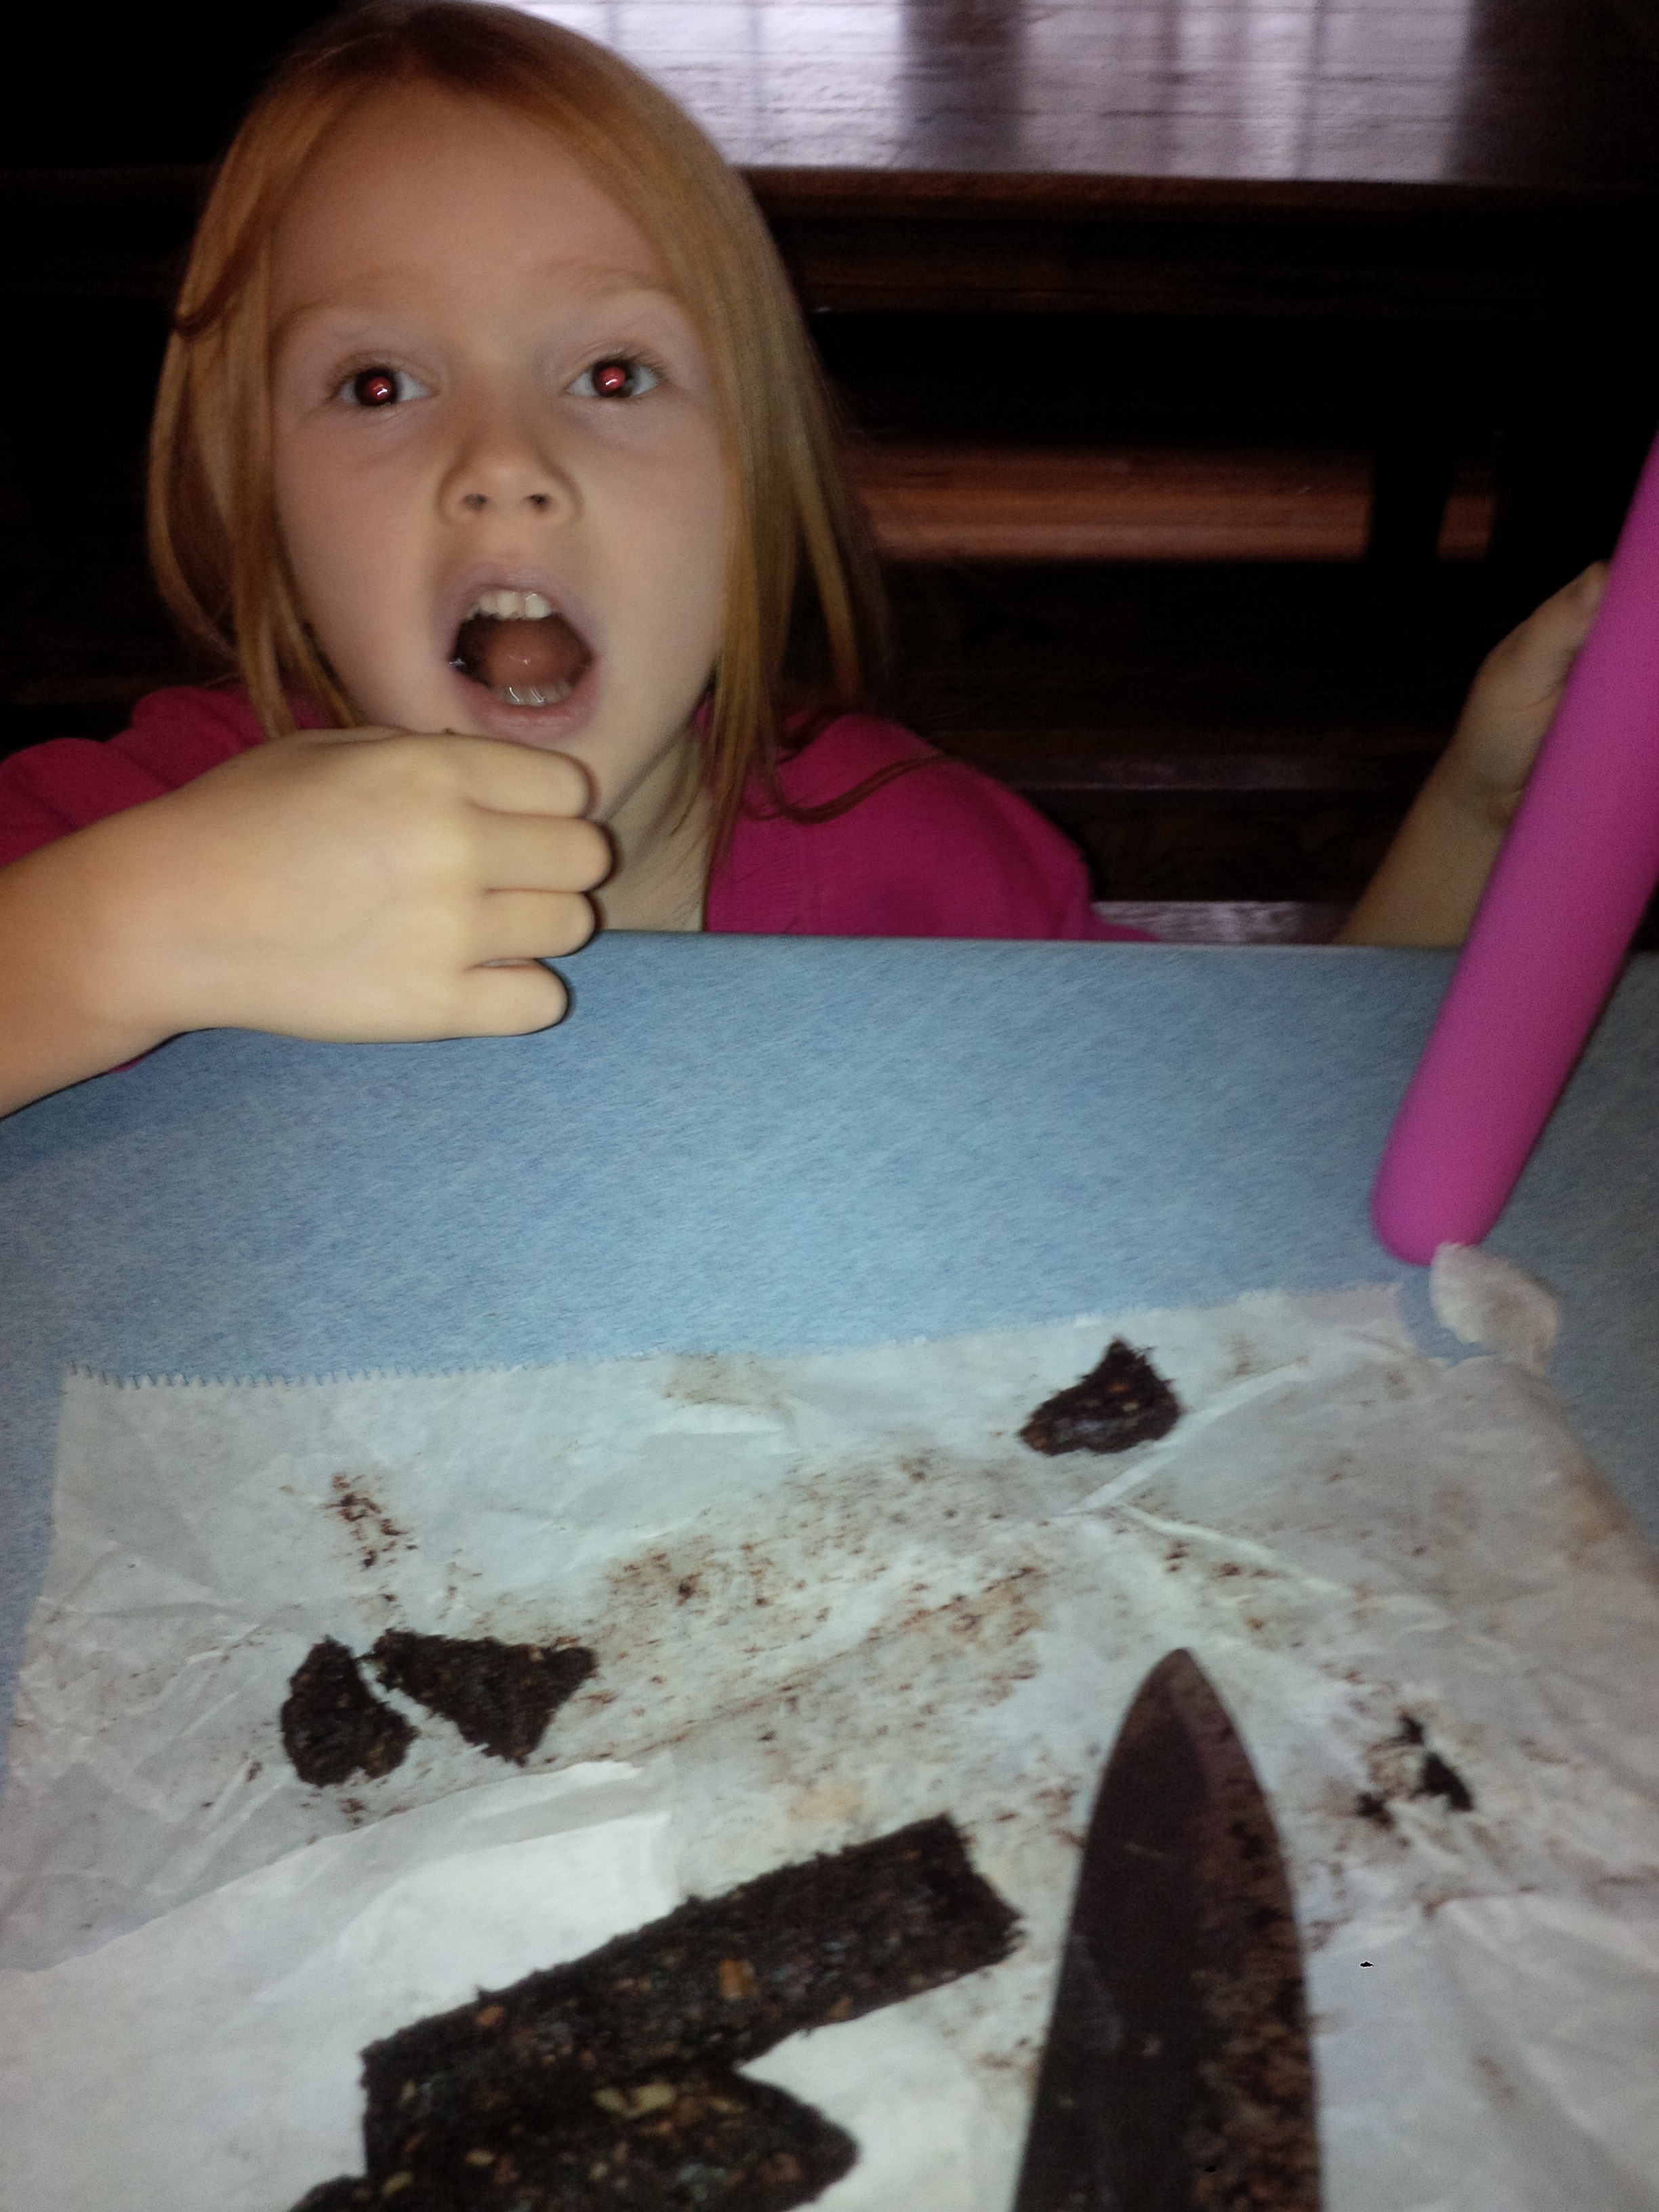
Madelyn walked by and wanted a sample. She said they tasted like brownie bites:) The other children weren’t so easily fooled—smile.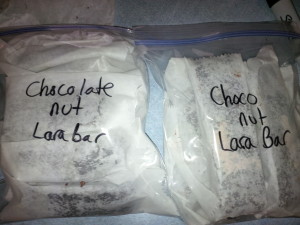
I made two bags to freeze. 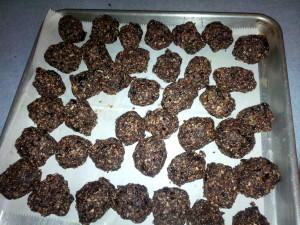
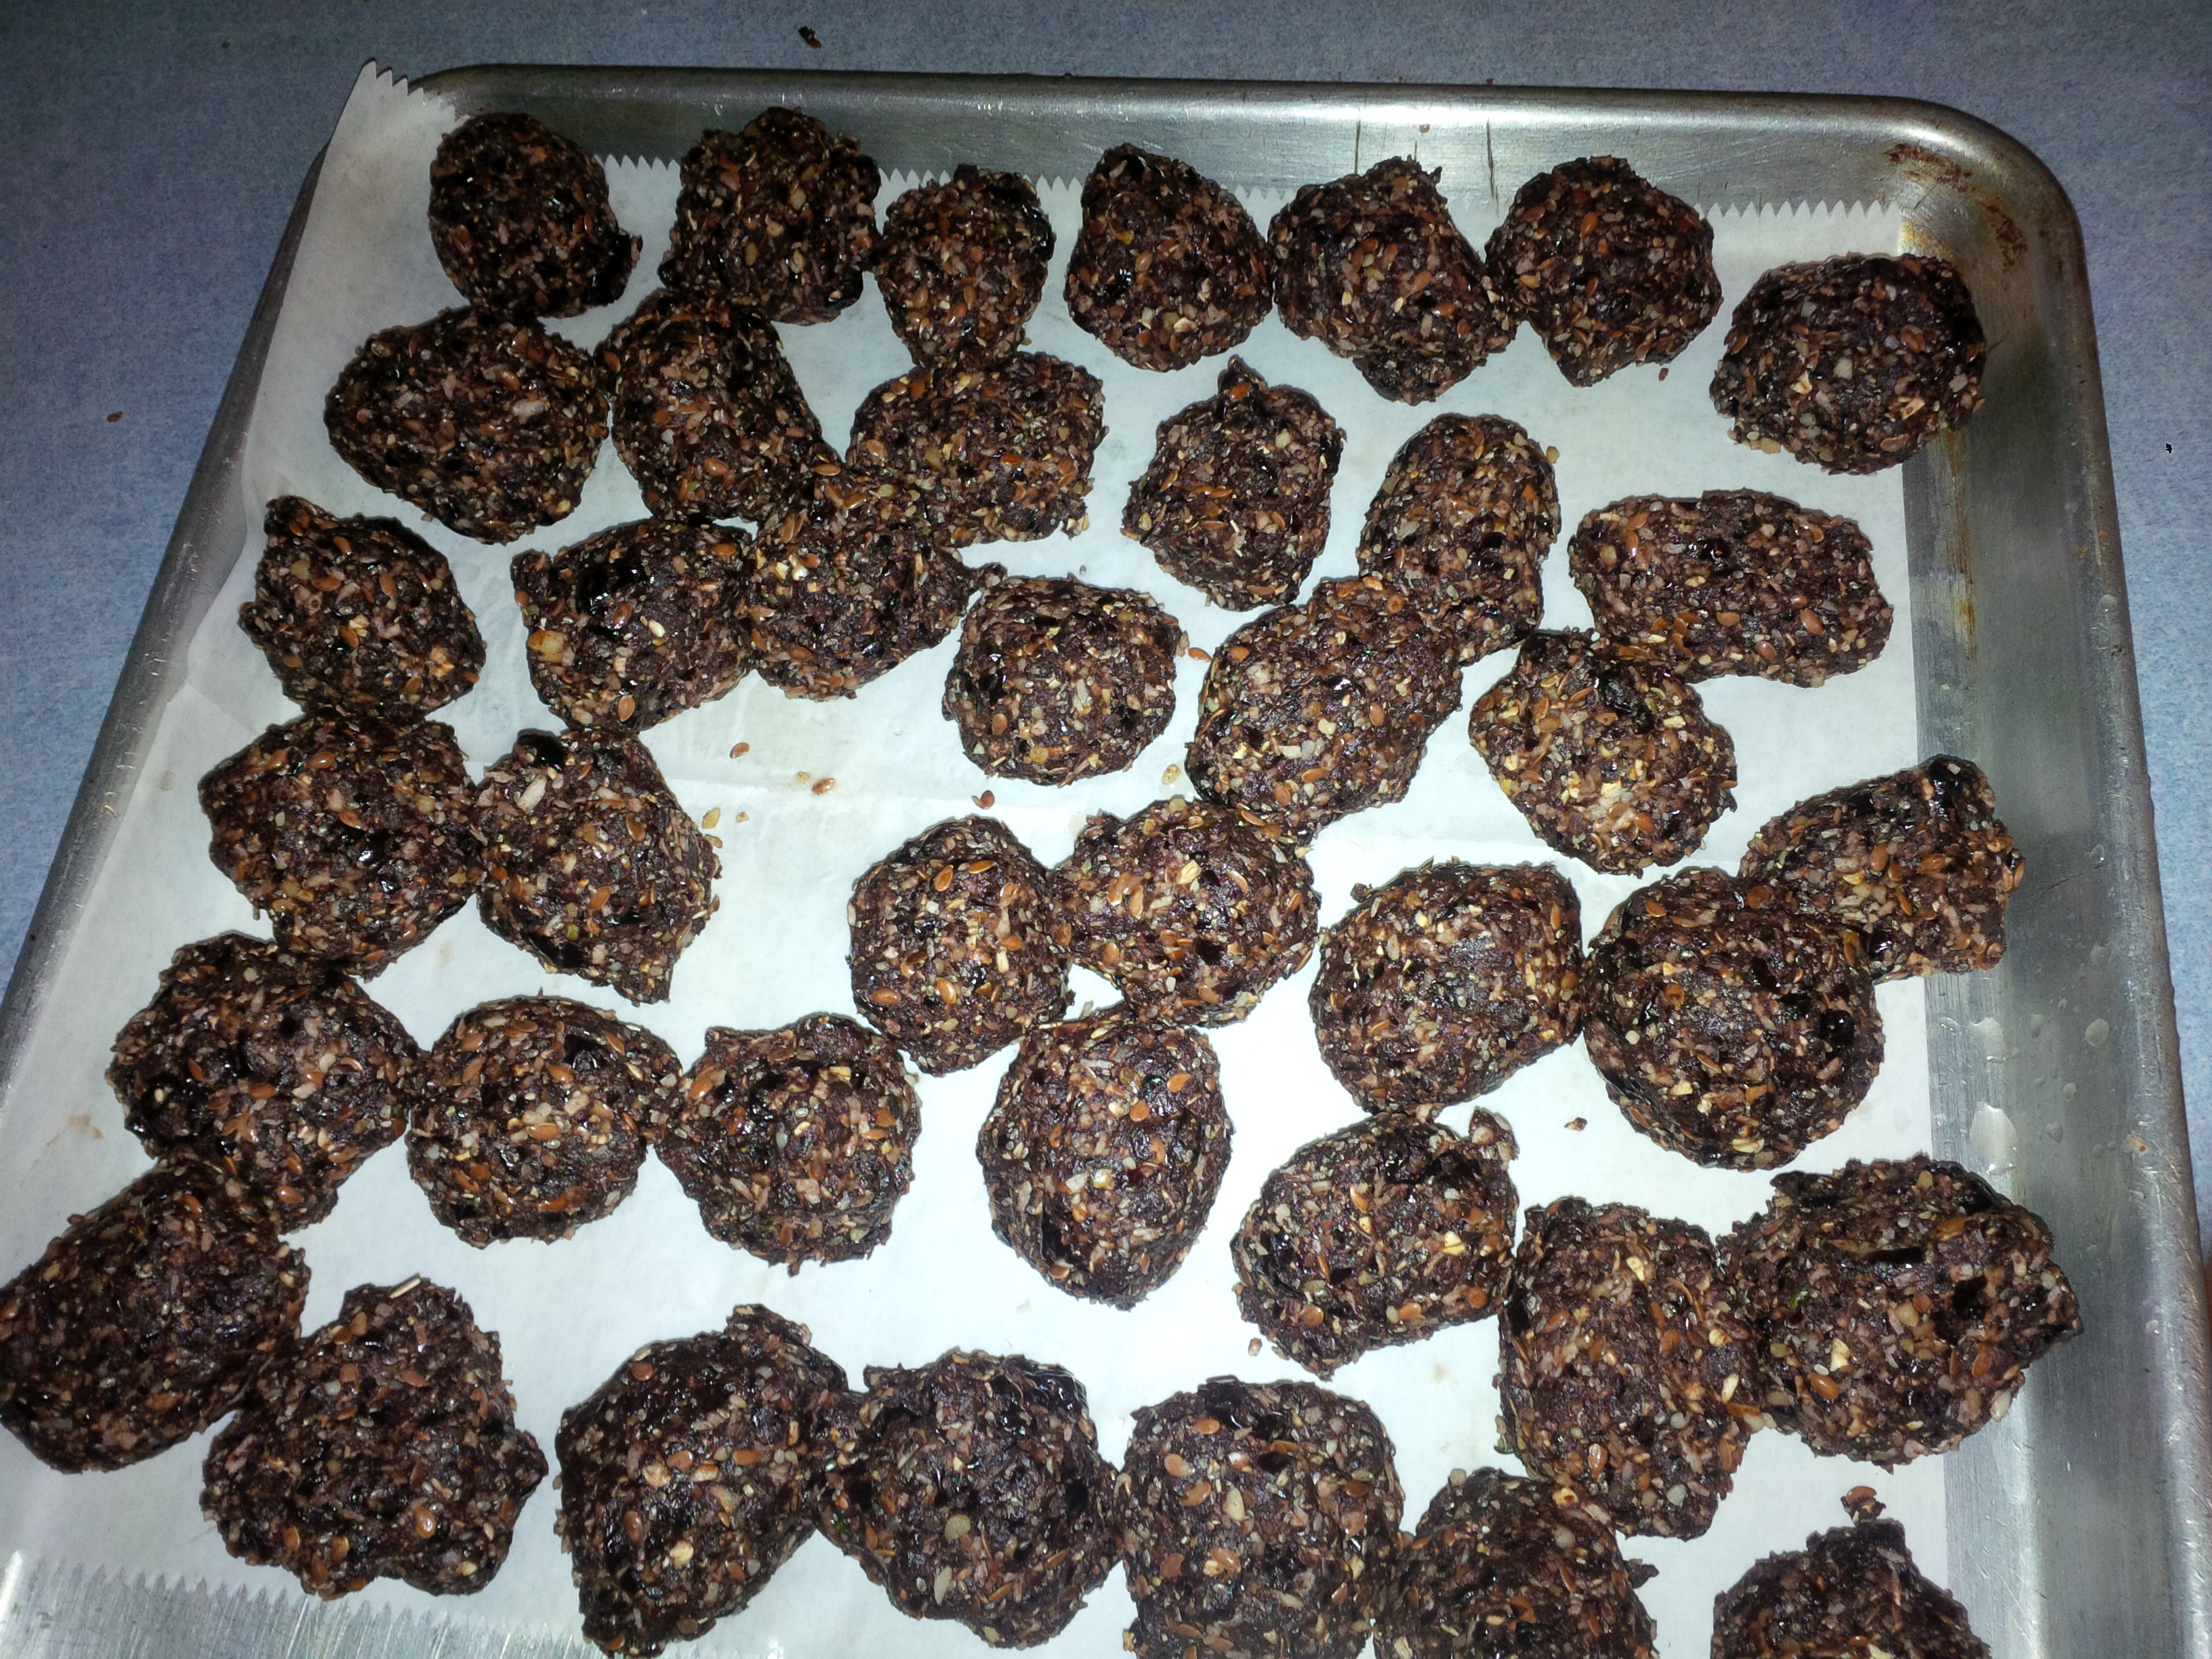
I then decided to roll some into balls to grab for a smaller bite to eat. To these I added some chia, hemp, and flax seeds for added nutritional value.
Here is my recipes:
- 2 cups raisins–use dates if you have them
- 1/2 cup cocoa powder
- 3/4 cup unsweetened coconut
- 3/4 cup chopped nuts–walnuts and almonds
Place all in a food processor and blend. Place in a bowl and knead with cocoa powder until not sticky. Roll out and cut into bars or make into balls. Place in freezer. Enjoy!