Uncategorized

Cheeseburger Sliders…a good large family meal

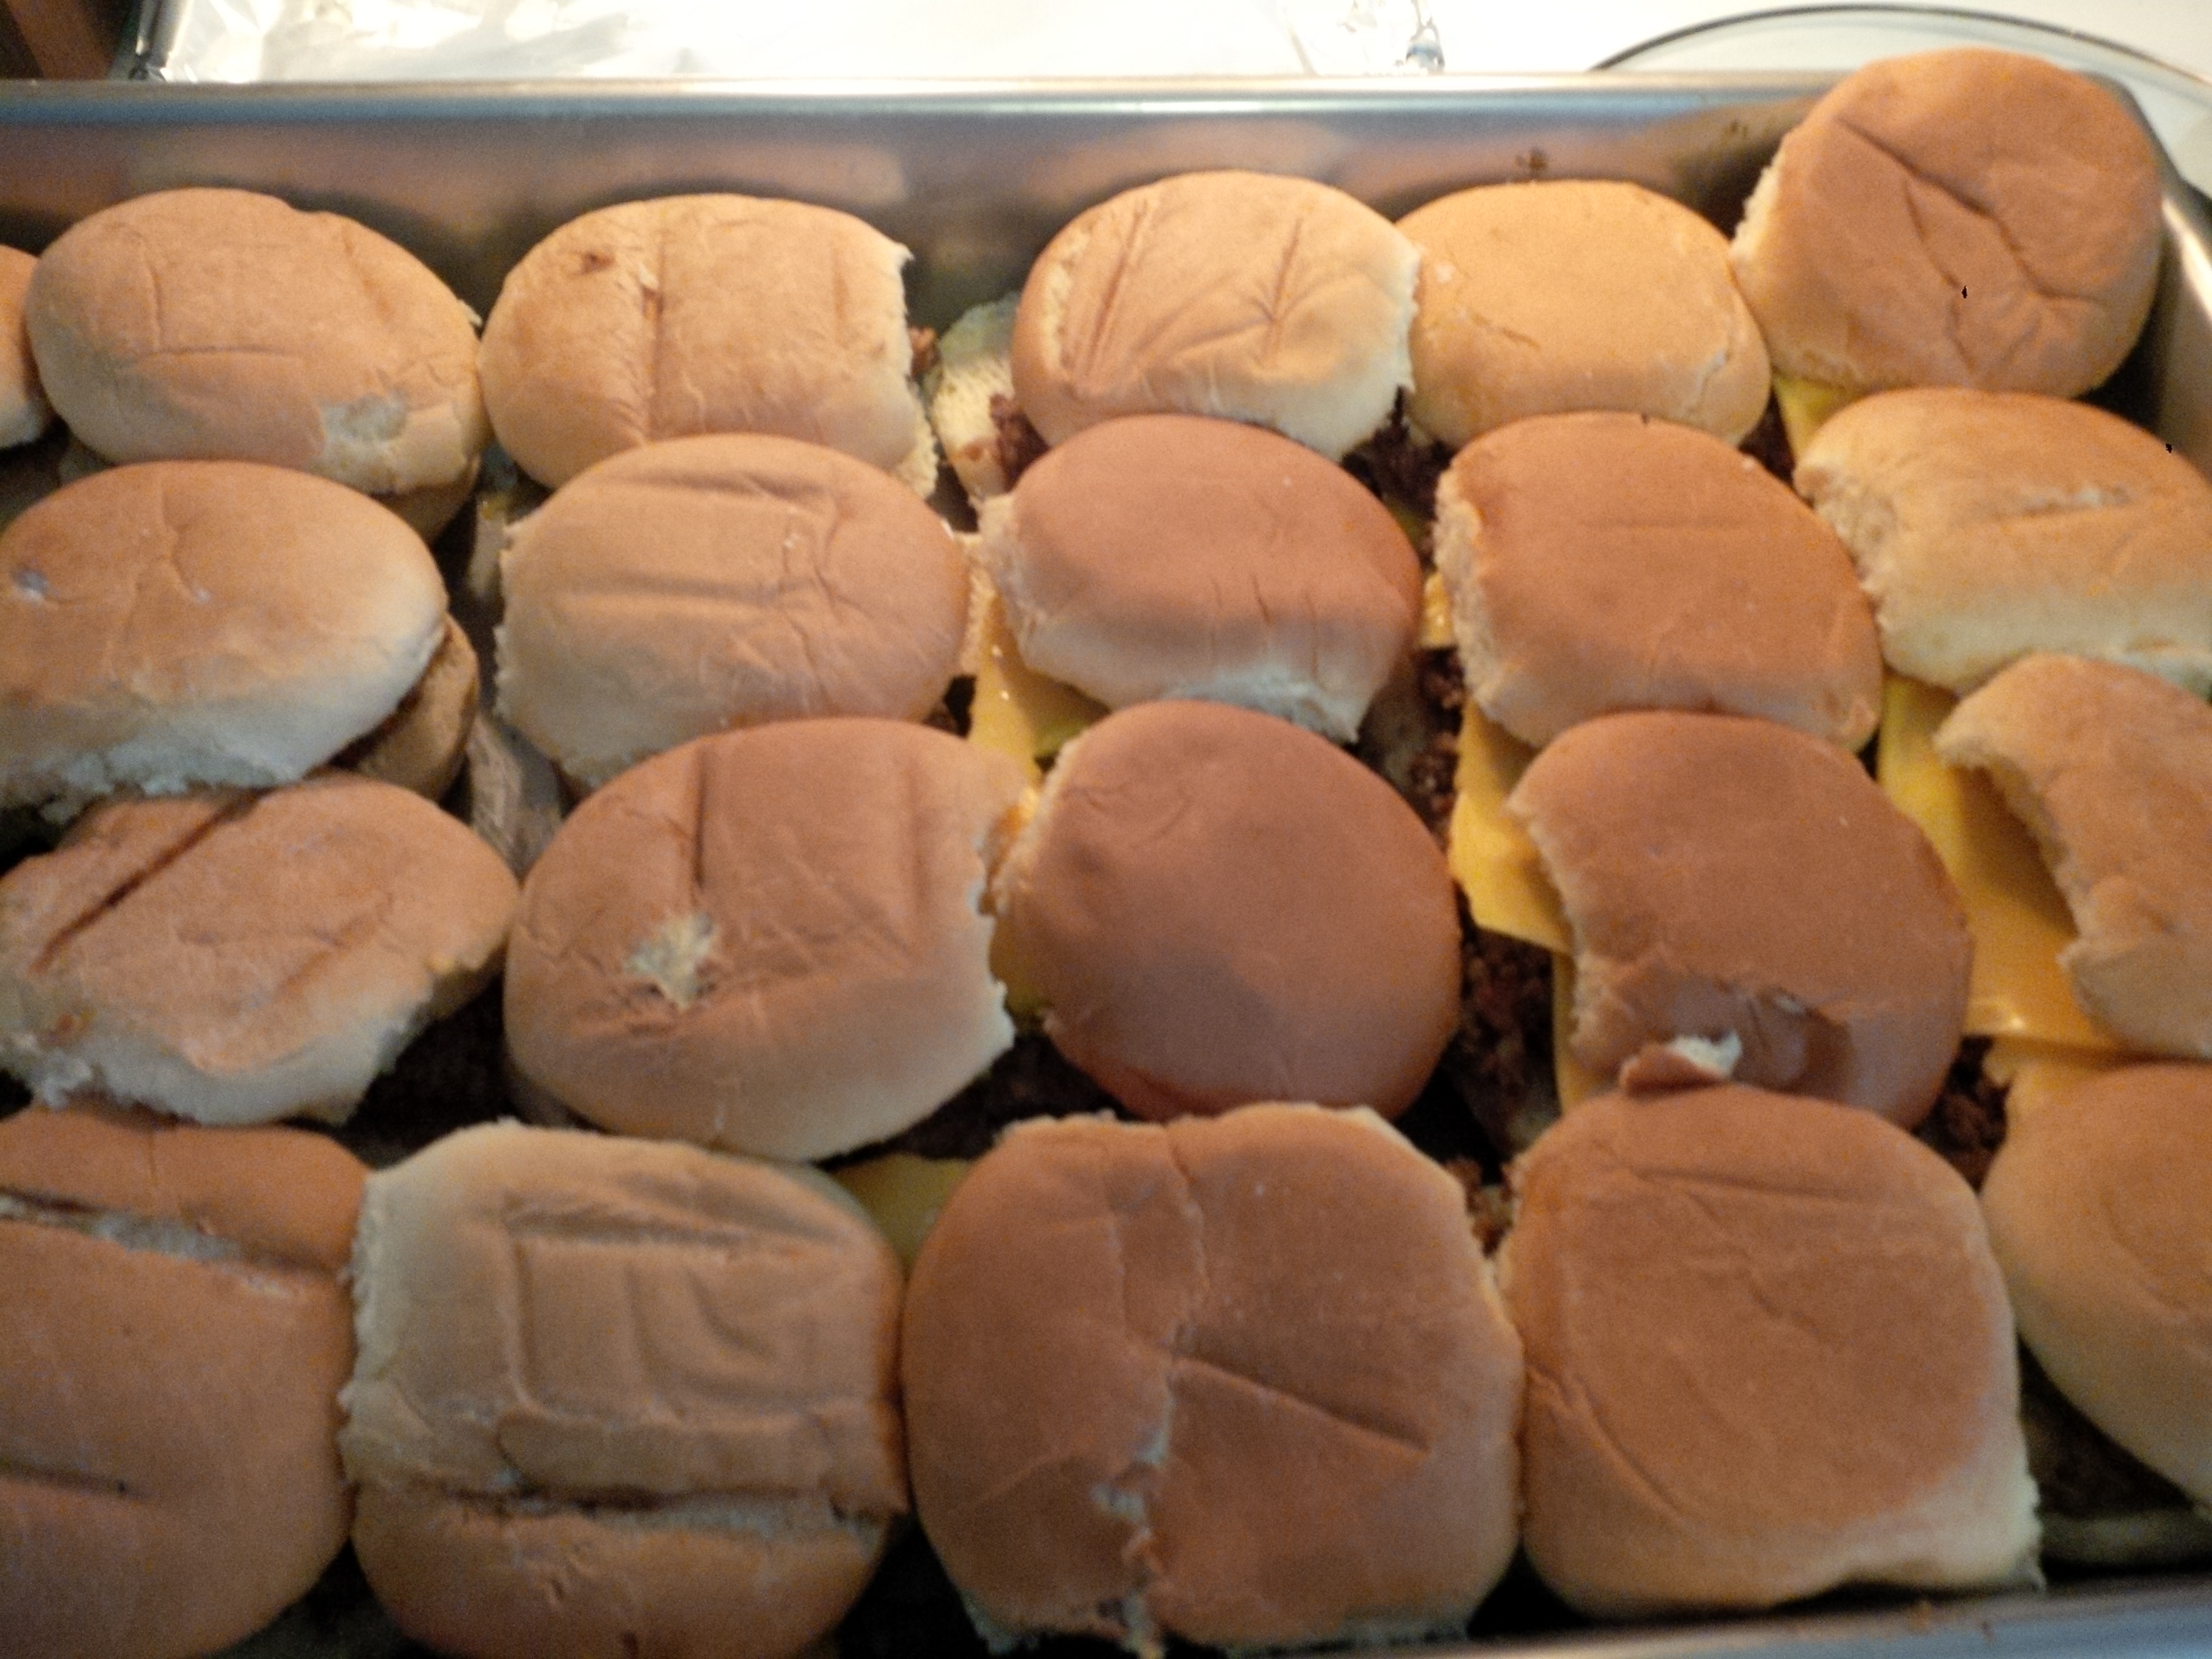
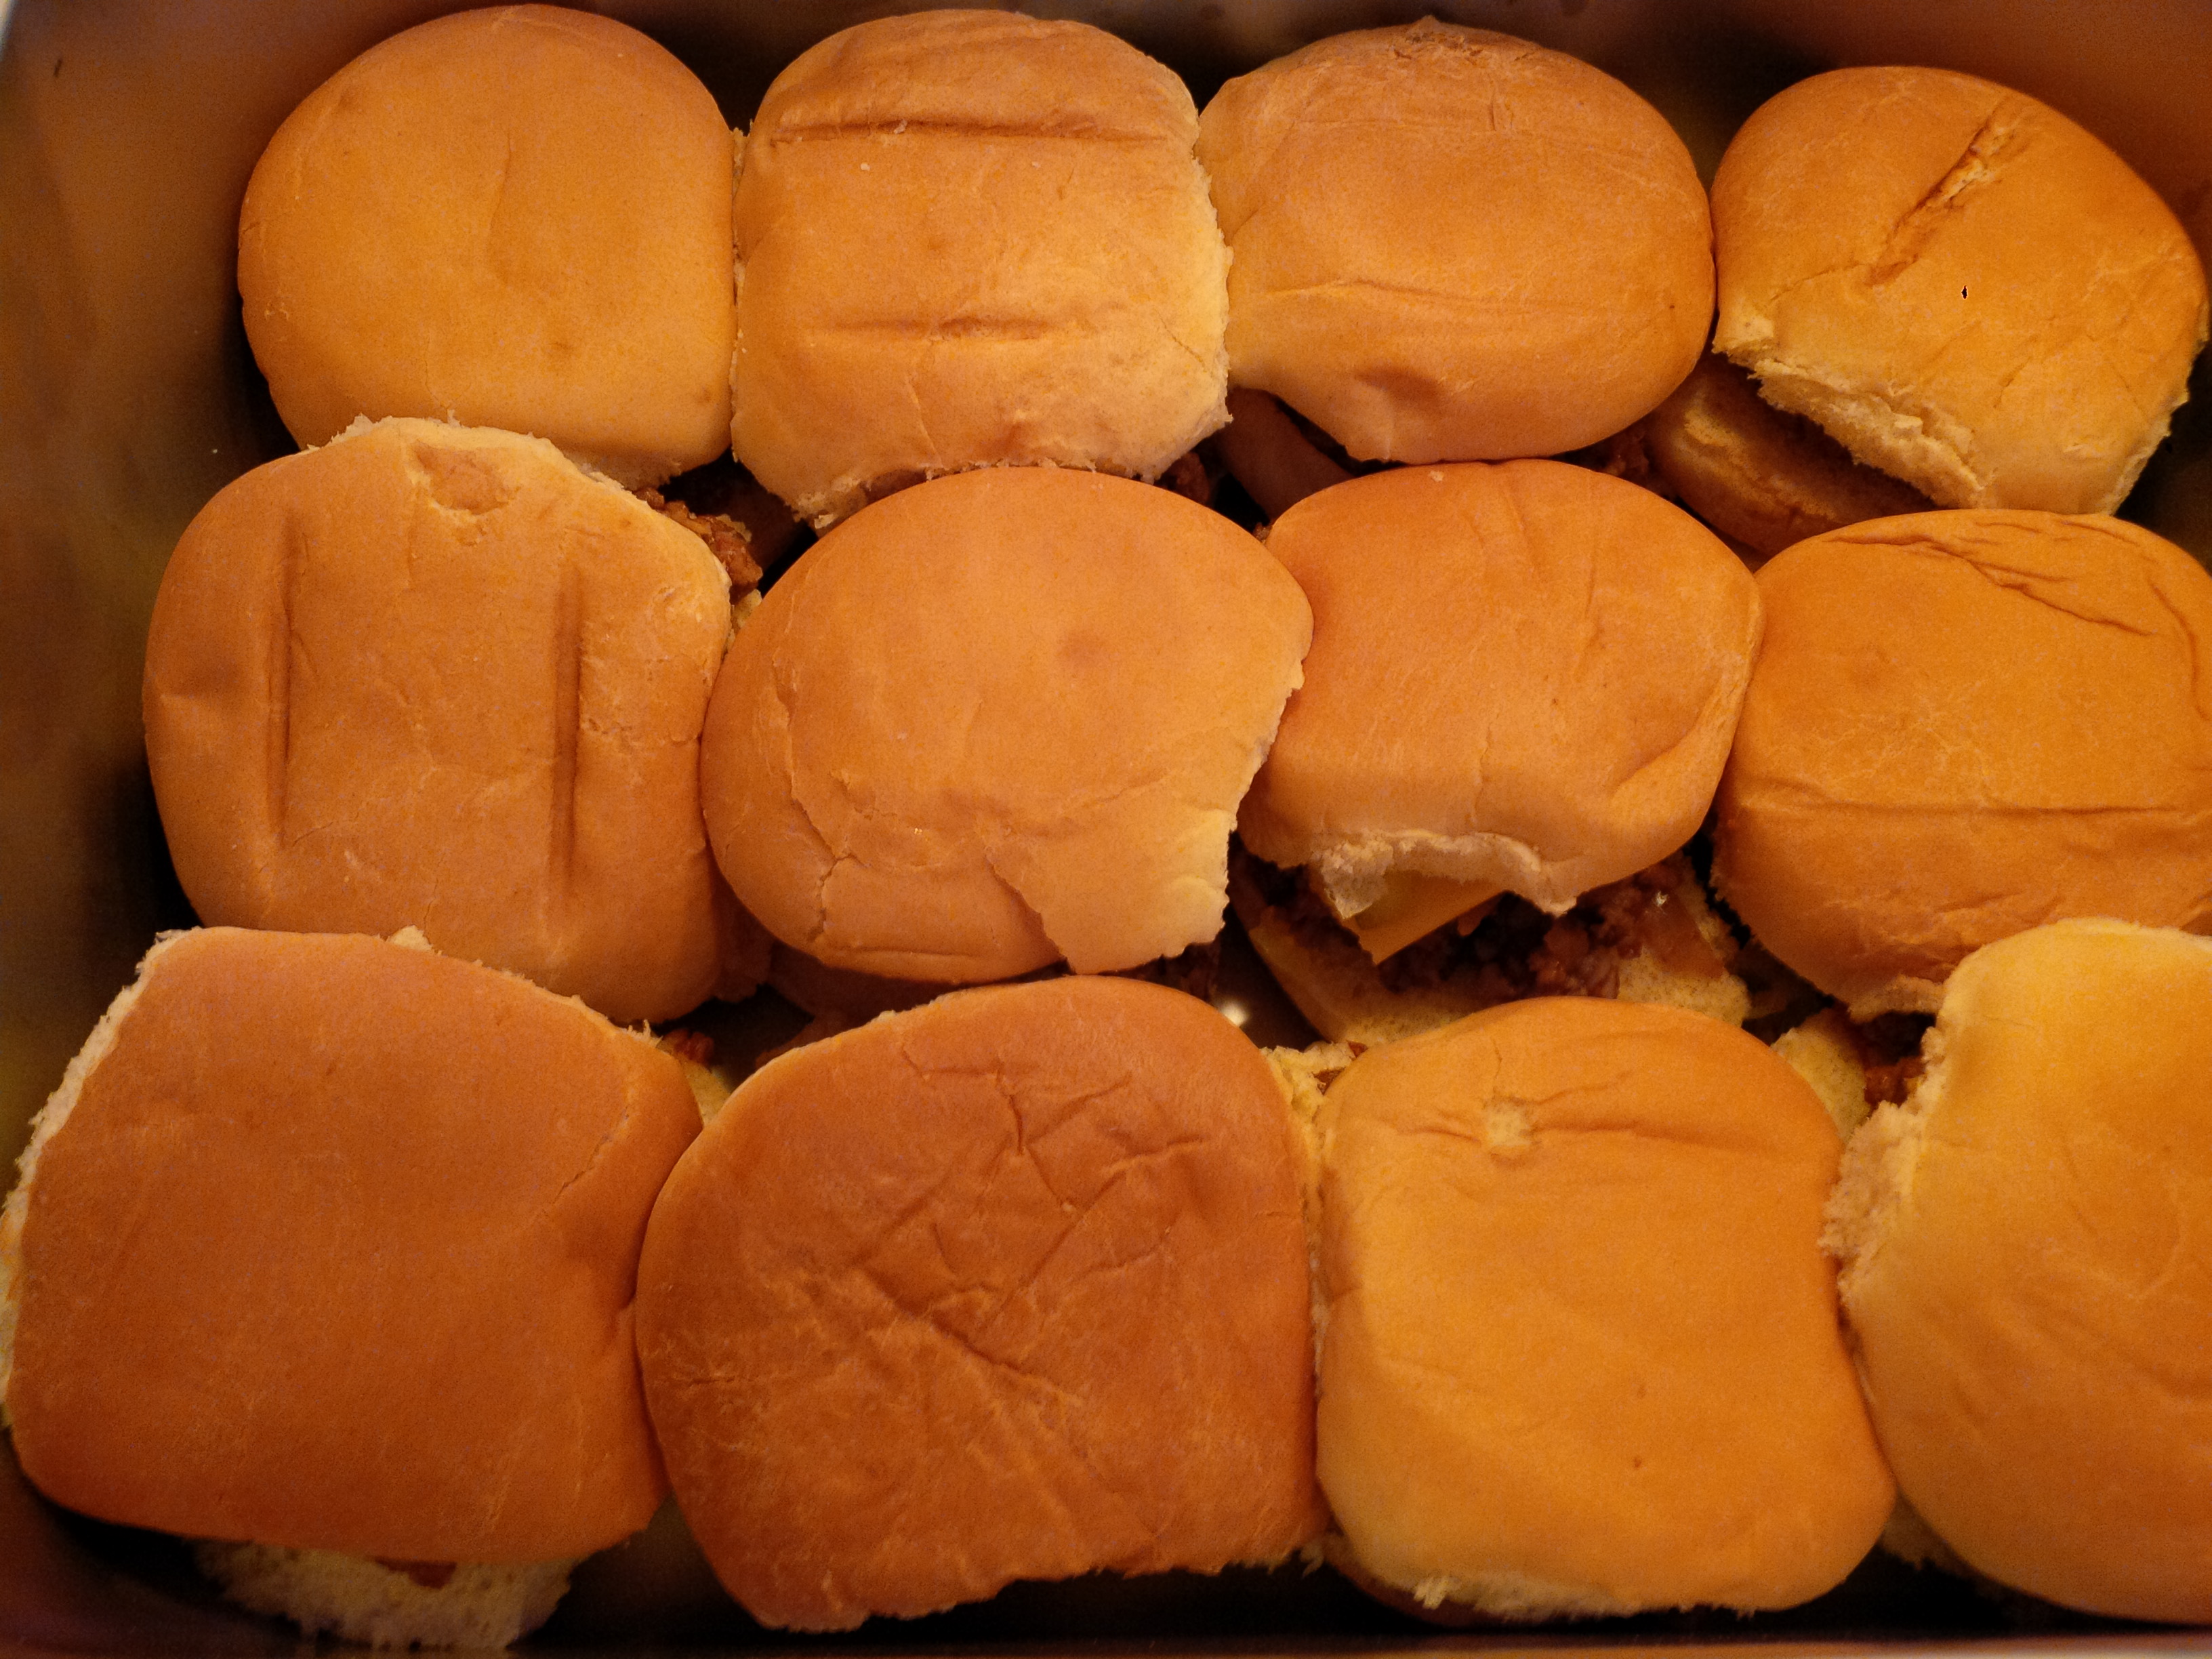
IMG_20160301_161557One of my favorite sandwiches to make are my ham and cheese sliders.  They are a quick way to make a large amount of food for cheap.  My daughter Lauren was showing me one of those videos from her news feed that do recipes really quick.  Genius idea!!!  Puts an entire step by step recipe on video in under one minute!! My kind of way.  Well this was one recipe that caught my eye.  Of course I had to go by what I remembered of how to make it, so this is what we do.

IMG_20160301_161619

I layered my pan with the bottom half of slider buns.  In a chicken fryer, I browned my meat, added an entire whole onion chopped up—this is important–you want that good onion flavor.  (use the food processor–way faster)  I then added one can of diced tomatoes.  Salt and pepper for seasoning.  Put a dab of that on each bun—it goes quick.  We then took a cheese slice and ripped it into fourths and put one on each burger.  I chopped up some pickles and added those as well.  Then put on the tops.  IMG_20160301_161626Put them into your oven on 350 with foil to melt the cheese for about 15 minutes, take off the foil to give them a little crispness to the bun for about 5 minutes.  We actually like them plain like this, but we have tried doing the glaze that we put on the ham and cheese ones.  It makes it sweeter which is okay, but not our favorite.  We then also brushed the tops with just butter—that was okay too.  We then did some with butter and garlic–okay as well.  But I found that they were just as good plain for our family.  This is a favorite go to recipe, because I always have ground beef on hand in the freezer, so when I come across some buns for cheap I grab them and freeze them.  Where we don’t always have lunchmeat for the ham ones on hand, so this is more convenient.  Try them, they remind me of a good slider.  Like good ones—not greasy yuck:)

Enjoy your day today!  I am looking forward to planting some flowers today, It is nice to be able to give your home a little sprucing up in something as simple as adding flowers for color.  Be encouraged today, knowing that another mother is in the same situation as you are.  Know that you are loved by the Lord and that when you are feeling sad and down, He is the ONLY one who can comfort and fill that void.  Be blessed today.

Amy

How to DIY hanging pom poms

IMG_20160305_184657

So I don’t claim to be the best DIY–er or have the greatest step by step tutorials—it isn’t me.  But I love to come across a blog where someone has taken the time to take amazing images, label everything perfectly, get the right angle, no flash camera mistakes, cropping right, etc, etc….but you won’t find that here.  I will try to do my best but I don’t have the exact time to make everything perfecto.  I would rather get my stuff out and let someone else take the time to make their images perfect:)  With all that said, over the past few months while I have been absent from here, I have been busy making things for my home.  One of those things was some decorations for my girls room.

We have five girls sharing a room.  The room doesn’t have that magazine appeal with everything looking just perfect—let’s face it….I have five girls of all different ages from 18 to 5.  You aren’t going to get everyone happy with the way it is decorated, so we compromised.

IMG_20160414_112228

Here is the five year old’s corner.  She likes to arrange and rearrange her shelf with toys each day.

IMG_20160414_112236Then you have the seven year old who enjoys leaving most of her toys all over her area everyday.  We do pick it up every morning, but by nighttime it looks like this:)

We have each girl in their own “corner spot” complete with a desk and whatever types of things they want to hang in their area.  I am okay with that.  Sure I’d love walls that looked like they came out of a magazine and everything uniform—BUT I want my girls to enjoy their creativity too.

IMG_20160414_112239Jadyn at 11, enjoys filling her walls with things that inspire her:)

IMG_20160414_112245Brooklyn, 9 is my uniform and everything has its place girl.  No clutter here!

Ok, so let’s start making the pom poms…..

IMG_20160305_125131

I bought a yard of material with the above colors.  I also had a bunch of scrap material where we made some extra different poms.  I believe it was 1.99 a yard at Walmart for these bright colors. IMG_20160305_125414

I then flattened my  material and folded it for easy cutting.  I folded it into strips to make the cutting go fast.  I set a large canning jar lid on and cut around it.  Your circles don’t have to be perfect, as you can see my fold was off on part of it, it won’t matter.IMG_20160305_125543I then put a dab of hot glue in the center of each circle and  folded it over.IMG_20160305_125743

I then put a dab of hot glue into the center of the half circle and folded them again. IMG_20160305_125751I filled up the bowl quickly………IMG_20160305_125849At first I laid out multiple circle and dabbed them assembly style way thinking that was the fastest…but I was wrong.  It was way faster stacking them up and putting a dab in the center.  IMG_20160305_125900Folding it with one hand, while your other hand holds the glue gun.IMG_20160305_125907Then pinching it down.  Throw into the bowl and do the rest.  Click here to view the original tutorial of how to do it. She does an amazing job in photography.  IMG_20160305_184630  What you end up with is these.  I bought my Chinese lanterns from Amazon.  You can get them for less than a dollar in bulk.IMG_20160312_185546

Here we used some scrap material that we made a curtain from to cover their closet.IMG_20160312_185615

This was the curtain. We actually converted an entertainment center that was too big, gutted the inside, attached a wooden dowel to the top and made like an armoire out of it.  We had to arrange the girls clothing differently as we have many sharing the same closet and we had to become creative.  This is what we came up with.IMG_20160312_185626

Here were some other ones.  I really liked the forest green one with a few colorful petals around it.  IMG_20160312_185647

We hooked them to the ceiling using fishing line and a push pin.  IMG_20160414_112251

If you check out the other site, she has them looking “picture perfect”  which is good.  My children like the multi color one that we used with the leftover petals….they say it looks like a disco ball:)

Just something fun to do, you don’t have to do the entire ceiling.  I think we made around ten of them to fill their large bedroom.  Something different, something fun for the girls.  Whatever makes you smile, you should do!

I pray you enjoy your day.  It is Monday!!!!  You have the chance to start out your week in a positive way.  It is one more week to inspire or encourage someone else in your circle.  Take a moment and think about something that you can do for someone else today.  Maybe write a letter to someone, send an encouraging text, sit and talk with your teenager today, or let your children see you SMILE all day!!!  Be blessed as you begin your day!

Amy

Scroll to Top