In part 10 of our large family organization tips series we are going to look at our storage area.
**update at the bottom
In our storage area we have:
- our computer desk
- our homeschool shelf
- our shoe rack
- our coat rack
- our cleaning shelf
This is the room of the house that holds everything. I have to be very diligent about keeping this room clean and organized because it can get cluttered quite quickly.
Since we have a few toddlers, a gate up is a necessity otherwise all of the toy bins will get knocked out and a mess will occur.
In your home, you need to have a place for toys. Otherwise they will accumulate quickly and take over. In previous post in this series, I talked about how we have a minimal set of toys in each room, basically the childs’ favorite. This shelf is where we keep all of the toys that if left in their rooms would make an utter disaster. I can not count the many times I have had to put away a pile of miscellaneous toys that were found in the childs’ bedroom. Little toy animals, lego pieces, and puzzle pieces can get quickly lost and strewn out over your home, unless you have a specified, “locked up” area.
Having a large family has shown me over the years what children play with and what they don’t. When we had the older half as “littles” we would buy all the cool new advertised toys. Then I quickly realized that those are the ones that get left behind in a toy box never to play with again. I try and choose the basics for my children. Toys that help express creativity and constructive play are always on my list.
The girls have dolls and doll houses with which to play. We do not have baby doll equipment, because we always have a new baby with which to use the real stuff. The doll house we have used over the last 20 years is the Fisher Price Dollhouse. Sets have gotten broken and we have replaced those over the last 10 children. For the most part the girls just set up their own houses right on the floor or in cardboard boxes. The house usually just ends up sitting and not getting used.
For the boys an ample supply of trucks and blocks seem to pacify them. We stay away from action figures if the toddler wants to play with a “man” he goes and gets the daddy dollhouse person. As they get older Daddy usually buys them small, inexpensive tools that they love to use to take things apart.
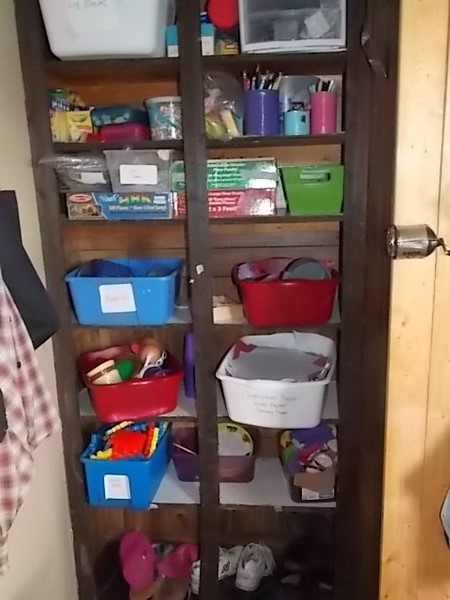
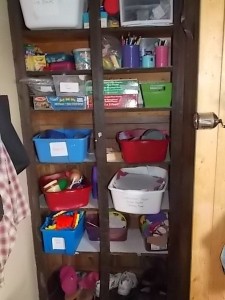
This is our homeschooling shelf. We found this shelf at a retail store that was throwing it out. I believe it was some sort of display case. All I know is that it is super heavy duty and holds many shelves worth of items.
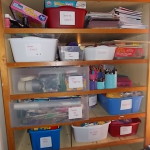
This shelf has been organized and reorganized over and over again. We continually try and come up with a way to make it neater. We go through and weed out things. Sometimes it is just a new container for other things.
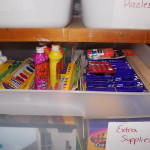
I use plastic drawers from a plastic drawer holder that had broken. I was able to save 2 out of 3 drawers and realized they fit quite nicely on my shelf. In one of them I store all of our extra school supplies. At the beginning of the school year they have really cheap items at Walmart. I always go and stock up for the year. A box of crayons will be $.25 in the summer time but try and get some around Christmas and you will be paying $2 for the same box.
In our extra school supplies box we have:
- crayons
- pencils
- glue
- glue sticks
- markers
- bingo dabbers
- water color paint
- rulers
- tape
- index cards
- calculator
- push pins
- paper clips
We keep a set of notebooks that I purchase for $.10 before the school year, to ensure that we have lots of paper for the year. I also buy construction paper, cardstock, and printer paper to use. Coloring books at the Dollar Store for preschoolers that love to color are a staple as well.
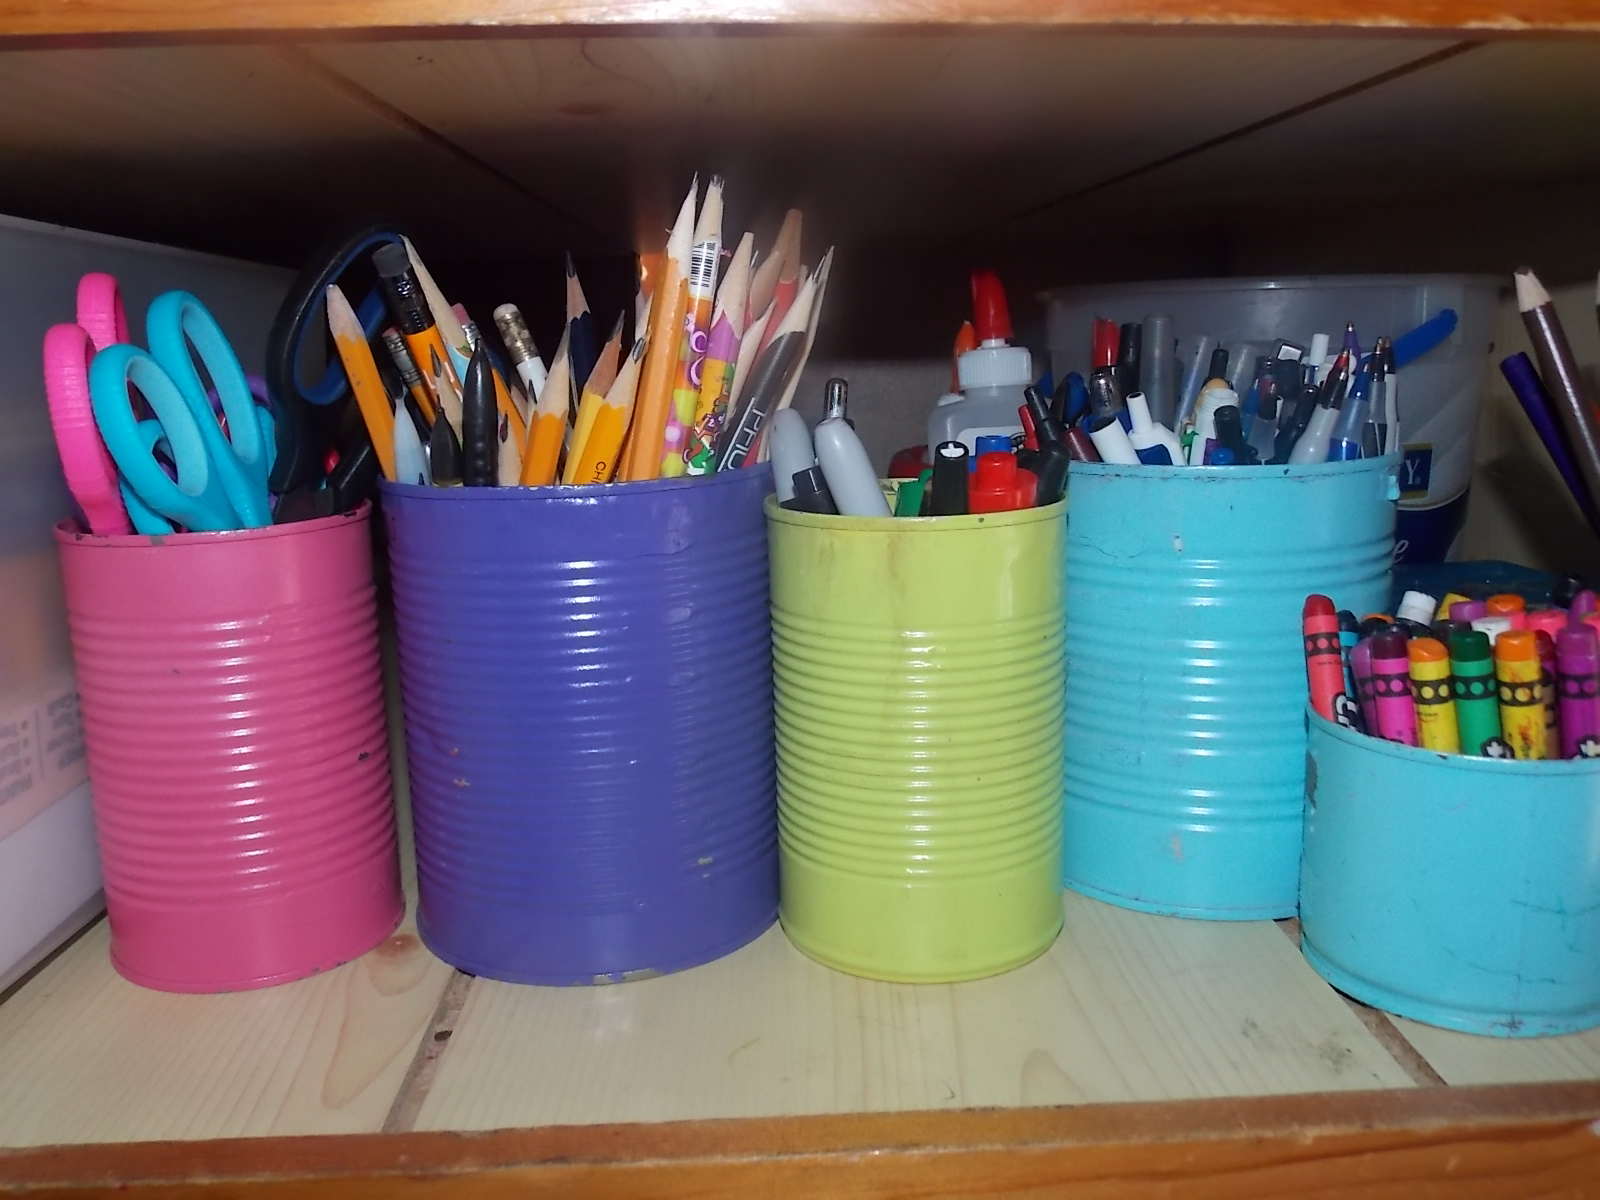
I took tin cans and spray painted them different colors to hold the items that we use daily
- pencils
- pens
- scissors
- dry erase markers/permanent markers
- glue sticks/glue
- small tin cans for crayons
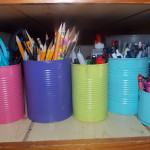
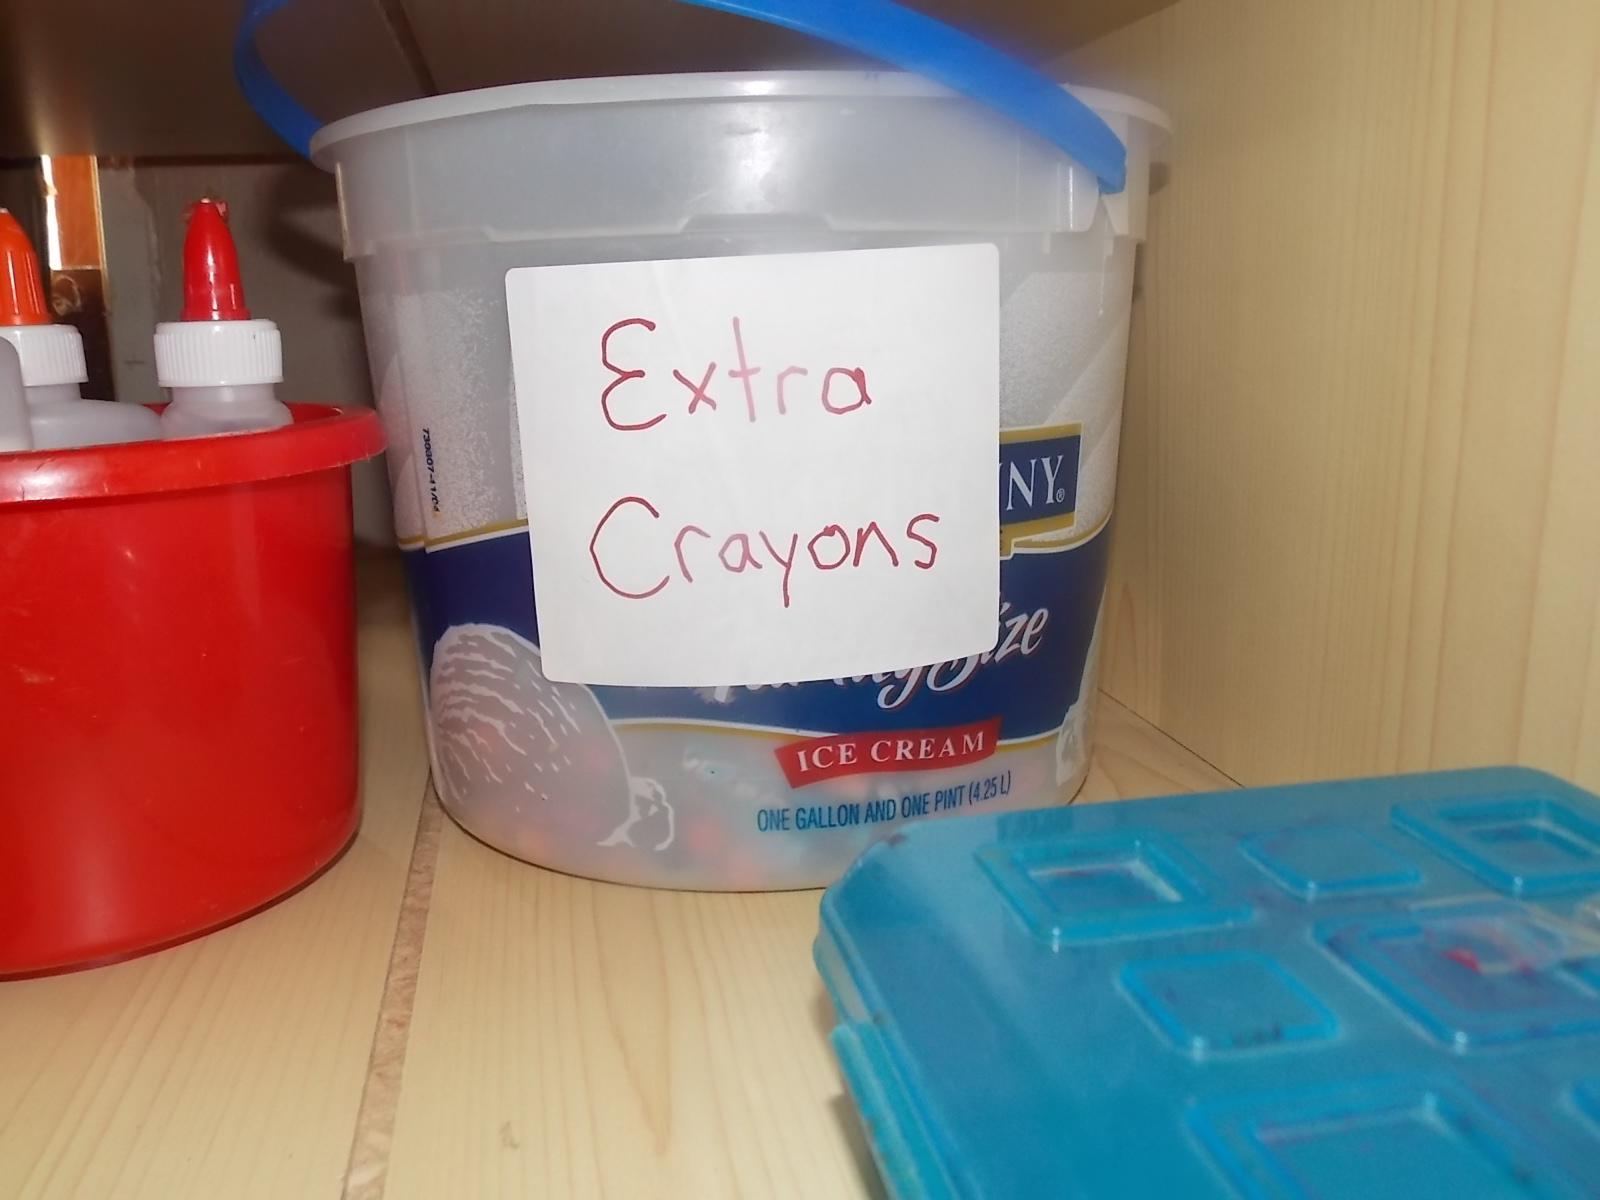
I found that we go through many a box of crayons unless they are in a small container like the tin can. Boxes just don’t seem to hold up to a preschooler trying to refit her crayons. Some crayons get worn down easier than others and the older ones usually need a new box of crayons. I then dump the semi used ones into this ice cream bucket. I use them for little kids to color with. I might melt some down this year and make different shaped crayons. 
The other plastic drawer on my shelf holds all of my crafting supplies for the school year. It contains stickers, foam pieces, glitter, card stock, paper bags, pipe cleaners, googly eyes, or any type of craft kit that I may purchase.
On the bottom of our shelf are 2 white dish pan buckets. These are leftover from a re-organization of this shelf. I like to pull those out and give to the toddlers to put their small pile of blocks or toys in. My 2 year old likes to use it as a baby bed.
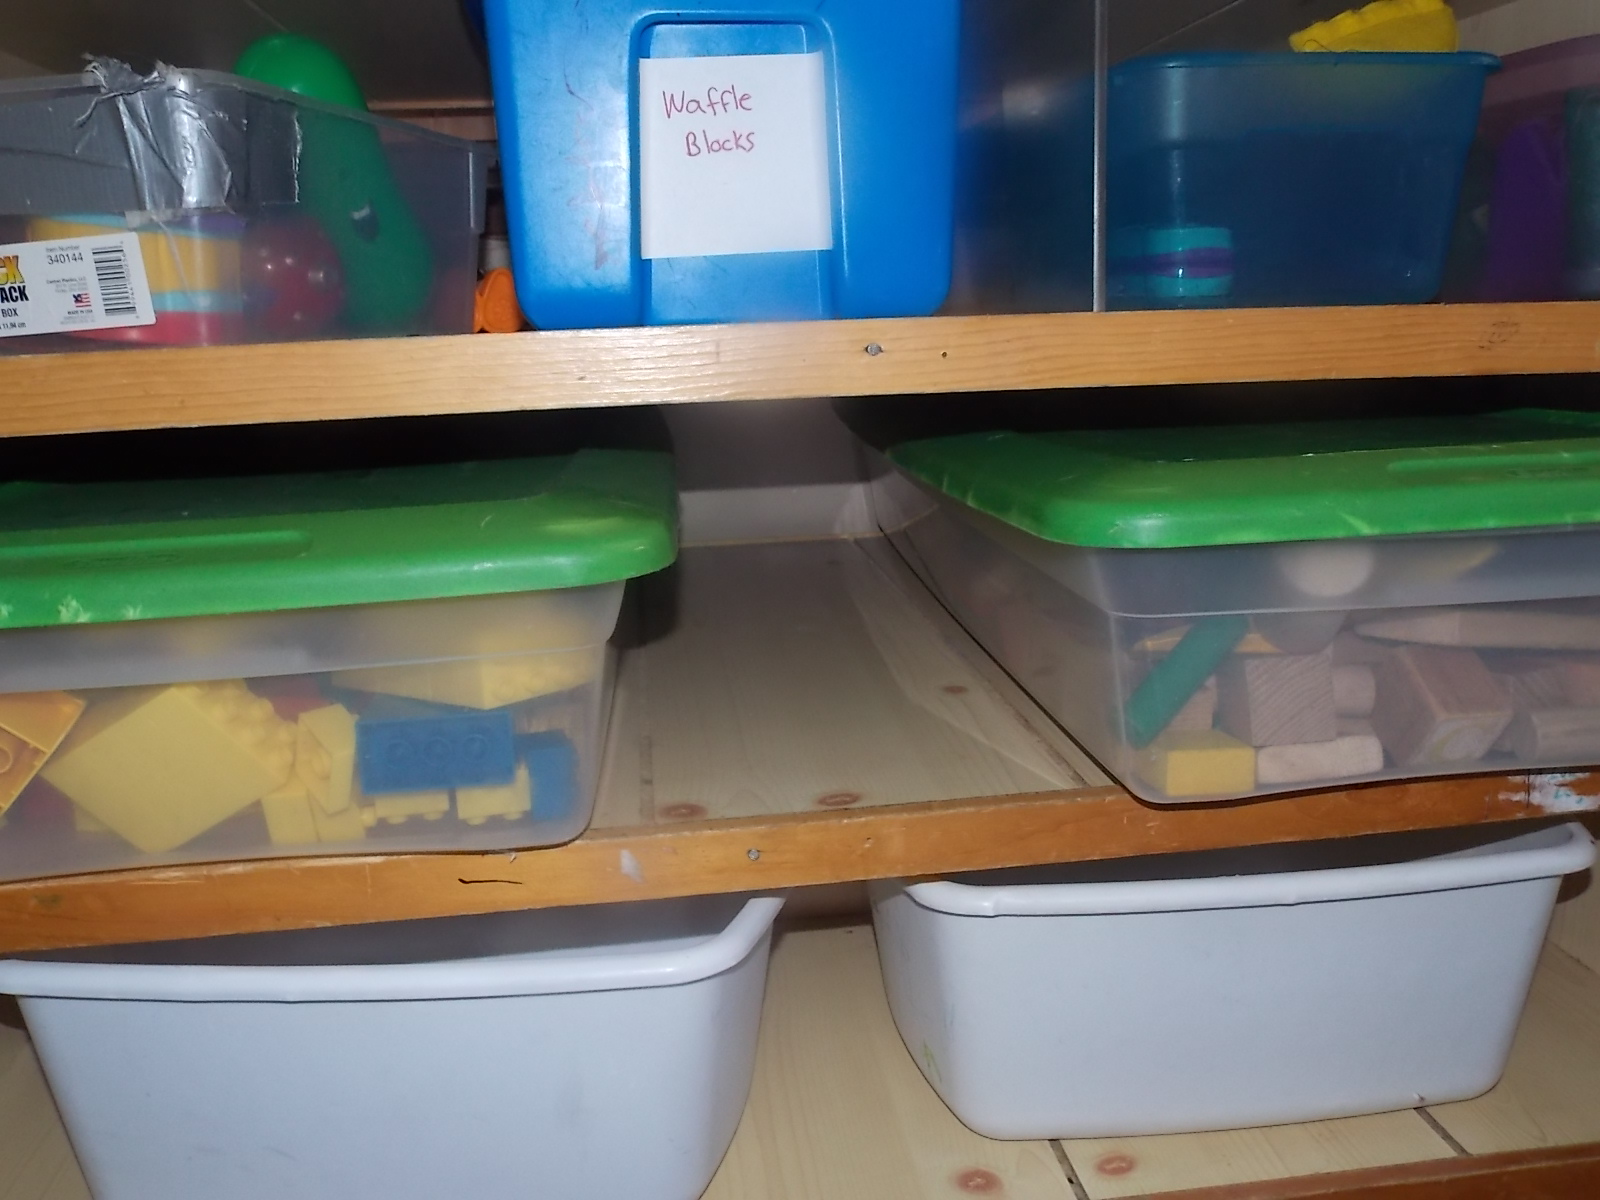
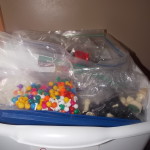
The next shelf up contains our block set and our lego set. We have a big set of these and store them in long slim plastic containers. Our block set is a homemade set my son made for Christmas one year. We went and bought strips of pine wood, cut, and sanded each pieces to make different sized block pieces. I even bought a dowel and had him cut that into pieces. This is one of the 3 year olds favorite toys. He can build a road for his matchbox cars to drive on with his homemade blocks.
The lego set is for preschoolers. We bought a few sets over the years and just keep adding to it. We do have a larger sized lego block set on the top of this shelf(not pictured) We try and pick up a set each time we are at Goodwill to add to it.
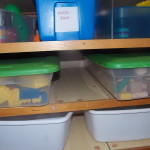
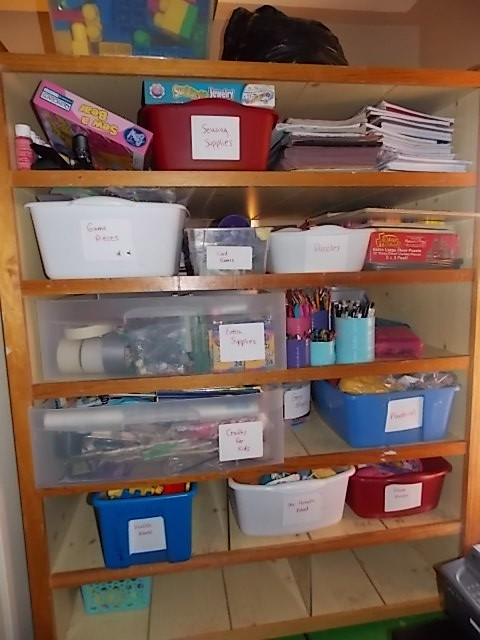
We use dish pans or plastic shoe boxes to hold the items on this shelf. We label each box with a sticker.
Some of the activities we have include:
- Waffle blocks
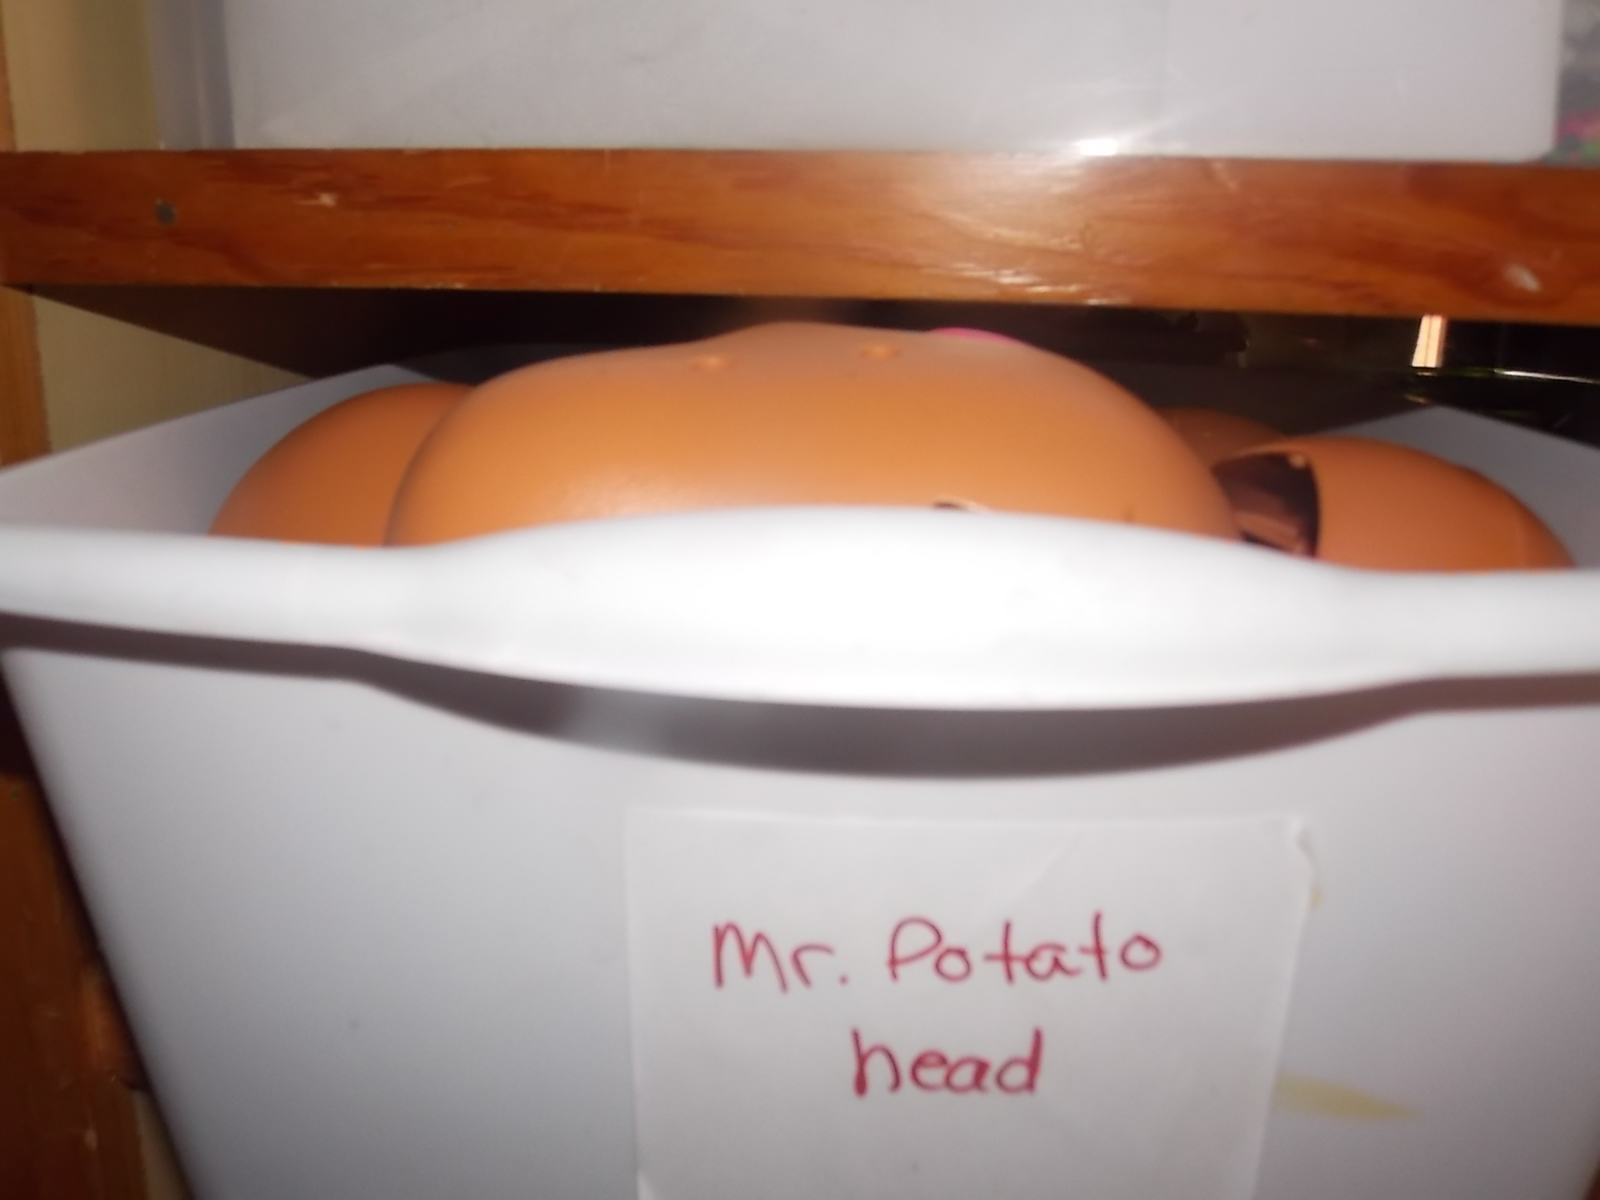
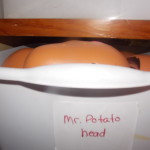
- Mr Potato head–each Goodwill trip I look for another set
- Lincoln logs
- Food pieces set
- a tea set
- wooden dress up doll set
- train set–just the cars not the track
- geometric shapes
- Dress up Veggie tales larry
- little people animal sets–i realized no toddler or preschooler ever played with the buildings they just enjoyed the people
- finger puppets
- bean bags
- playdough
- Little Pet Shop pieces
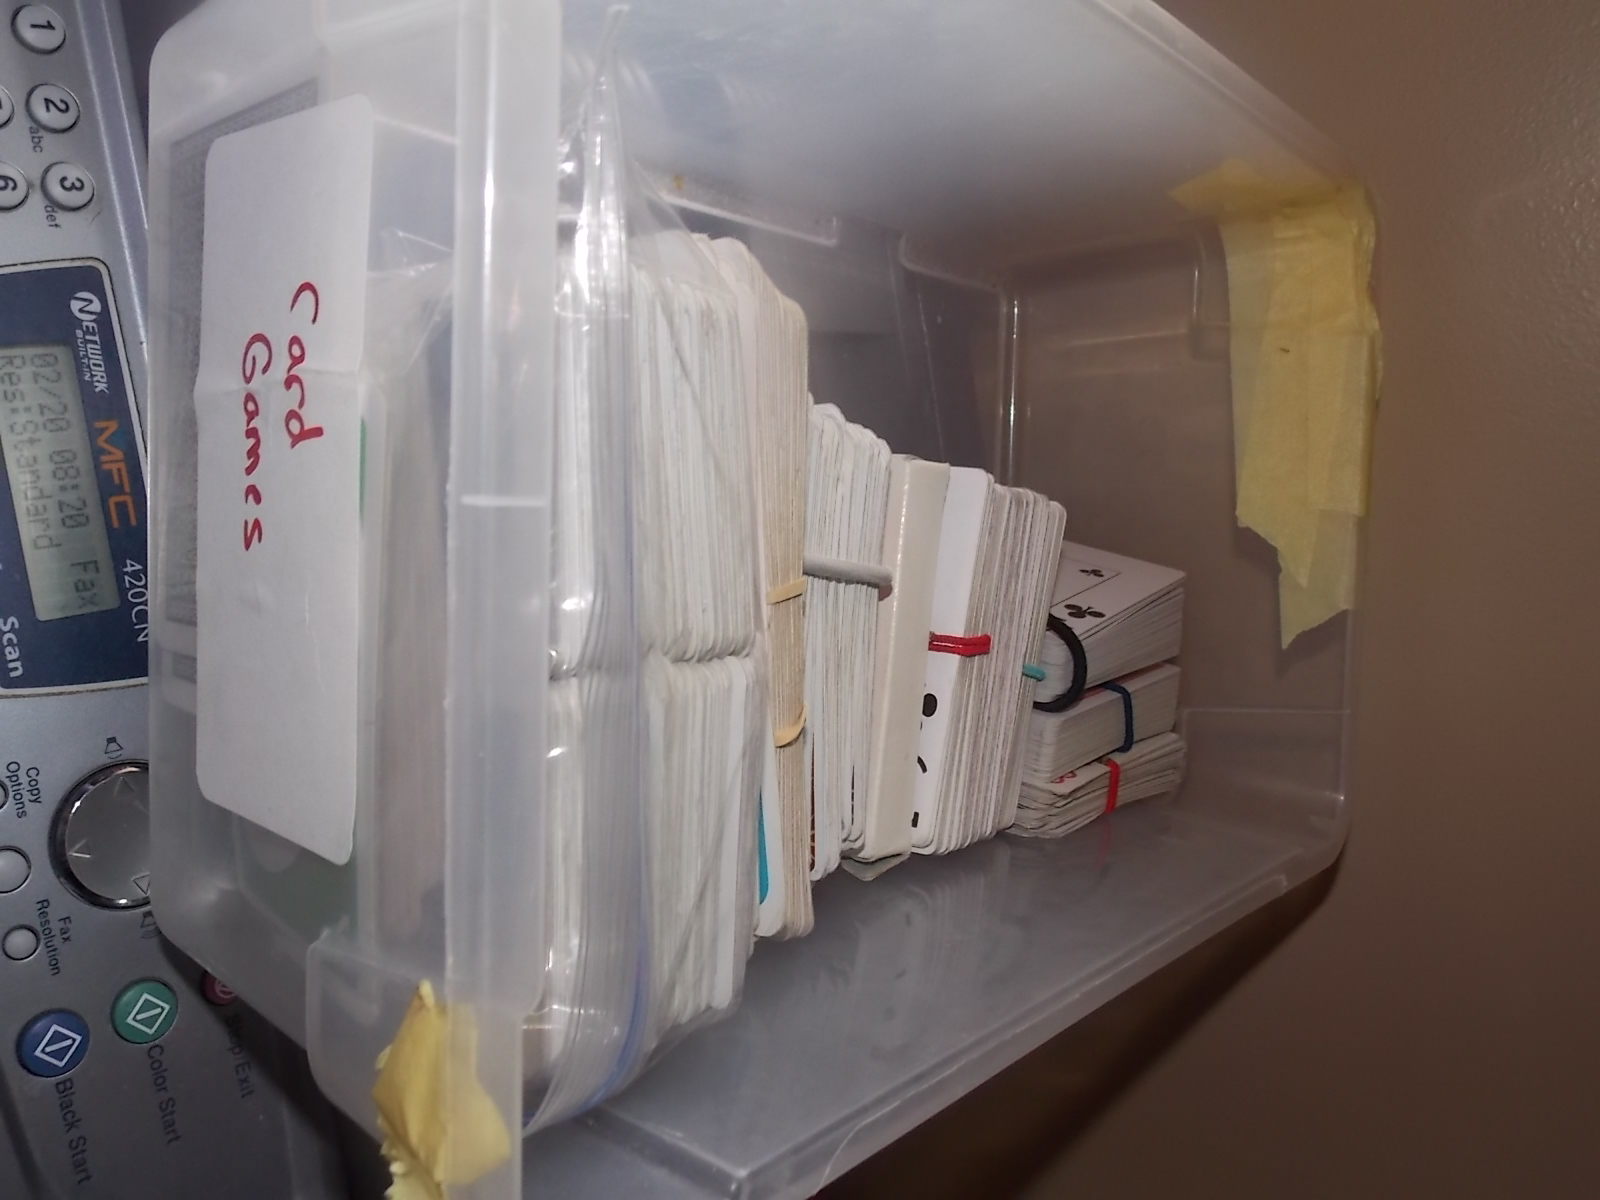
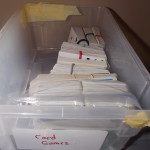
We also have a bin for puzzles. When I get a puzzle we immediately label all of the back pieces with a number or letter and place inside a ziploc baggie. No need to keep big, bulky boxes. We do have some nicer floor puzzles that I keep in the boxes and place those on the shelves. I keep one wooden puzzle of a farm for the toddler.
Card games
Some of our favorites include:
- uno
- go fish
- old maid
- war
- shoot the moon
We lose the boxes and just place a rubber band or hair tie around the cards. It has been nice with a large family to accumulate multiple sets of a favorite game. That will ensure that more players can play without running out of cards.
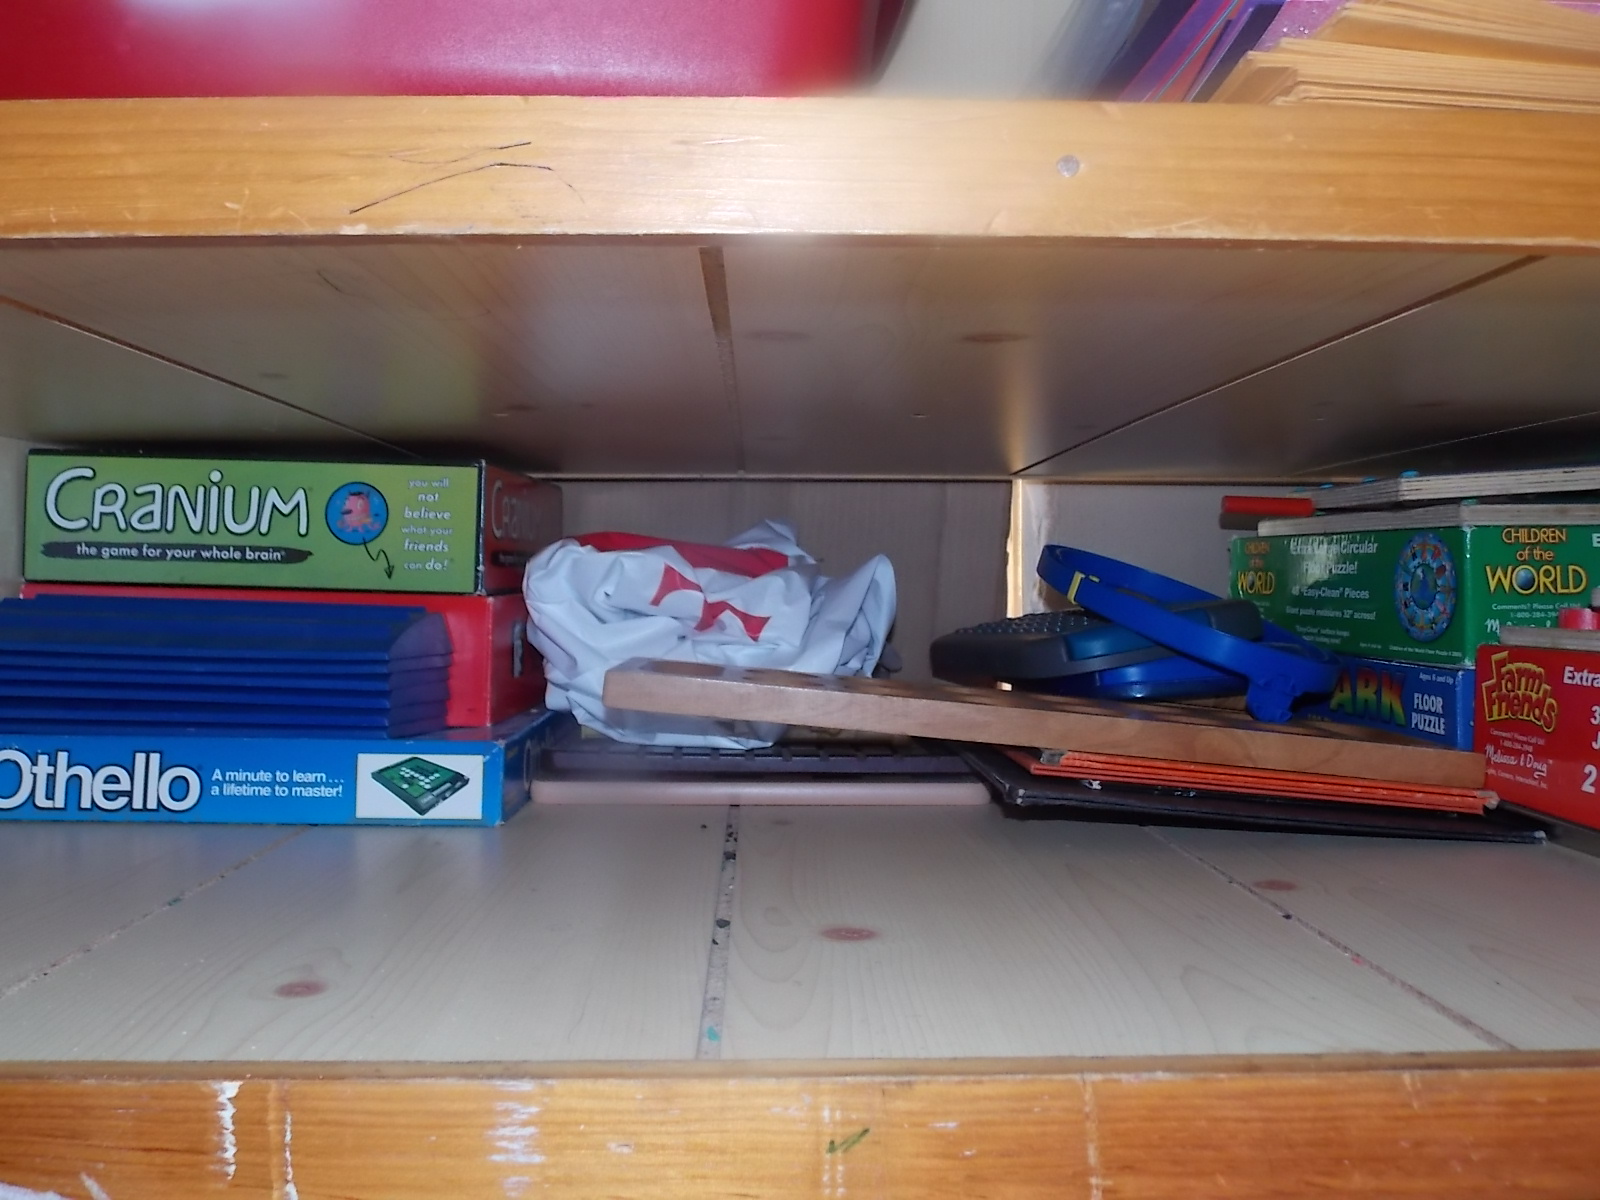
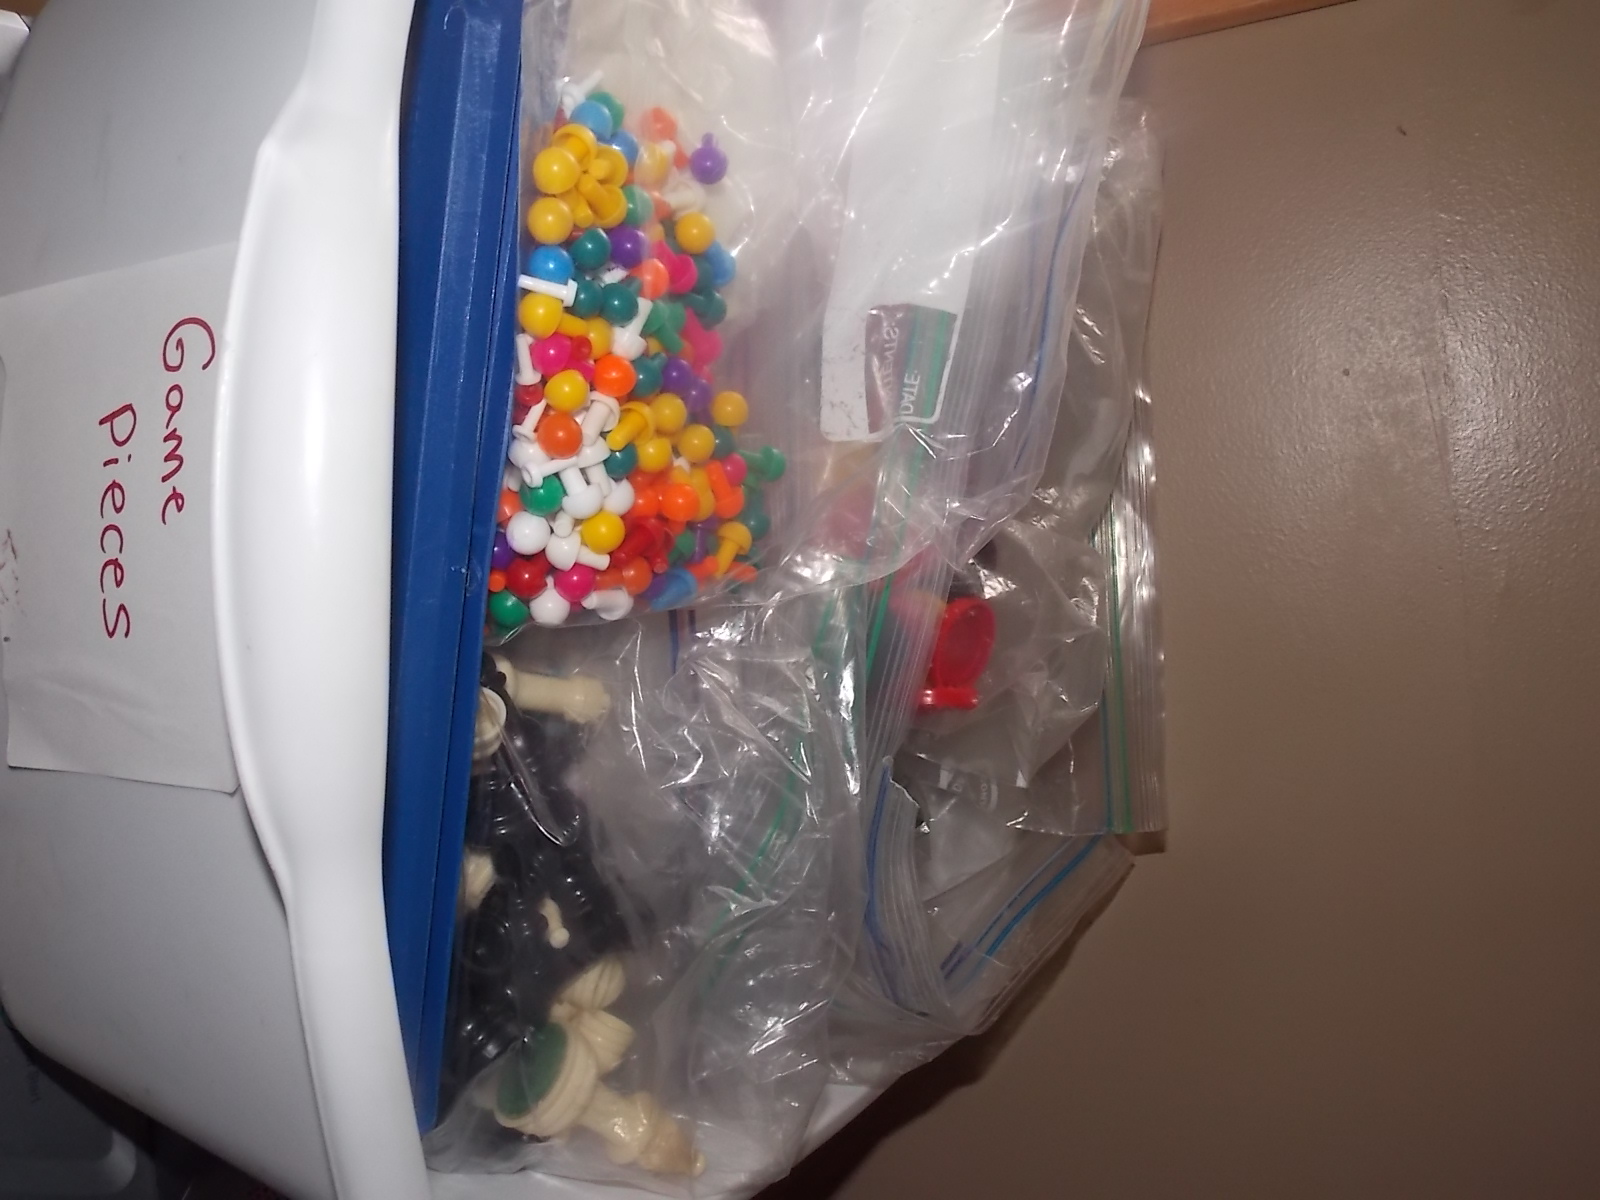
Games
We own many games. Our neighbor was very kind to give us all of her families board games this year and there was a lot of game. We had to come up with some organization. We only kept a few games with their boxes. These were games that we would “eventually” play as a family when the little ones got a little bit older. So I stored those in the back of the shelf. Most of the other games were a repeat of what we already had. Which is great because when you have more than 2 people that want to play the same game it can get frustrating having to wait.
For holiday and special family game nights, we usually have a competition of a certain game. Like a Connect 4 championship match. I used to be the champion at that one, but now my children are quicker and can beat me. Dad is good for a chess tournament, he has taught most all of our children how to play.
We had a Win, Lose, or Draw game, but don’t use that in a traditional game sort of way. Usually if we have to pass some time before we leave or before we are having guests over this is a great way to occupy all the little ones. My teenage daughter takes out a few cards for ideas and then starts drawing on our marker board, the first one to blurt out what it is, wins. They don’t win anything more than the satisfaction that they got the answer.
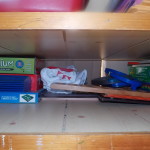
Any games with pieces or cards we place in ziploc baggies. We then place them into one of our labeled dishpans for storage.
Some of our families favorite games are:
- Mancala
- Connect 4
- Chess
- Mastermind
- Stacking cups
- Rummikube
- Sorry
- Jenga
- Candy land
- Yahtzee
- Twister
- Quoridor
- Banana grams
**Well we have weeded out once again to the point that we were able to get rid of this very bulky shelf:) We moved all the cleaning supplies to other areas of the home and found that those shelves work nicely for our homeschool items.
My children have grown a bit and we no longer needed so many of the toys on the shelves. We got rid of things that just kept making a mess in our home:) Now everything is within view, no overwhelming choices, just simple basic here it is!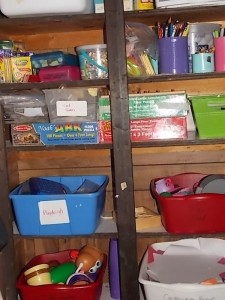
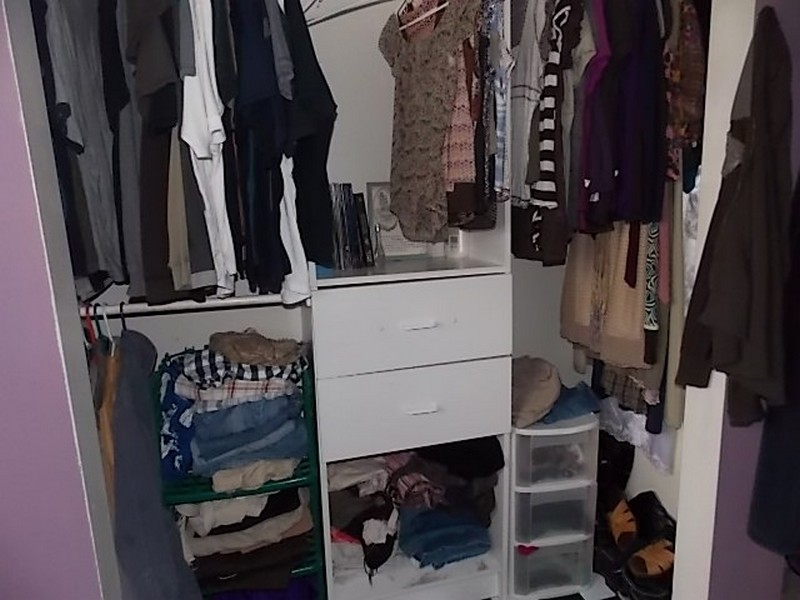
Coat and shoe organization
When you have a large family, you have many shoes and coats. I really enjoy the summer months because for the most part we never need a jacket or a pair of shoes. But come winter time in our Northern area it requires shoes and winter boots.
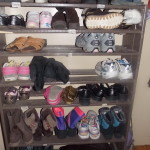
For each child they get a pair of winter boots, a pair of dress shoes or boots, and a pair of play shoes.
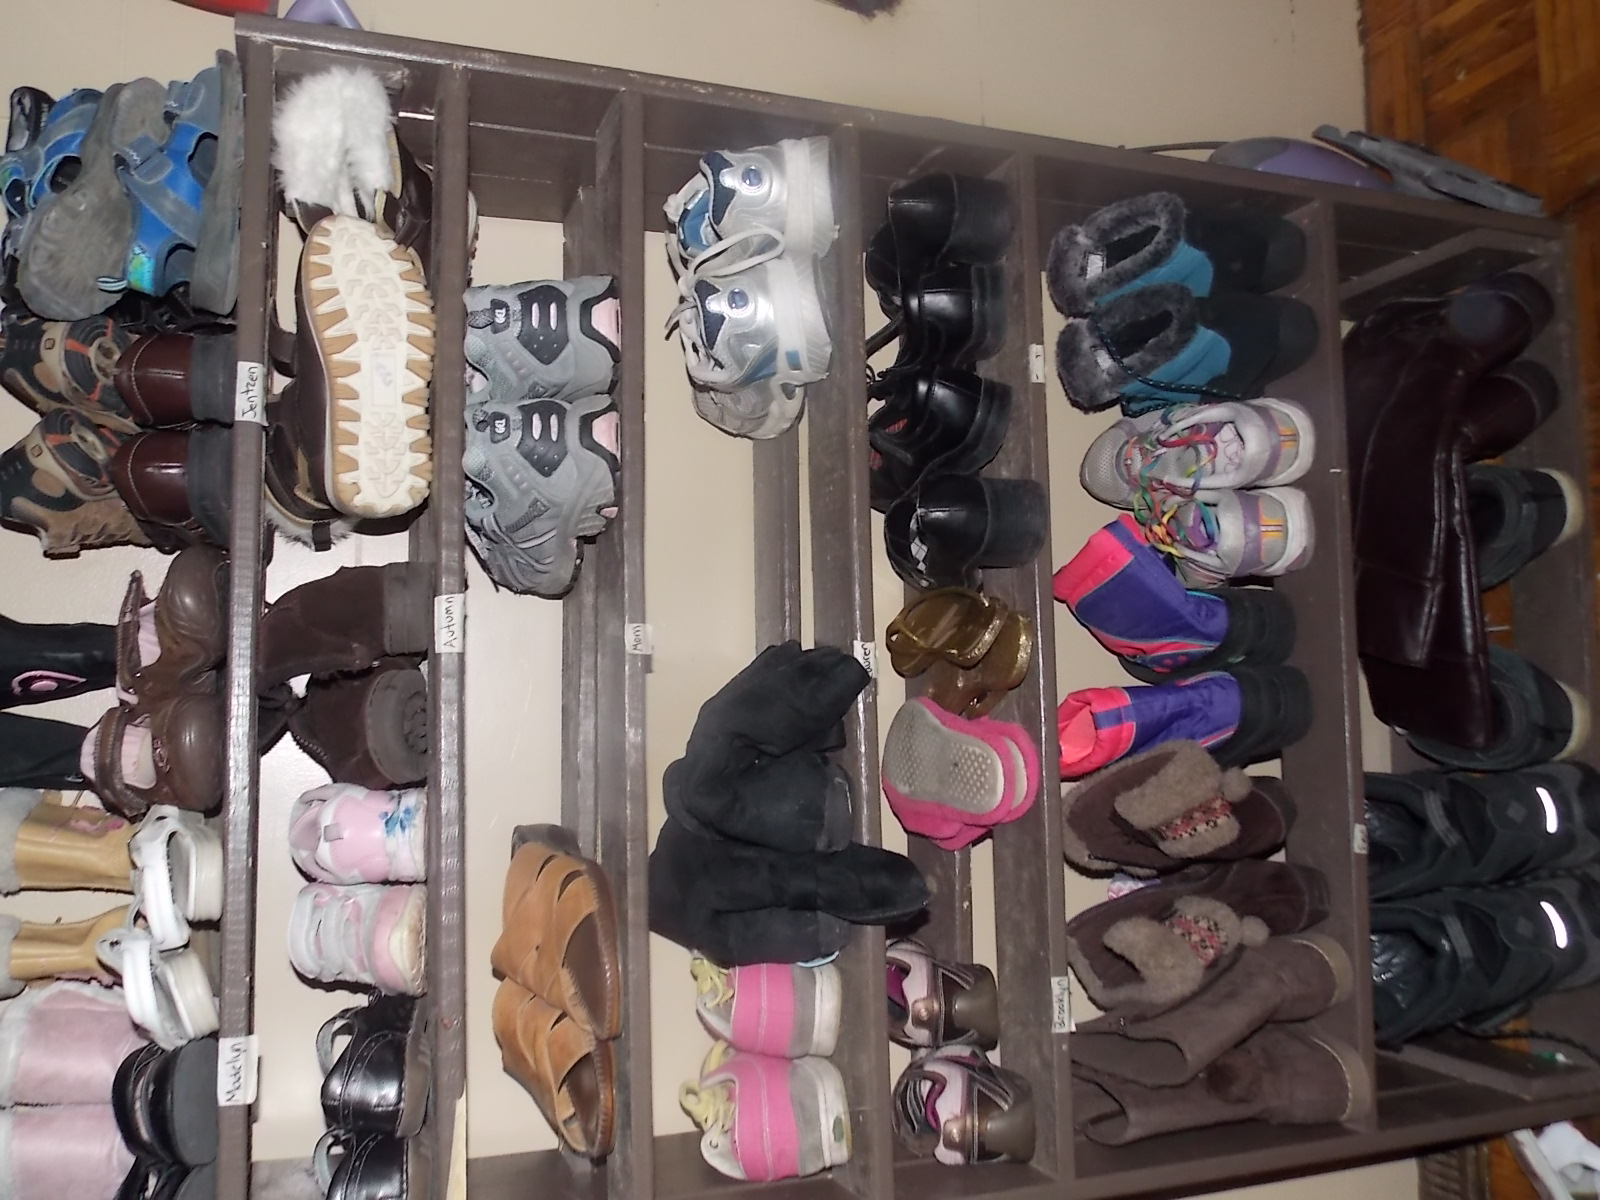
My son made this shoe rack for me and it holds all of our shoes nicely. I label each shelf to where each persons’ shoes are supposed to go. This is the only place where shoes are to be stored, no where else in the home. I have to train my children in the importance of picking up their shoes and putting them on the rack. Otherwise I could be responsible for picking up 24 different shoes!!!
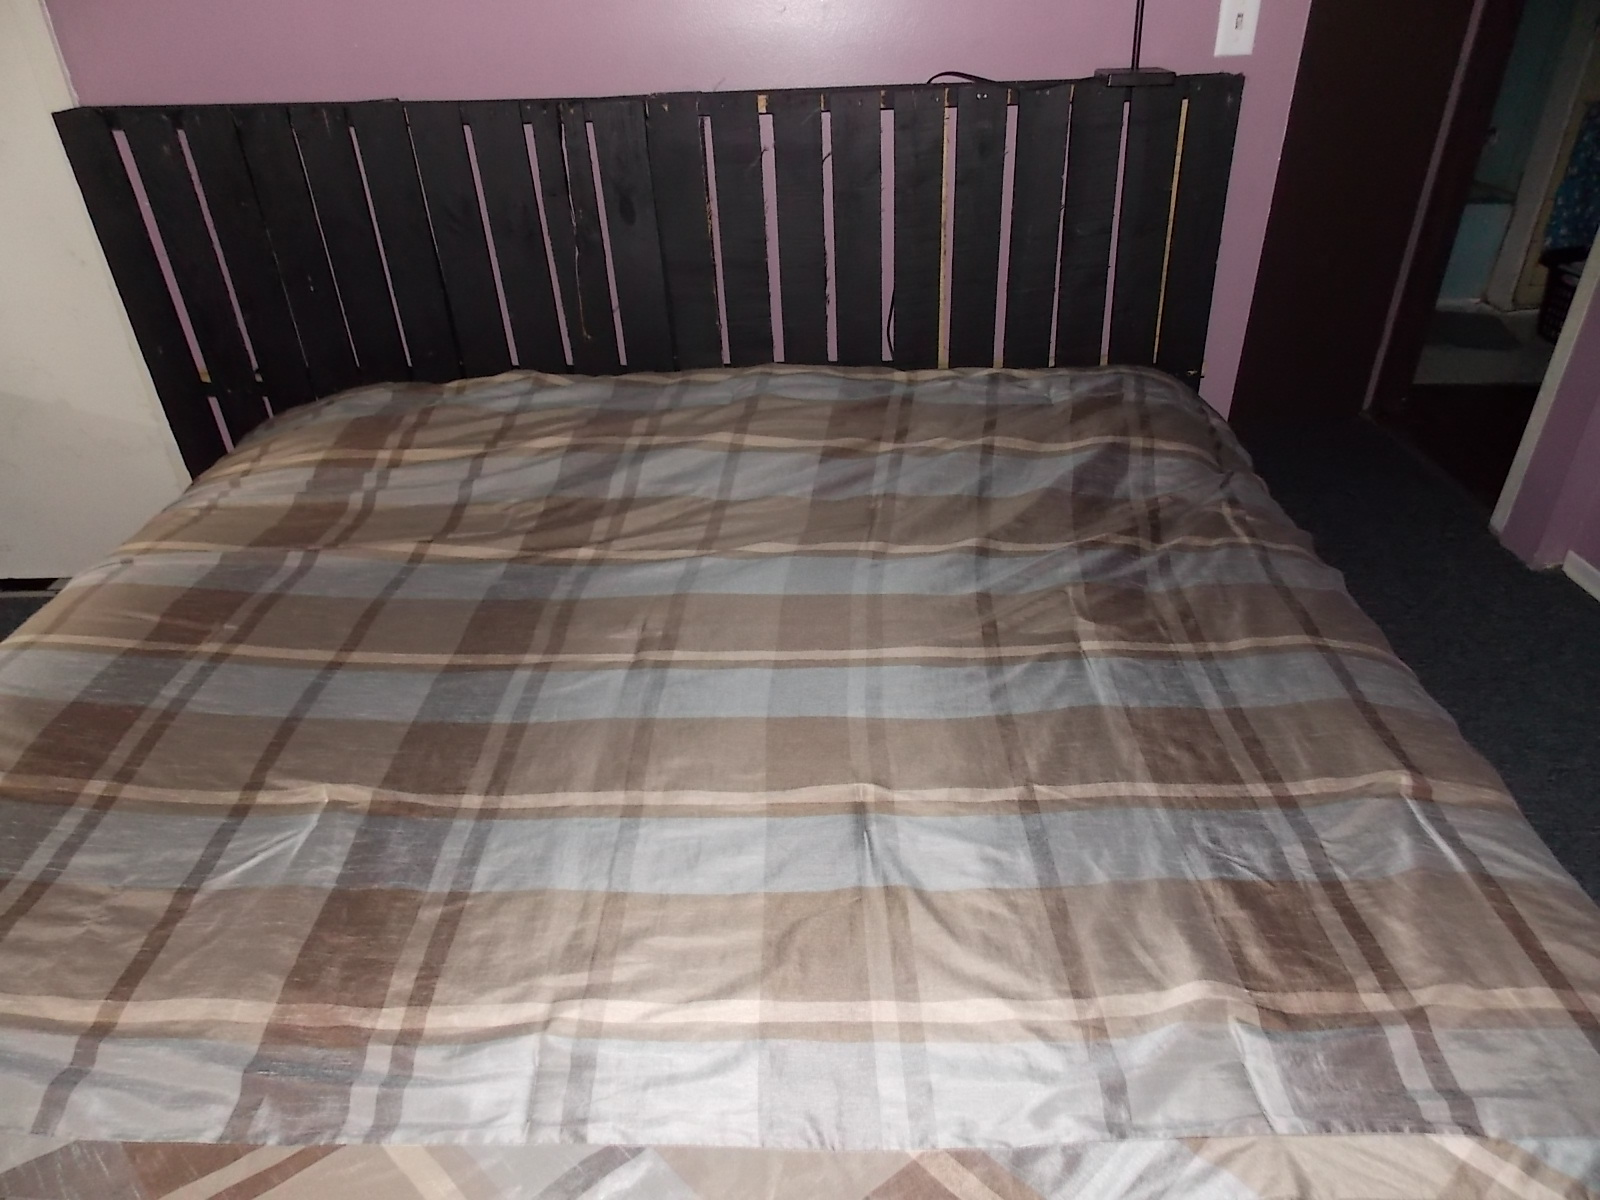
Above the shoe rack, my husband has made us a simple coat rack. It is a strip of wood with dowels into it. This is where I keep our winter jackets for the older half of the family. It is relatively high on the wall,to enable this room to be functional.
My husband made this lower coat rack for the “littles”. Each child gets a hook and come winter time, they need to make sure that their snow pants and jacket are on their hook.
For winter coats, I try and keep 2 per child. I keep one on the coat rack here for everyday wear and one I hang up by the front door in the hallway closet. I do my shopping at Goodwill on the half price day and that enables me to purchase jackets relatively inexpensively. I like to do that because in the winter months Daddy always has some great snow expedition outside. He will build ice ponds, sledding runs, igloos, any kind of snow fun and they usually come in needing a dry coat to switch into to get back outside and not miss any of the fun.
*****************************************************************Ok we no longer have the shoe rack—too much stuff, I have to downsize. It worked good while I could barely function being so busy, but now I can do with less.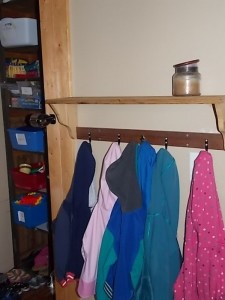
Here is the coat rack for the under 8 group. You place your coat from left to right according to ages. Stephen, Madelyn, Jentzen, Autumn, Brooklyn, and Jadyn. Important to teach them to hang their coats up properly or they could lose it.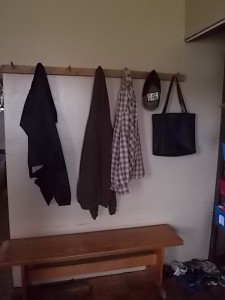
Here is the coat rack for the older adults. No set ways, it is summer, we don’t need many jackets:) I keep the black bag for returning library books.
The bench is great for sitting and putting children’s shoes on. I just set the shoes to the right of the bench. There is room under the shelves to store some. Each child has flip flops which they mostly wear outside. I like flip flops, just hose them off. We keep those at the front or back doors.
******************************************************************
continuing with original post…..
The shelf above the coat rack is for Daddys keys, wallet, and phone after he comes home from work. We have lost our keys way too many times. Dad’s go here on the shelf, Moms are always in her purse.
The basket is for gathering eggs each day. We currently have 25 chickens and 4 ducks.
The bag hanging on the hooks is our library return bag. After reading a story from our library stash, I place it in this bag to be returned later that week.
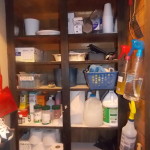
Our cleaning shelves—(I no longer have this but wanted to keep it here)
I haven’t always used all natural cleaners for our household. I used to diligently buy the newest fragrance of Mr Clean for our bathroom and a good smelling laundry detergent for our laundry. Then I had a child who had excema. I realized it was largely related to what I was putting on her clothing. I started researching all natural options and switched our life over. You can read my series on 21 days to a more natural home to see how we implemented our journey to all natural products. My daughter still has occasionally flare ups but not as severely as she used to.
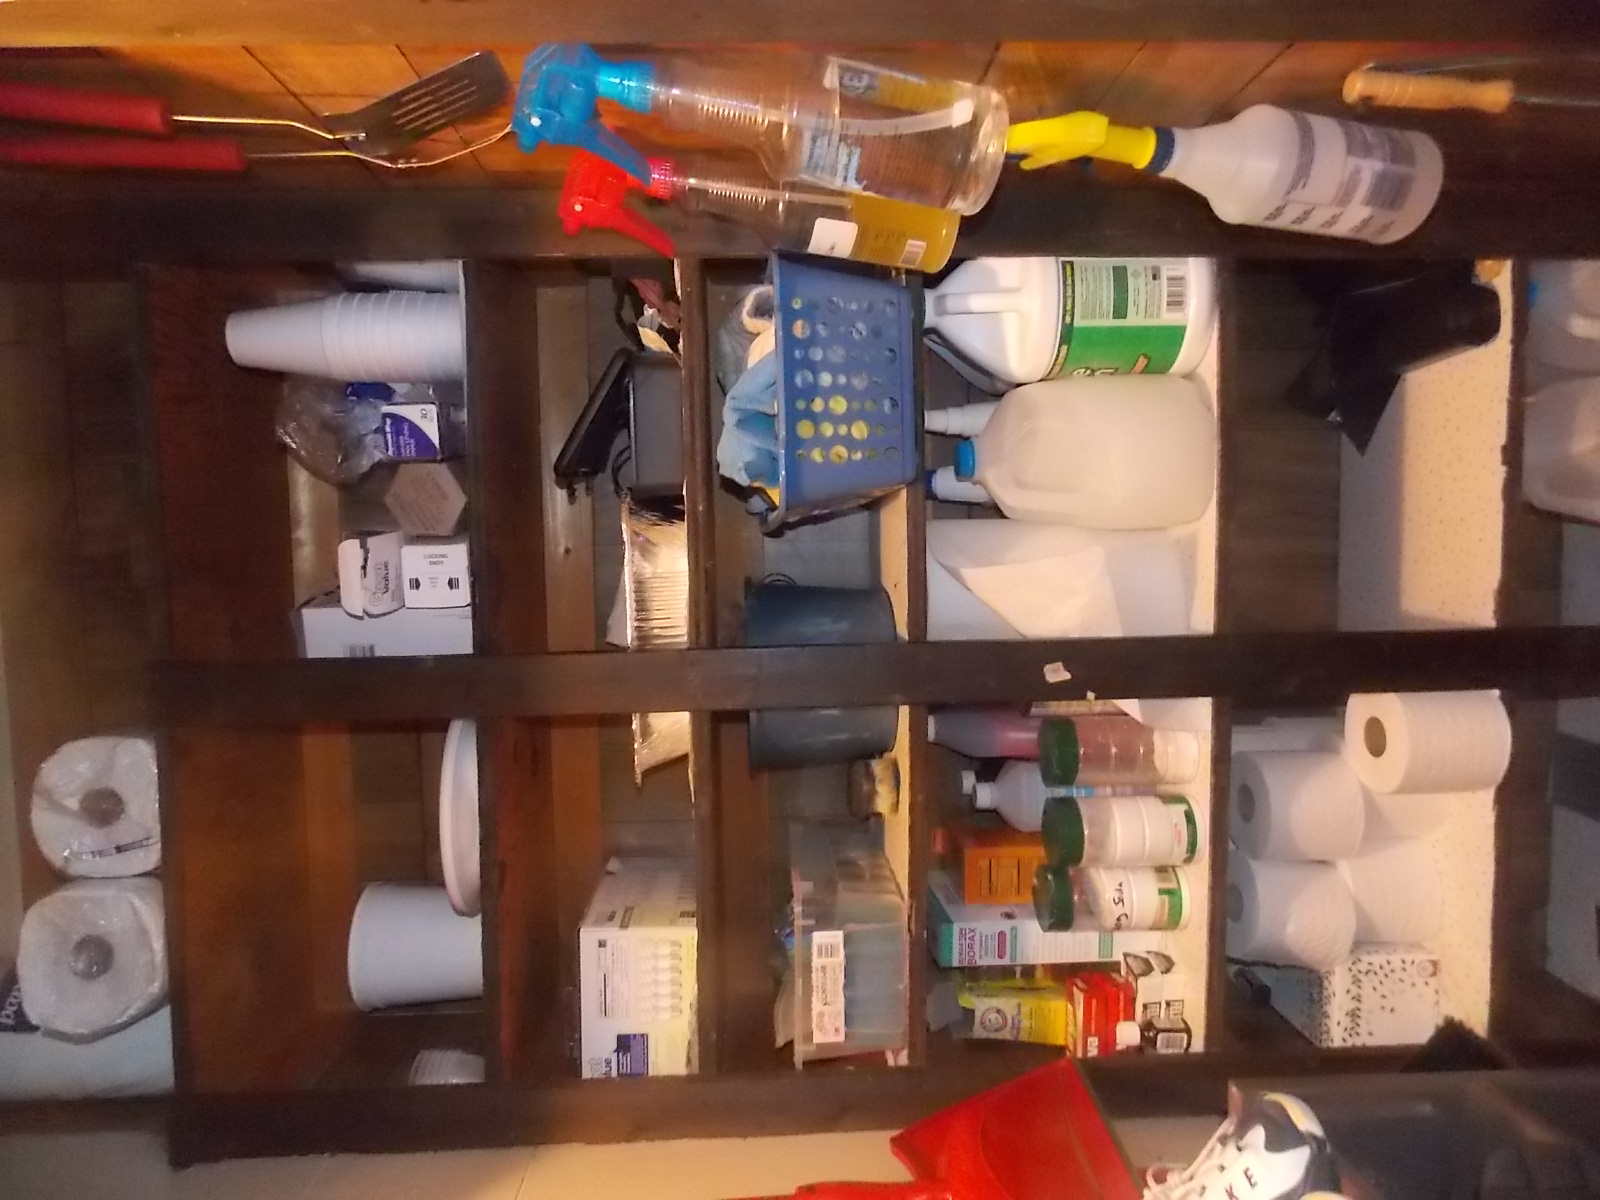
These shelves hold all of our “extra products.” The following is what we store here:
- toilet paper–***new rule—as soon as we get a large package, we take 8 rolls to each bathroom
- paper towels
- kleeneks
- all natural cleaners
- supplies to make our all natural cleaners
- basket of cleaning rags
- basket of sponges and brushes–for cleaning small areas
- a bucket for deep cleaning the house walls or floors
- our hair trimming kit–I cut the boys hair out in the garage, this is next to that area
- light bulbs
- paper plates
- plastic cups to hold our snack mix when in the car
- extra box of baggies, tin foil, wax paper
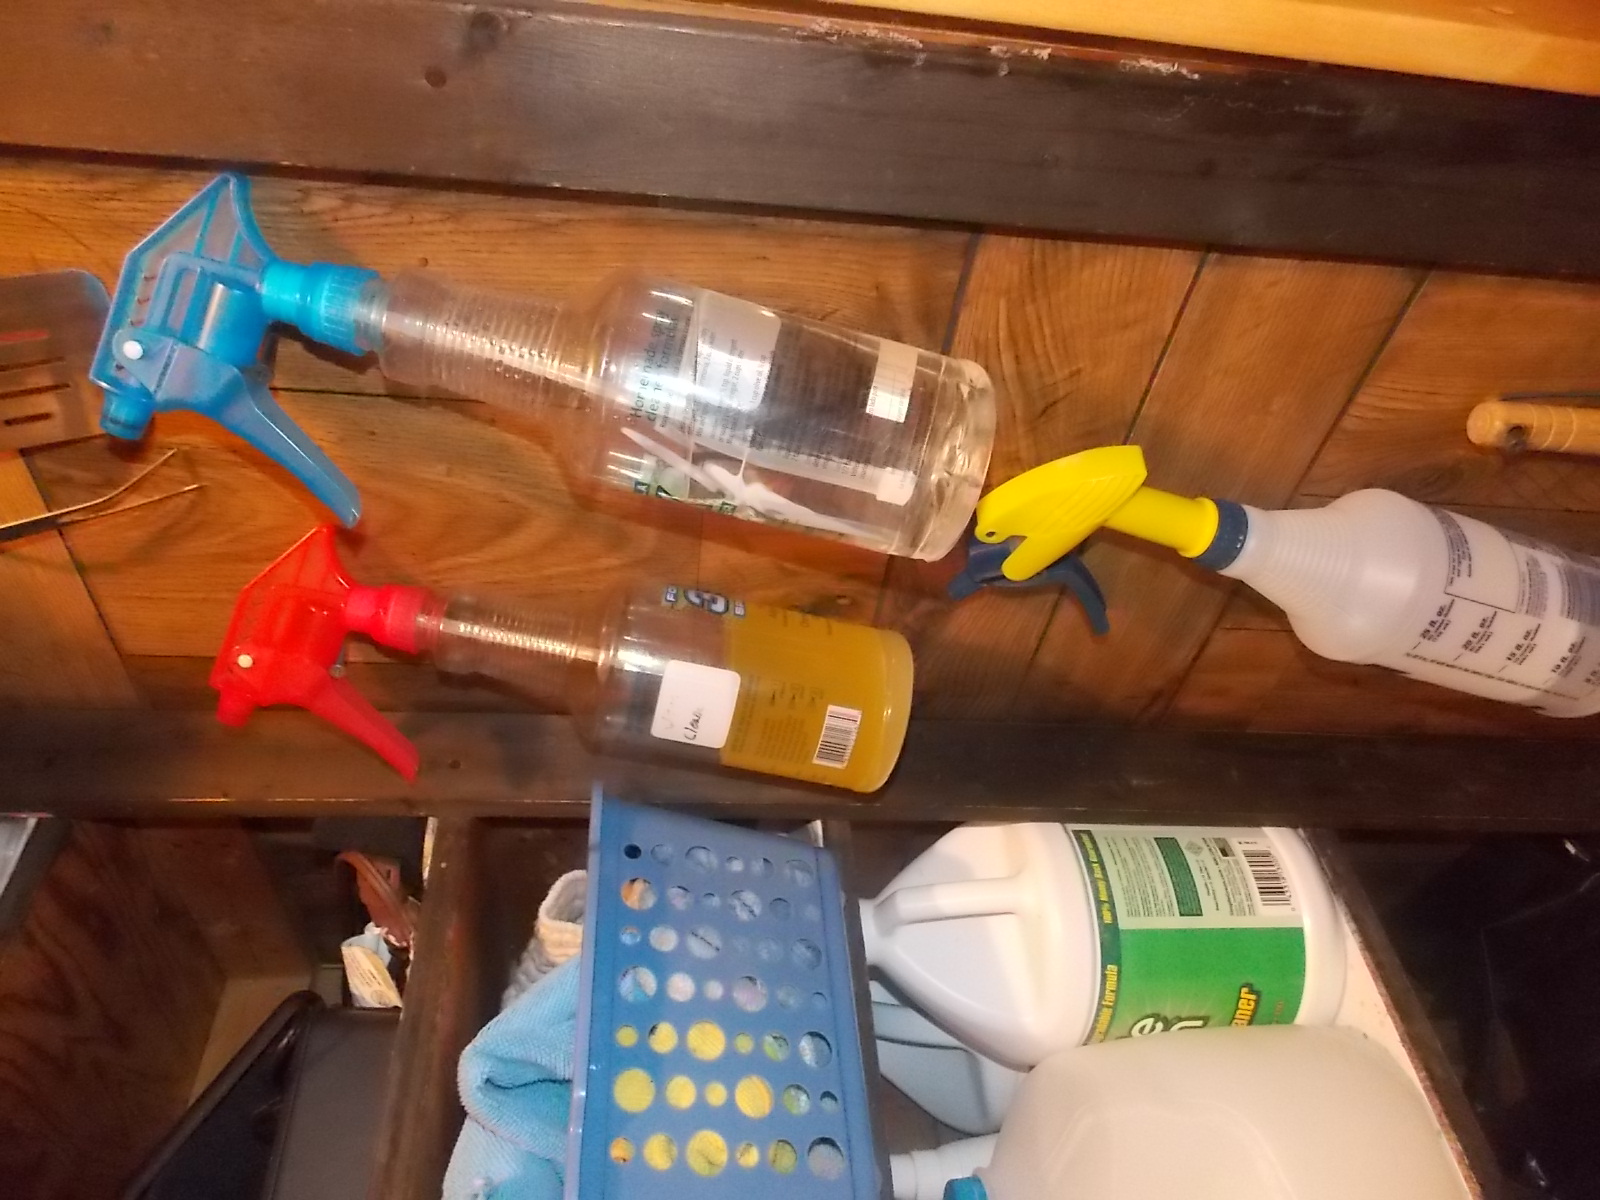
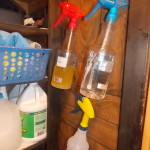
 My spray bottles that hold my window cleaner, my wood cleaner, and my all purpose cleaner would not fit on my shelves. I placed a screw in the wall and hook the bottles on that.
On that same side of the wall, I hang up our summer BBQ tools above that. We are forever losing our tongs and flippers that need to be used on the fire pit grill. I decided to leave them in the household to keep better track of them.
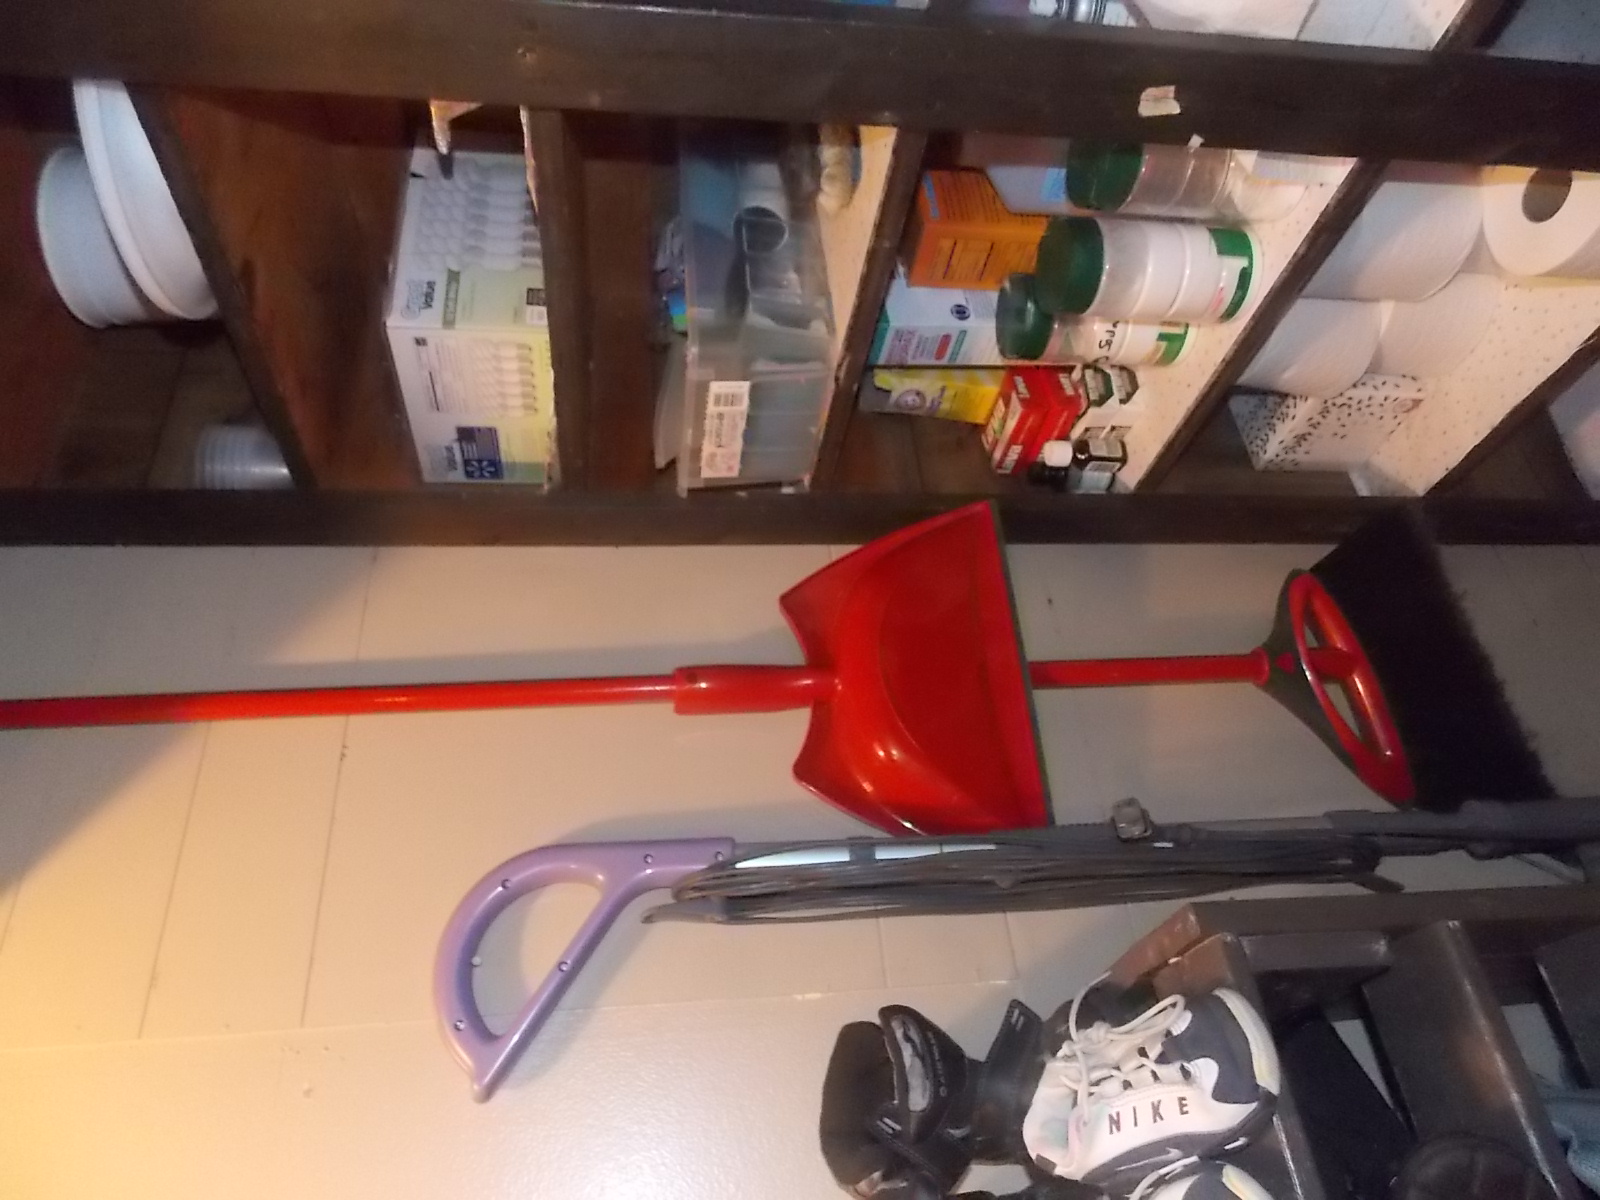
Underneath the spray bottles I have a few more screws that hold the fly swatter, a brush, and small dustpans and mini brooms for the little ones. After dinner, I usually hand these out to the younger group and have them sweep up the floor.
Along the other side of the shelf I hang my broom and my steamer. I have realized the importance over the years of hanging your brooms to keep the bristles in good condition. 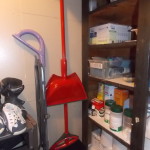
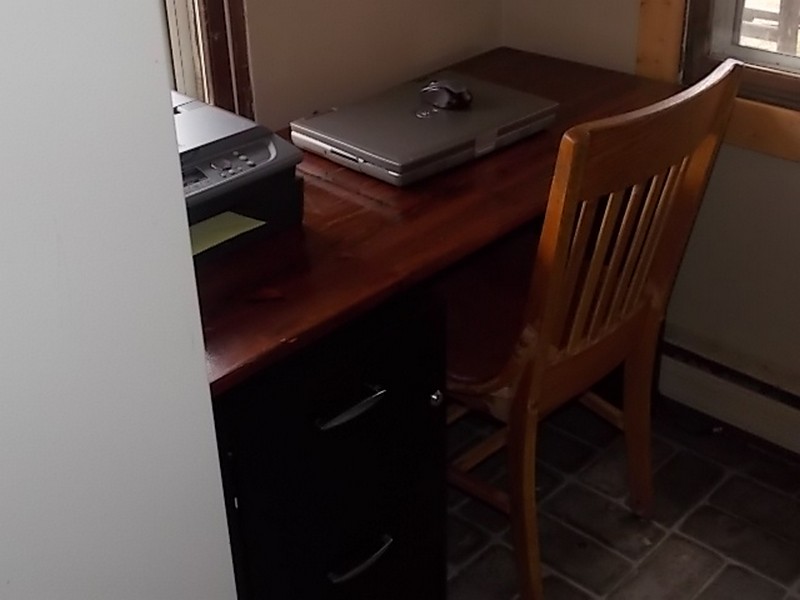
We have a simple computer desk in here with our laptop on it. I am hoping to get another laptop to help with doing multiple online school studies at the same time. In time. I have my filing cabinet underneath the computer desk. The filing cabinet holds all of our household papers and bills. I also keep print offs from my child’s’ school. I have printed off all of the paperwork that they will need until the 2nd semester of school.

I also keep my journals of the children in one of the drawers. I started journaling about my babies before they were even born. I took a regular notebook and wrote their name on the outside of it and began writing in it while they were still in my womb. I share funny little stories that they might have done. I record their visits to the doctors of weight and height. I ask them once a year to fill in my list of their favorites. I might ask what is your favorite food, movie, song, bible verse, activity to do in the house, book, etc. They usually like me filling this in for them and they go back and read what they answered years before. I try and get them to draw a picture or write something out in the journals I want it to be something special for them as they get older to see what they did as a child.
***Addition
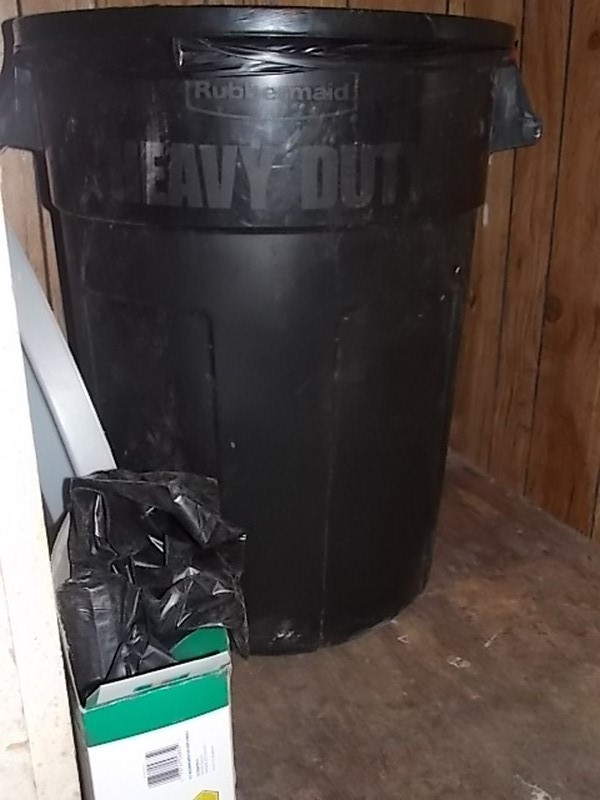
Outside this room which is just off of my kitchen is where we store our large trash can. Years ago we did away with the smaller kitchen trash can. We were emptying it about 2 times per day. I finally got a large 32 gallon that we keep outside the back door –love it.
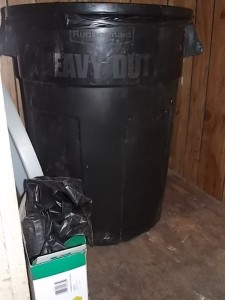
I keep the extra trash bags right next to it. No need to go searching for them.
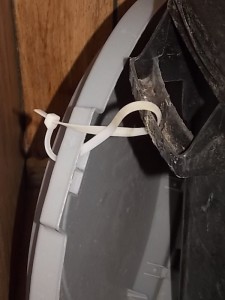
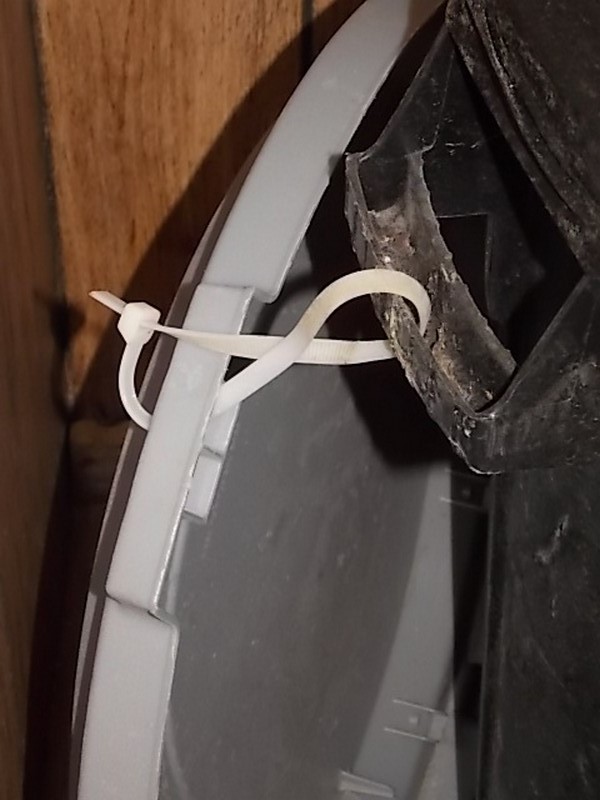
On thing we did was zip tied the lids to the trash cans. We always end up losing the lids due to a wind storm. Then by summer time you have this grossly smelling trash, not now. We will always have our lids.
Up next the pantry…