Category Archives: decorating

inexpensive fall table centerpiece

How to make an inexpensive fall table centerpiece decoration

When we were first married and  making a home, I had the cutest little decorations all set out around our home for each season. After many moves, many children, many lost and broken decorations, I don’t even have any of my original seasonal decorations.  Plus with having a large family who has time to think about decorations?

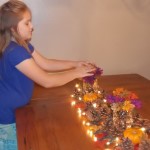
Well my 8 year old daughter does.  Jadyn, really enjoys making things “beautified” in our home.   She and I put together this cute table decoration, that has so far stayed put in our home.  Well it probably has stayed put because we have placed our benches directly underneath our table because for the time being we have a curious 1 year old who loves to climb, the table seems to be the place you are most likely to find him.  To avoid any serious injuries, we thought it best to place the benches far away from his climbing reach.  Plus it has helped my centerpiece to stay set up.

Image00001

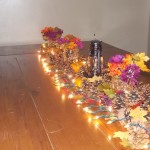
For our table top decoration….we placed a strand of Christmas lights down the middle of our table.  We moved out the table leaf and brought the cord up through the opening so that it was centered on our table verses dangling over the edge.

Image00010

We then placed pinecones all around the lights.  Image00008

We found  packages of leaves at the Dollar store and sprinkled those throughout the area.Image00007
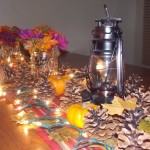
We bought a sack of mini pumpkins at the grocery store and placed those in the centerpiece
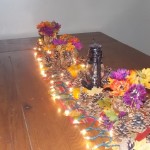
Image00005

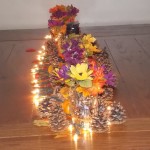
Our neighbor gave us some pretty glass mugs—remember we don’t have glass around here it breaks too easily–but I had to find a use for them.  We placed some flowers from the Dollar Store into the mugs.  At the bottom of the mugs we put pinecones to help push up the flowers and make it look neat.  The cups are beveled glass so you can’t really see inside them.
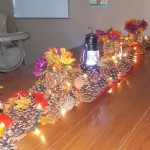
Image00003

The lantern is a household decoration.

Image00006

Here is how it looks at night time.Image00002

Costs:

  • christmas lights—already had                            FREE
  • pinecones—found in yard                                     FREE
  • glass mugs–from neighbor                                   FREE
  • 2 package of leaves from dollar store                $2
  • 5 bunches of fall flowers from dollar store       $5
  • sack full of mini pumpkins from Walmart           $3
  • TOTAL COST FOR DECORATION                            $10
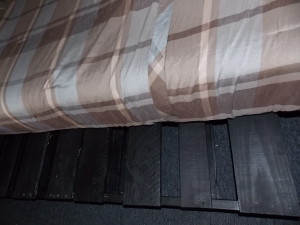


diy wood pallet bed


I have been busily organizing and decorating our home these last few months.  I feel like I got all the way through all the rooms and then I came to our room.  It was the last but not least room.   Our room has taken a back seat over the years. You know how it is when you have children, you want to spend all of your money on them not yourselves.

We had a king sized bed, but over the years,having so many little ones, we decided to just put the mattress on the floor, to avoid babies from rolling off and getting injured.  We have been looking into getting a new bed and frame, as ours is older, but it seems you will easily spend $1000 for a king sized bed.  We didn’t want to do that.


For the winter, we heat our home with wood.   To cut down on the cost of starter wood we use pallets that we get for free from local businesses.  One day while doing a search of “what you can make with pallet wood,”  I came across wood pallet furniture.  Then I found it……..

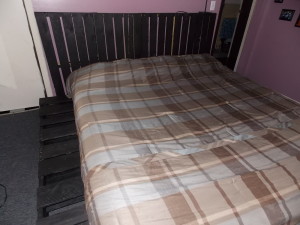
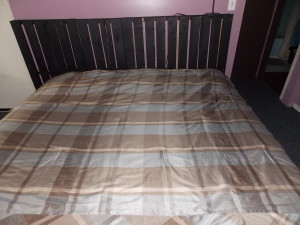
a diy wood pallet bed.  I thought it  was very original looking.  They were making these and selling them in high-end boutiques in big cities.  I had to first show my husband, in case he thought my idea was kooky.  Instead, he thought it was pretty cool.  So we started collecting our pallets.  A few trips into town and we had all 10.

004

We took and painted half the pallets(you don’t see the other half because the mattress will be covering it) black to match our color scheme better.  You can always leave them regular wood color, maybe add a coat of clear coat.   We got a quart of black paint for around $8

005


Having the pallets stick out on each side is convenient for setting our drinks and other items like cell phones, books, etc.
009


Our home is quite simple, we don’t have alot of “things” to crowd our floors with.  Our room has the bed and a hopechest that has a tv setting on it.

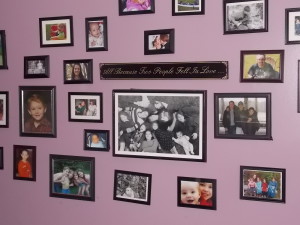
Our walls were bare until I decided to make another picture collage, this time with Dollar Store frames and velcro.  I had our business cut the sign “All because two people fell in love….”  It has been shown to be a top seller for us.  I then have randomly placed different sized photos of us and the children.  I did it more in a random pattern, because  I like to be able to add more photos as I take them.


002

This is an inexpensive way to make a bed frame that is creative and different than anything you have ever seen.


Modge Podge photo coasters or tile hangings…..another photo craft

022

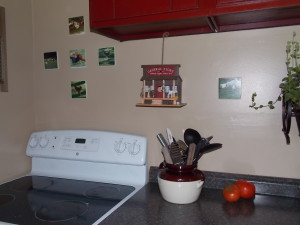
After making my photo collages for my walls, I was inspired with this Modge Podge stuff.  I did some Google searching with images and saw that people were making coasters out of photos and bathroom tiles.  We don’t have a need around our home for coasters, you don’t dare leave a drink unattended with 10 children!!  But I did have empty space in my kitchen that I was looking to fill inexpensively.

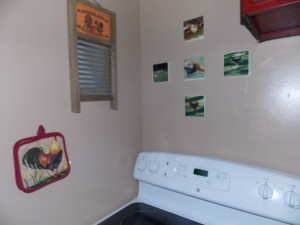
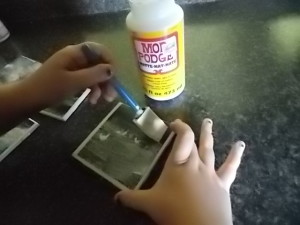
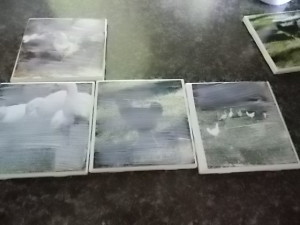
Since I enjoy chickens, I decided to use the photos of our chickens and ducks and cut them to fit my bathroom tile squares.  They were something ridiculously cheap like under 10 cents.  I then brushed Modge Podge over top of these photos.
019 I let them dry and was impressed.  I thought how cute to make a set of coasters for family members out of your children’s photos.  A great Christmas idea.  Since photos are like 9 cents a picture at Walmart and the tiles are under 10 cents.  Your gift could technically be under $1 or $2 depending upon the number of children that you have.  Or maybe you could print off some photos of different objects for special people.  A teenage boy might enjoy pictures of motorcycles, guitars, video games, etc.  A Christian might enjoy tiles with the names of God,or some favorite bible truths, printed on them. You could customize them for different seasons.  Making an autumn set out of pictures of fall things, leaves, pumpkin pie, corn husks, etc.  Summer out of beaches, sun, picnics, etc.  The possiblilities are endless.  Just brainstorm some ideas and Google some images, if you don’t have any yourself.

020I hung them up with my favorite item—-Velcro.

017

How to make an inexpensive photo collage


009

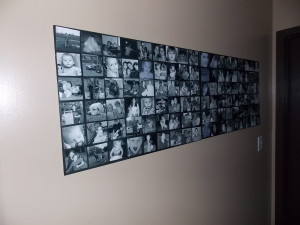
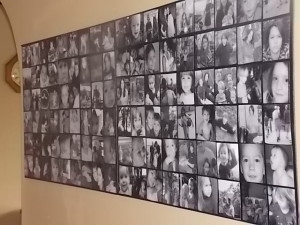
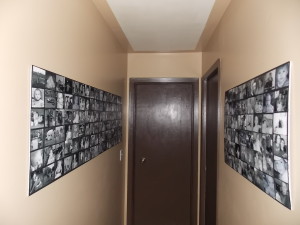
This is a great inexpensive way to hang a multitude of pictures without breaking the bank.  I told you we have had years of taking many photos and then they just end up sitting on a bunch of discs–what good is that going to do??  So I decided to get some printed off.  Walmart had a great deal $.09 a photo and free shipping to home, at that time.  I chose all the pictures I wanted and got some black and white and some colors printed off on matte paper.

DSCN2677

I then headed to the dollar store and bought some foam core board—One board will hold 54 pictures.  I originally bought some foam core at Hobby Lobby they were $6 a board.  Then I realized that the Dollar Store had them for $1.  After using these from the Dollar Store, they seem to be sturdier.  The only difference is that the Dollar Store ones have a white edge where you can see the foam.  I thought of using permanent black marker to color it in, but I will wait and see if I really even notice it on the walls.

Grab some Modge Podge–the larger bottle (16oz) about $8 and a foam brush.


.  One big bottle did  5 foam core boards full of pictures.

Pick up some double sided tape as well, which will help in placing your pictures, I ran out halfway through the project and ended up using glue stick to hold the photos on and that worked just as fine.


DSCN2690


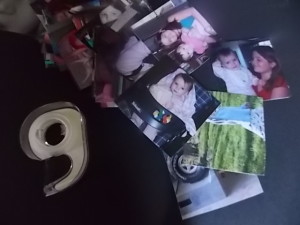
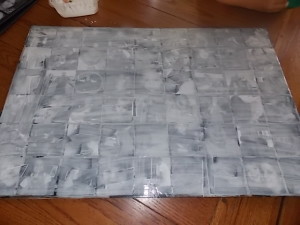
First thing I did was make a cardstock template of a 3×3 inch square.  I used that and cut out over 500 photos for my home. Did I tell you that I haven’t done anything with our family pictures for the last 8 years???

If you have some sort of photo cutter that would be easier to cut, then by all means do that.  Your photos need to be a 3×3 inch square.

DSCN2692

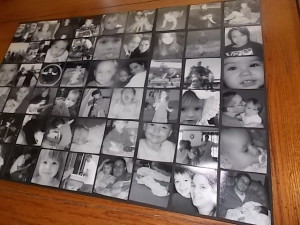
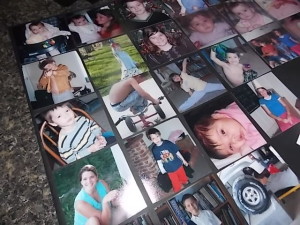
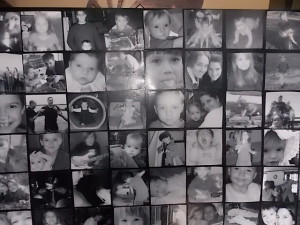
Once you have them cut out, now it is time to place them on your foam core.  You can use the double sided sticky tape or use a glue stick, if you work quickly.  I set out my whole first row and got 9 across.  I made sure that they were somewhat evenly spaced.  Then I went down and did a row of 6, making sure they were evenly spaced.  Once I had those two done then it was time to fill in the gaps.

DSCN2694

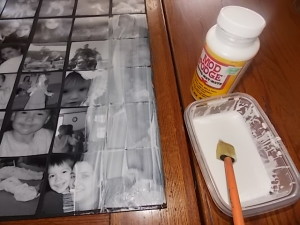
Next you take your Modge Podge and brush on a thin layer covering completely all of your photos.  I know what you are thinking—“Its going to ruin my photos!”  Trust me it won’t.DSCN2679

Try and brush your strokes in the same direction.  When it is dry you will be able to see the brush strokes, it looks more uniform if they are all going in the same direction.
DSCN2680

You can let it dry,  takes about 1/2 hour to 1 hour to dry.  Then do another layer over top of it.

When it is completely dry, you are ready to hang.  I used velcro pieces to hang on my walls.  It is my favorite new way to hang things.  It doesn’t leave a mark on the wall wen you remove them.


DSCN2707

Yes lots of pictures, but what good are those pictures going to do sitting on a disc??? .008003

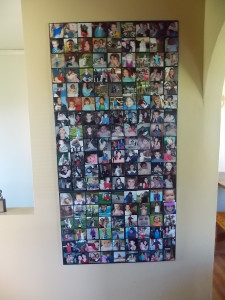
It would probably be neat to mix up some of the photos and do mostly black and white with a few color ones in it.  I personally think the black and white look more uniform, but I really do like the look of the colors as well.  Won’t have to make any more until next years photo discs are full.  Probably going to need some more wall space as well:)


$10 ledge shelves anyone can make and velcro–a must for families with small children

005

I have been busily redecorating my home this past year.  After years of having so many little ones all in a row, it was time to start making my house a home.  One of the first things I did was go through the countless number of DVD discs that had our family photos on it for the last 8 years and decide which ones I wanted to have printed off.  One thing I have never had was lots of photos hanging up around my home.  There just wasn’t much time to do those kinds of things.

I wanted to find a way to hang them up without doing it the traditional way of just pictures hanging on the wall.  And I needed to do it inexpensively.    I came across this site by ANA WHITE on how to make $10 shelves and I saw how she, as a woman, made them herself.  I knew it was something that I could do, well actually have my son do for me:)

We headed to our local Menards and bought some lumber.  For 2-4 foot shelves you need:

2 pieces of 1x4x8

1 piece of 1x2x8

It cost us less than $10 to buy this wood.

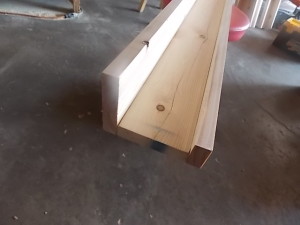
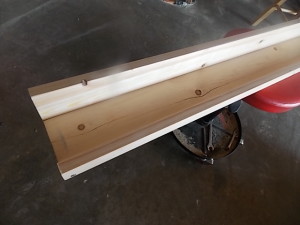
Then I had my son cut these all in half.  On the tutorial I saw they glued the pieces together but we just screwed them together–I was going to use a darker stain so I didn’t worry that I had used screws vs nice finishing nails.  This is how they looked.

DSCN2721DSCN2723


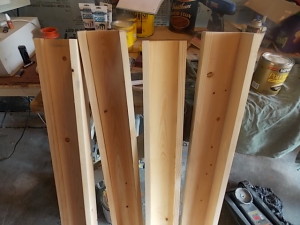
Here are all 4 of them

DSCN2724

Then we used some black wipe on stain and I filled in the screw heads with permanent brown marker.

006

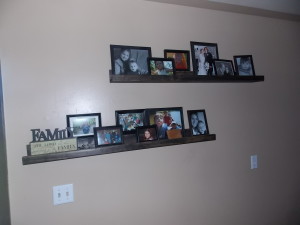
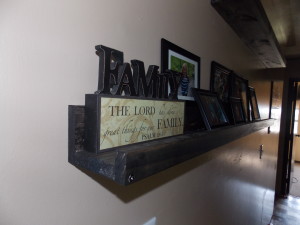
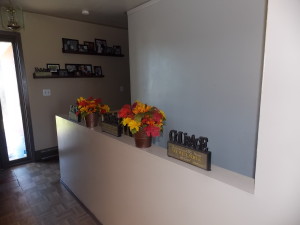
I am so pleased at how they turned out.  And I love that they were so cheap.  I had some of our family favorite photos blown up and put them in Dollar store frames.

011 

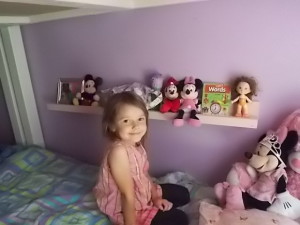
***by the way a quick tip for homes where children touch EVERYTHING….For years I didn’t put any knick knack or decorations out because with 6 little ones it was impossible to watch everyone all the time.  This year I discovered the wonderful value of VELCRO.  Yes Velcro, every place that I thought a child would say, push the decorations over the ledge, down the stairs, i used velcro.  They make it where it won’t rip off your paint when you goto move it later on.  Genius idea.

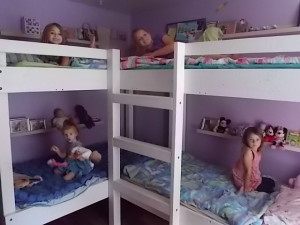
I was so excited at how they turned out that I immediately went and bought more wood and had my son make me another set of 4 for our girls room.  We painted theirs pink.  Now everyone has a special shelf with which to hold all their possessions.

008Yes that is a homemade quadruple bunk bed.  Made by my wonderful husband.
010