Tag Archives: crafts

inexpensive fall table centerpiece

How to make an inexpensive fall table centerpiece decoration

When we were first married and  making a home, I had the cutest little decorations all set out around our home for each season. After many moves, many children, many lost and broken decorations, I don’t even have any of my original seasonal decorations.  Plus with having a large family who has time to think about decorations?

Well my 8 year old daughter does.  Jadyn, really enjoys making things “beautified” in our home.   She and I put together this cute table decoration, that has so far stayed put in our home.  Well it probably has stayed put because we have placed our benches directly underneath our table because for the time being we have a curious 1 year old who loves to climb, the table seems to be the place you are most likely to find him.  To avoid any serious injuries, we thought it best to place the benches far away from his climbing reach.  Plus it has helped my centerpiece to stay set up.

Image00001

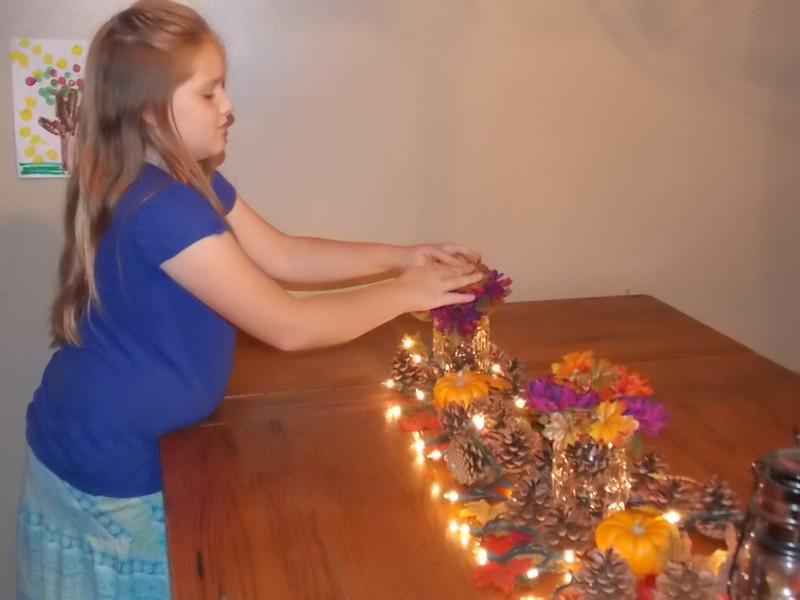
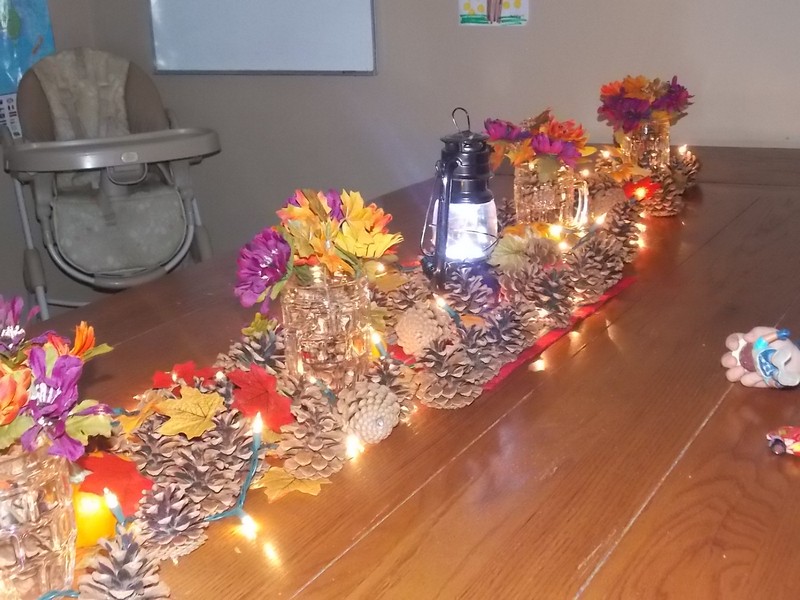
For our table top decoration….we placed a strand of Christmas lights down the middle of our table.  We moved out the table leaf and brought the cord up through the opening so that it was centered on our table verses dangling over the edge.

Image00010

We then placed pinecones all around the lights.  Image00008

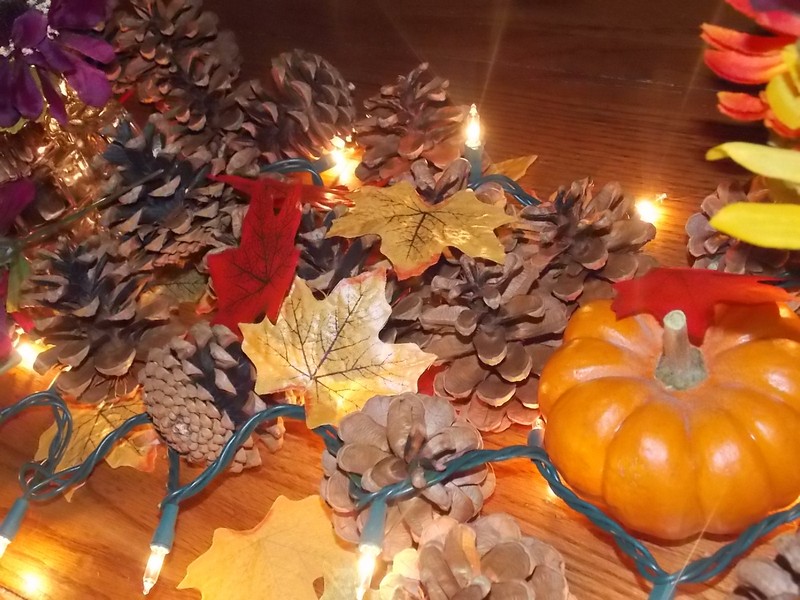
We found  packages of leaves at the Dollar store and sprinkled those throughout the area.Image00007

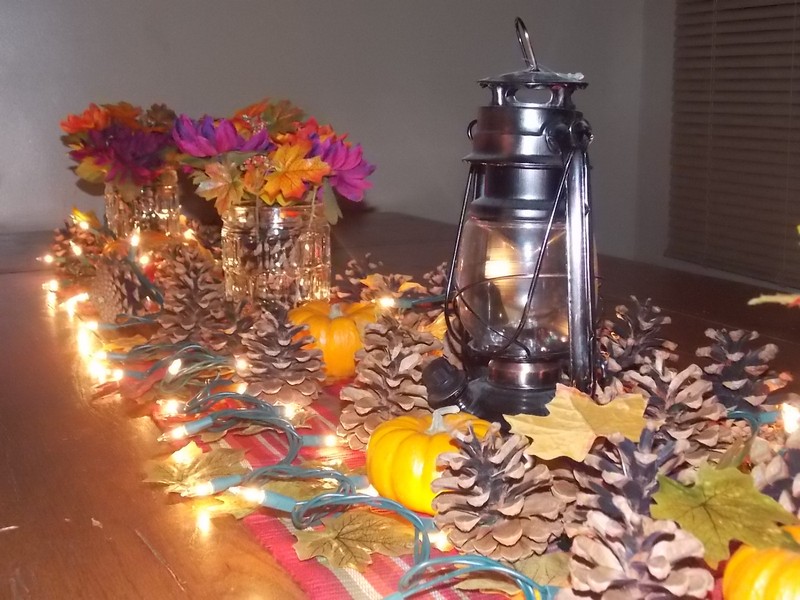
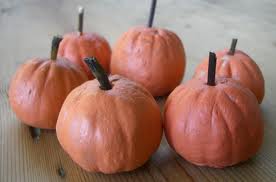
We bought a sack of mini pumpkins at the grocery store and placed those in the centerpiece
Image00005

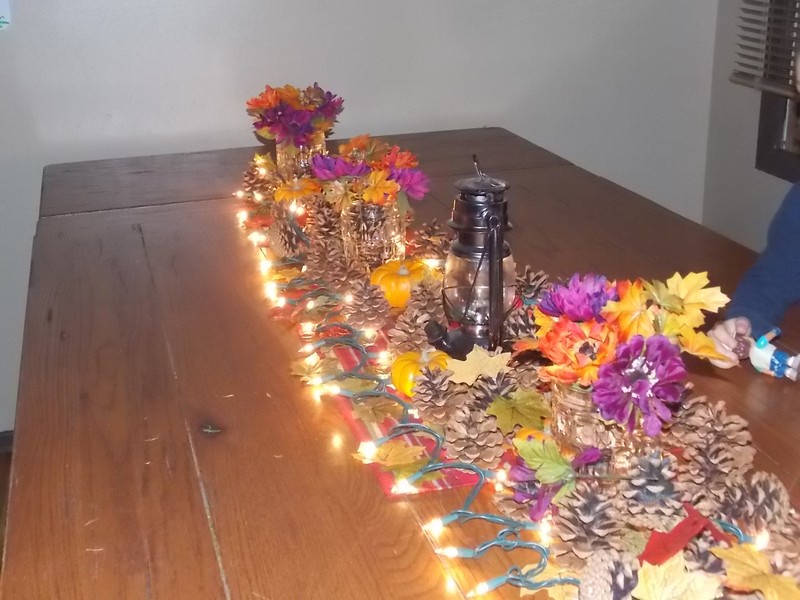
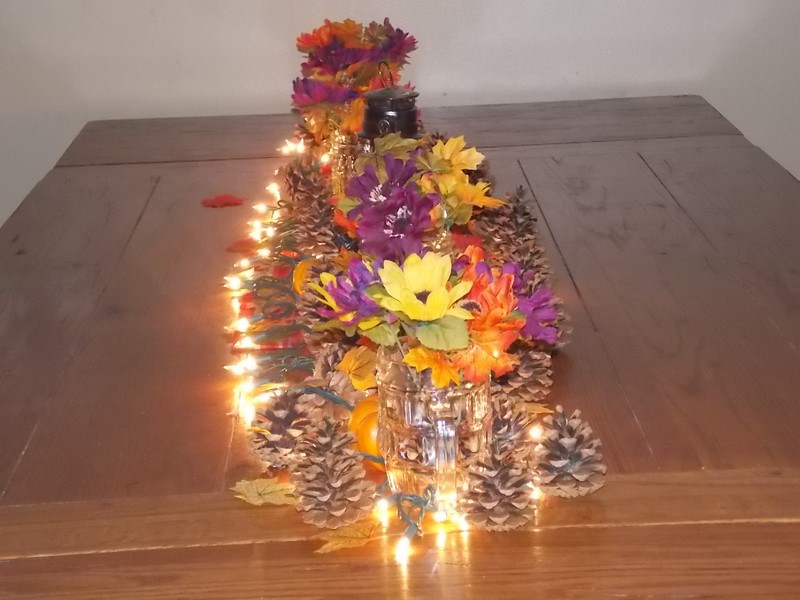
Our neighbor gave us some pretty glass mugs—remember we don’t have glass around here it breaks too easily–but I had to find a use for them.  We placed some flowers from the Dollar Store into the mugs.  At the bottom of the mugs we put pinecones to help push up the flowers and make it look neat.  The cups are beveled glass so you can’t really see inside them.

Image00003

The lantern is a household decoration.
Image00006

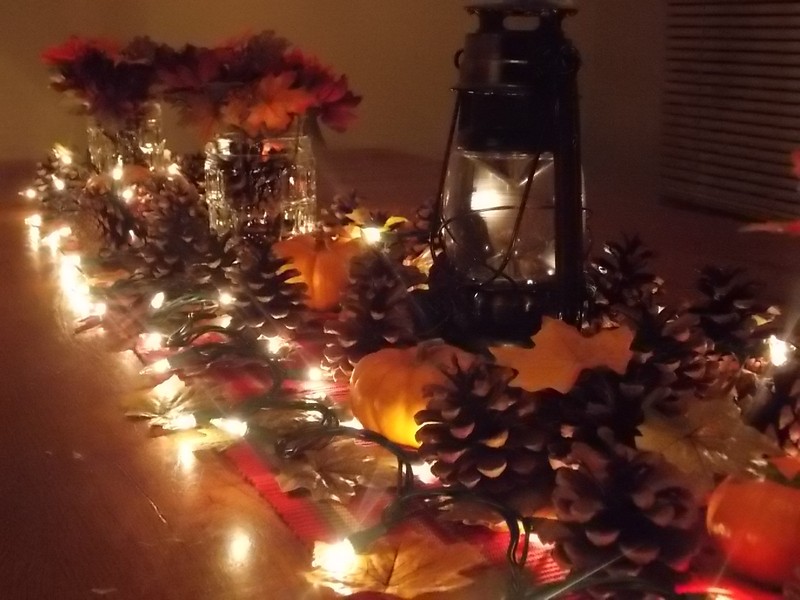
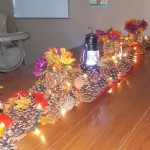
Here is how it looks at night time.Image00002

Costs:

  • christmas lights—already had                            FREE
  • pinecones—found in yard                                     FREE
  • glass mugs–from neighbor                                   FREE
  • 2 package of leaves from dollar store                $2
  • 5 bunches of fall flowers from dollar store       $5
  • sack full of mini pumpkins from Walmart           $3
  • TOTAL COST FOR DECORATION                            $10


Modge Podge photo coasters or tile hangings…..another photo craft

022

After making my photo collages for my walls, I was inspired with this Modge Podge stuff.  I did some Google searching with images and saw that people were making coasters out of photos and bathroom tiles.  We don’t have a need around our home for coasters, you don’t dare leave a drink unattended with 10 children!!  But I did have empty space in my kitchen that I was looking to fill inexpensively.

Since I enjoy chickens, I decided to use the photos of our chickens and ducks and cut them to fit my bathroom tile squares.  They were something ridiculously cheap like under 10 cents.  I then brushed Modge Podge over top of these photos.
019 I let them dry and was impressed.  I thought how cute to make a set of coasters for family members out of your children’s photos.  A great Christmas idea.  Since photos are like 9 cents a picture at Walmart and the tiles are under 10 cents.  Your gift could technically be under $1 or $2 depending upon the number of children that you have.  Or maybe you could print off some photos of different objects for special people.  A teenage boy might enjoy pictures of motorcycles, guitars, video games, etc.  A Christian might enjoy tiles with the names of God,or some favorite bible truths, printed on them. You could customize them for different seasons.  Making an autumn set out of pictures of fall things, leaves, pumpkin pie, corn husks, etc.  Summer out of beaches, sun, picnics, etc.  The possiblilities are endless.  Just brainstorm some ideas and Google some images, if you don’t have any yourself.

020I hung them up with my favorite item—-Velcro.

017

How to make salt dough pumpkins

images

 photo : alphamom.com original idea here

Now that it is turning cooler outside I think it is safe to say that fall is upon us.  With fall comes my favorite time of year.  I love crisp fall breezes, leaves rustling, the wonderful pumpkin, apple, spice smells of the season.  The majestic beauty of the trees changing colors.  It surely is a sight to behold.

A few years ago a friend of mine made us some small pumpkin salt dough ornaments and I thought they were very cute.  We used them with mini hay bales and colored leaves for decorations.  Well over the years, they have gotten damaged.   I thought it would be time to make a batch of them with my children.  Very easy to make and looks great decorating your home.

Ingredients that you will need:

  • 1 cup salt
  • 1 cup warm water
  • 2 cups white flour, not self-rising

Preheat your oven to 250 degrees.  Mix warm water with salt in a mixing bowl until the salt dissolves.  Add the flour and mix it by hand.

Next roll the dough into small balls, about 1 1/2 inches in diameter and make the pumpkin ridges with the side of a toothpick.

Poke a hole in the top for the stem.  You will make that part later out of a small twig.  Or you can try rolling a stem and placing it on the pumpkin, whichever will work for you best.

Bake on an ungreased cookie sheet for 2-2 1/2 hours.

Allow them to completely cool.  Then paint with acrylic paints.